|
The confined space entry section allows field staff to perform and submit confined space entry reports to the office. Confined Space Entry reports are to be filled
in when staff are required to work in a confined space where entry and exit from the space may be difficult. Most confined space entry reports include testing for
gases in the air which can be hazardous to field staffs health and safety.
|
|
|
1.Add Confined Space Entry Report |
|
If working in a confined space, its important that a confined space entry report is completed, to ensure staff are taking all the precautions
required and recording the readings of gases which must be monitored. The Confined Space Entry Report can be submitted
to the system as the work starts so that management and safety can confirm the staff are taking the proper precautions before
starting work.
Steps
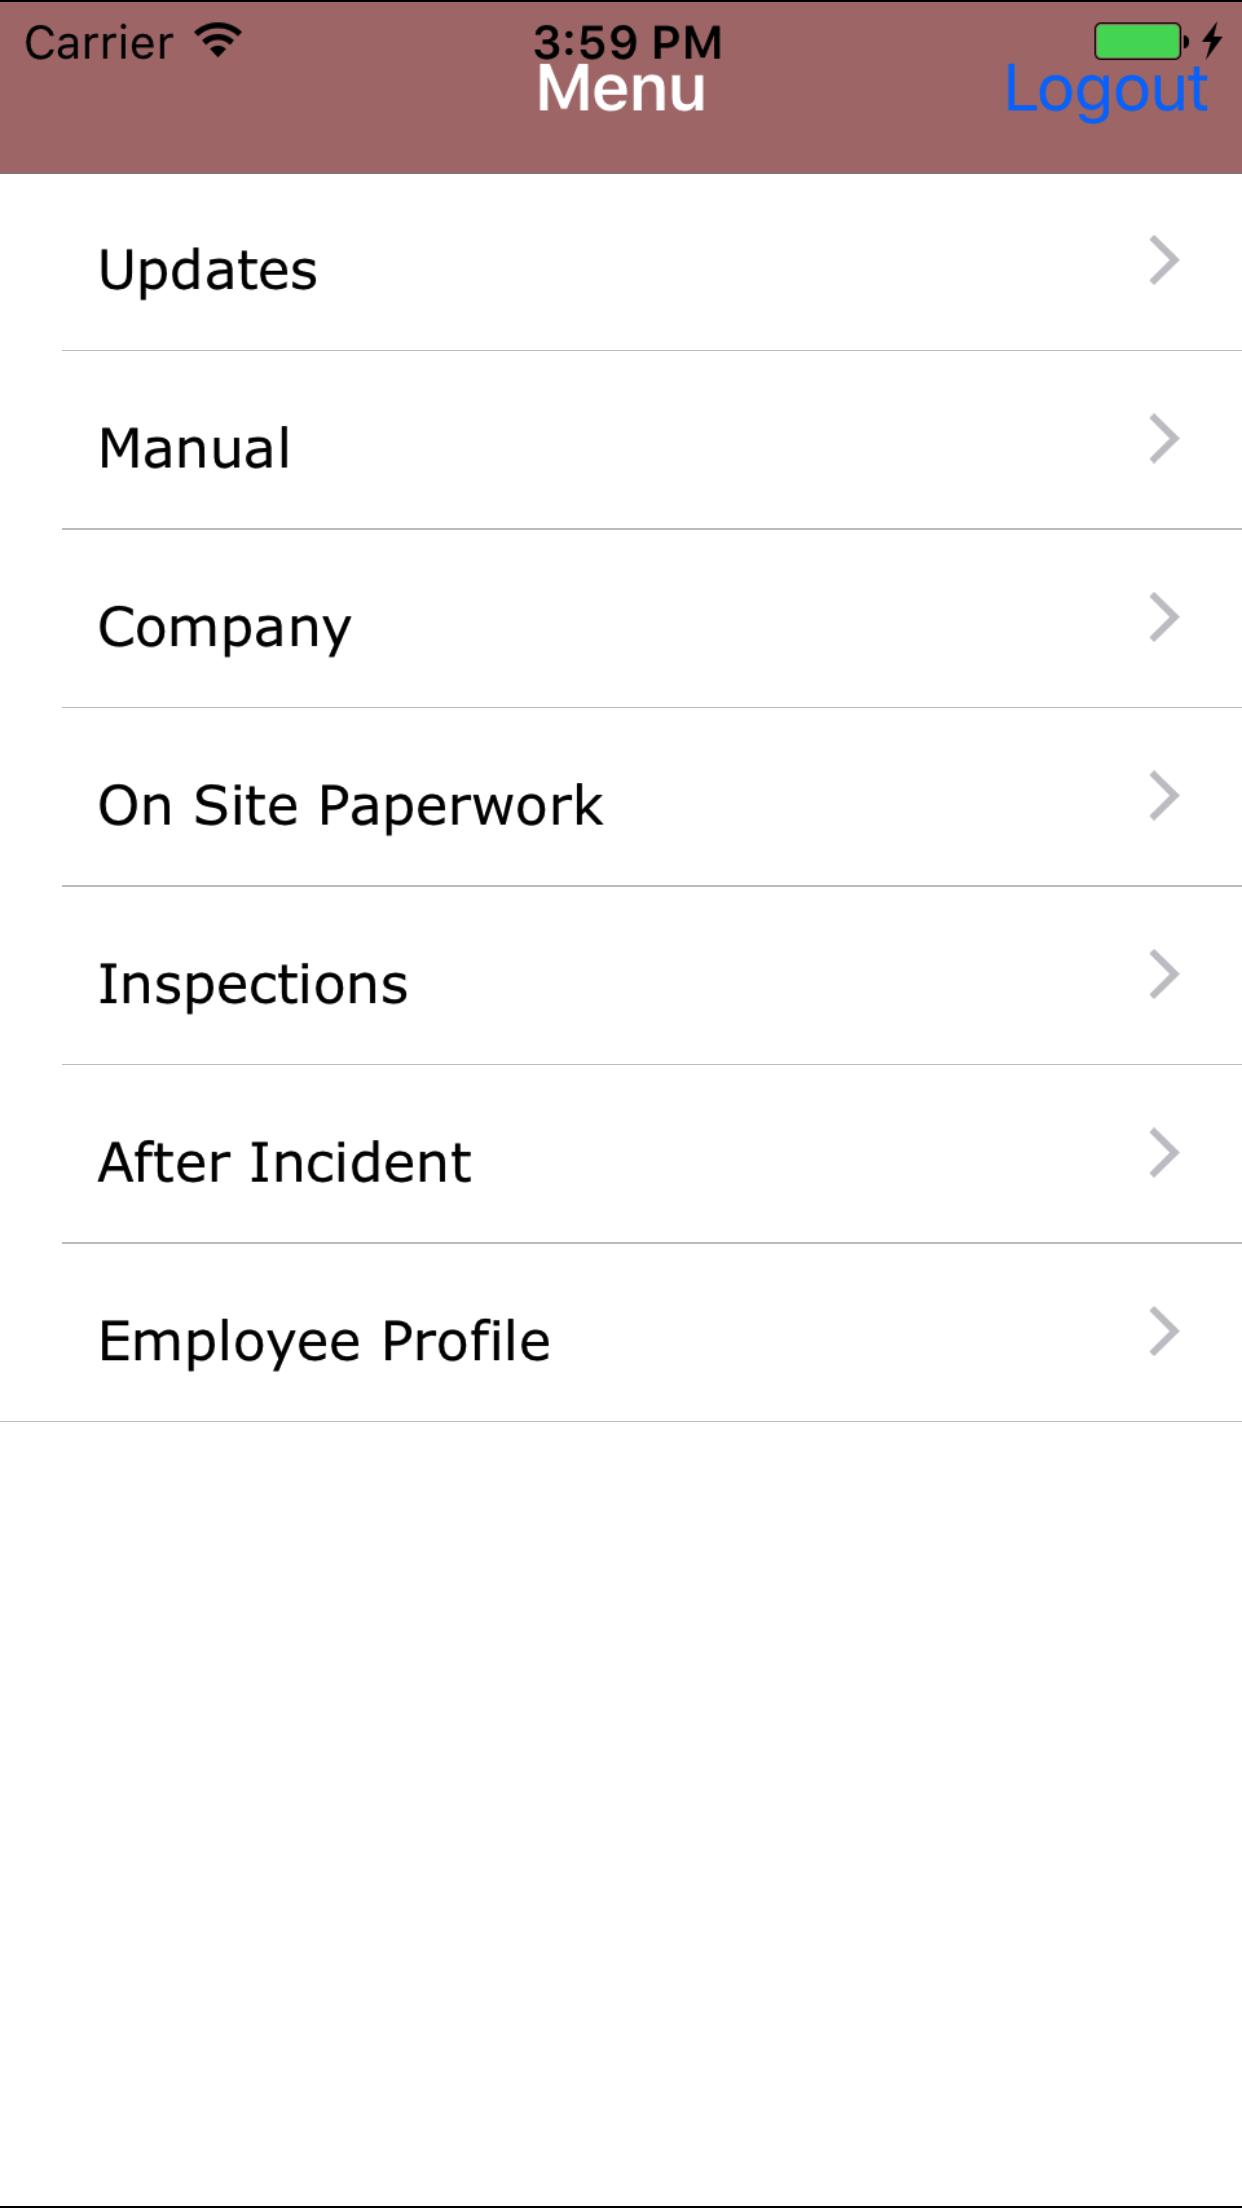
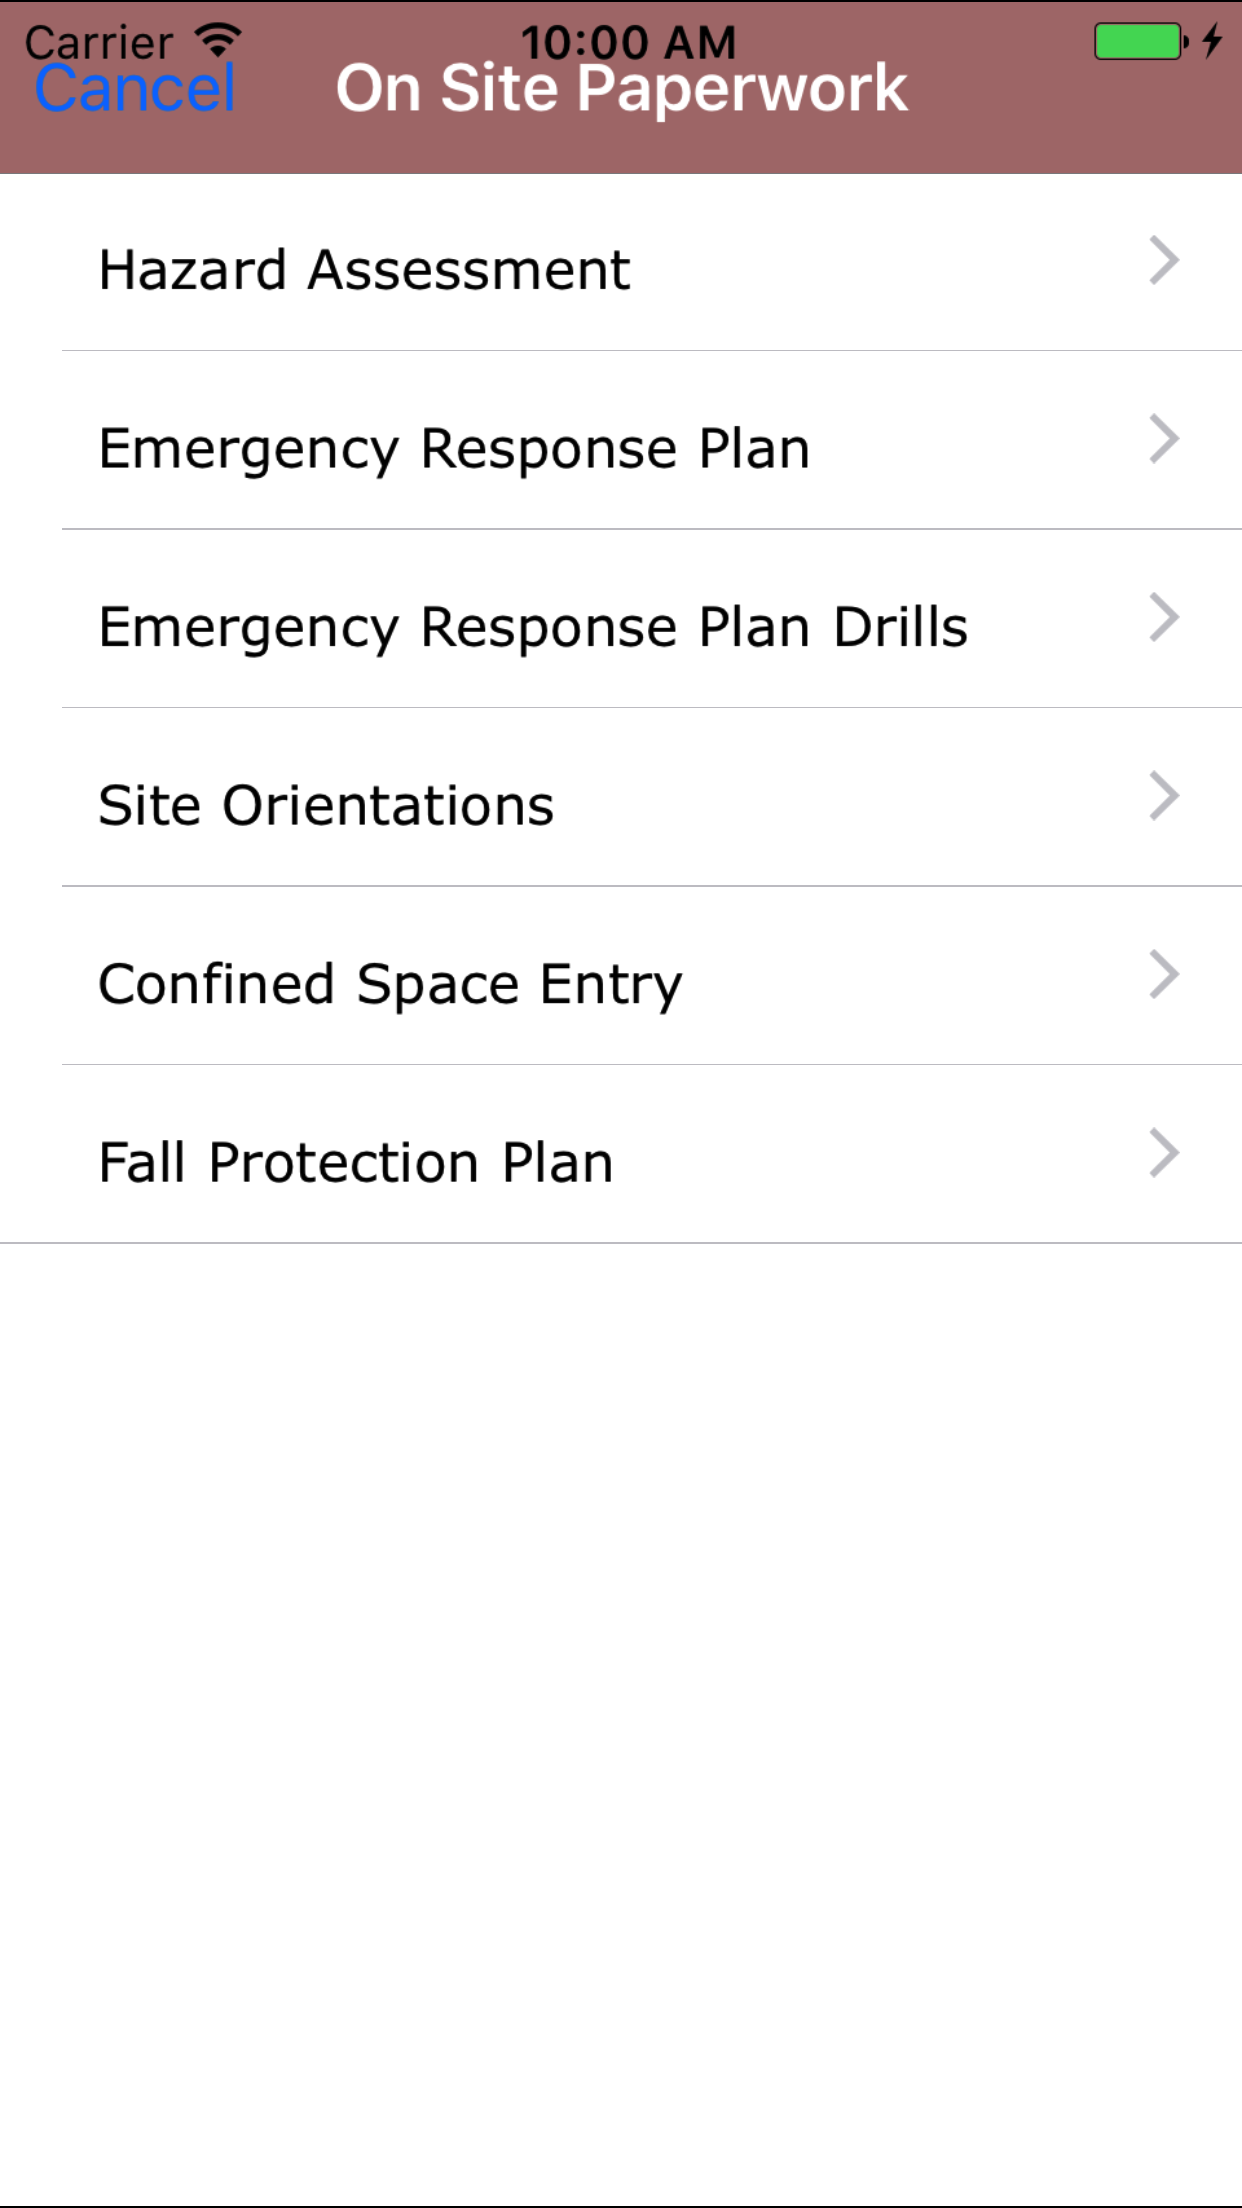
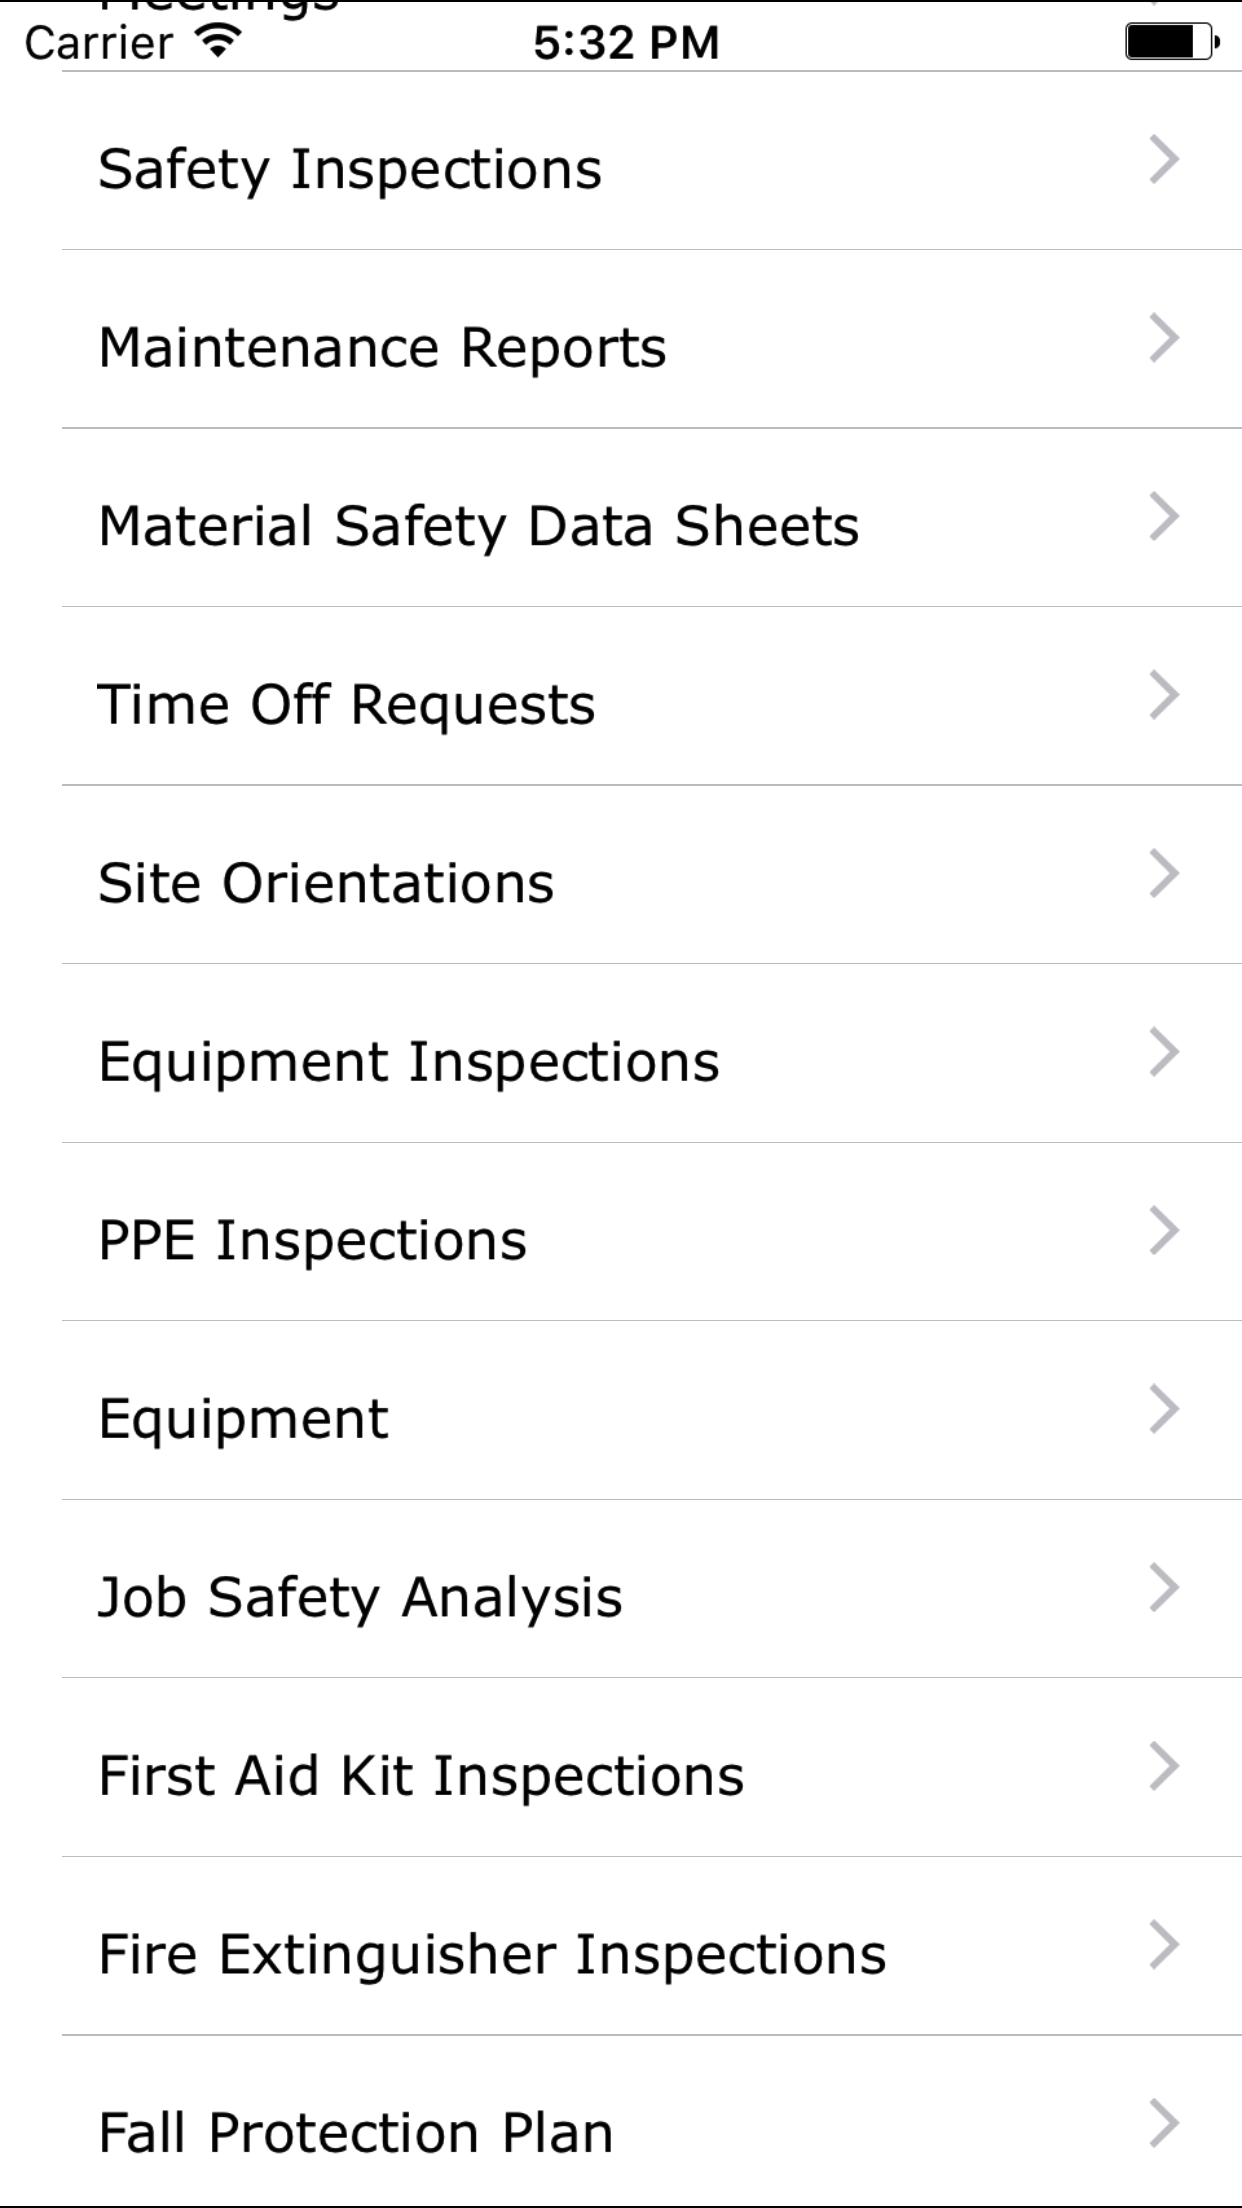
- From the Main Menu screen, tap the On Site Paperwork button.
- Then tap on the Confined Space Entry button to open the Confined Space section.
- This opens Add Confined Space Entry screen.
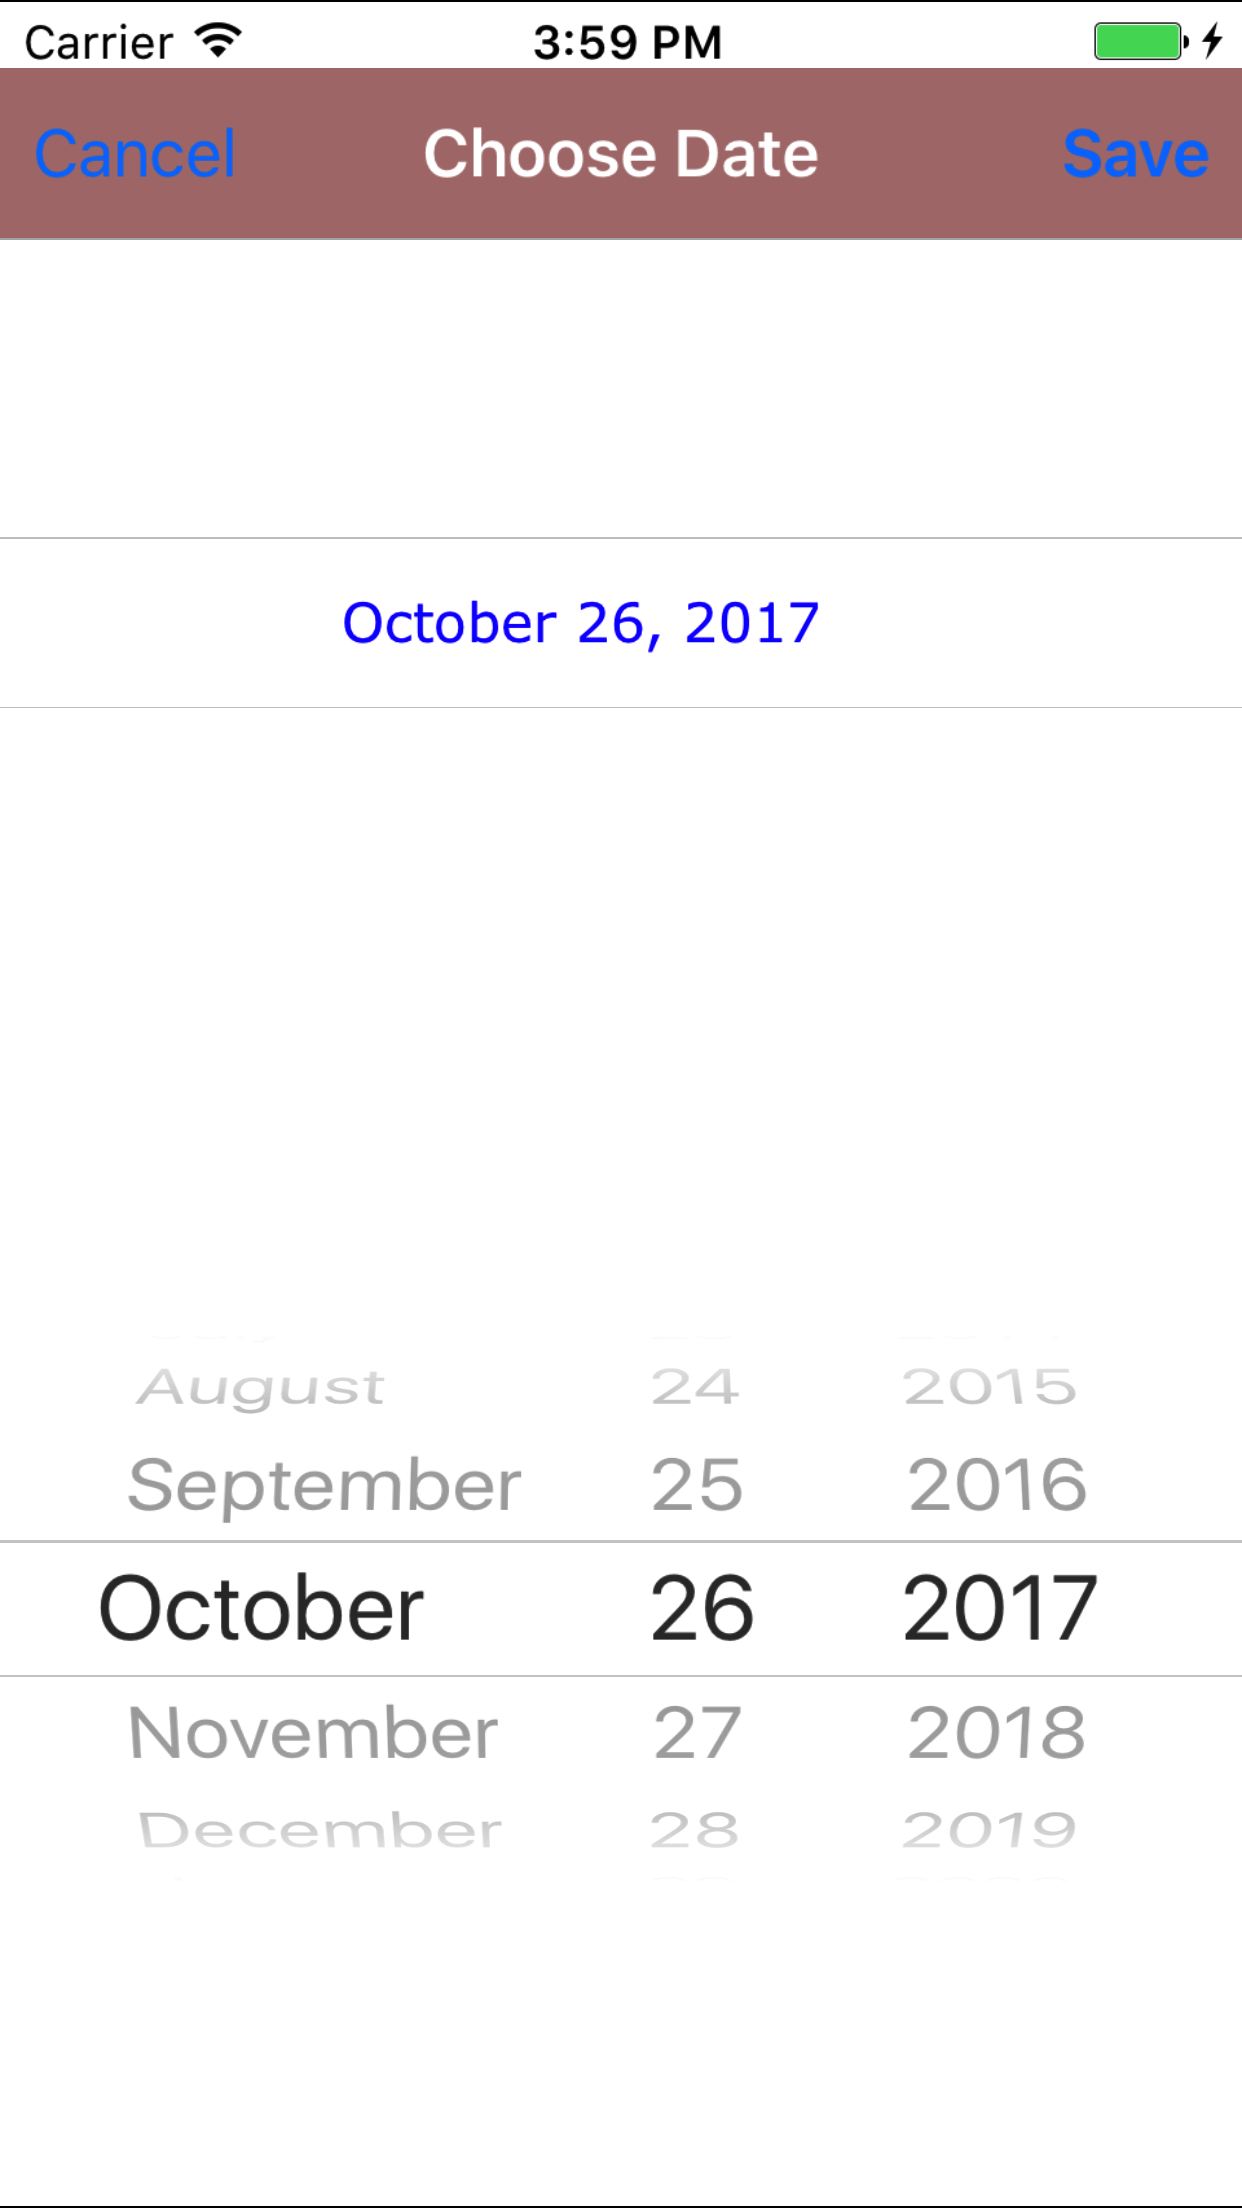
- Date: The date field will default to the current date.
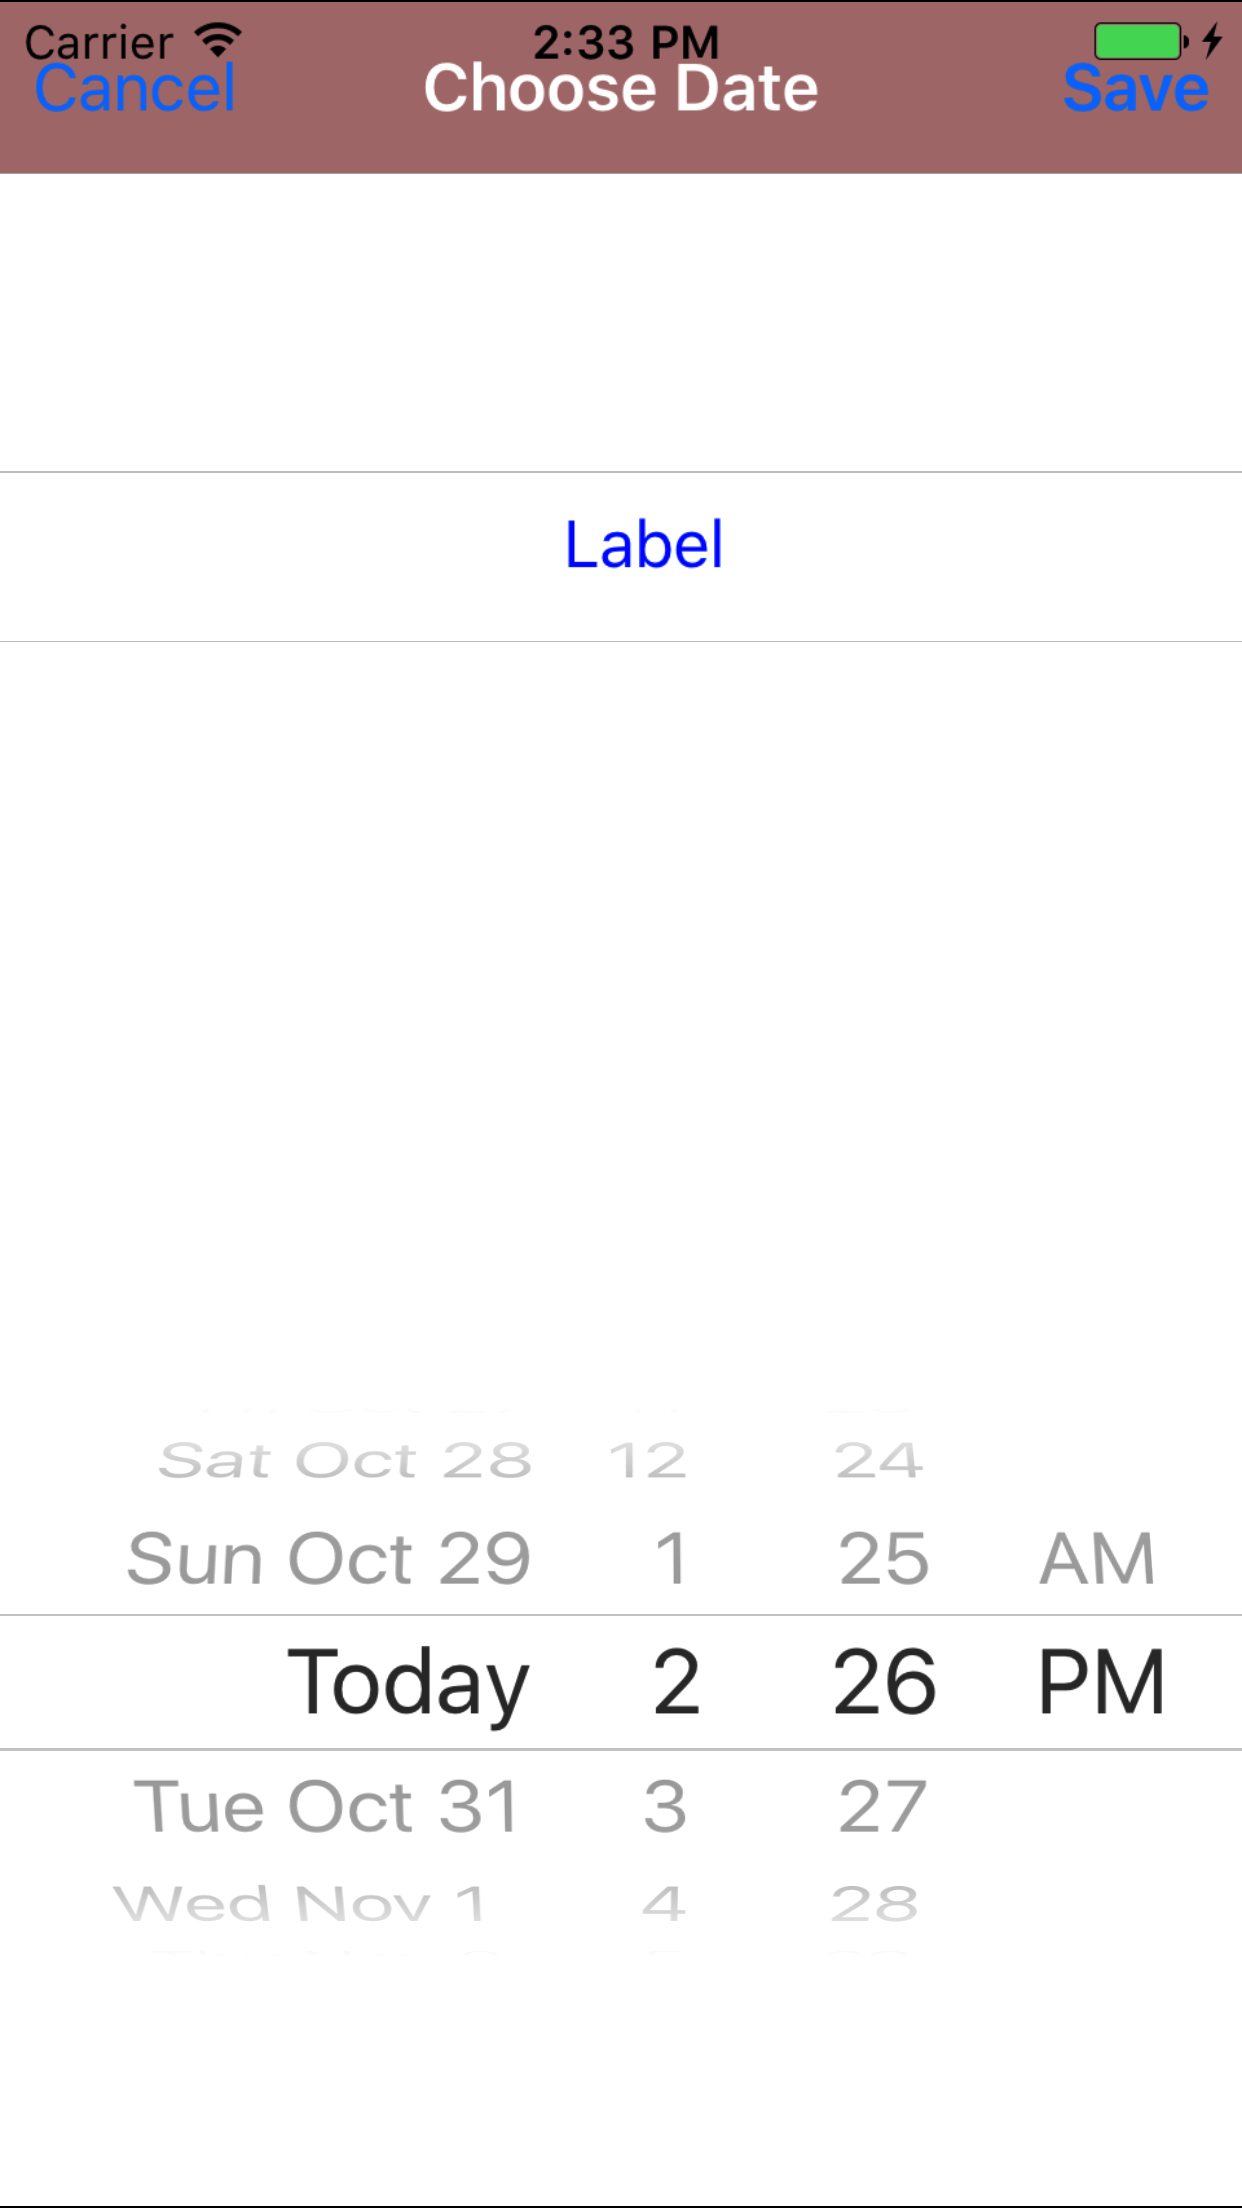
- Tap the Date field to open the Choose Date screen.
- Scroll the date wheel on the far left of the screen until the desired date is highlighted.
- Return to the Add Confined Space screen by either tapping Save in the top right corner to select the highlighted date or tapping Cancel in the top left corner to leave the Date: field unchanged.
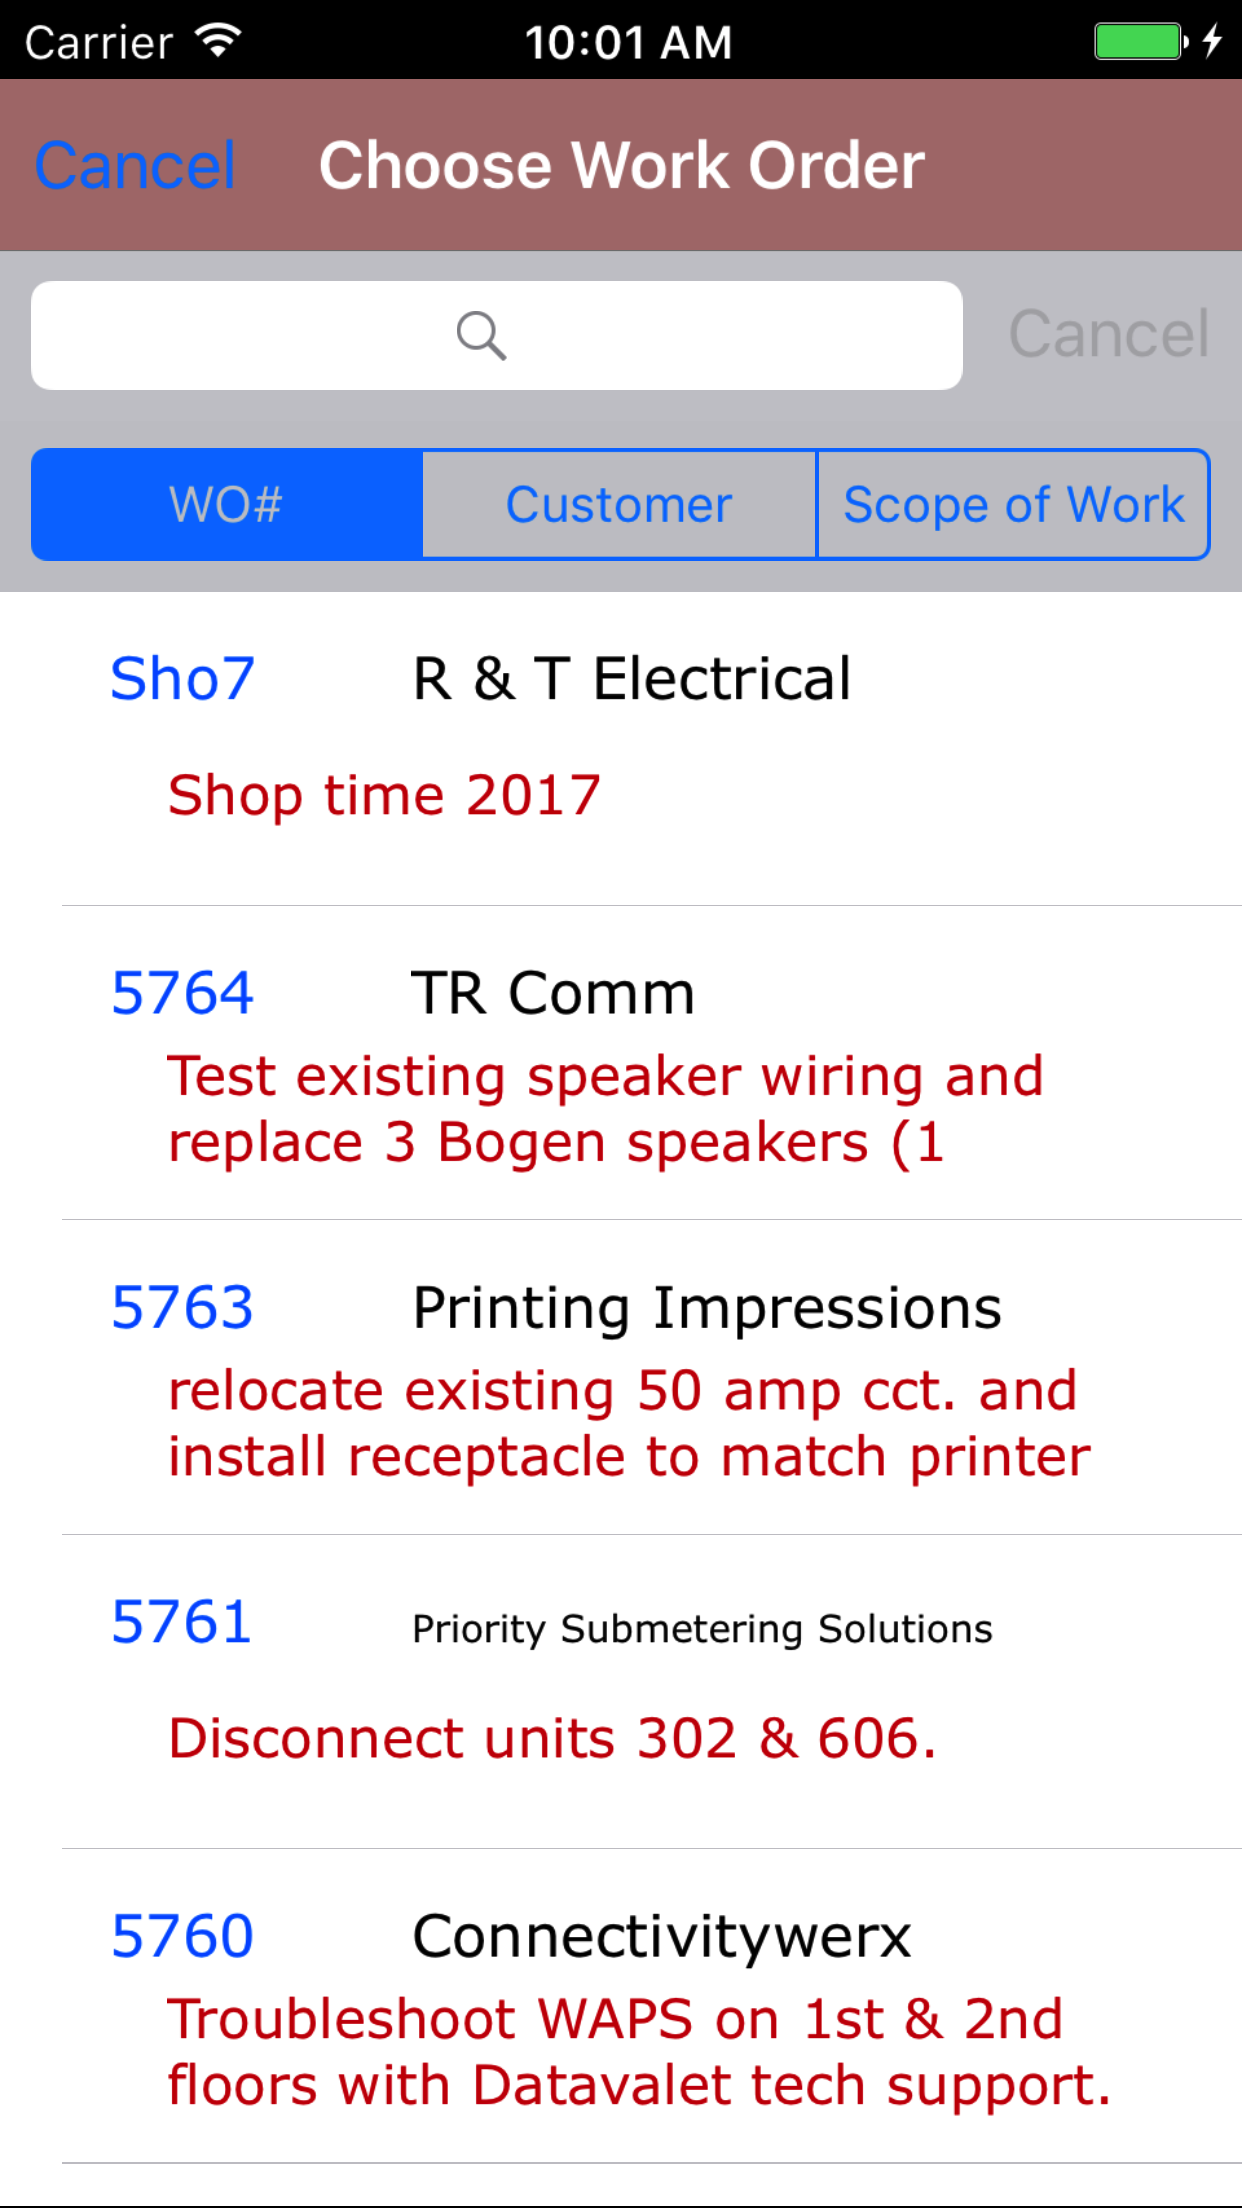
- Tap the Work Order # field to open the Choose Work Order screen.
Work orders are listed in descending order with the work order number in blue text,
the customer name in black text, and the scope of work in red text.
Note: New work orders are not automatically added to the list when they are created, so it may be necessary to update the list click here to view information about updating for the desired work order to be included in the list.
To Search Work Orders: Pull down on the list view, the search is defaulted to search by date enter the date in following
format YYYY-MM-DD. The other options for the Work Order search are by work order number and customer. Enter your search
criteria and click the Search button.
- Scroll the list of work orders until the desired work order is displayed on the screen.
- Tap the desired work order to select it or tap Back in the top left corner to leave the Work Order # field unchanged and return to the Add Hazard Assessment screen.
- Return to the Add Hazard Assessment screen by either tapping Save in the top right corner to select the highlighted work order or tapping Cancel in the top left corner to leave the Work Order field unchanged.
- Tap the + icon in the top right corner to add the Confined Space.
- A pop-up message that reads Confined Space Entry Report Added indicates that the Confined Space Entry Report is ready for details, and employees to be entered.
Error Messages on Add Confined Space if
- Work Order Not Selected: if no work order is selected a error message will appear asking users to select a work order.
- Work Order and Date Combination match un submitted report: if work order and date combination of un submitted confined space reports a error message will appear telling users a report already exists.
|
|
| Step 1 |
|
|
| Step 2 |
|

|
| Step 3 |
|
|
| Step 4 |
|
|
| Step 5 |
|
|
2.Look Up Open Confined Space Entry Reports |
|
Once a confined space entry report has been created, it can be accessed on the View Confined Space tab. From this tab field staff can:
- Edit the confined space details
- Add/Edit Employees participation
- Add/Edit gas monitoring readings for contaminant
- Record employee entry/exit log
- Add/Edit considerations
- Add/Delete personal protective equipment
- Add/Edit control measures
- Review Confined Space notes
- Submitting and Closing out confined space entry reports
Once in the Confined Space section
Steps
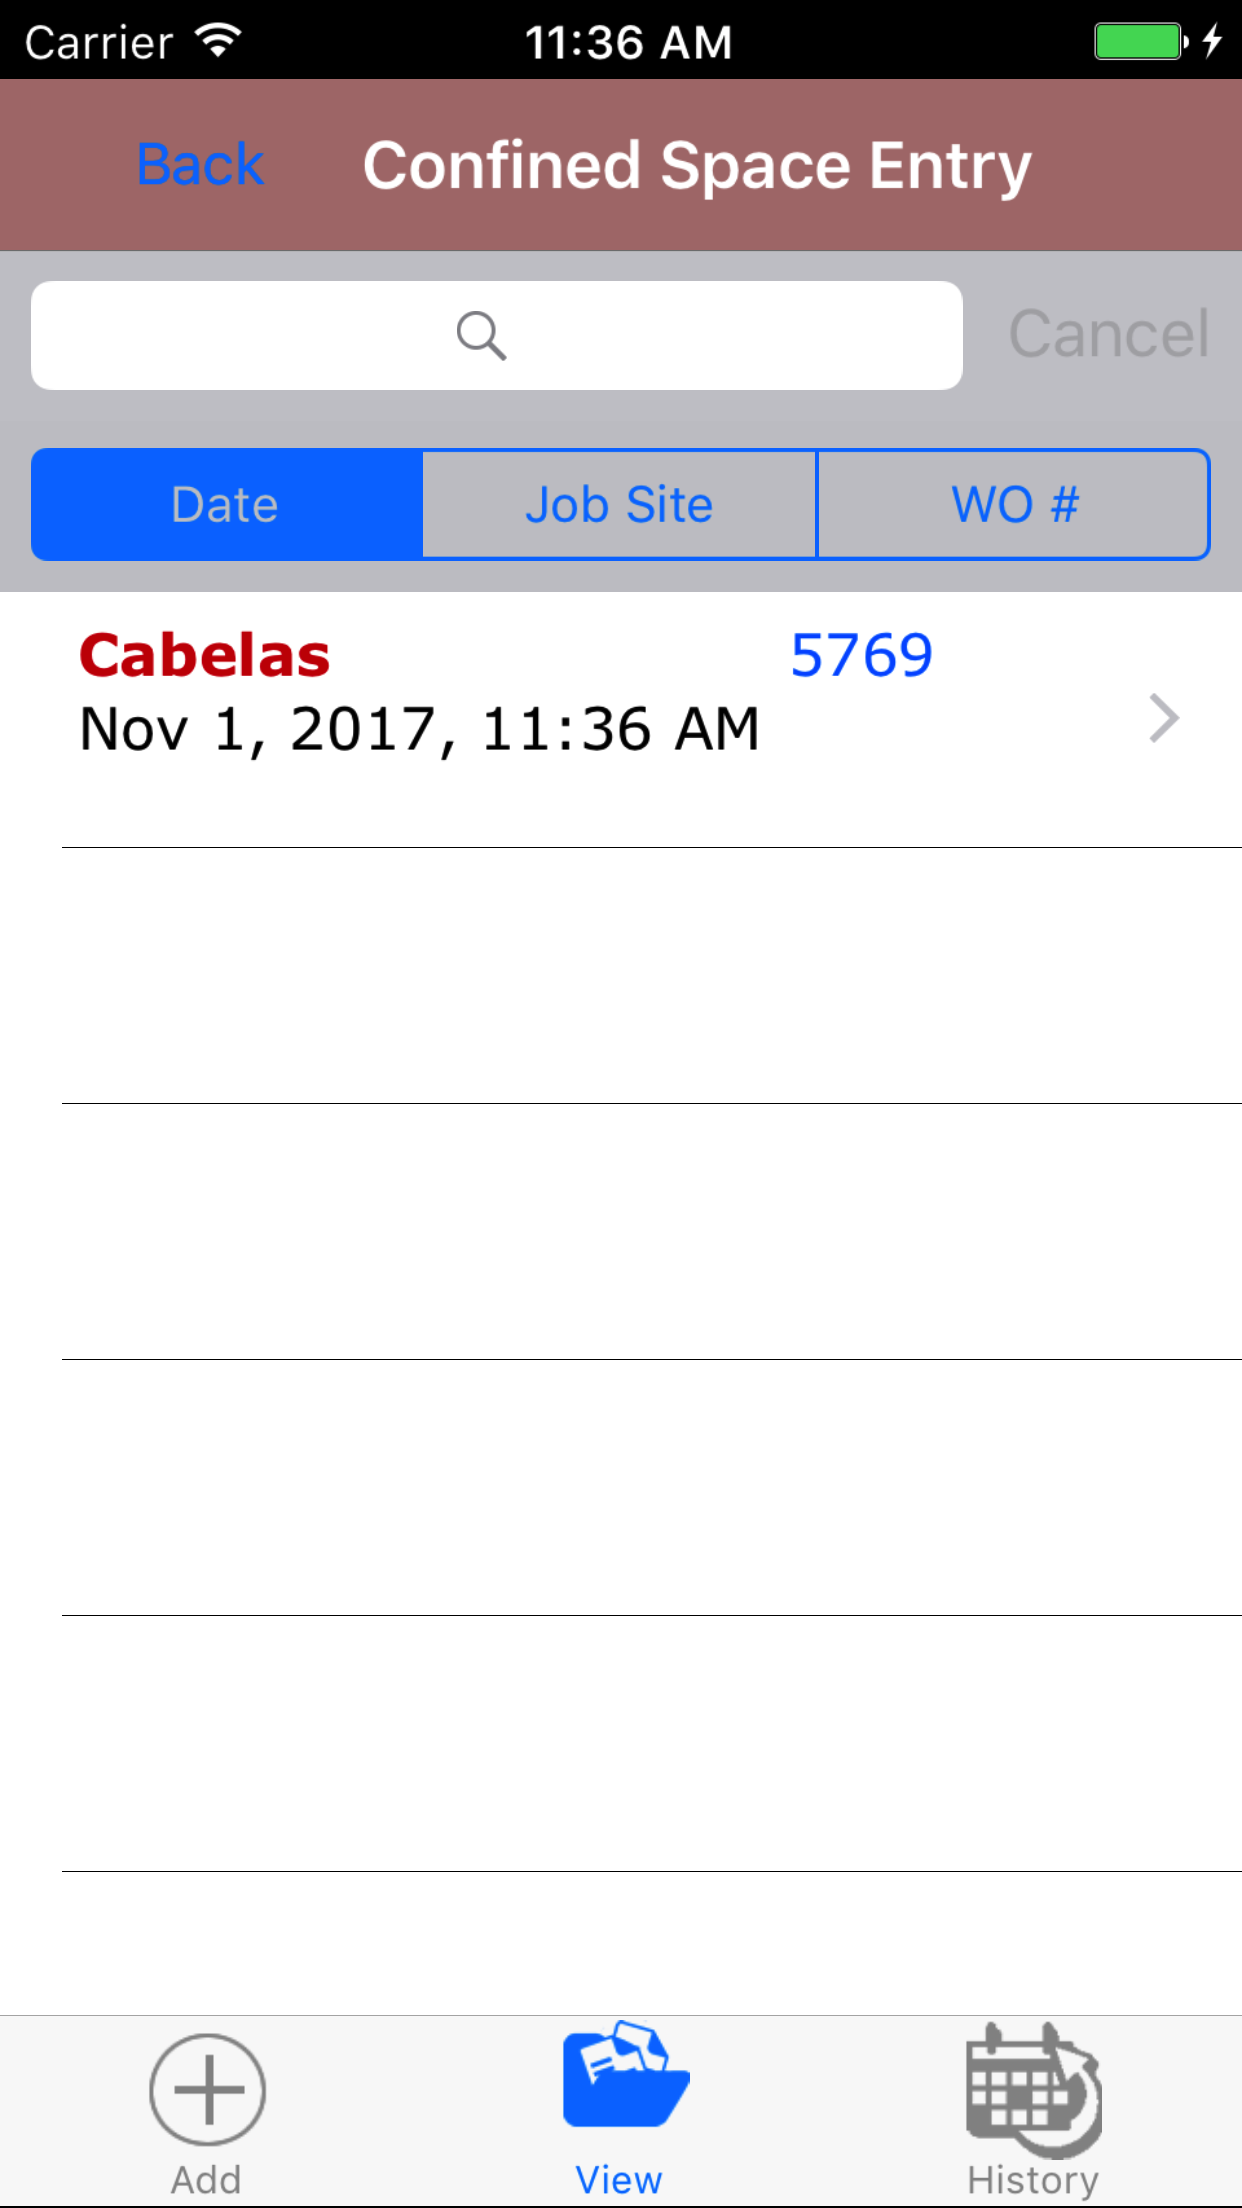
- Tap the second tab on the menu, the Confined Space view.
Confined Space Entry Reports are listed in descending order of the entry date/time in black text, with the work order number in blue text,
and the job site name in red text.
To Search Confined Space Entry Reports: Pull down on the list view, the search is defaulted to search by date enter the date in following
format YYYY-MM-DD. The other options for the Confined Space Entry Report search are by job site and work order number. Enter your search
criteria and click the Search button.
- Scroll the list of Confined Space Entry Reports until the desired Confined Space Entry Report is displayed on the screen.
- Tap on the Confined Space Entry Report you would like to view. This loads the confined space entry report details.
|
|
| Steps 1-3 |
|
|
3.Edit Confined Space Entry Report Details |
|
The first step in completing a Confined Space Entry Report is entering the details of the job itself - scope of work, location, etc.
Once on the Confined Space Entry Report you would like to Edit
Steps
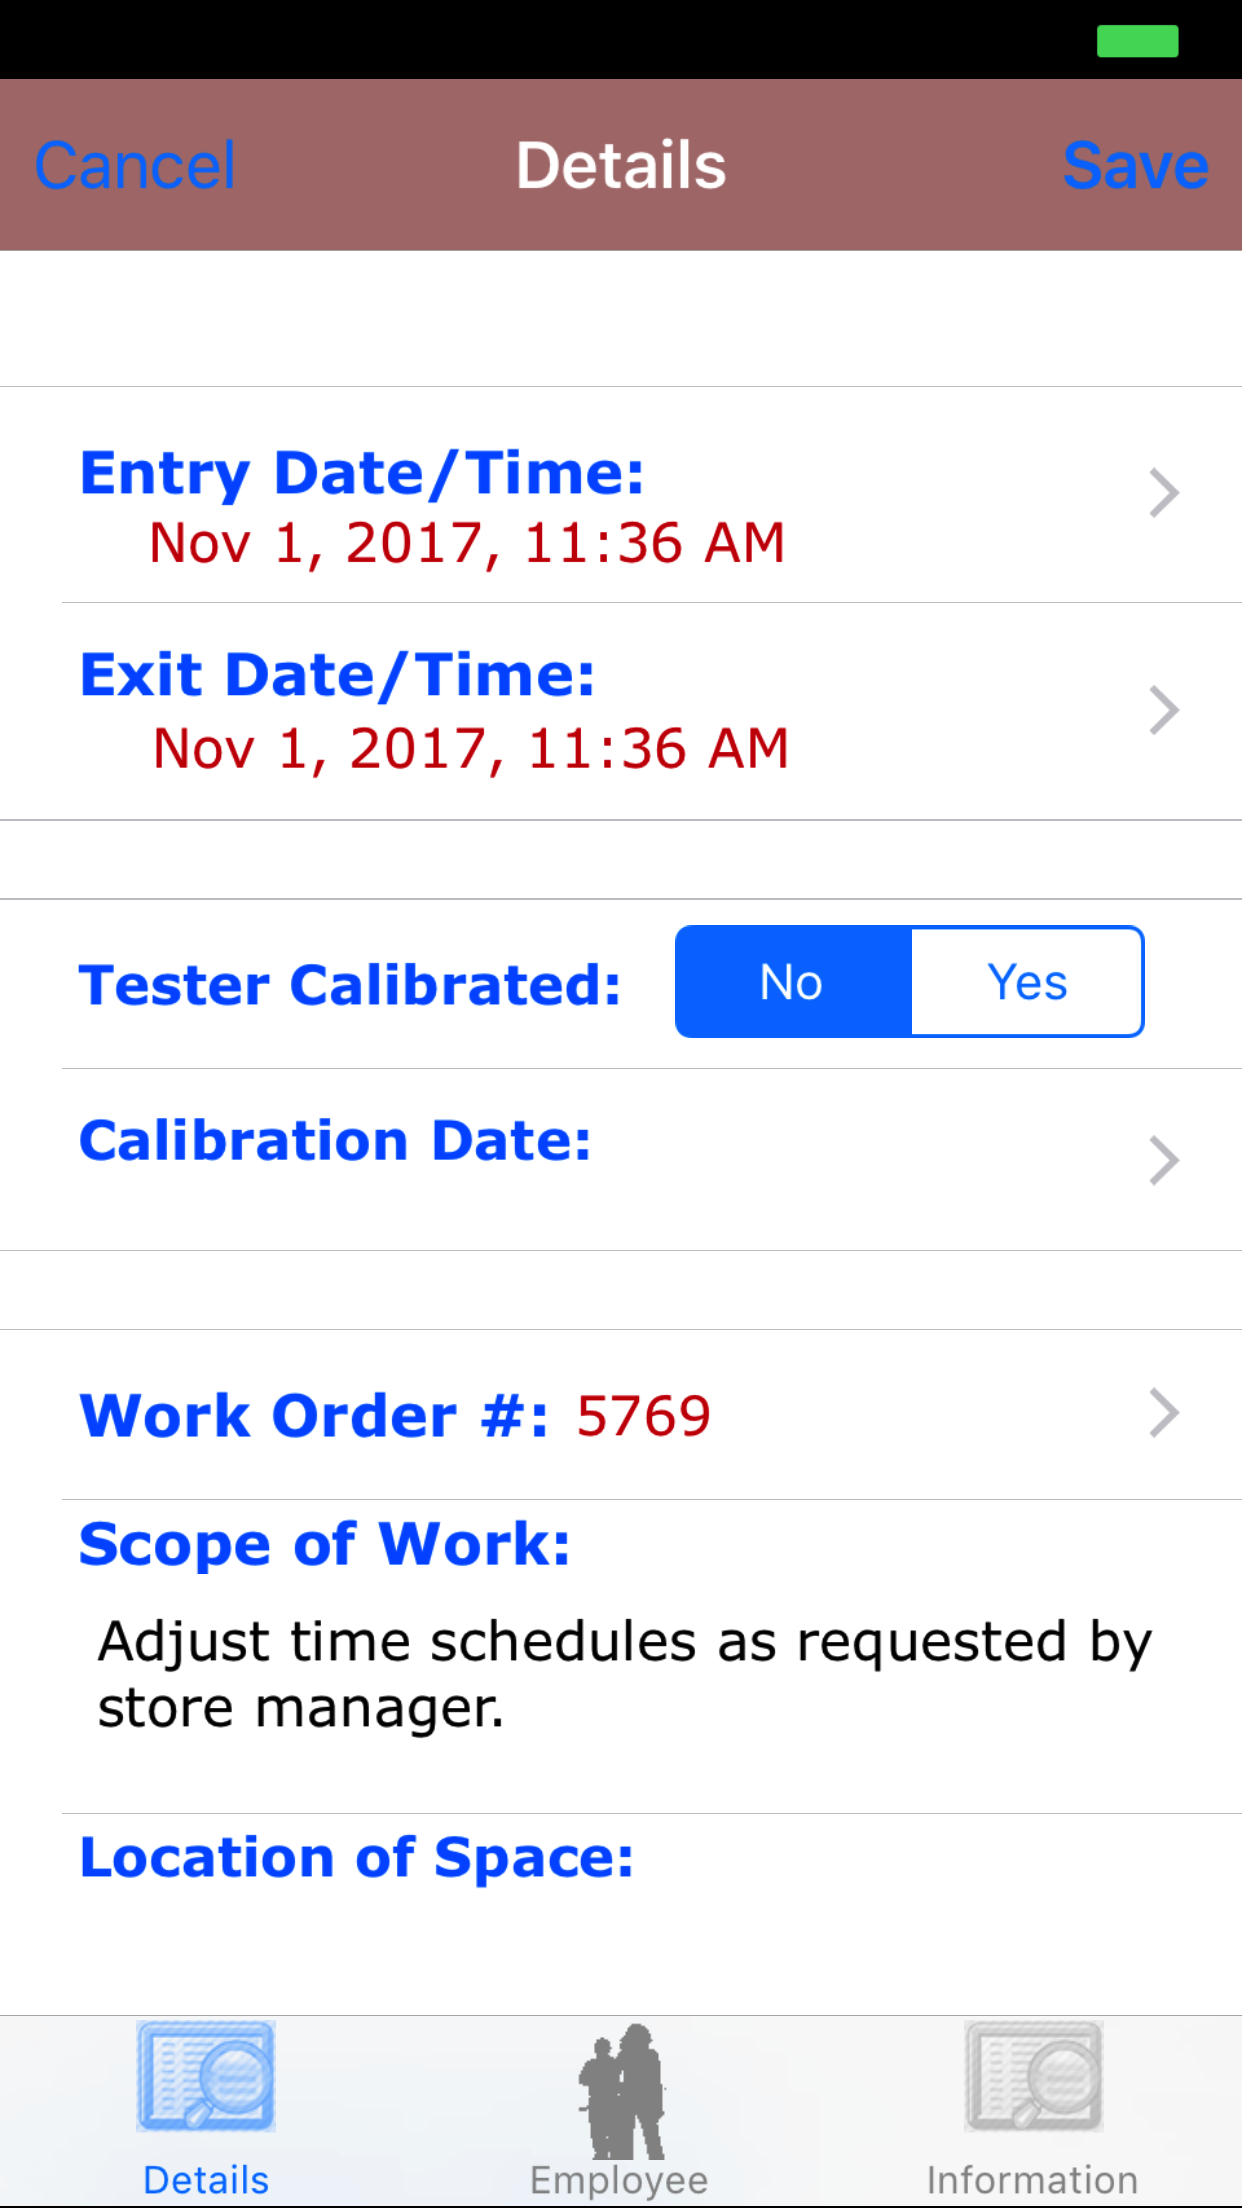
- Entry Date/Time: The entry date/time field will display the date/time which the work in the confined space was started.
- Tap the Entry Date/Time field to open the Choose Date/Time screen.
- Scroll the date wheel on the far left of the screen until the desired date/time is highlighted.
- Return to the Edit Confined Space Entry Report screen by either tapping Save in the top right corner to select the highlighted date or tapping Cancel in the top left corner to leave the Date/Time field unchanged.
- Exit Date/Time: The exit date/time field will display the date/time which the work in the confined space was finished.
- Tap the Exit Date/Time field to open the Choose Date/Time screen.
- Scroll the date wheel on the far left of the screen until the desired date/time is highlighted.
- Return to the Edit Confined Space Entry Report screen by either tapping Save in the top right corner to select the highlighted date or tapping Cancel in the top left corner to leave the Date/Time field unchanged.
- Tester Calibrated: The Tester Calibrated field should be set to Yes when the gas monitor has been calibrated.
- Tap Yes on the No|Yes selector to indicate that a calibration date choose is the date the gas monitor was calibrated.
- Monitor Calibration Date/Time: The monitor calibration date/time field will display the date/time which the gas monitoring device was calibrated.
Note: Tester Calibrated must be set to Yes for the monitor calibration date to be recognized.
- Tap the Monitor Calibration Date/Time field to open the Choose Date/Time screen.
- Scroll the date wheel on the far left of the screen until the desired date/time is highlighted.
- Return to the Edit Confined Space Entry Report screen by either tapping Save in the top right corner to select the highlighted date or tapping Cancel in the top left corner to leave the Date/Time field unchanged.
- Work Order #: The work order field to open the Choose Work Order screen.
Work orders are listed in descending order with the work order number in blue text,
the customer name in black text, and the scope of work in red text.
Note: New work orders are not automatically added to the list when they are created, so it may be necessary to update the list click here to view information about updating for the desired work order to be included in the list.
To Search Work Orders: Pull down on the list view, the search is defaulted to search by date enter the date in following
format YYYY-MM-DD. The other options for the Work Order search are by work order number and customer. Enter your search
criteria and click the Search button.
If the Confined Space Entry Report was entered into the application with the incorrect work order number (the work order may not have been created until after work had commenced or it may not have been possible to update the list of work orders due to internet access issues and a
different work order number was used as a placeholder, for example), the Work Order Number: field can be updated:
- Scroll the list of work orders until the desired work order is displayed on the screen.
- Tap the desired work order to select it or tap Back button in the top left corner to leave the Work Order field unchanged.
- Return to the Edit Confined Space Entry Report screen by either tapping Save in the top right corner to select the highlighted work order or tapping Cancel in the top left corner to leave the Work Order field unchanged.
|
|
| Steps 1-2 |
|
|
| Step 3 |
|
|
|
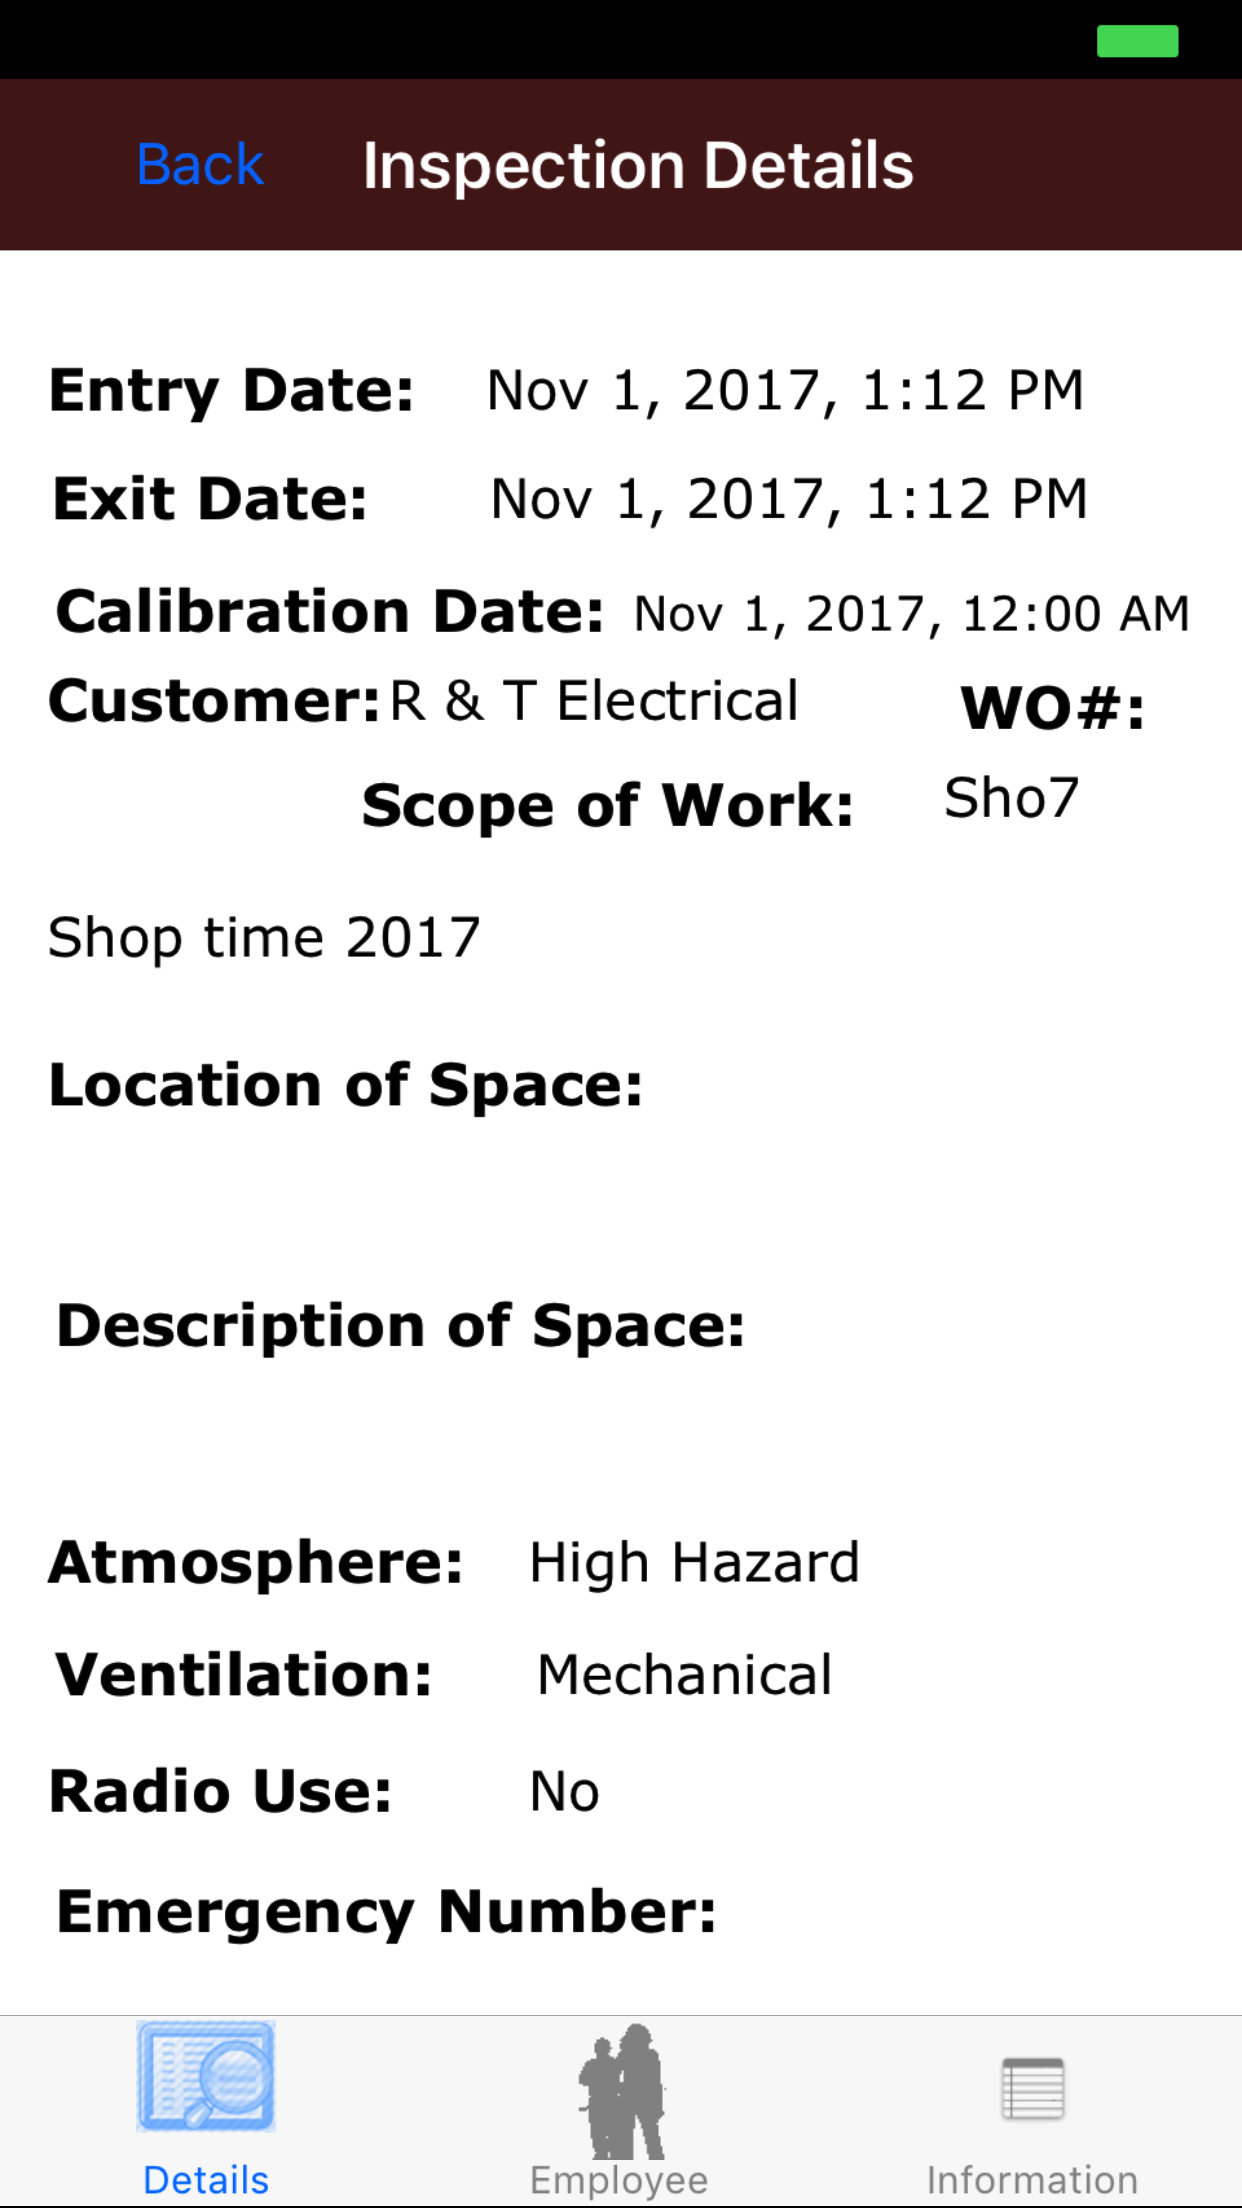
- Scope of Work: The Scope of Work field initially displays the scope of work from the work order and, therefore, may need to be refined to reflect the scope of work for the day/shift. The character limit of this field is 250.
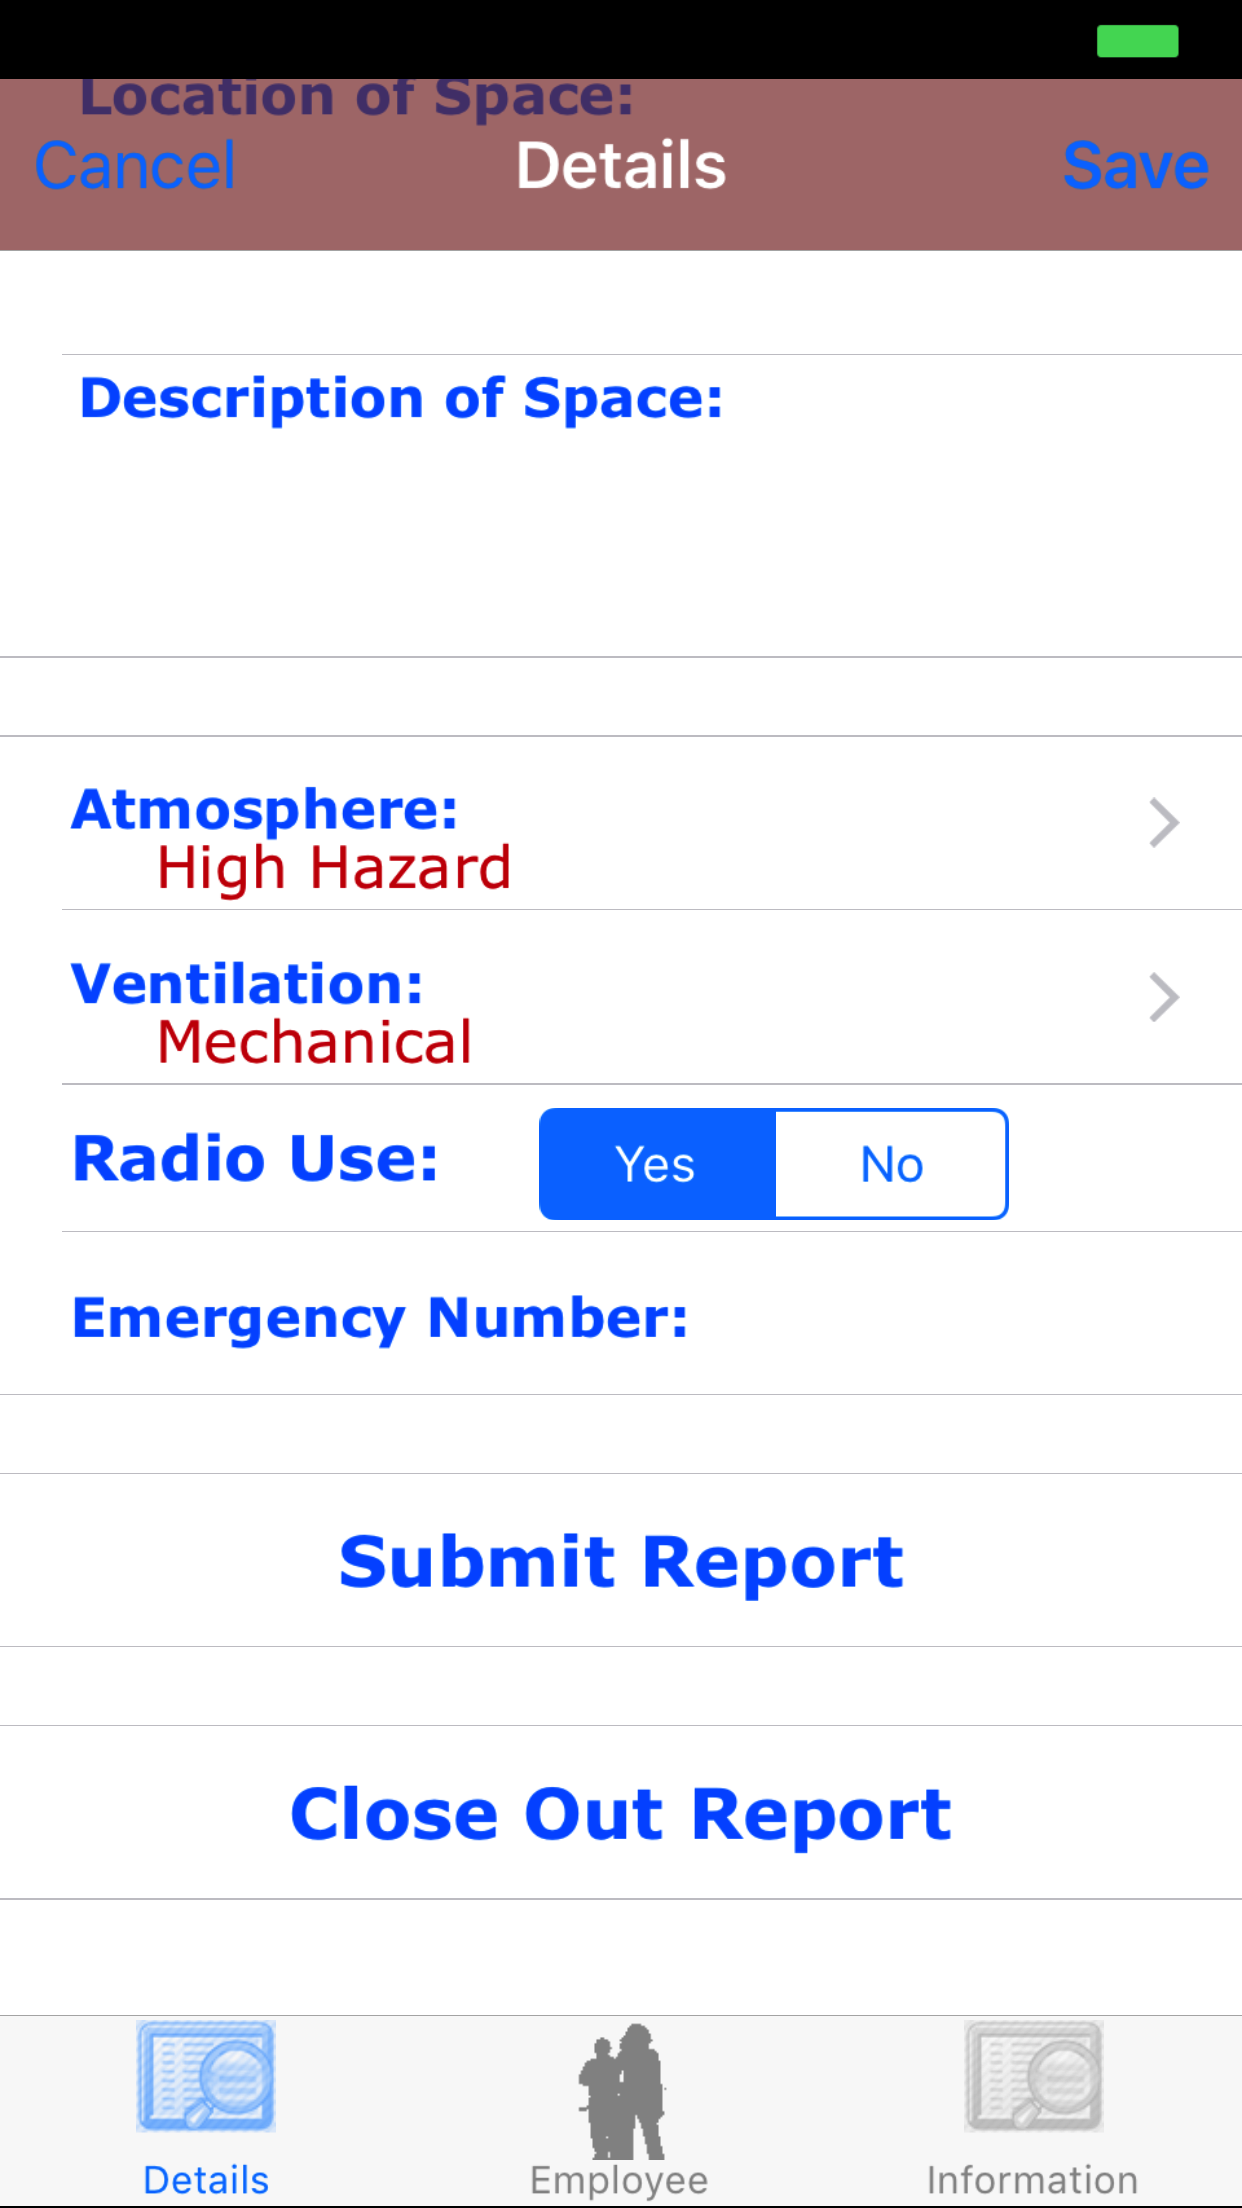
- Location of Space: The Location of space field should identify the specific location on site where the confines space work is being performed. The character limit of this field is 250.
- Description of Space: The Description of space field should describe the type of confined space being worked in. The character limit of this field is 250.
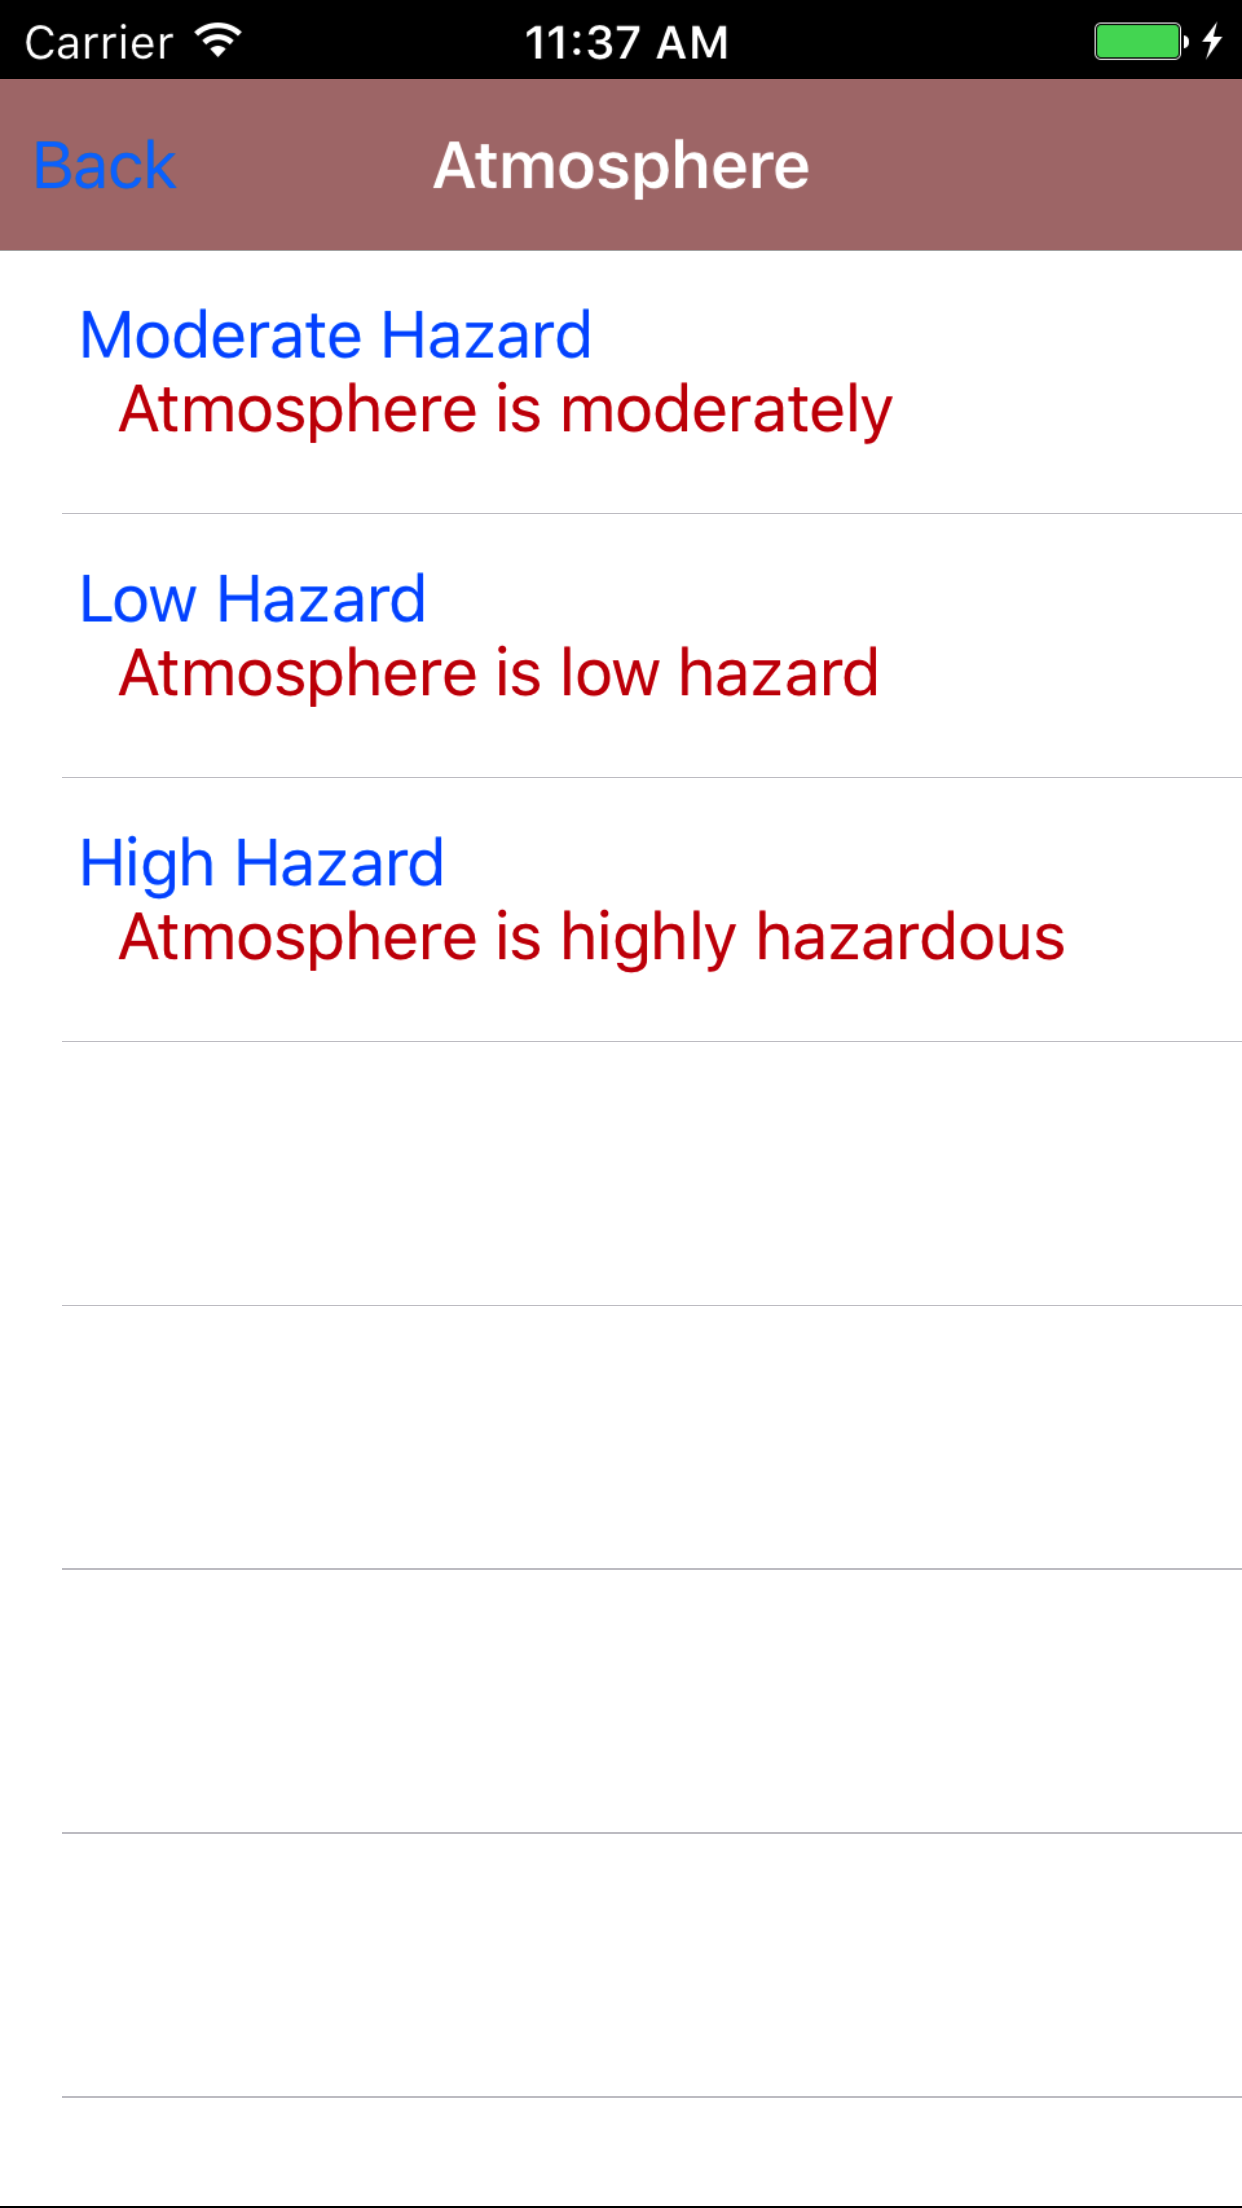
- Atmosphere: The Atmosphere field allows field staff to choose what atmosphere description that best describes the atmosphere found in the confined space work area.
- Tap the Atmosphere field to open the Choose Atmosphere screen.
Atmosphere values are listed in descending order with the atmosphere name in blue text,
and the atmosphere description in red text.
- Scroll the list of atmospheres until the desired atmosphere is displayed on the screen.
- Tap the desired atmosphere to select it or tap Back button in the top left corner to leave the Atmosphere field unchanged.
- Ventilation: The Ventilation field allows field staff to choose what ventilation description that best describes the ventilation available in the confined space work area.
- Tap the Ventilation field to open the Choose Ventilation screen.
Ventilation values are listed in descending order with the ventilation name in blue text,
and the ventilation description in red text.
- Scroll the list of ventilation until the desired ventilation is displayed on the screen.
- Tap the desired ventilation to select it or tap Back button in the top left corner to leave the Ventilation field unchanged.
|
|
|
|
- Radio Use: The Radio Use field can be set to Yes if radios are allowed for communication in the confined space.
- Tap Yes on the No|Yes selector to indicate that radios are allowed for communication in the confined space.
- Emergency Number: The Emergency number field allows field staff to enter a emergency number to be called in case of a emergency. The character limit of this field is 20.
- Tap Save in the top right corner to save any changes to the Confined Space Entry Details.
- A pop-up message that reads Confined Space Entry Details have been Saved indicates that the job information has been saved.
|
|
|
| Step 8 |
|
|
| Step 9 |
|

|
| Step 10 |
|
|
|
| Steps 11-12 |
|
|
|
4.Add Employee to Confined Space Entry Report |
|
Adding employees to the Confined Space Entry Report is crucial to reporting accurately. In order to have an accurate picture of the job site, adding employees to
the Confined Space Entry Report needed. Adding other field staff to the confined space entry report allows a group of workers to share the same confined space
entry report. Once a confined space entry report is submitted all employee's added to the confined space entry report will have access to the confined space entry report.
Here are the steps on how to do it:
Once on the Confined Space Entry Report you would like to Edit
Steps
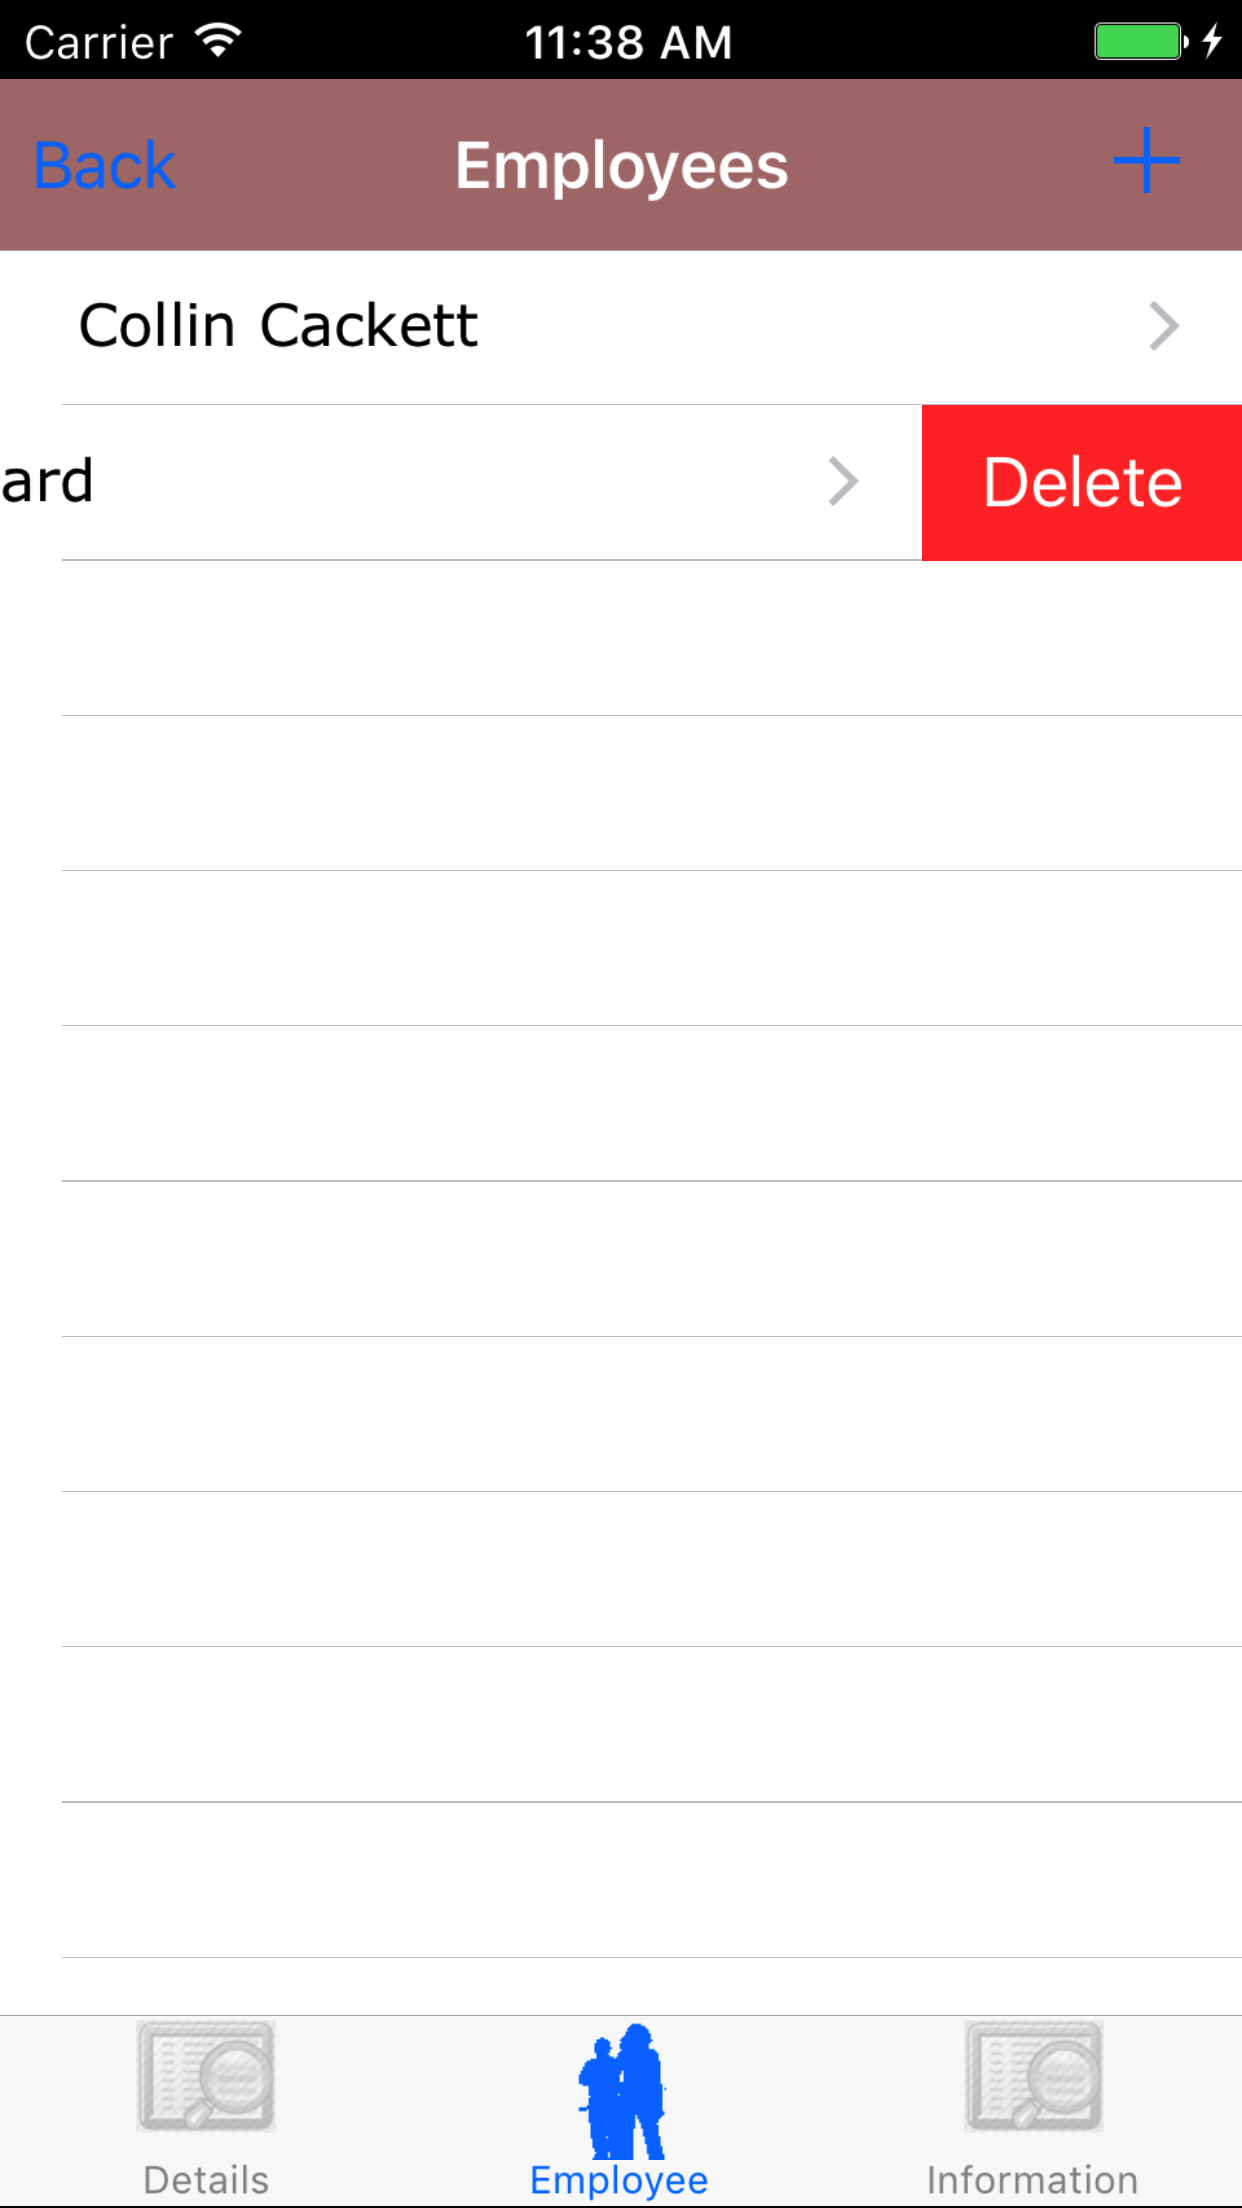
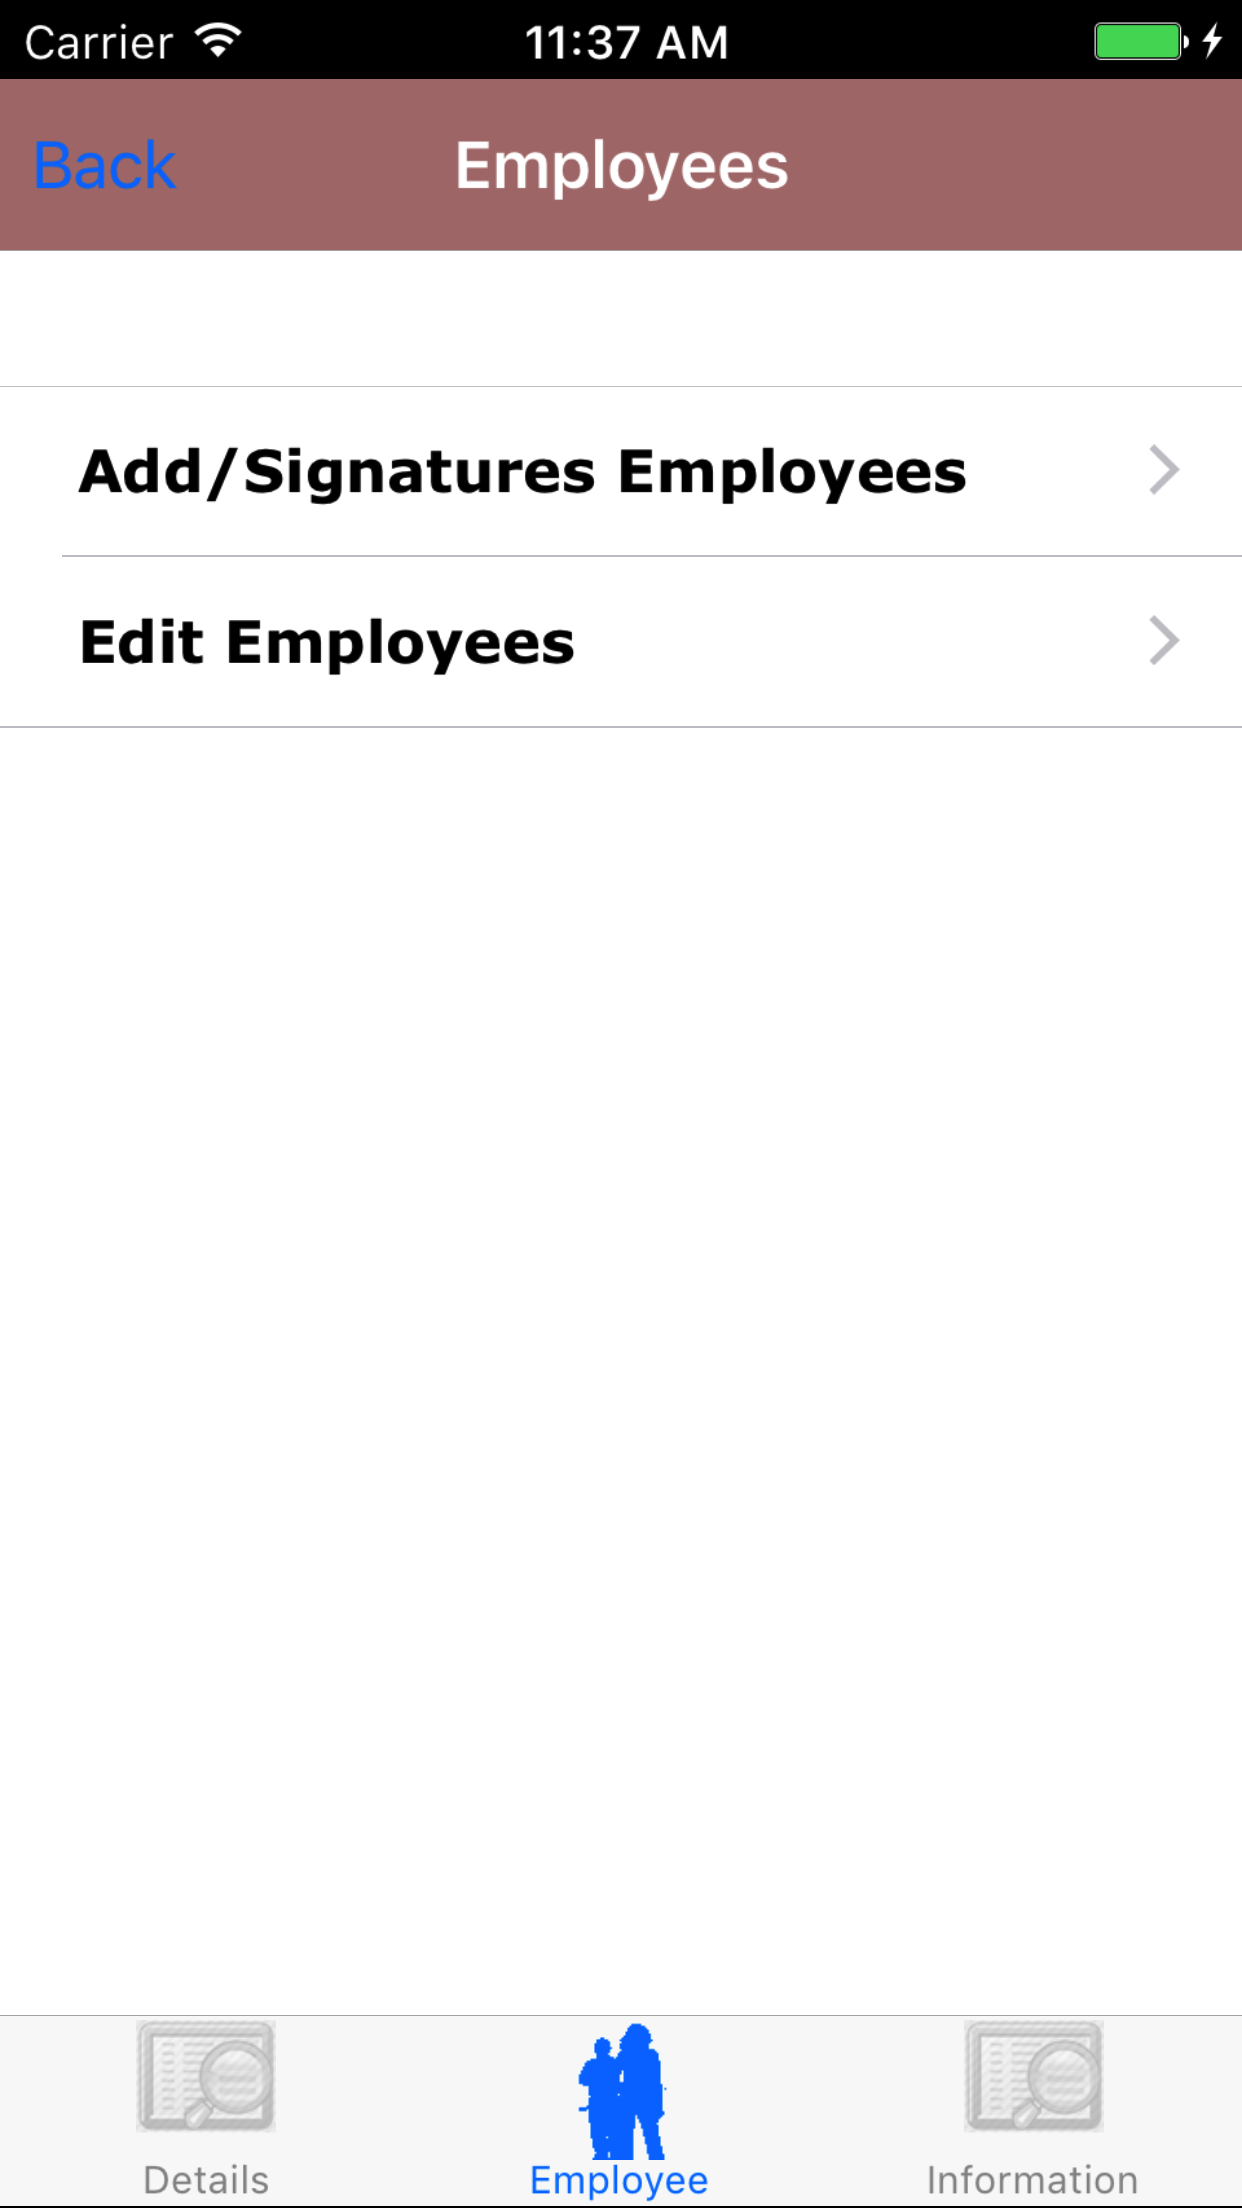
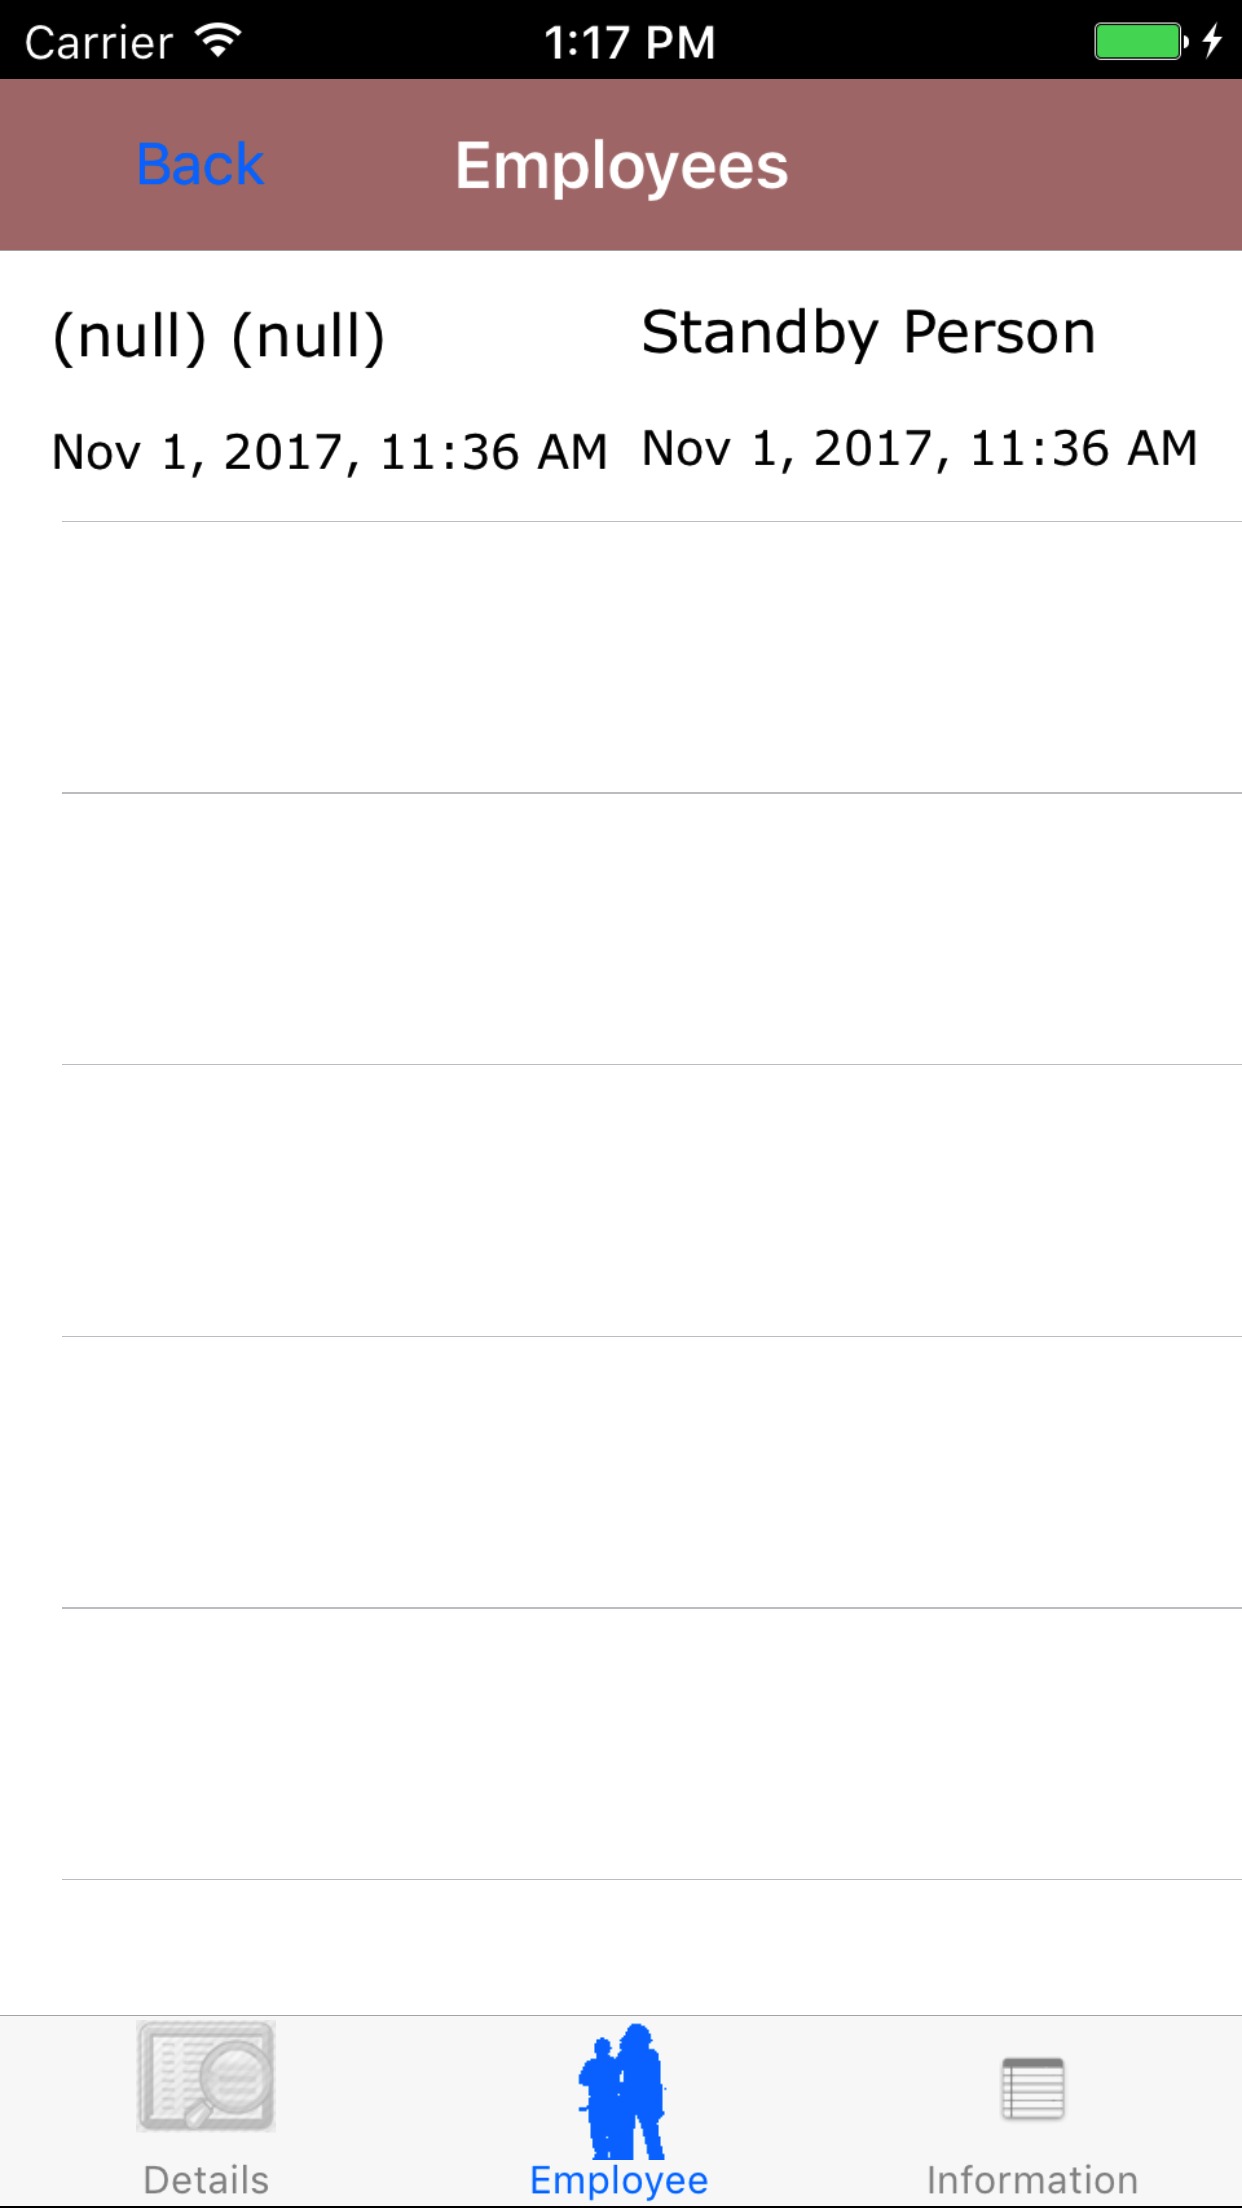
- Tap the Employees icon at the button of the screen to open the Employees screen.
- Tap the Add/Signature Employee button to load the list of employees on the confined space entry report.
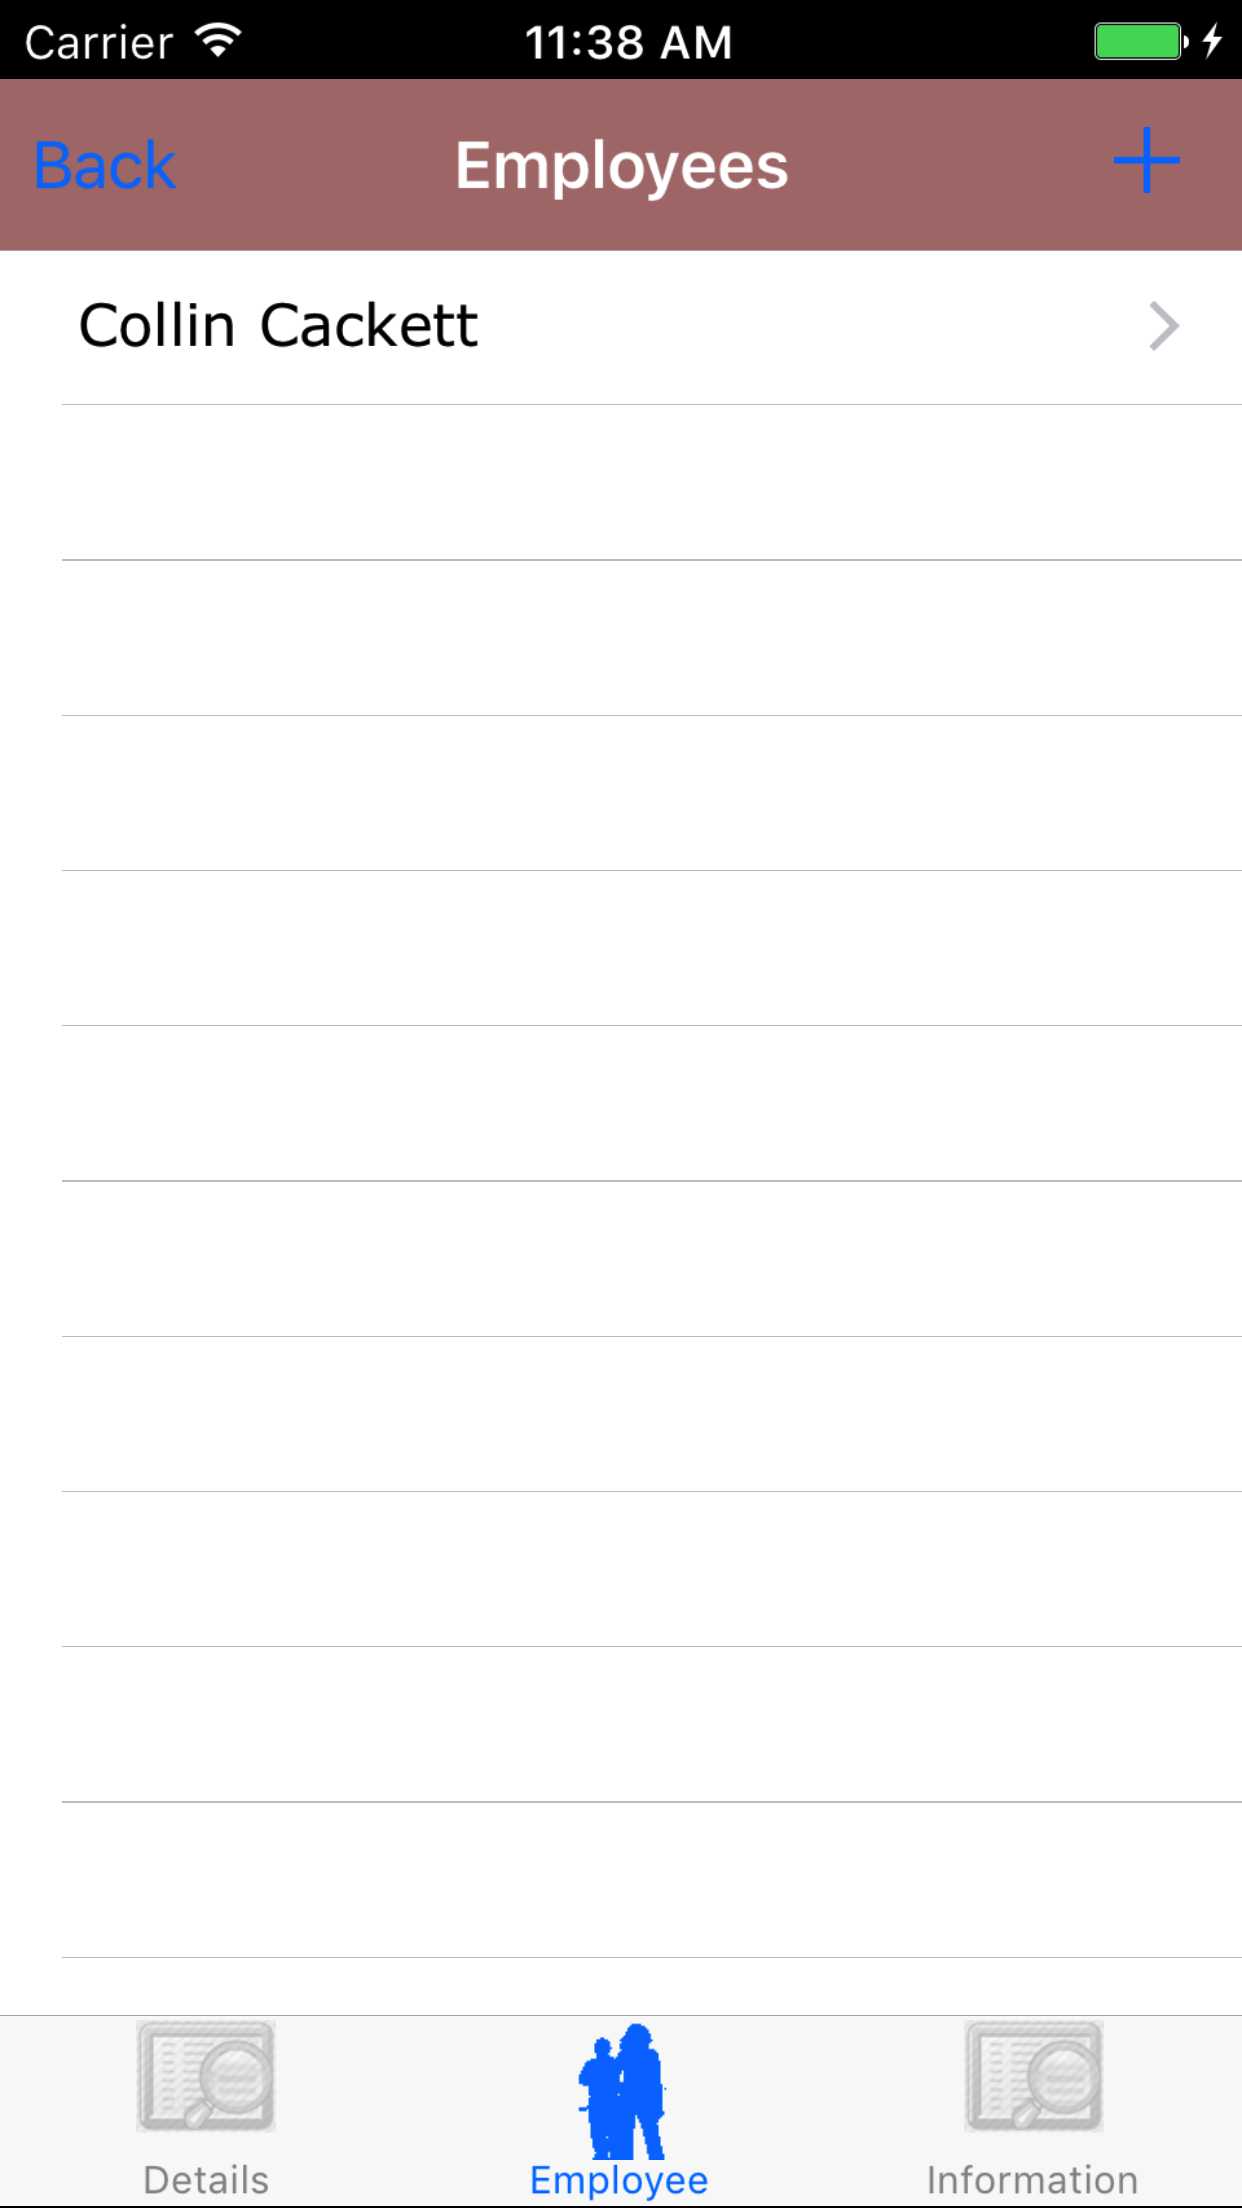
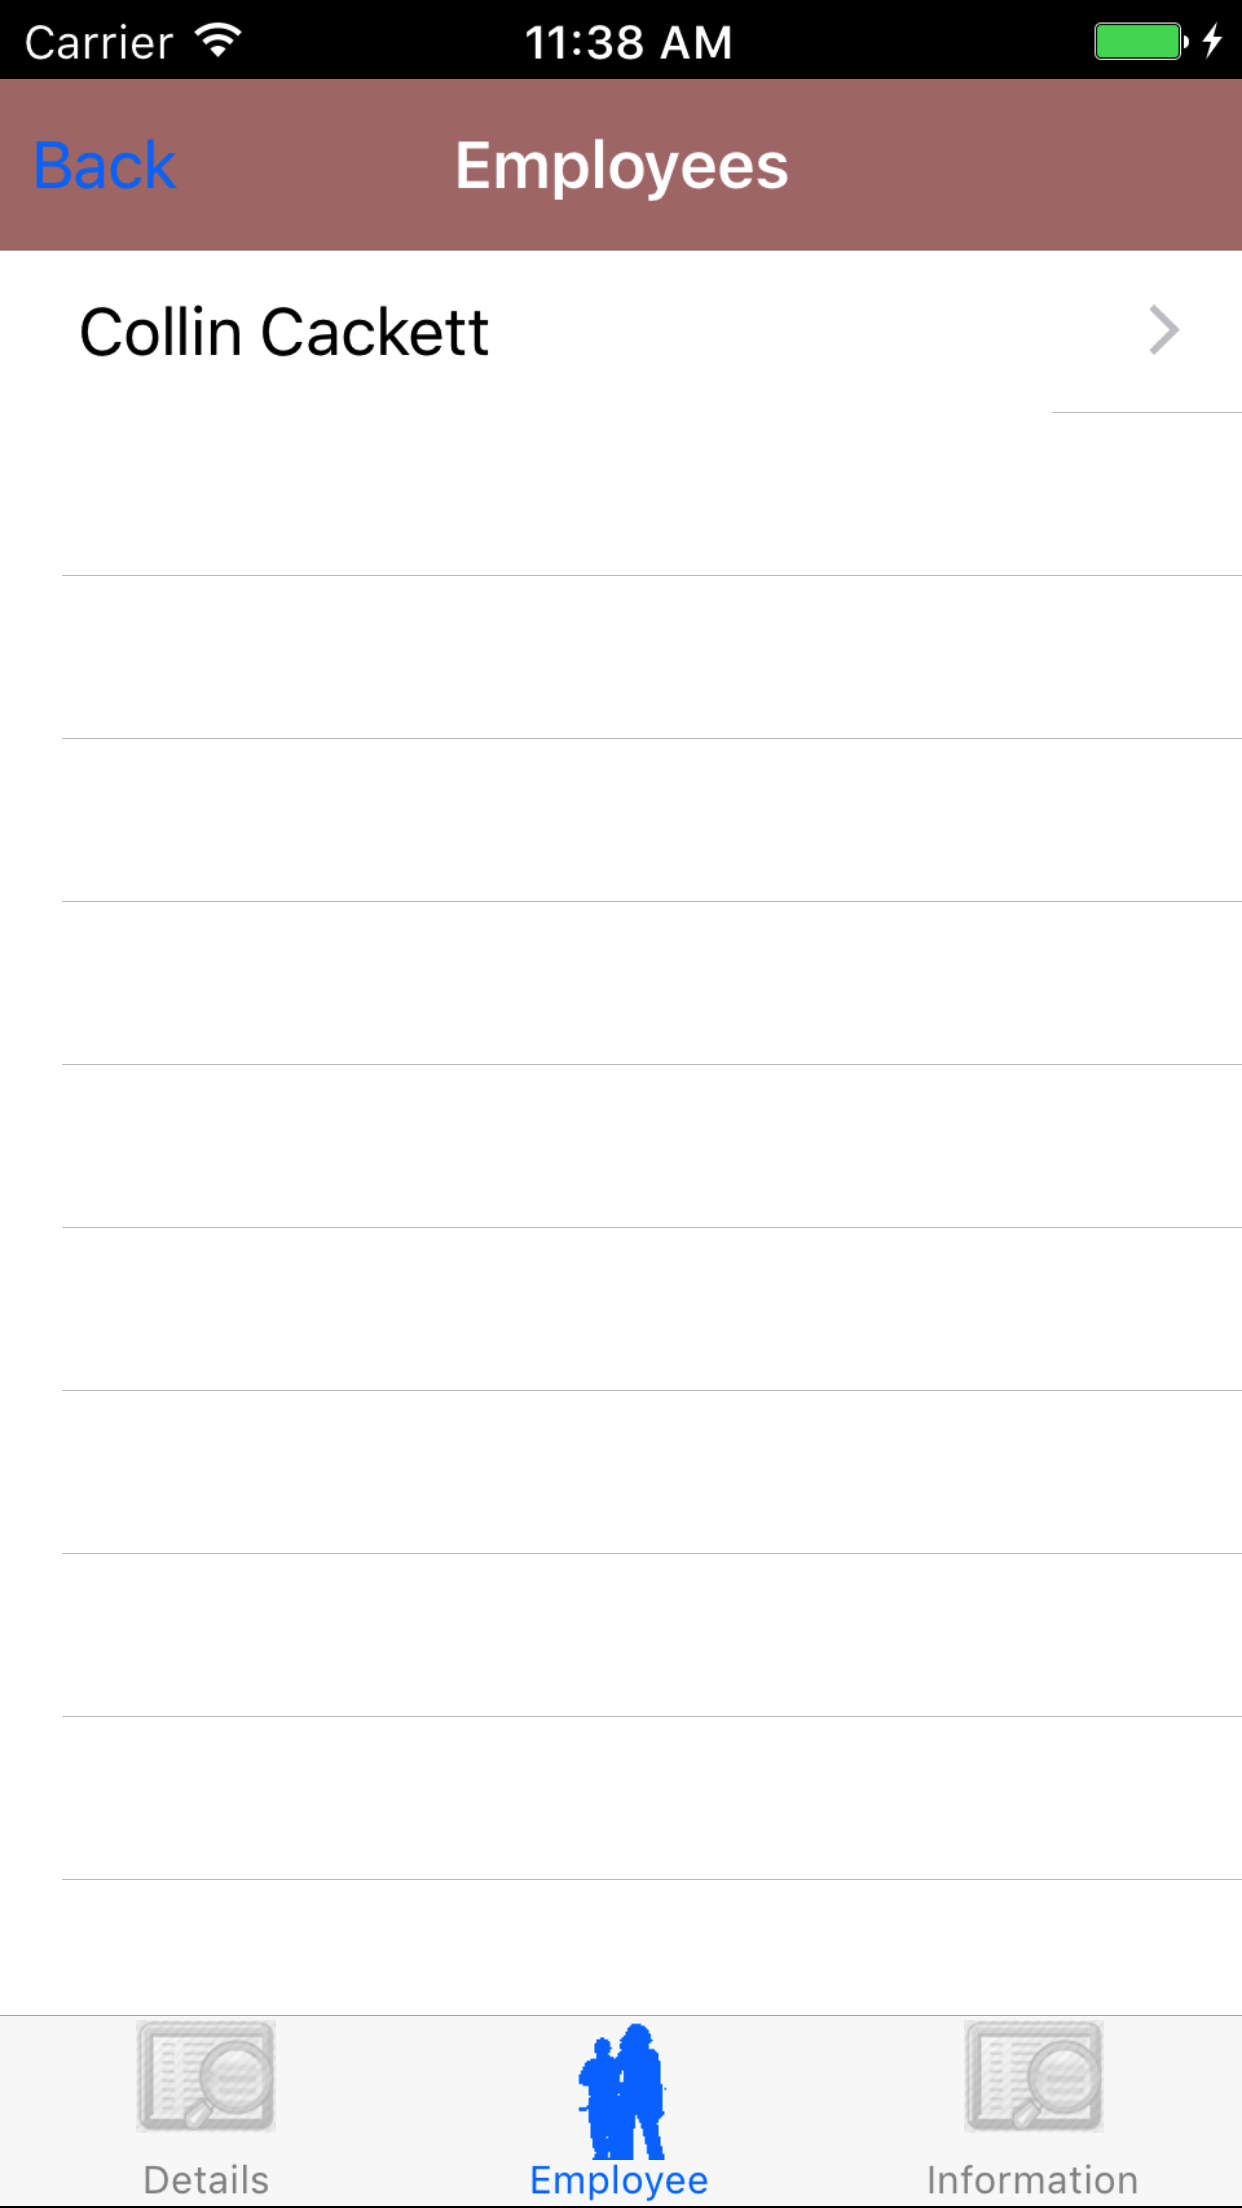
- Tap the + icon in the top right corner to open the Employees list or tap Employees in the top left corner to return to the Employees screen.
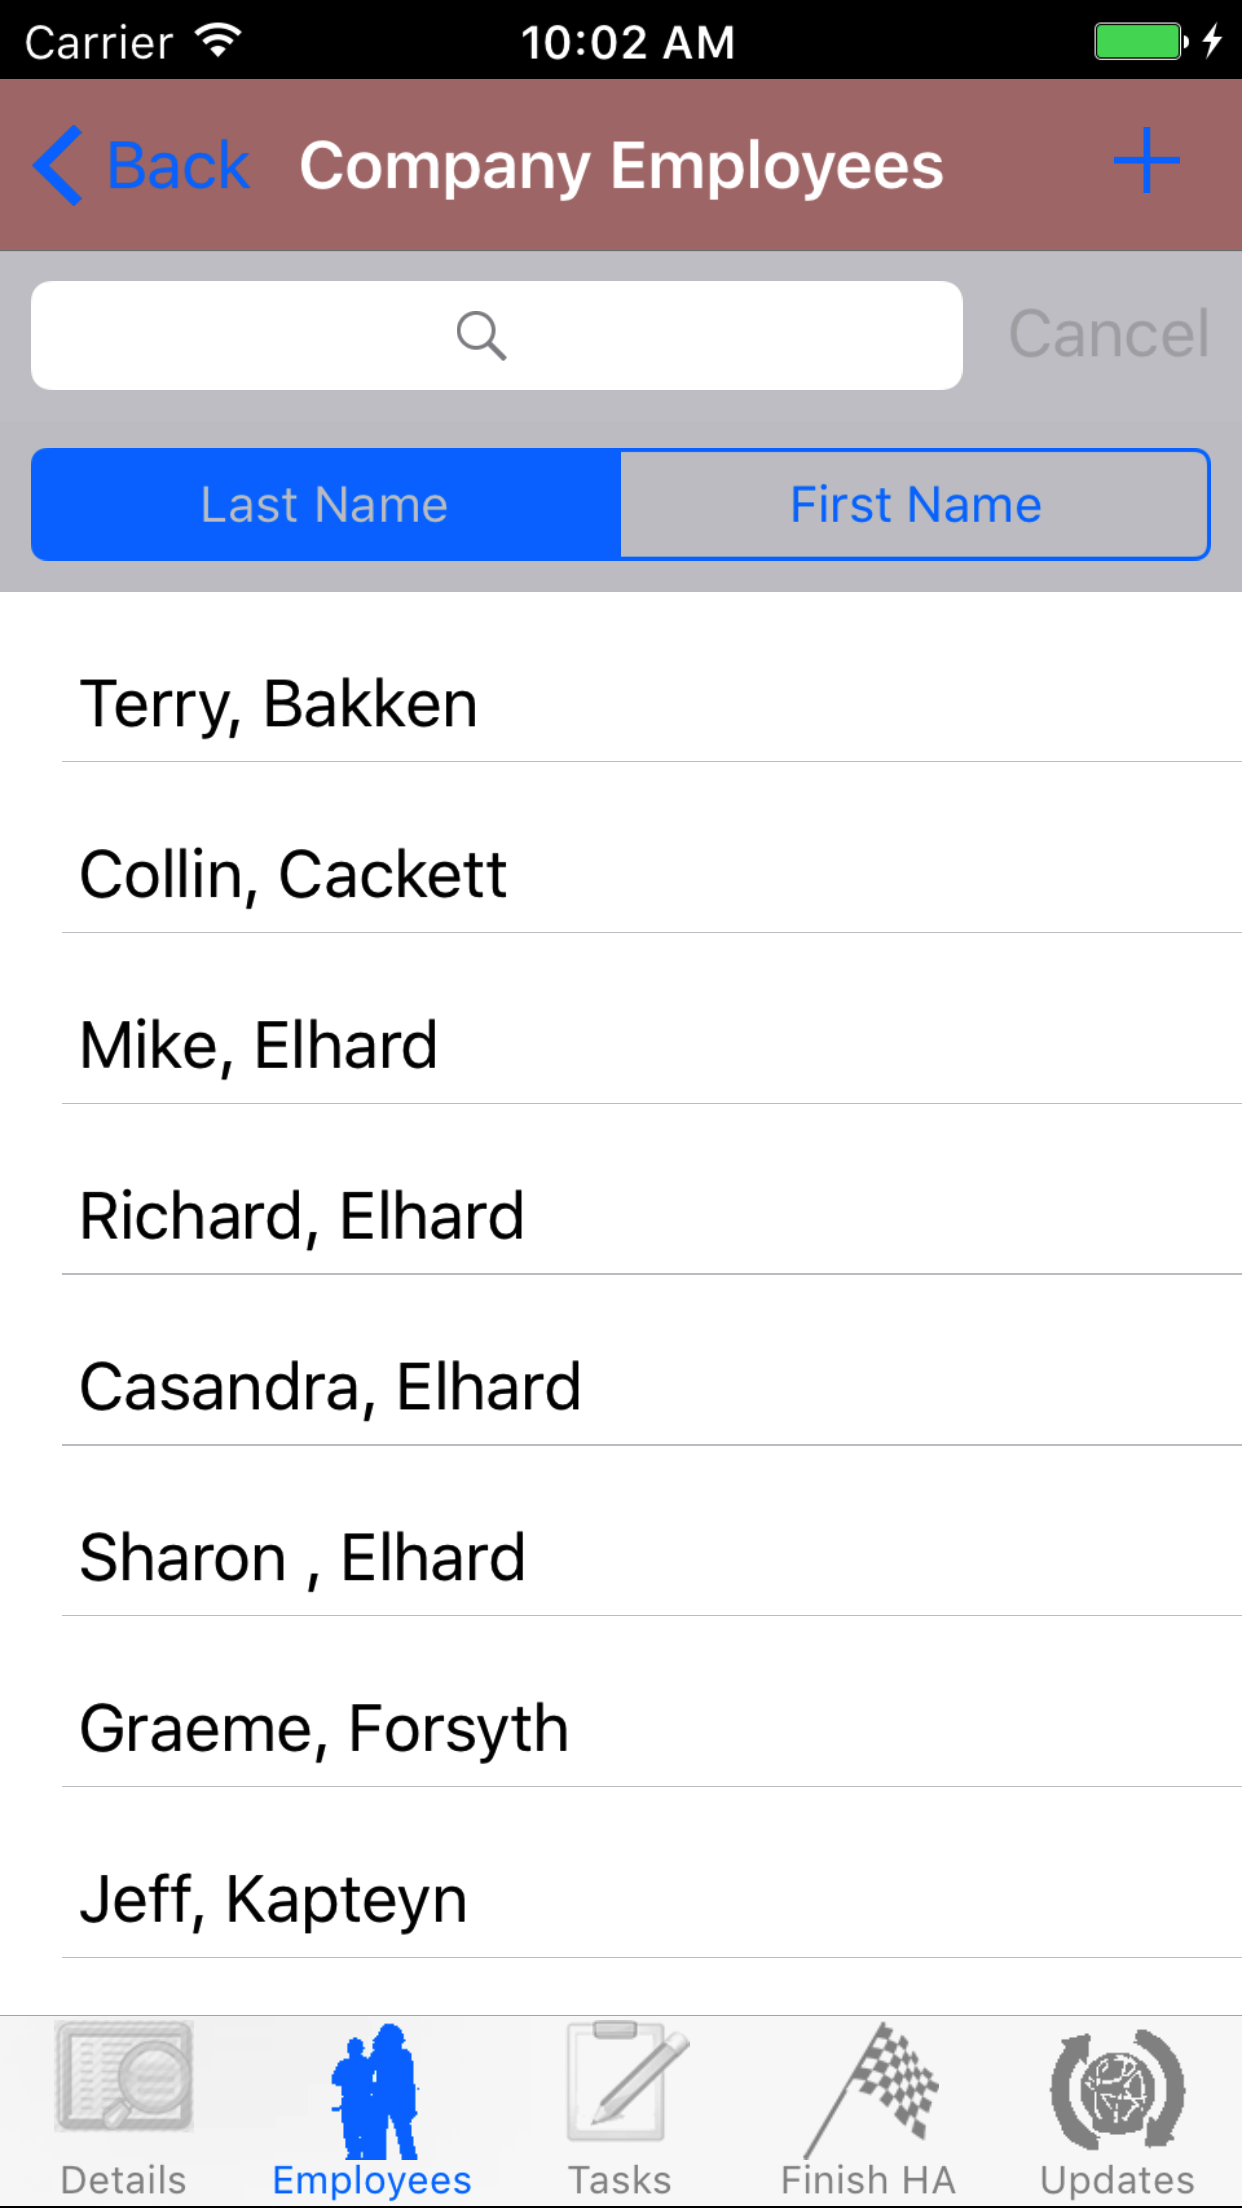
Employees are listed in descending order of last name.
To Search Employees: Pull down on the list view, the search is defaulted to search by last name.
The other option for the Employee search is by first name. Enter your search
criteria and click the Search button.
- Scroll the list of employees until the desired employee is displayed on the screen.
- If the desired employee is in the list, tap the employee to add them to the Confined Space Entry Report.
A pop-up message that reads Employee Added indicates that the employee is now listed on the Confined Space Entry Report Employees screen.
Error Message on Add Employee
- Employee cannot be added twice: Employees cannot be added twice to confined space entry report.
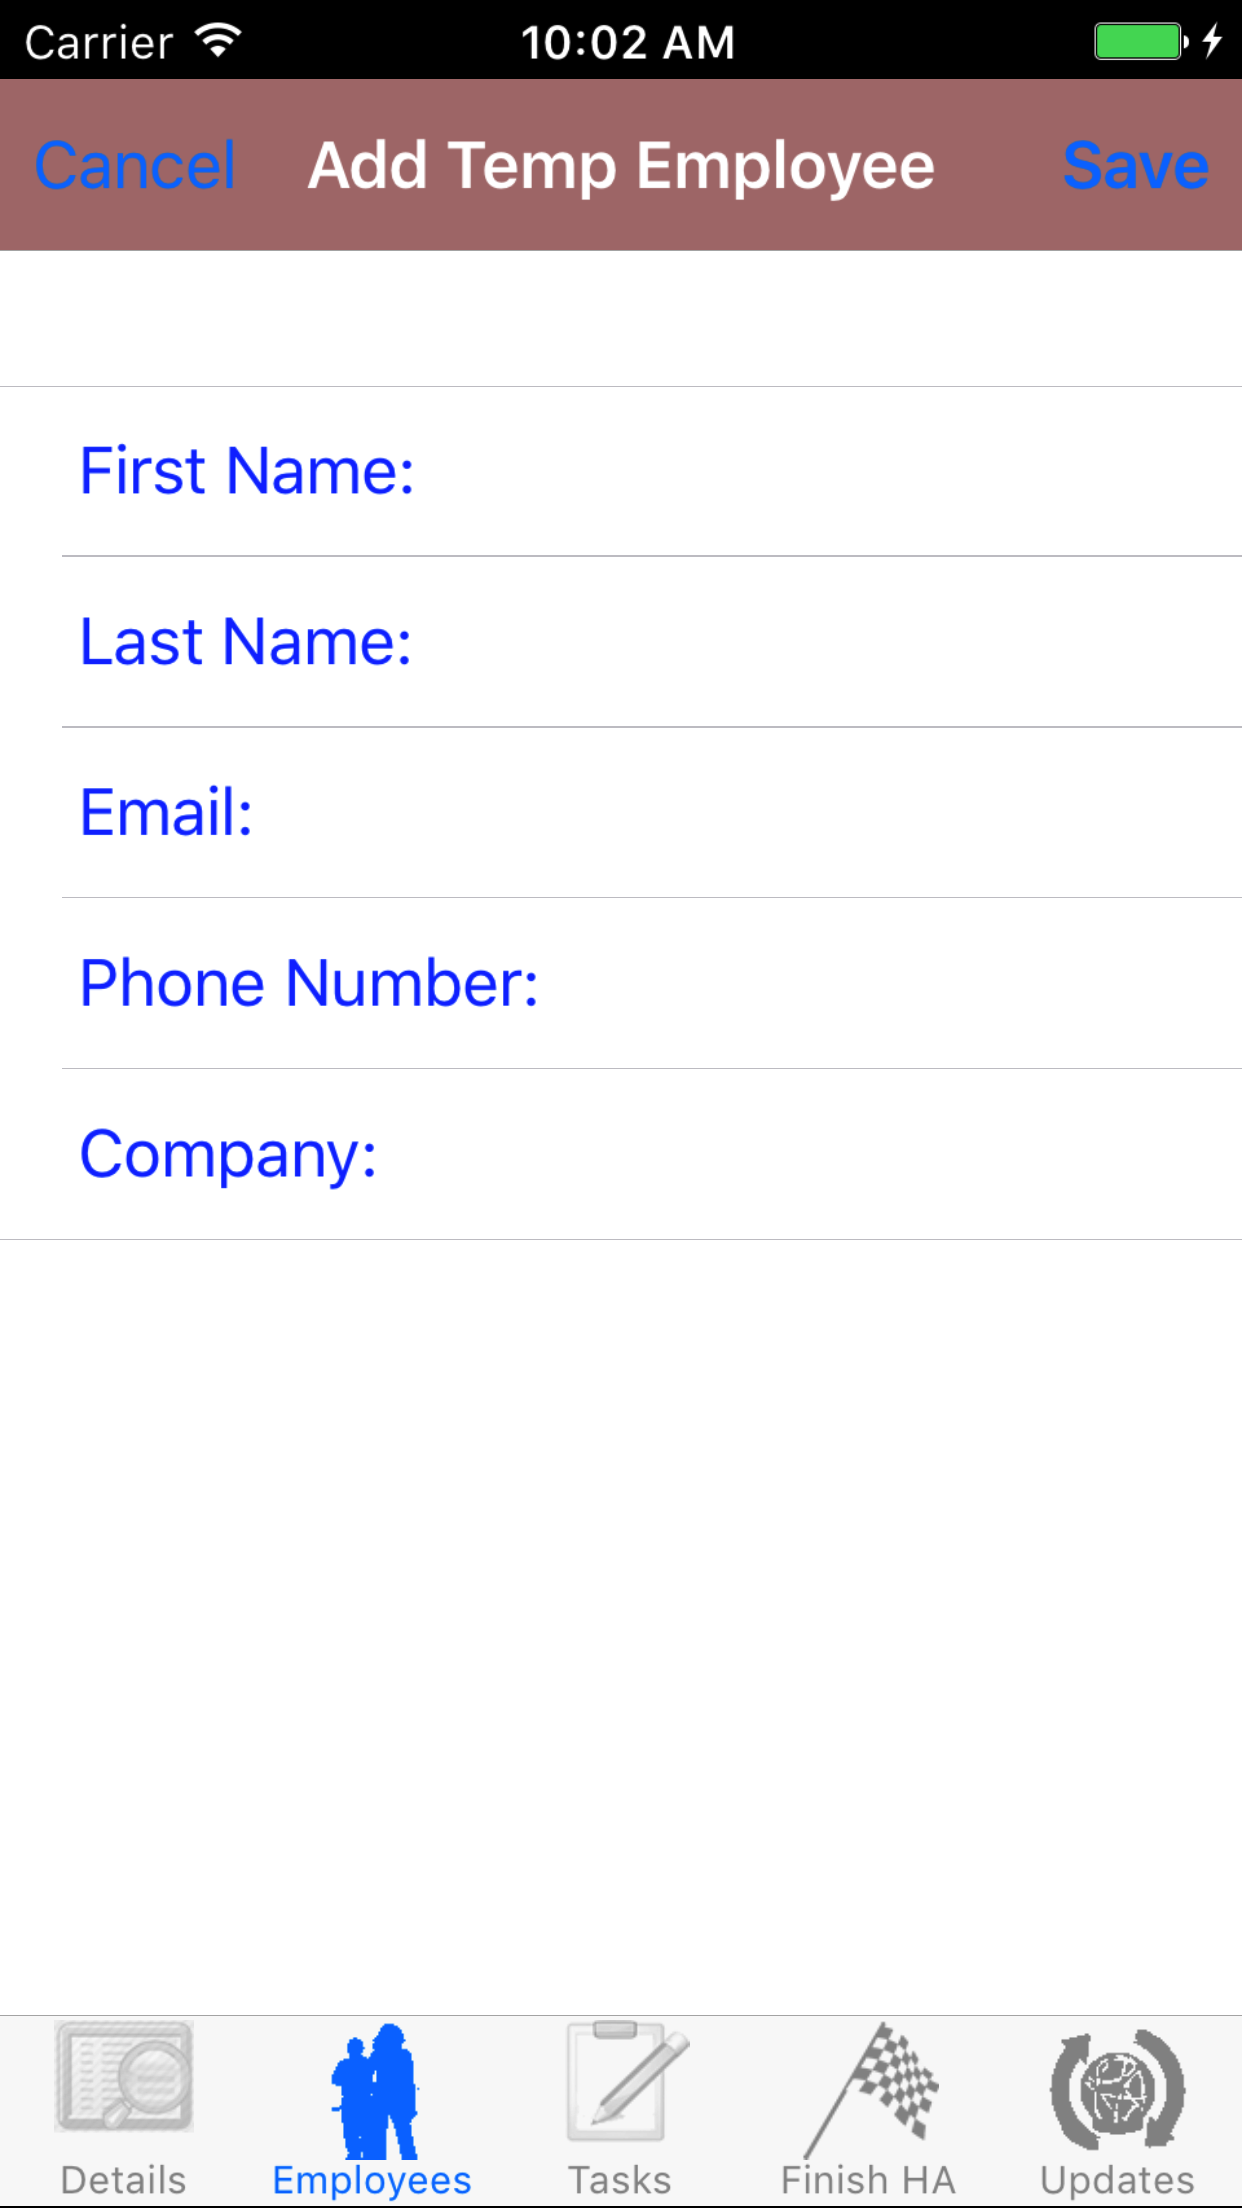
- If the desired employee is not in the list, tap Add Outside Employee in the top left corner of the screen to open the New Employee screen.
- First Name: The First Name field should indicate the legal given name of the employee. First Name is a required field. The character limit of this field is 25.
- Last Name: The Last Name field should indicate the legal surname of the employee. Last Name is a required field. The character limit of this field is 25.
- Email: The Email field should indicate the best (i.e., most often used for business purposes) e-mail address for the employee. The character limit of this field is 50.
- Phone Number: The Phone Number field should indicate the best (i.e., most often used for business purposes) telephone number (land line or cellular) for the employee. The character limit of this field is 13.
- Company: The Company field should indicate the name of the company for which the employee works. The character limit of this field is 75.
- Tap Save in the top right corner of the screen to add the outside employee to the Confined Space Entry Report
|
|
| Steps 1-2 |
|
|
| Step 3 |
|
|
| Step 4 |
|
|
| Steps 5-6 |
|
|
|
5.Add Employee Signature |
|
Each employee added to the Confined Space Entry Report must provide an electronic signature to indicate that they participated in the confined space entry.
Once on the Confined Space Entry Report you would like to Edit
Steps
- Tap the Employees icon at the button of the screen to open the Employees screen.
- Tap the Add/Signature Employee button to load the list of employees on the confined space entry report.
- Scroll the list of employees until the desired employee is displayed on the screen.
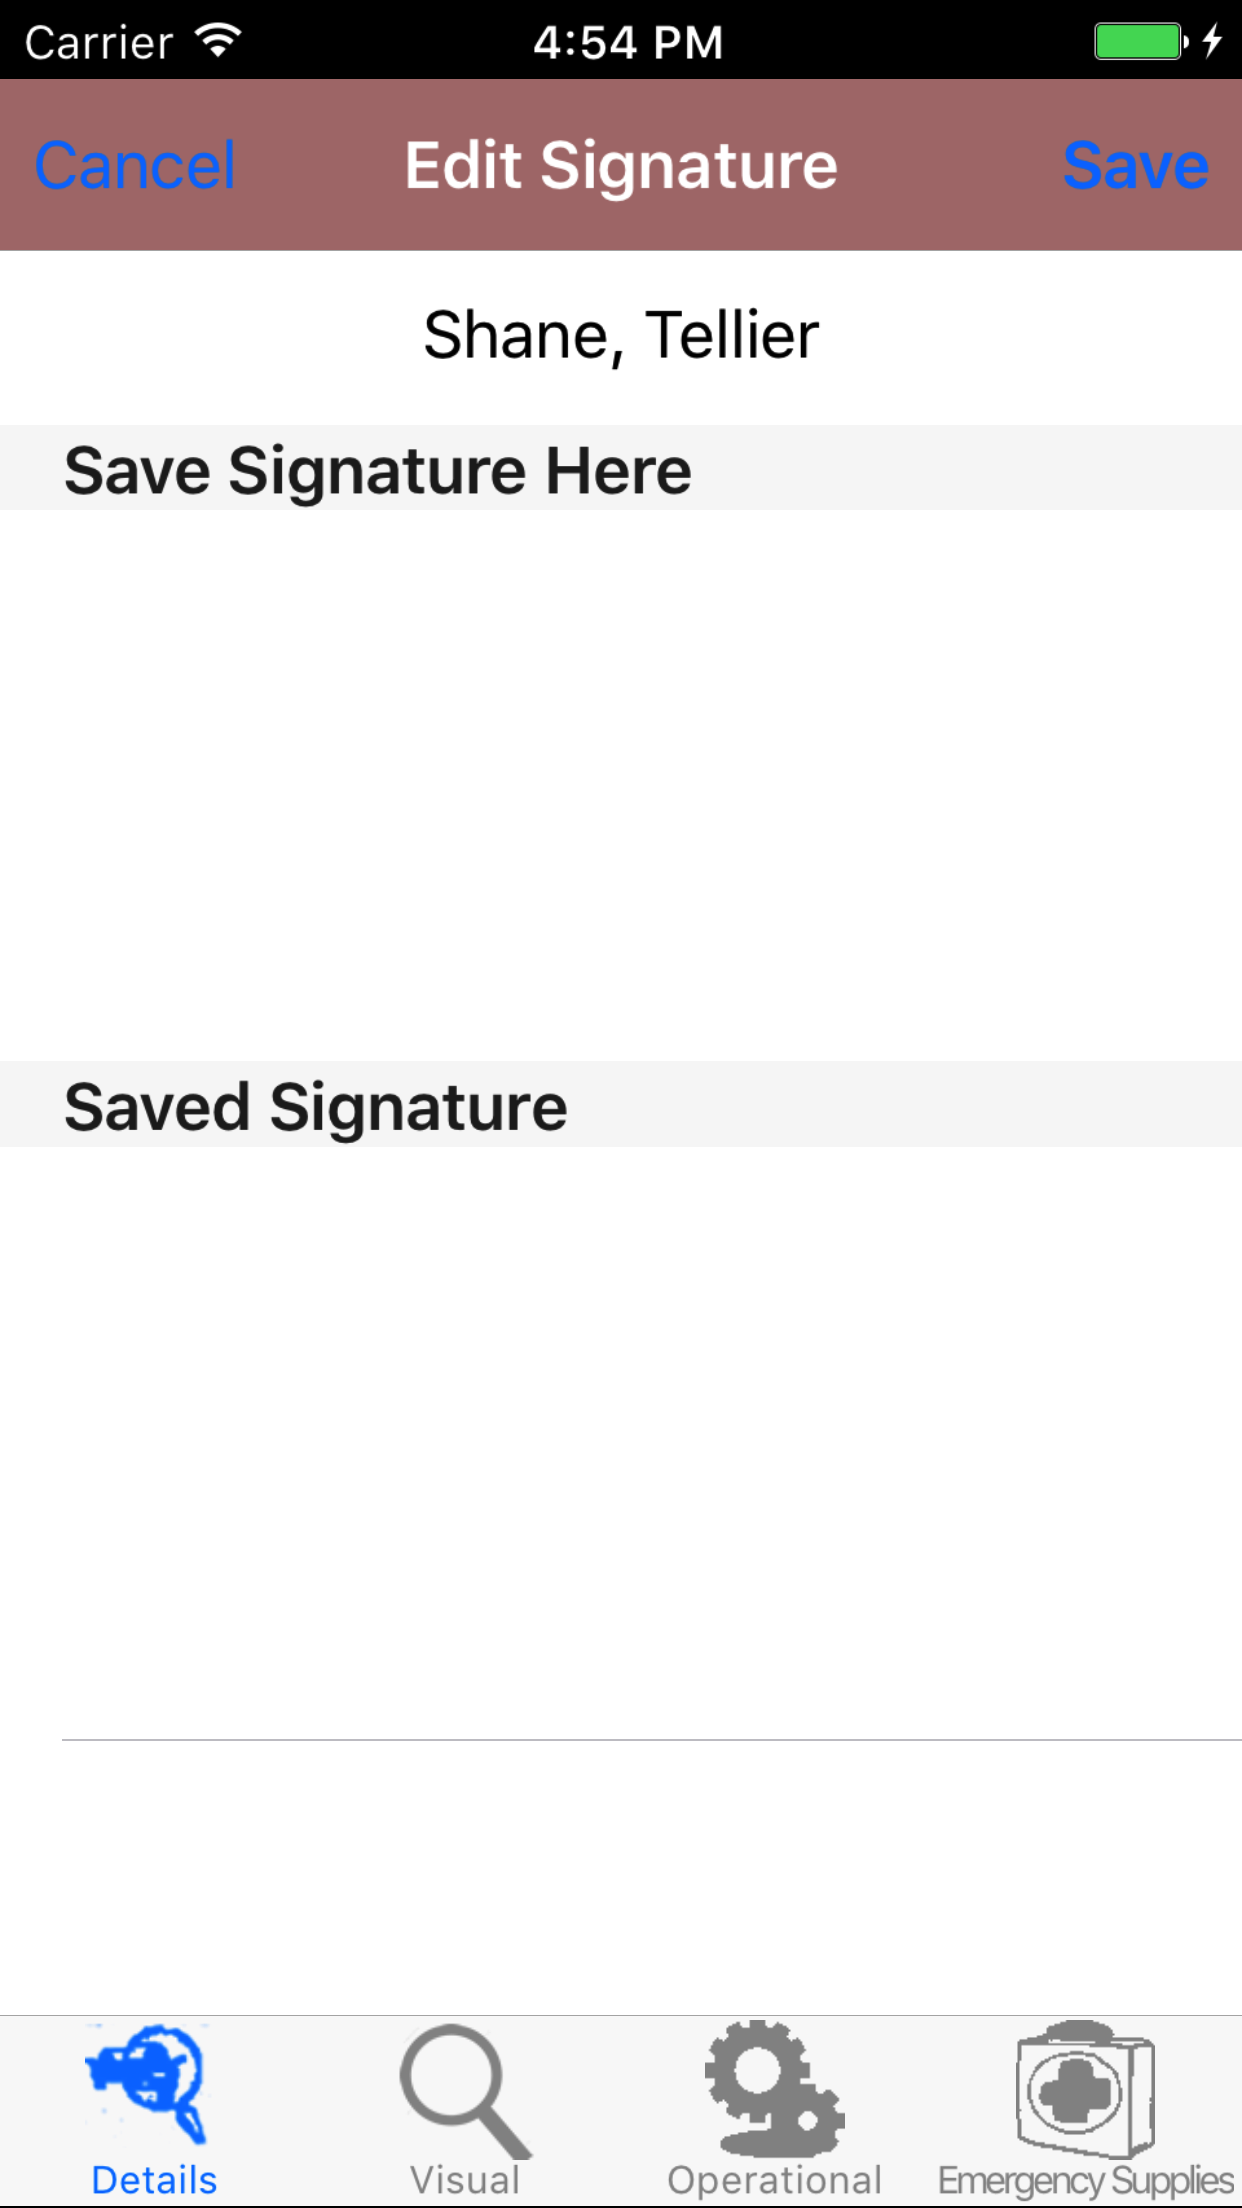
- Tap the desired employee to select them and open the Edit Signature screen
- Have the selected employee sign in the white space beneath the Save New Signature Here label.
- Tap Save in the top right corner of the screen to update the employee information.
The saved signature will appear below the signature entry screen.
|
|
|
| Steps 1-2 |
|
|
|
| Step 3 |
|
|
| Steps 4-5 |
|
|
|
6.Delete Employee |
|
|
7.Edit Employee |
|
Once on the Confined Space Entry Report you would like to Edit
Steps
- Tap the Employees icon at the button of the screen to open the Employees screen.
- Tap the Add/Signature Employee button to load the list of employees on the confined space entry report.
- Scroll the list of employees until the desired employee is displayed on the screen.
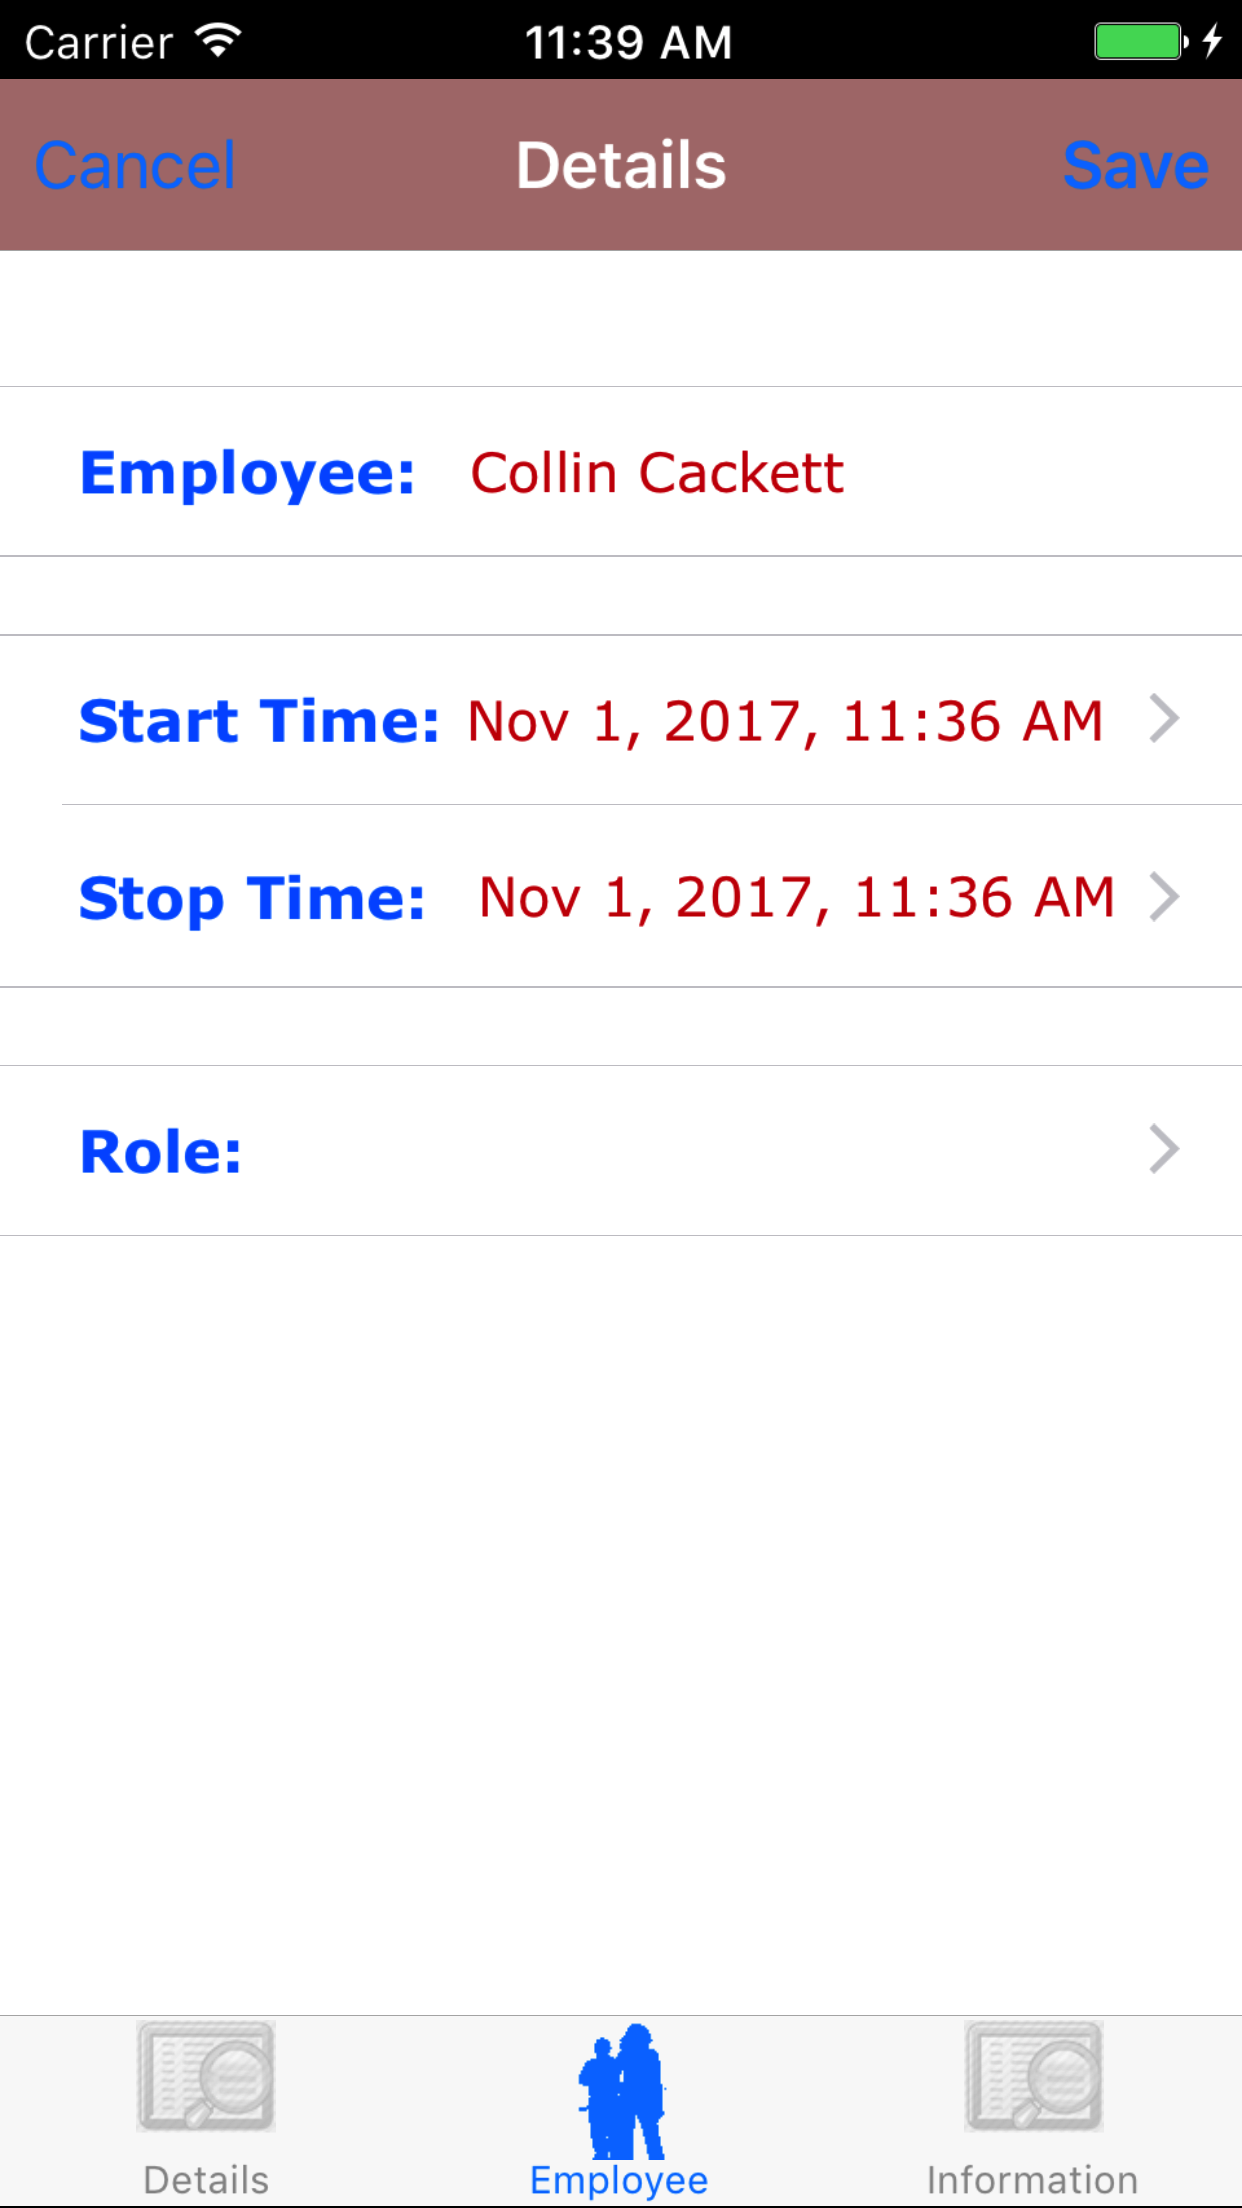
- Tap the desired employee to select them and open the Edit Employee screen
- Start Date/Time: The start date/time field will display the date/time which the work in the confined space was started.
- Tap the Entry Date/Time field to open the Choose Date/Time screen.
- Scroll the date wheel on the far left of the screen until the desired date/time is highlighted.
- Return to the Edit Employee screen by either tapping Save in the top right corner to select the highlighted date or tapping Cancel in the top left corner to leave the Date/Time field unchanged.
- Stop Date/Time: The stop date/time field will display the date/time which the work in the confined space was finished.
- Tap the Entry Date/Time field to open the Choose Date/Time screen.
- Scroll the date wheel on the far left of the screen until the desired date/time is highlighted.
- Return to the Edit Employee screen by either tapping Save in the top right corner to select the highlighted date or tapping Cancel in the top left corner to leave the Date/Time field unchanged.
- Confined Space Role: The Confined Space Role field allows field staff to choose the role a employee will in the confined space entry.
- Tap the Confined Space Role field to open the Choose Confined Space Role screen.
Confined Space Role values are listed in descending order with the role name in red text.
- Scroll the list of roles until the desired role is displayed on the screen.
- Tap the desired role to select it or tap Back button in the top left corner to leave the Role field unchanged.
- Tap the Save button in the top right corner. The employee information will be saved.
|
|
|
| Steps 1-2 |
|
|
| Step 3 |
|
|
| Steps 4-7 |
|
|
|
8.Look Up Contaminant |
|
When a confined space entry report is created the default contaminants your company requires staff to test for
are added to the report along with the first gas monitoring reading. Depending on the confined space situation
different contaminants may need to be tested for, while contaminants already added can be deleted if there is no need
to test for them.
Once on the Confined Space Entry Report you would like to Edit
Steps
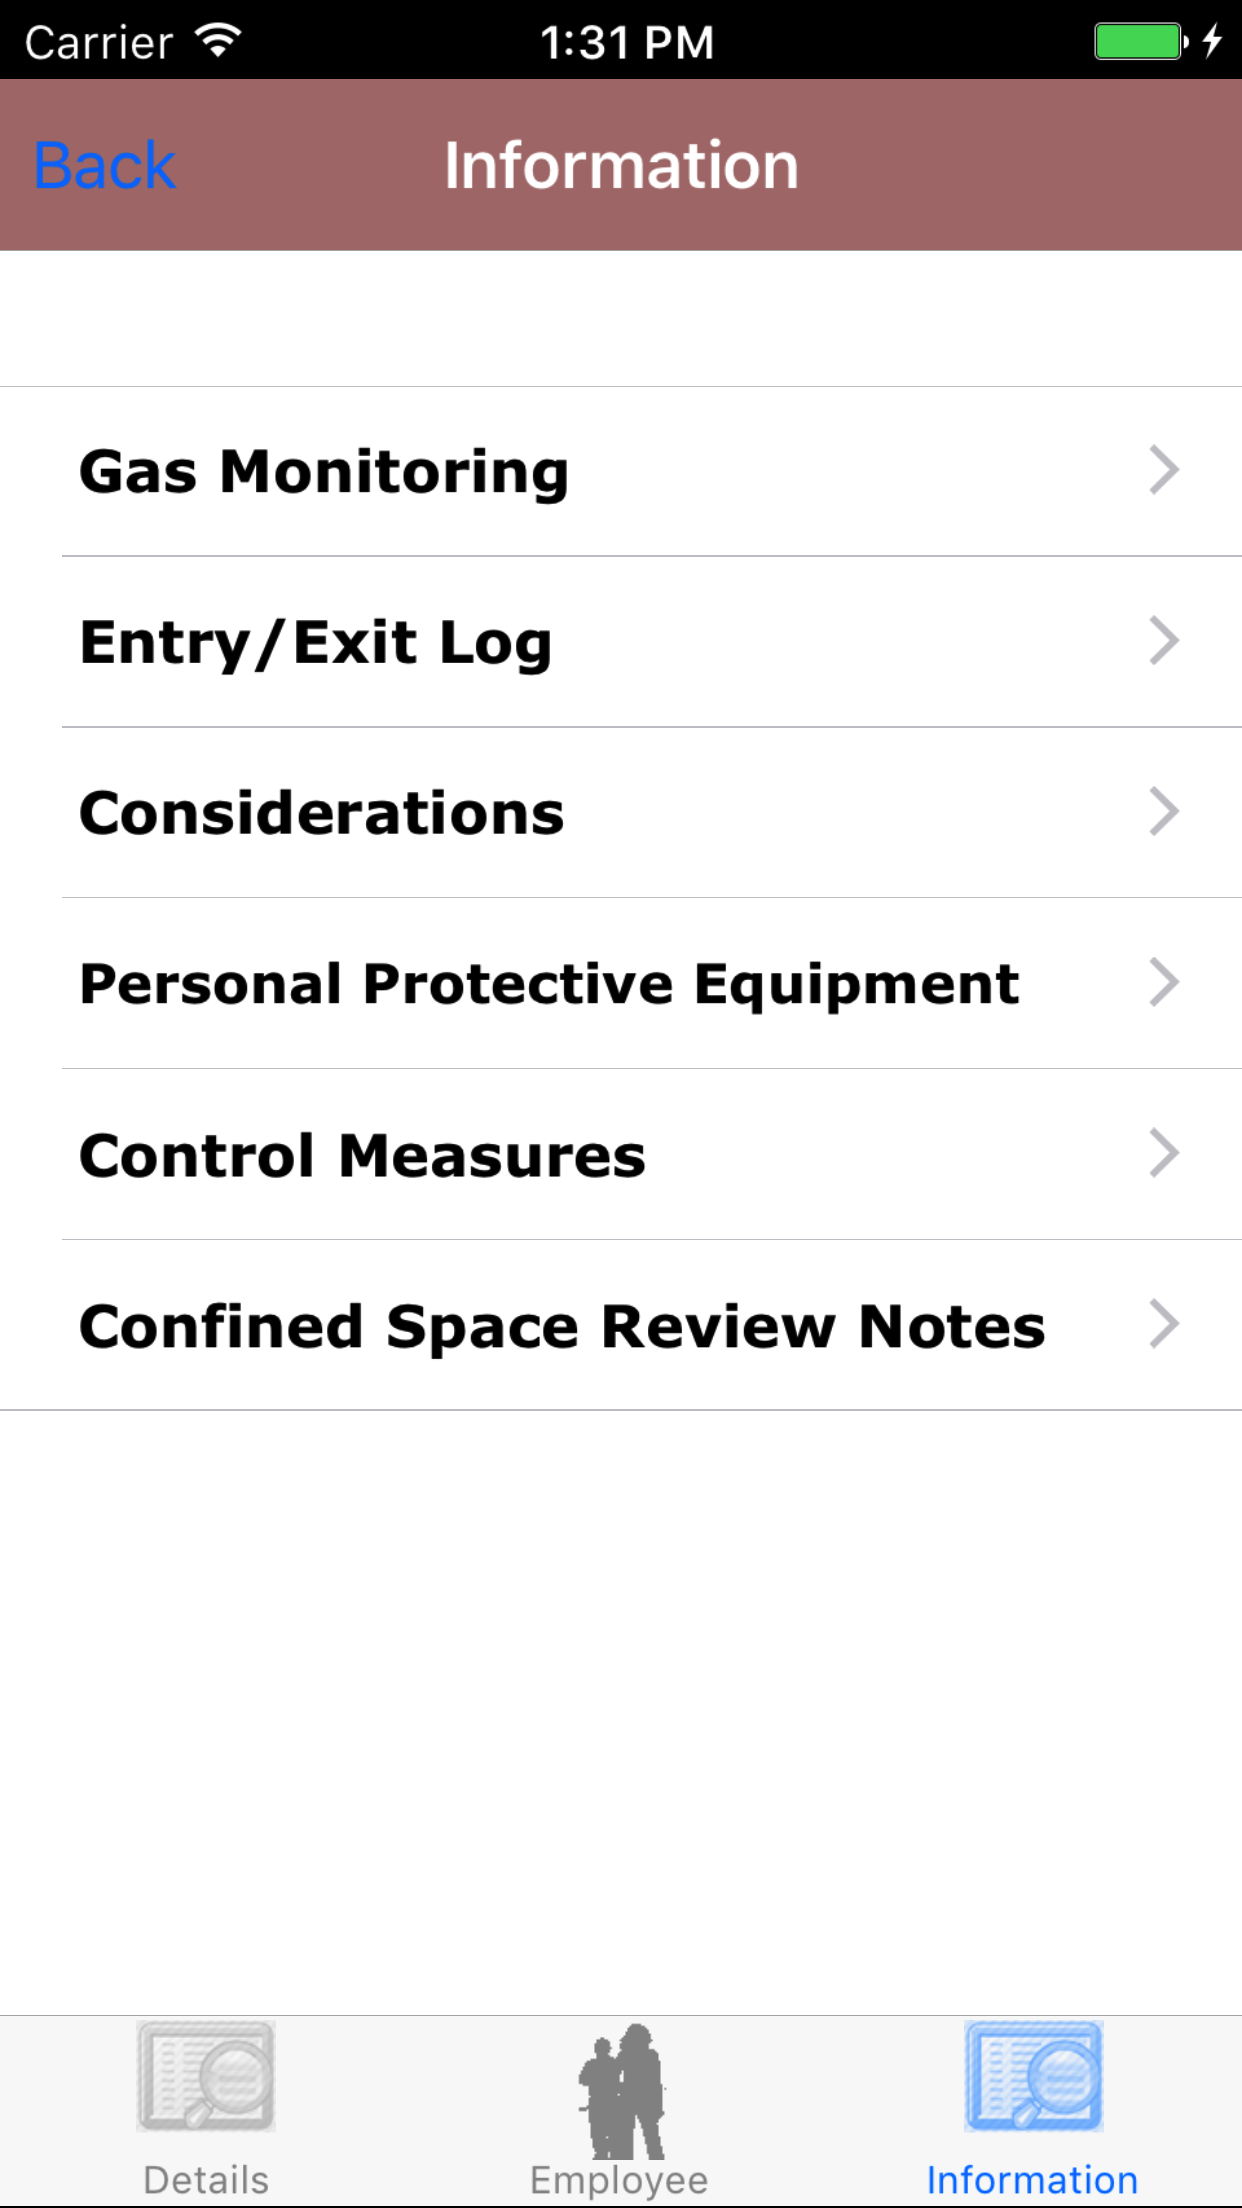
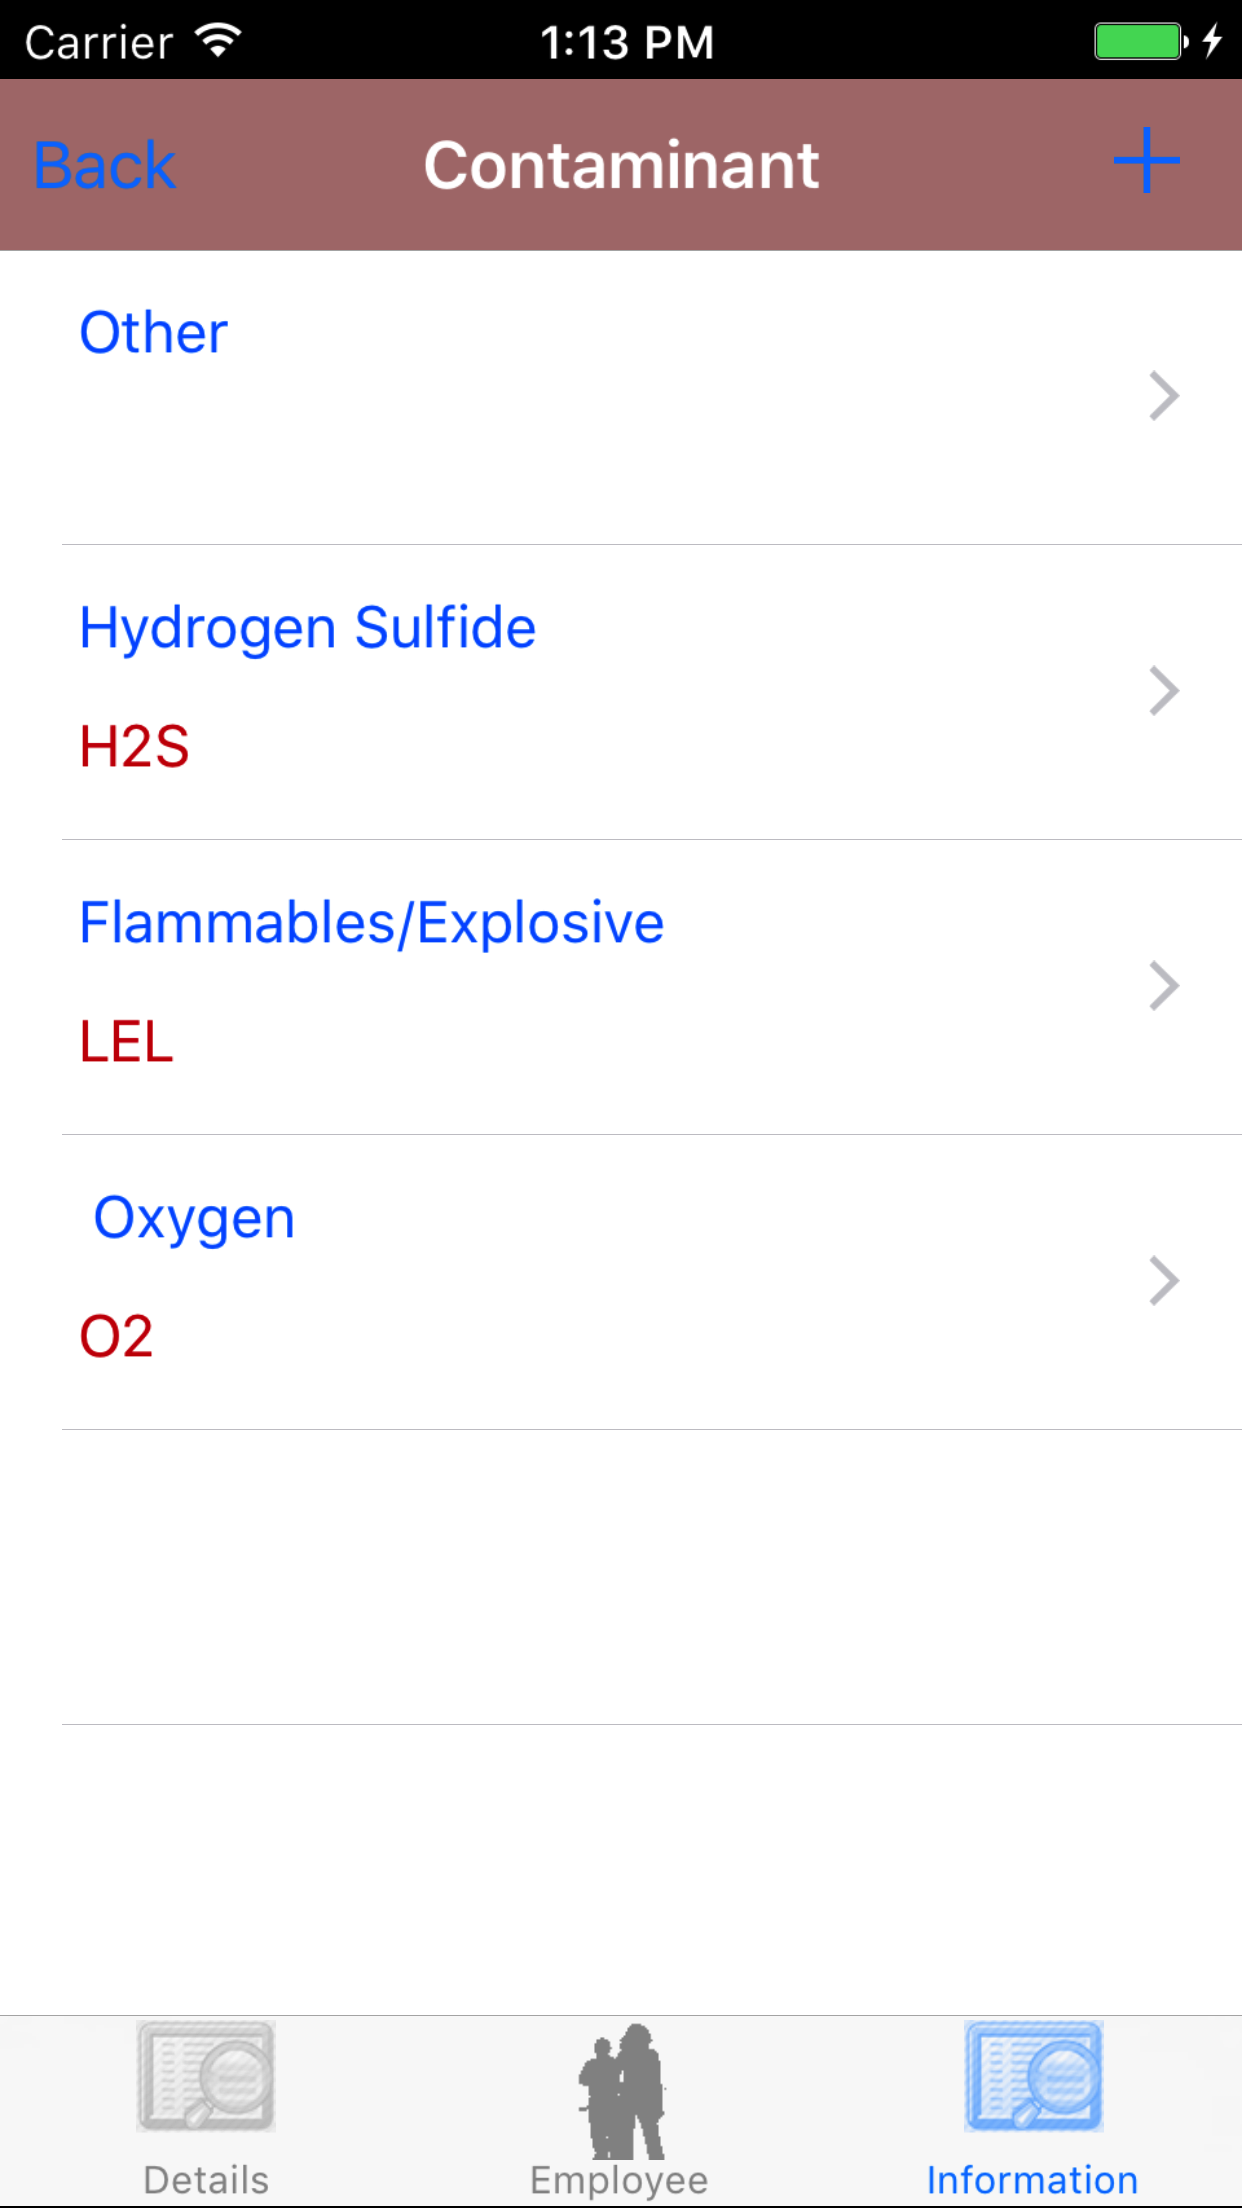
- Tap the Information icon at the button of the screen to open the Information screen.
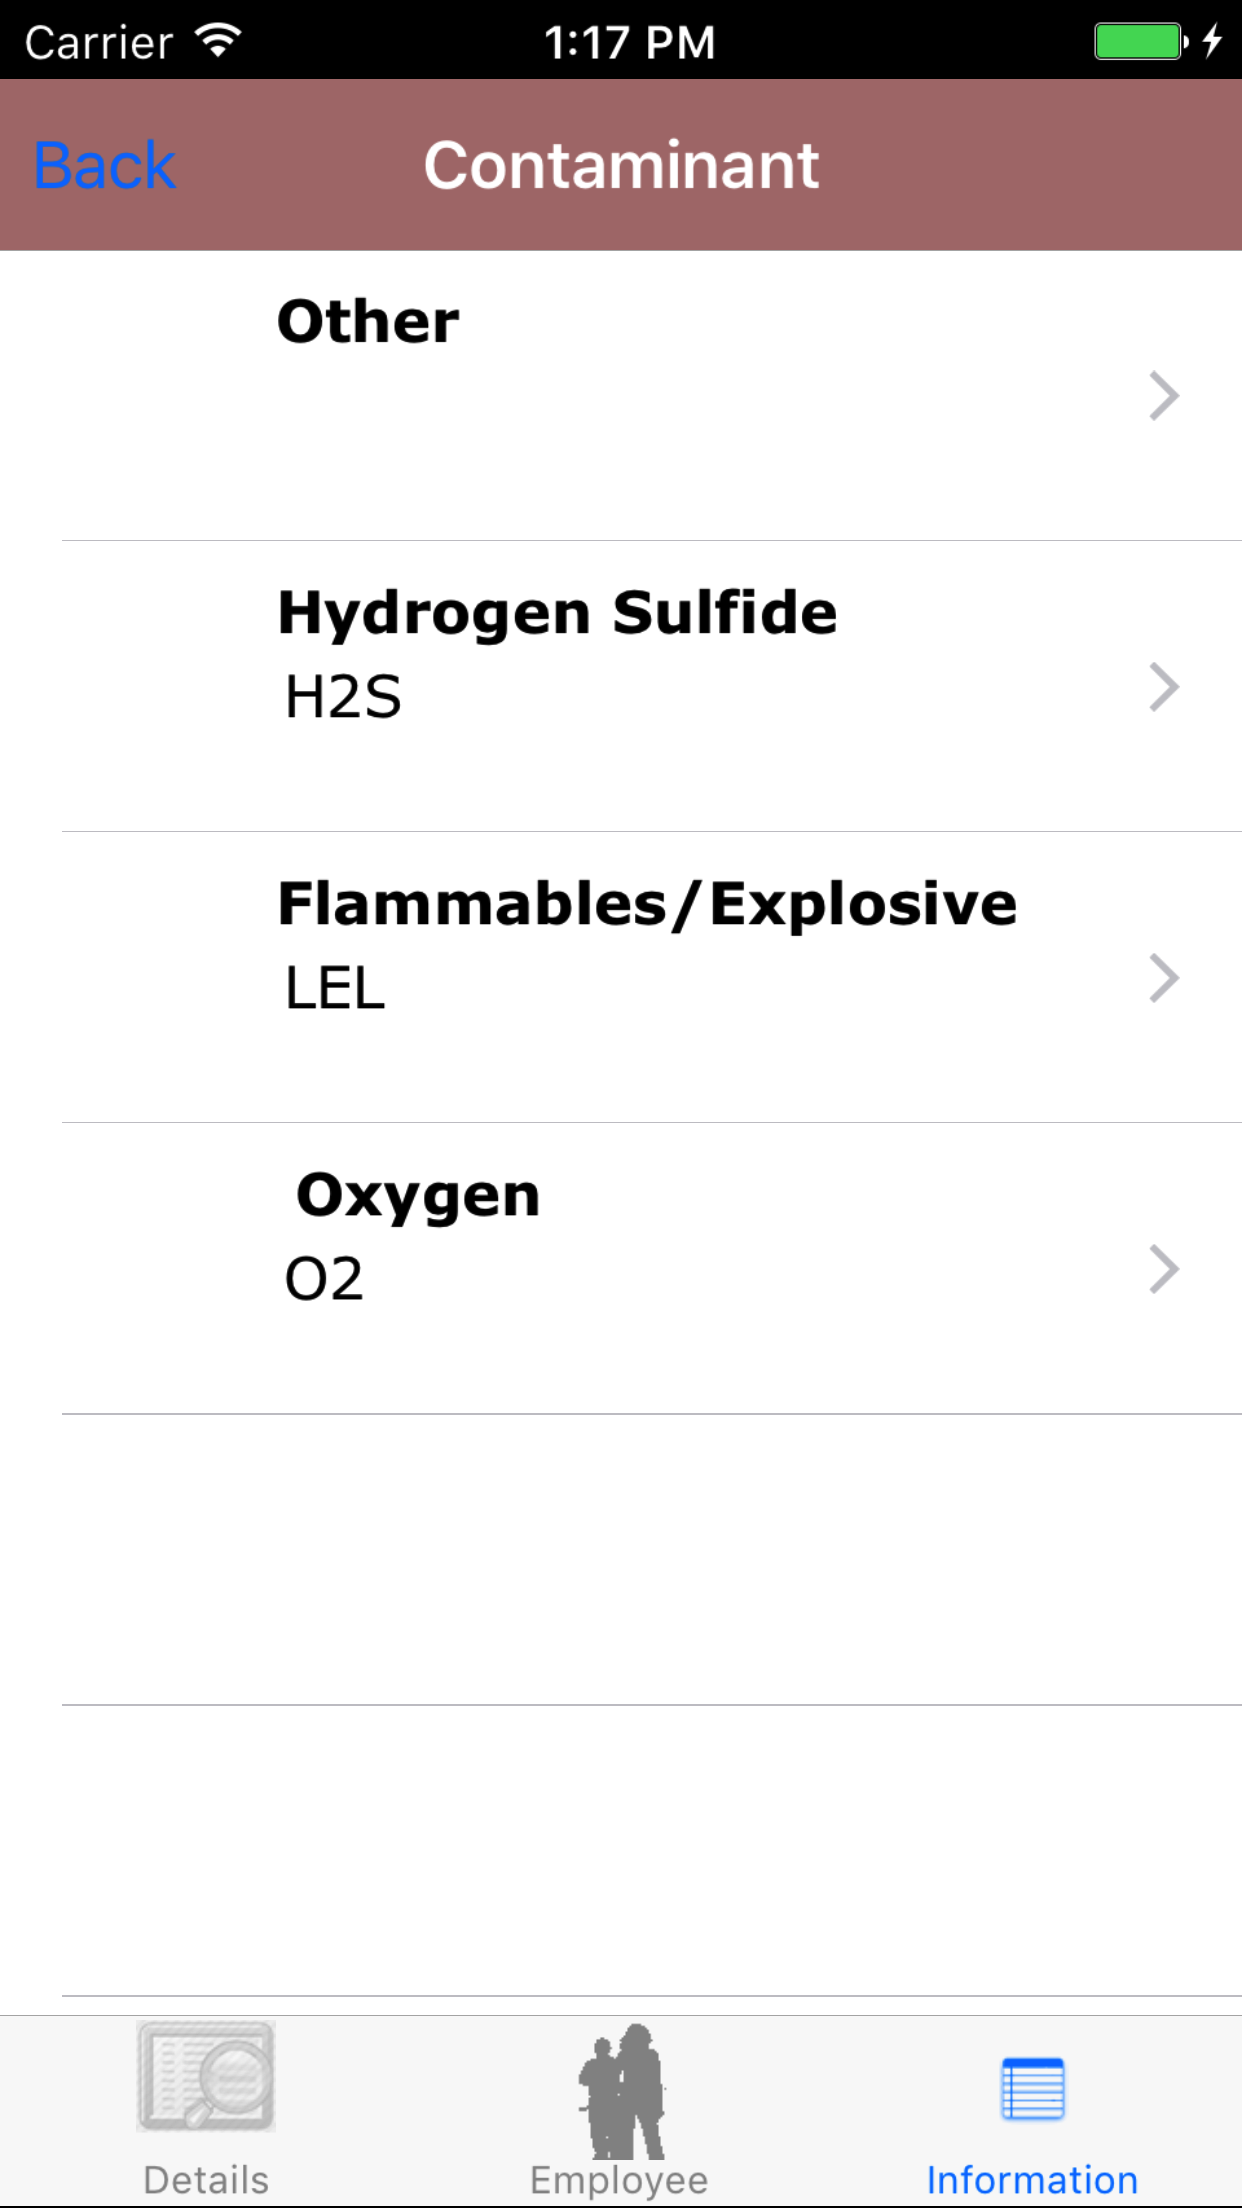
- Tap the Gas Monitoring button to load the list of contaminants to be tested for on the confined space entry report.
Contaminants values are listed in descending order with the contaminant name in red text,
and the contaminant designation in blue text.
- Tap the desired contaminant to select it.
The Screen will load with two new tabs'
- Tab one loads with contaminant details, the details of the contaminant.
- Tab two loads with gas monitoring readings taken, the gas monitoring readings taken associated with the selected contaminant.
|
|
|
| Steps 1-2 |
|
|
| Step 3 |
|
|
|
|
9.Add Contaminant |
|
While R & T Electric Pro's Confined Space Entry Report system is created to start field staff with a list of contaminant to test for when they start every confined space entry report with.
Contaminants being added on a regular basis by field staff to confined space entry report, can be added to companies list of contaminants. Saving field staff the time
of entering these contaminant on a regular basis. A companies list of contaminant should be a ever evolving list of contaminants. *For more information about
Company Contaminants click here.
Once on the Confined Space Entry Report you would like to Edit
Steps
- Tap the Information icon at the button of the screen to open the Information screen.
- Tap the Gas Monitoring button to load the list of contaminants to be tested for on the confined space entry report.
Contaminants values are listed in descending order with the contaminant name in red text,
and the contaminant designation in blue text.
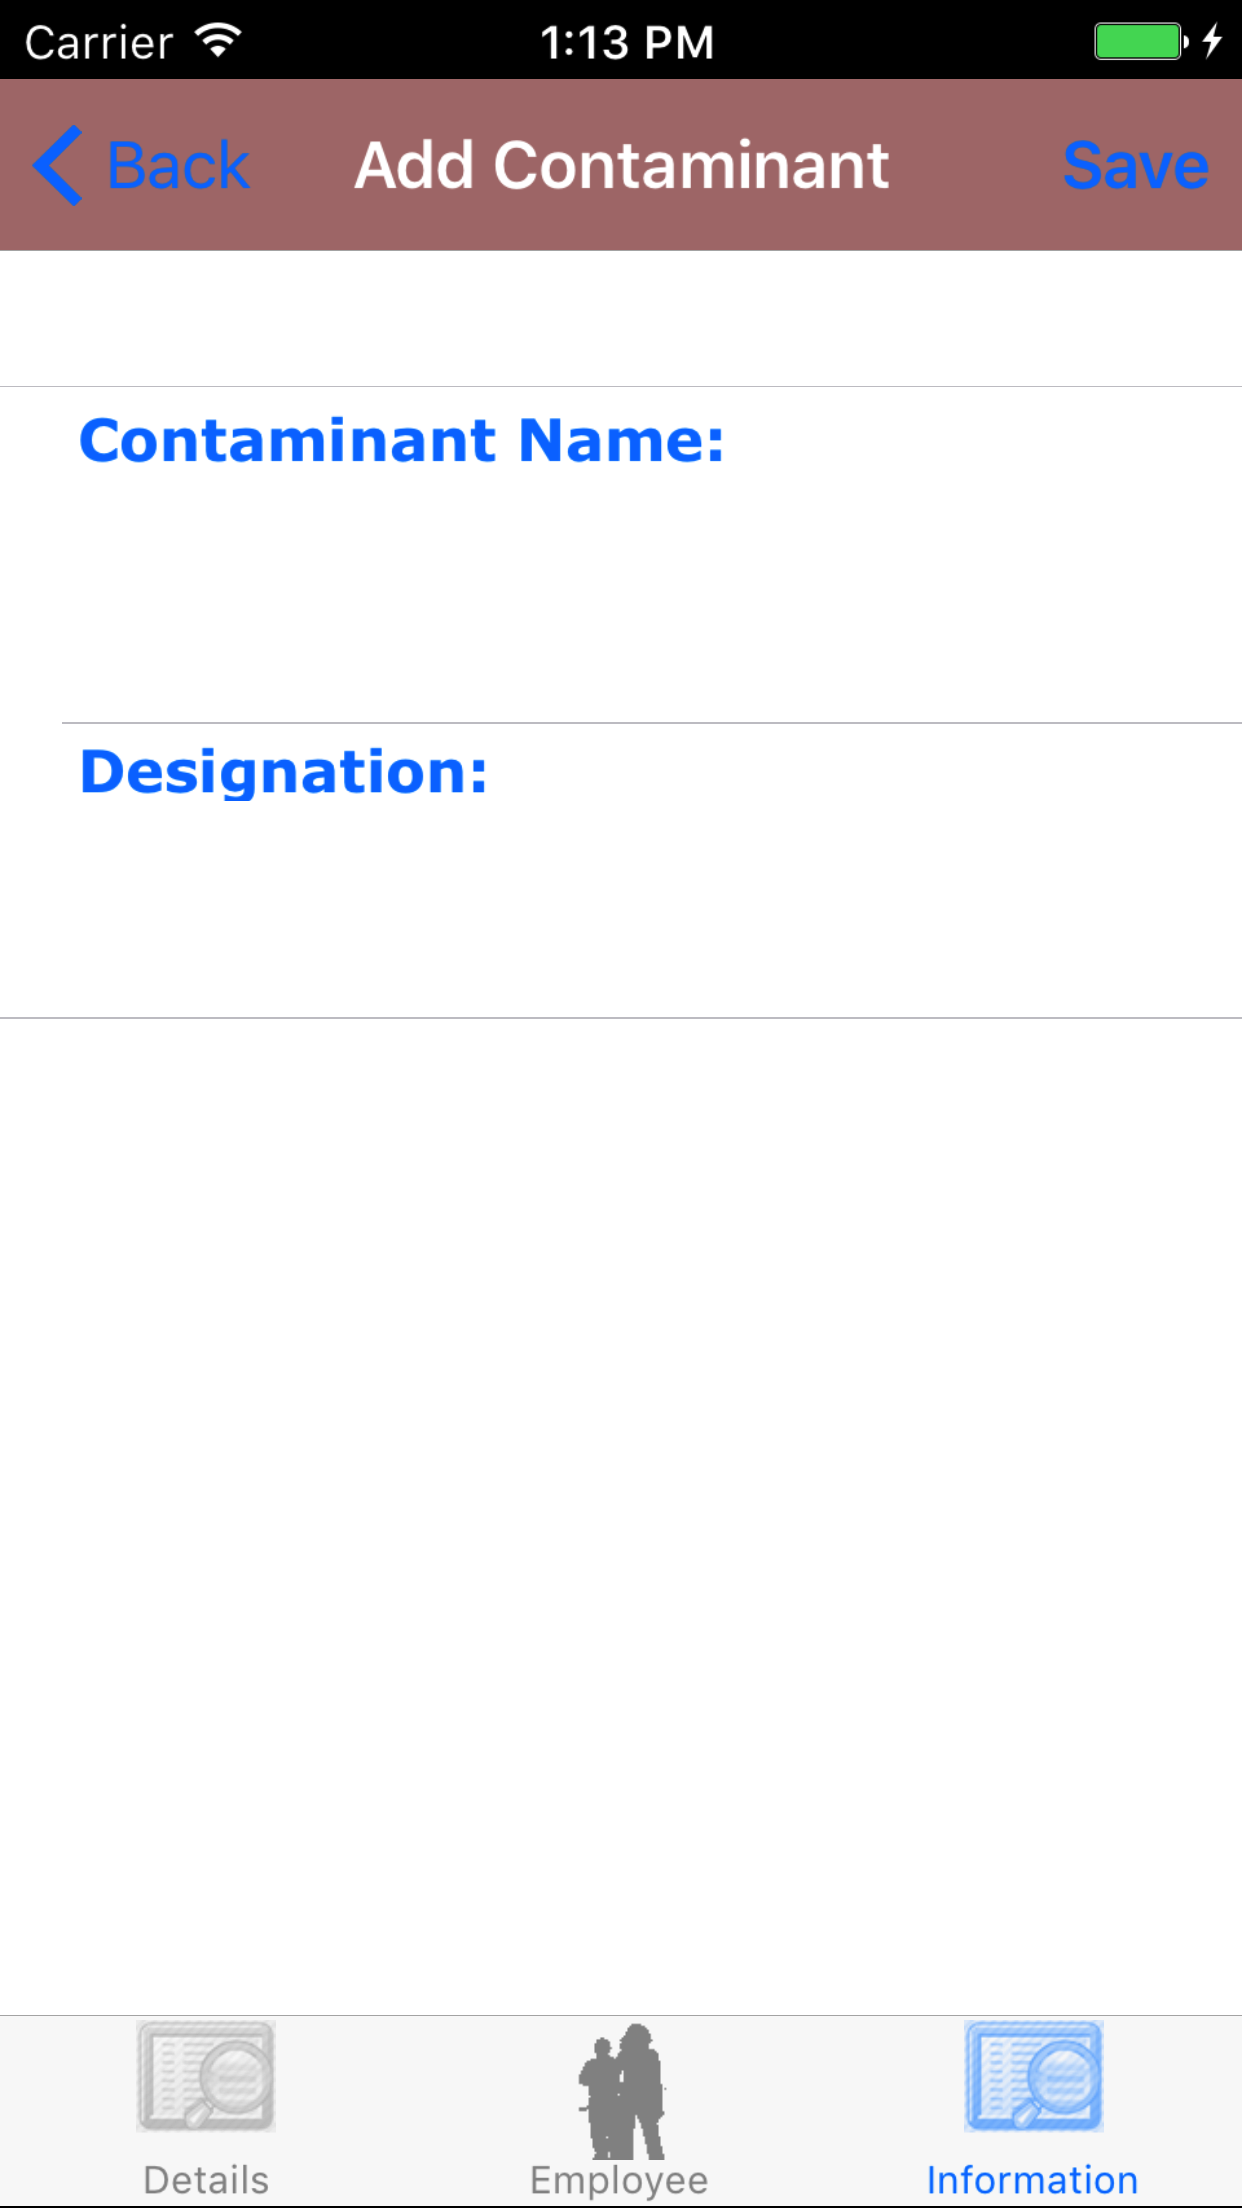
- Contaminant Name: Enter the name of the contaminant. The name of the contaminant. Contaminant Name is a required field. The character limit of this field is 25 characters.
- Designation: Enter the designation of the contaminant. The contaminant elemental designation. The character limit of this field is 25 characters.
- Tap Save in the top right corner of the screen to add the contaminant to the Confined Space Entry Report.
|
|
|
|
| Steps 1-2 |
|
|
|
| Step 3 |
|
|
|
10.Edit Contaminant |
|
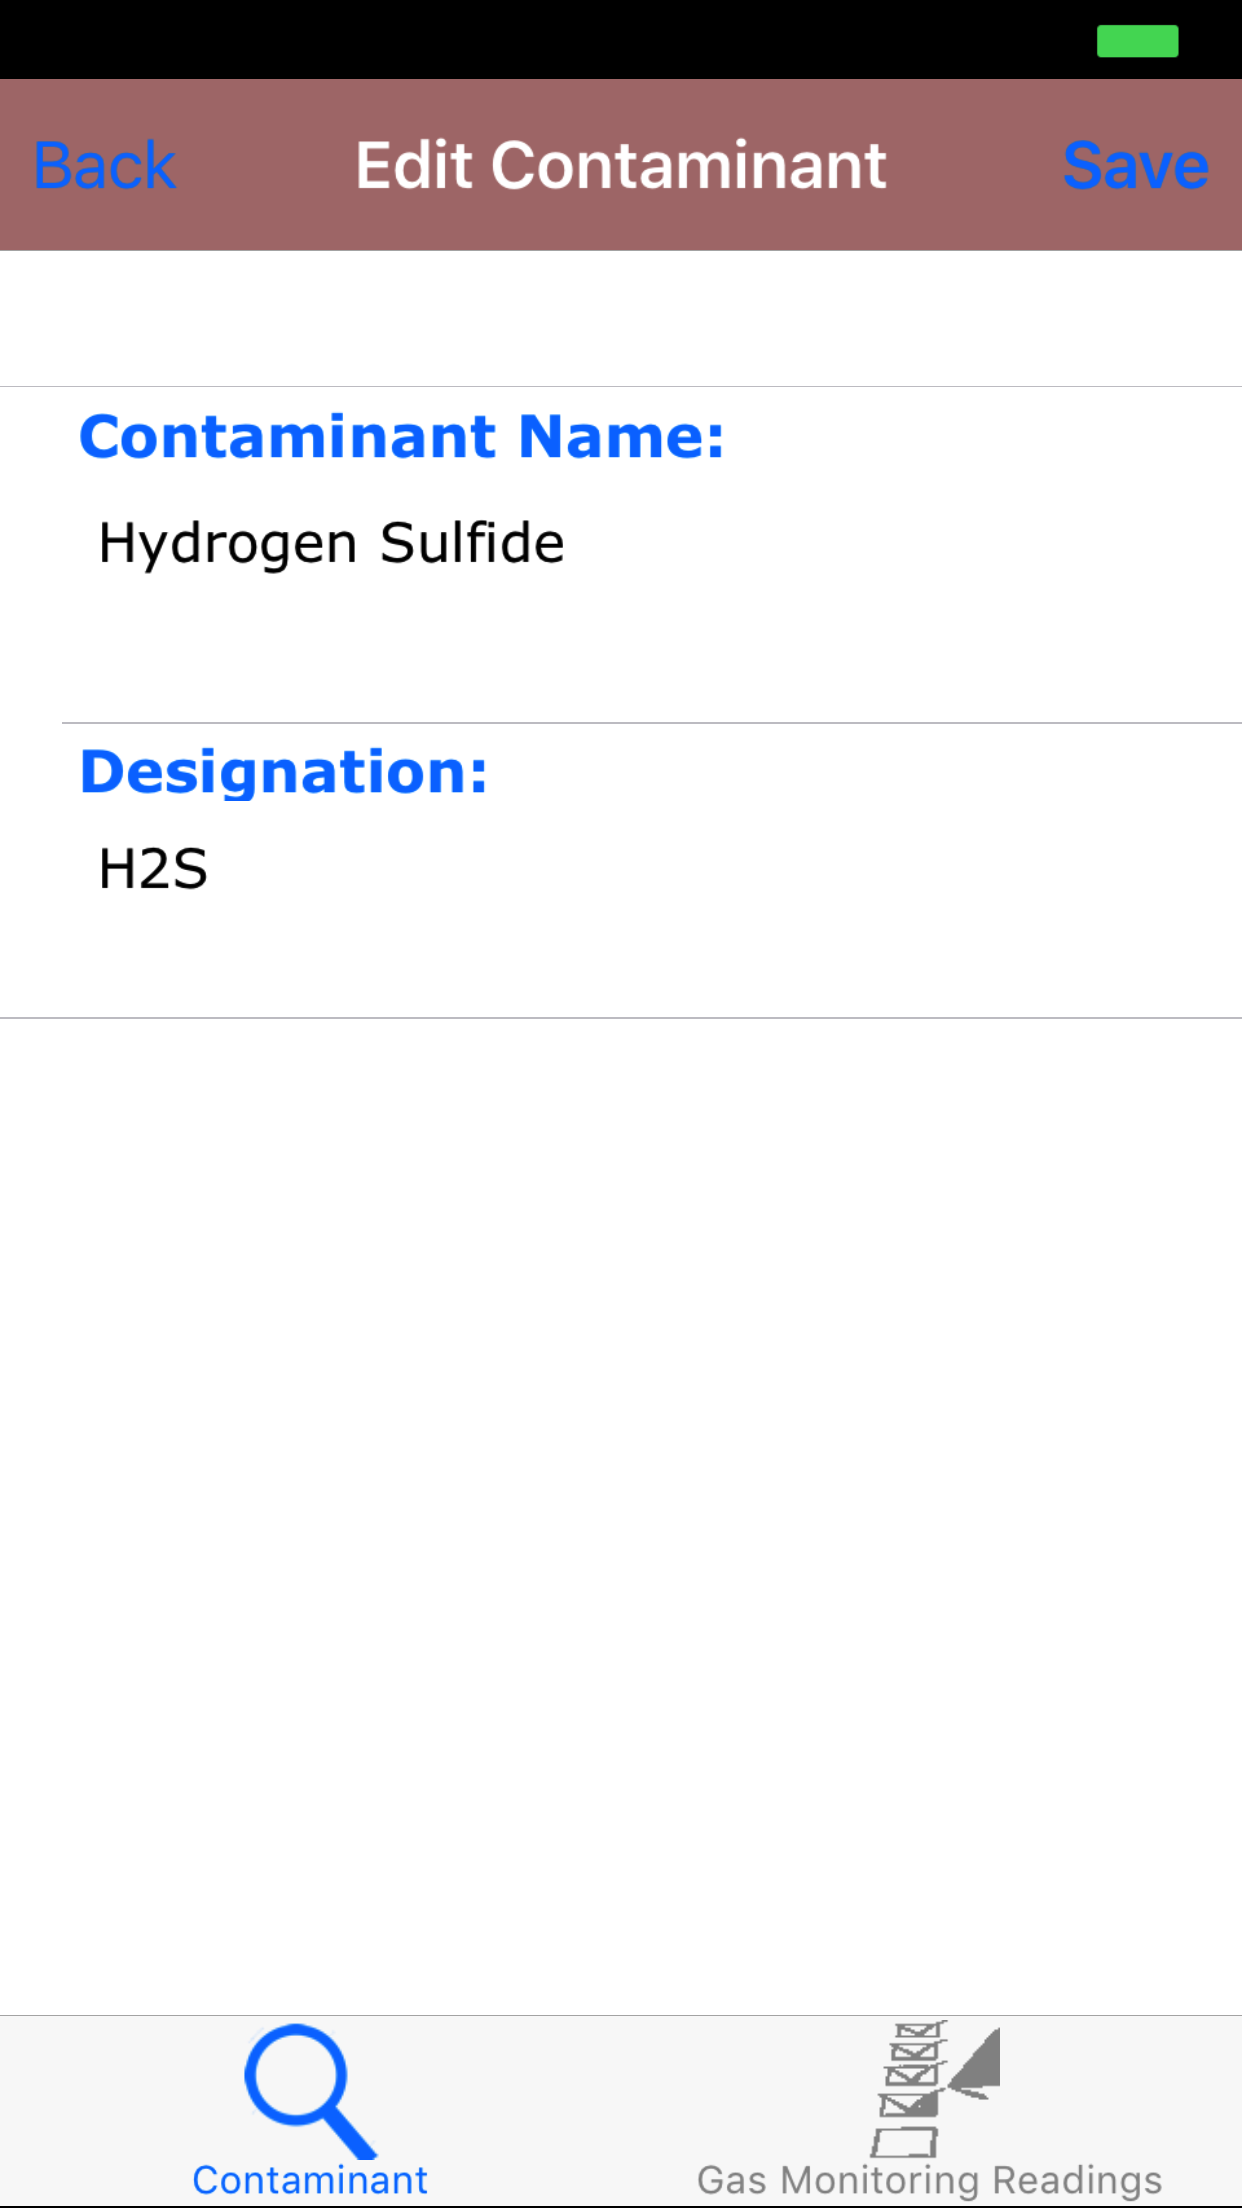
Once on the Contaminant you would like to Edit
Steps
- Contaminant Name: Enter the name of the contaminant. The name of the contaminant. Contaminant Name is a required field. The character limit of this field is 25 characters.
- Designation: Enter the designation of the contaminant. The contaminant elemental designation. The character limit of this field is 25 characters.
- Tap Save in the top right corner of the screen to add the contaminant to the Confined Space Entry Report.
|
|
| Steps 1-3 |
|
|
|
11.Look Up Gas Monitoring Reading |
|
Once on the Contaminant you would like to Edit
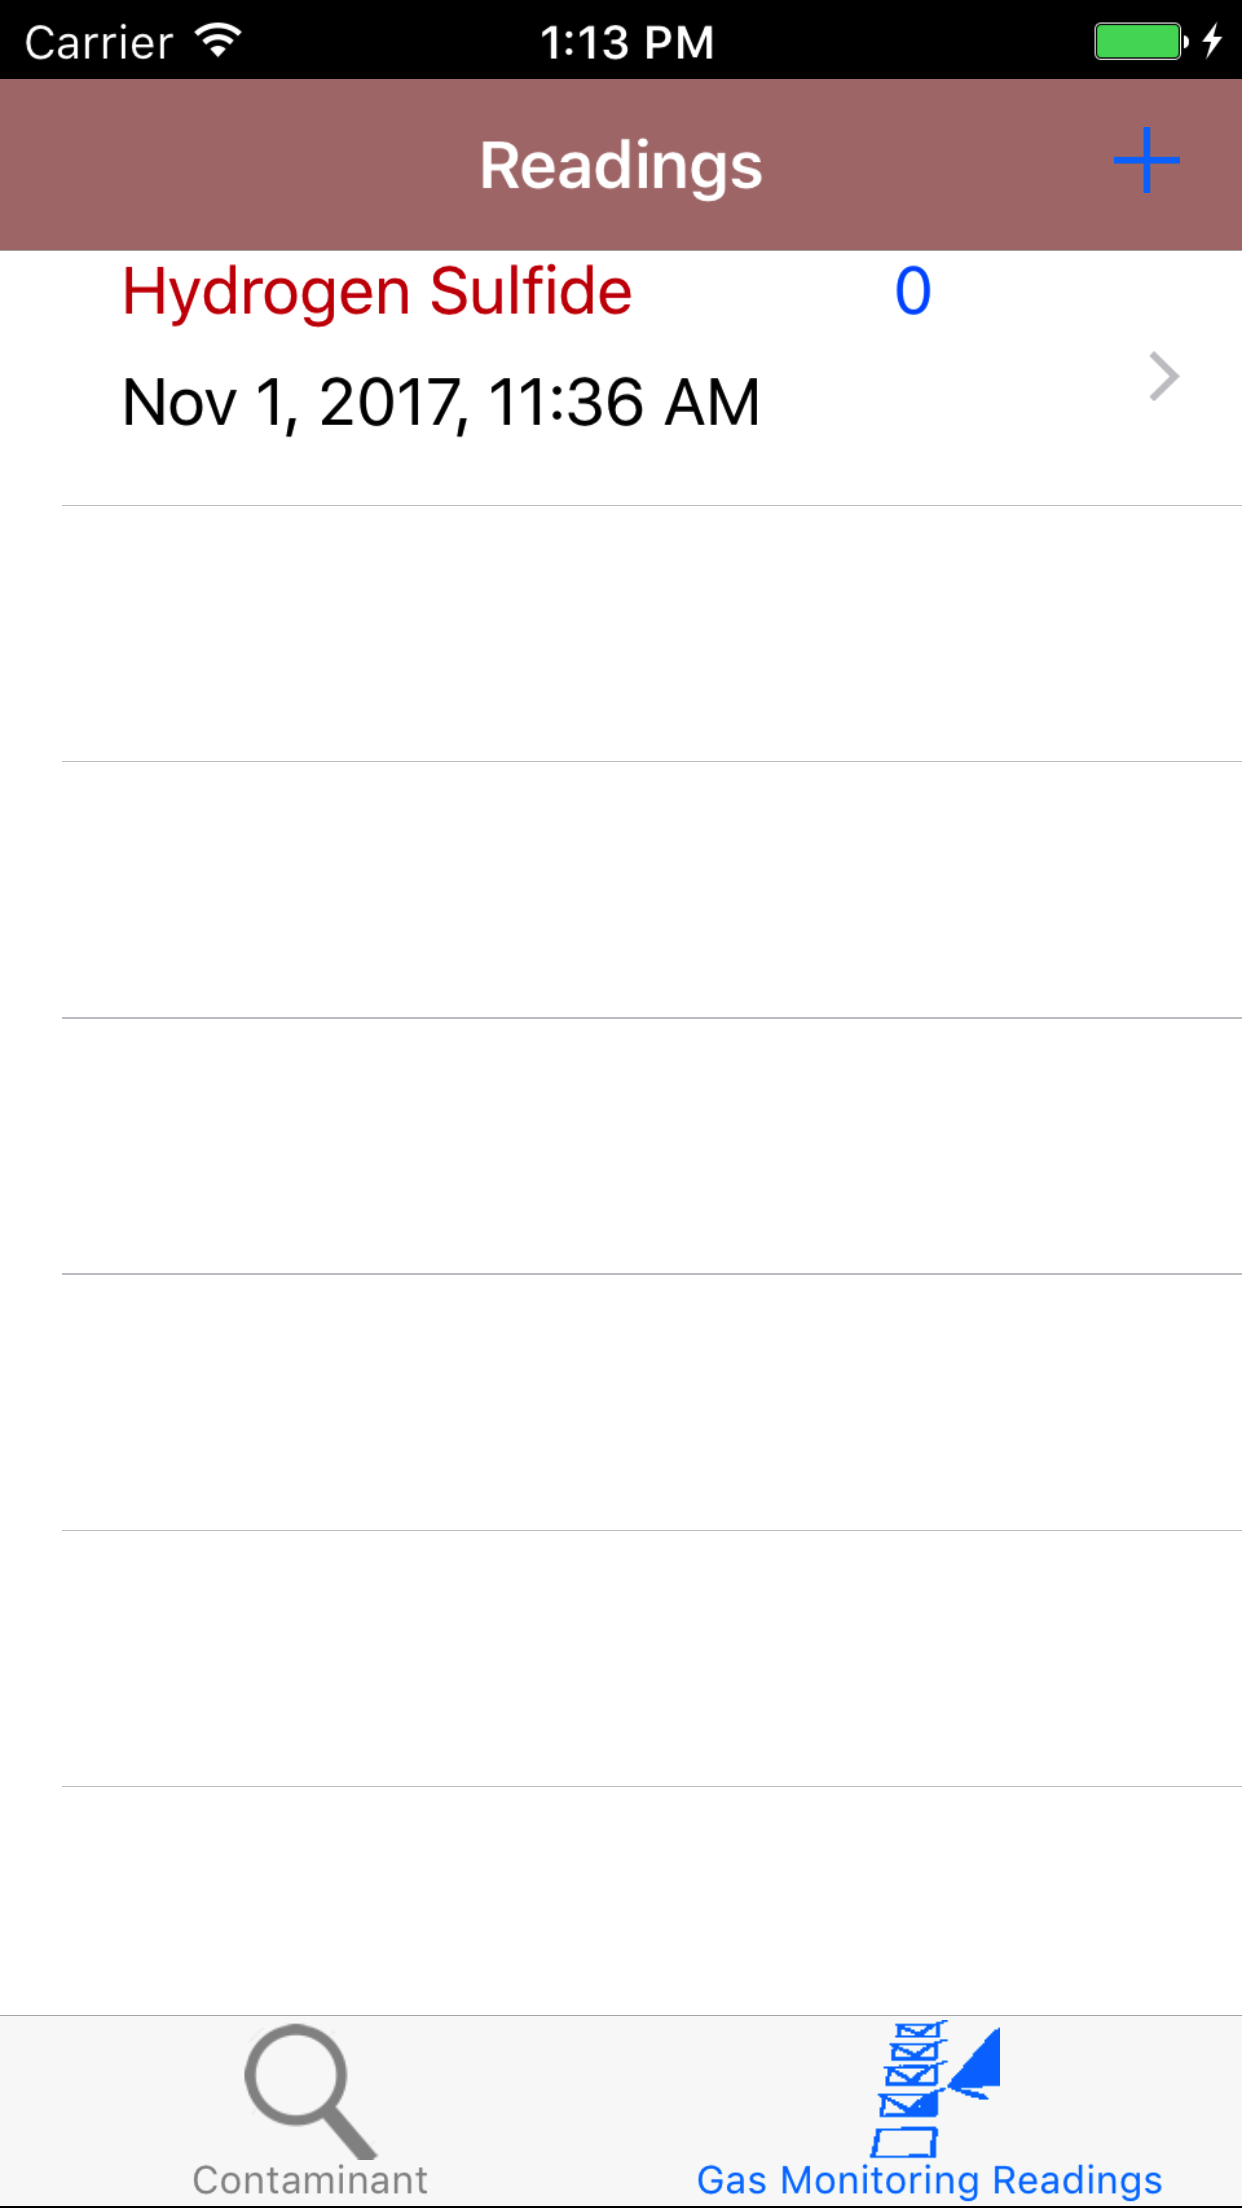
Steps
- Tap on the second tab, Gas Monitoring readings
Gas Monitoring values are listed in descending order with the contaminant name in red text,
the reading in blue text, and the date in black text.
- Scroll the list of gas monitoring records until the desired gas monitoring record is displayed on the screen.
- Tap the desired gas monitoring record to select it.
The edit screen loads.
|
|
| Steps 1-3 |
|
|
12.Edit Gas Monitoring Reading |
|
Once on the Gas Monitoring record you would like to Edit
Steps
- Reading Date/Time: The reading date/time field will display the date/time which the gas monitoring reading is taken.
- Tap the Entry Date/Time field to open the Choose Date/Time screen.
- Scroll the date wheel on the far left of the screen until the desired date/time is highlighted.
- Return to the Edit Gas Monitoring screen by either tapping Save in the top right corner to select the highlighted date or tapping Cancel in the top left corner to leave the Date/Time field unchanged.
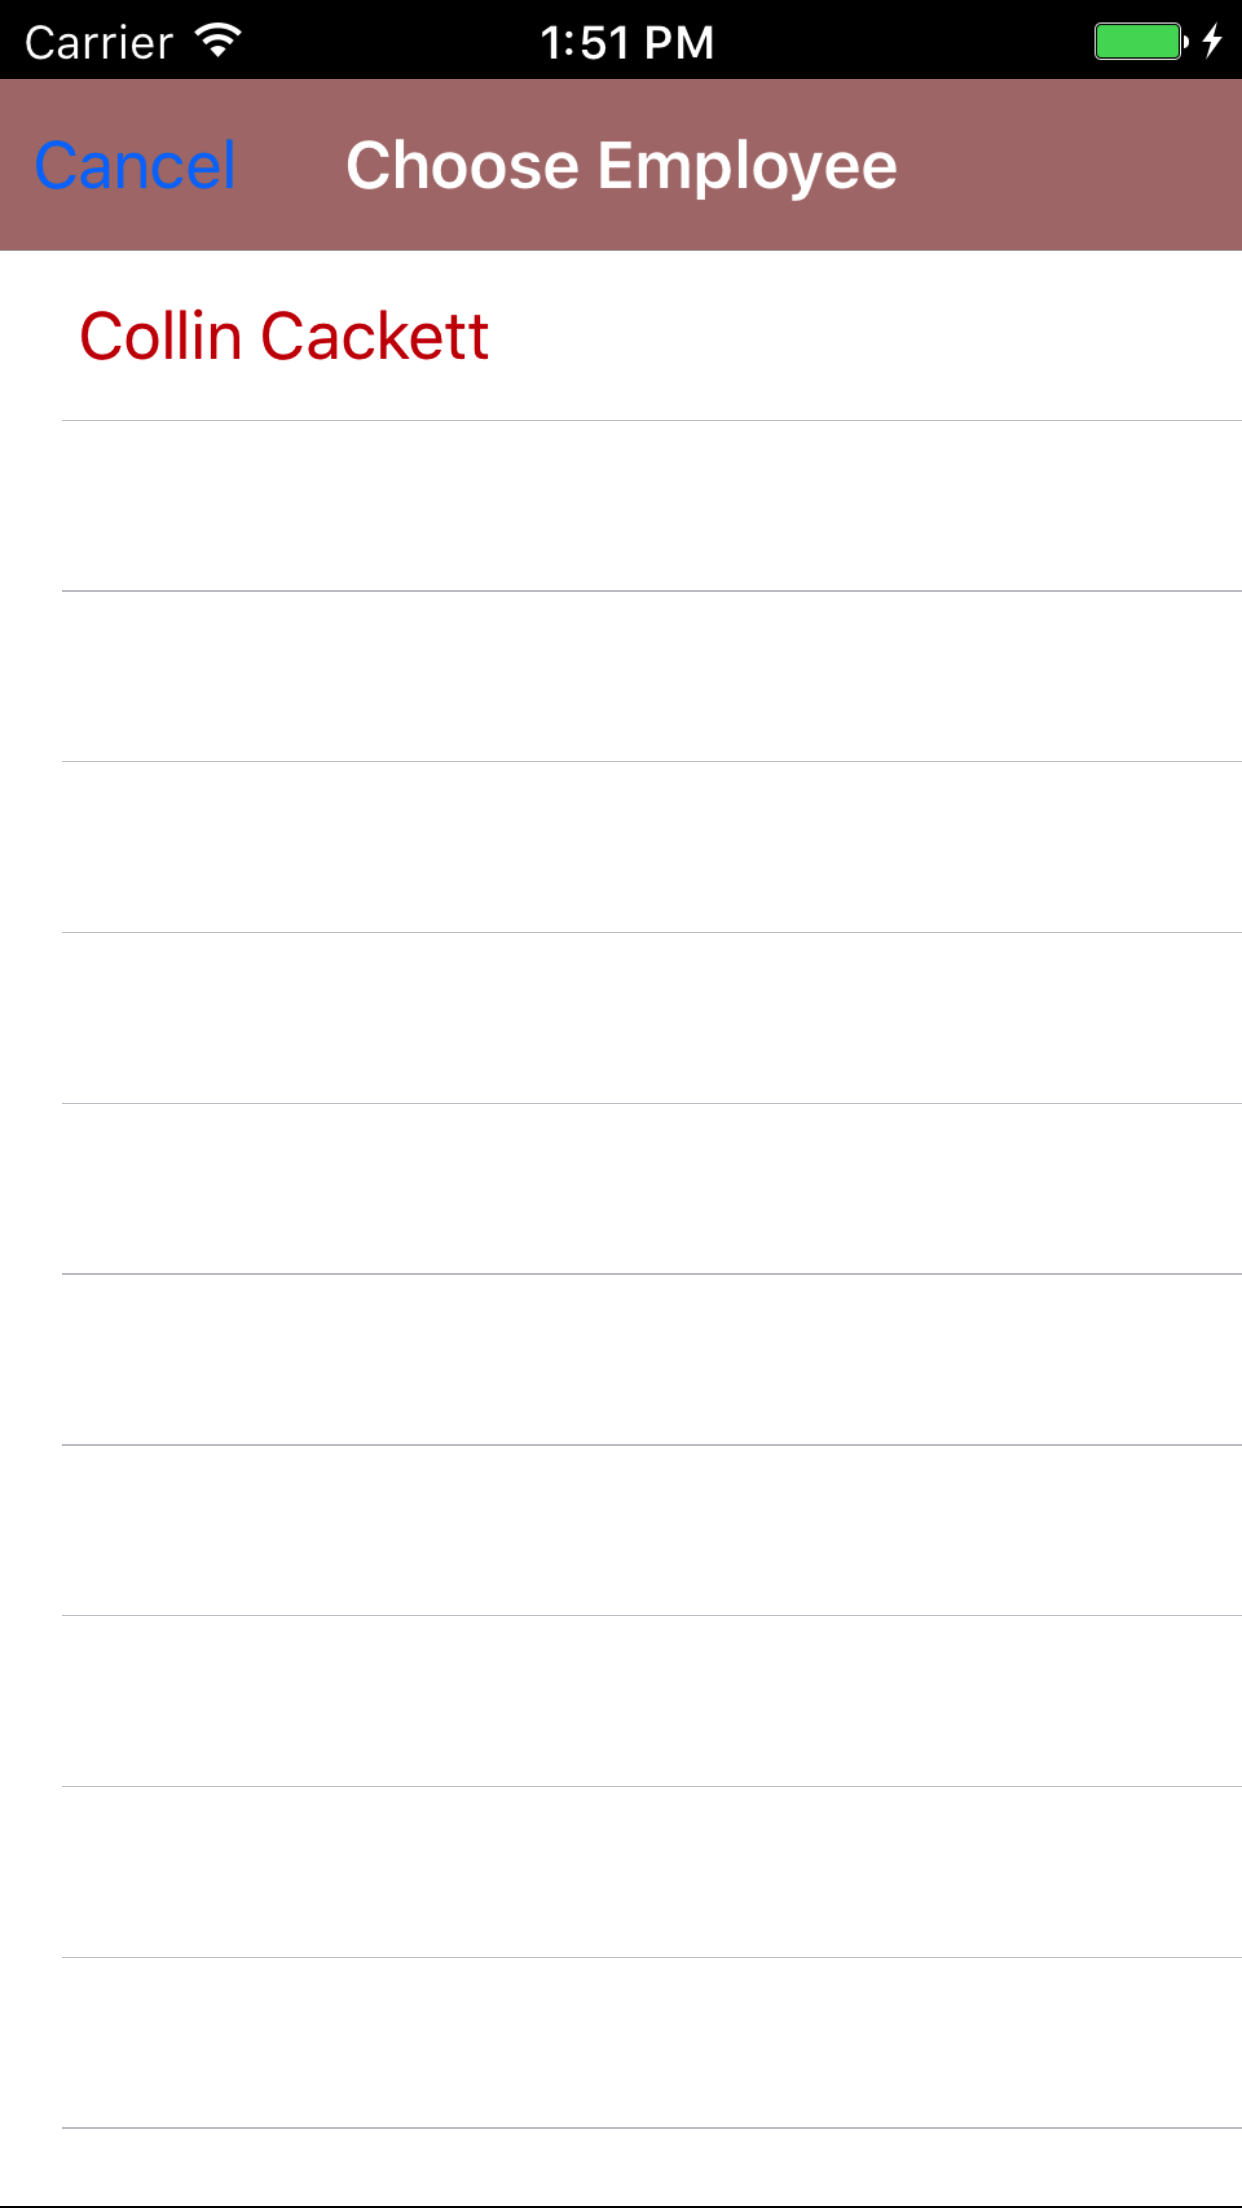
- Reading By: The reading by field also field staff to choose what employee whom took the gas monitoring reading in the confined space.
- Tap the Reading By field to open the Choose Employees screen.
- Scroll the list of employees until the desired employee is displayed on the screen.
- Tap the desired employee to select it or tap Back in the top left corner to leave the Reading By field unchanged and return to the Save Gas Monitoring screen.
- Reading Taken: The Reading Taken field refers to if the gas monitoring reading is taken pre purge or post purge.
- Tap Pre Purge on the Pre Purge|Post Purge selector to indicate that a reading was taken Pre Purge.
- Reading: Enter the reading of the taken from the gas monitor of the level of a contaminant in the air. This is a numeric value.
- Tap Save in the top right corner of the screen to save the gas monitoring reading to the Confined Space Entry Report.
|
|
|
|
13.Add Gas Monitoring Reading |
|
Once on the Contaminant you would like to Edit
Steps
- Tap on the second tab, Gas Monitoring readings
- Tap on the + button in the top right corner of the screen.
- Reading Date/Time: The reading date/time field will display the date/time which the gas monitoring reading is taken.
- Tap the Entry Date/Time field to open the Choose Date/Time screen.
- Scroll the date wheel on the far left of the screen until the desired date/time is highlighted.
- Return to the Edit Gas Monitoring screen by either tapping Save in the top right corner to select the highlighted date or tapping Cancel in the top left corner to leave the Date/Time field unchanged.
- Reading By: The reading by field also field staff to choose what employee whom took the gas monitoring reading in the confined space.
- Tap the Reading By field to open the Choose Employees screen.
- Scroll the list of employees until the desired employee is displayed on the screen.
- Tap the desired employee to select it or tap Back in the top left corner to leave the Reading By field unchanged and return to the Save Gas Monitoring screen.
- Reading Taken: The Reading Taken field refers to if the gas monitoring reading is taken pre purge or post purge.
- Tap Pre Purge on the Pre Purge|Post Purge selector to indicate that a reading was taken Pre Purge.
- Reading: Enter the reading of the taken from the gas monitor of the level of a contaminant in the air. This is a numeric value.
- Tap Save in the top right corner of the screen to save the gas monitoring reading to the Confined Space Entry Report.
|
|
|
|
| Steps 1-2 |
|
|
|
| Step 3 |
|
|
| Step 4 |
|

|
| Step 5-7 |
|
|
14.Delete Gas Monitoring Reading |
|
Once on the Contaminant detail for the contaminant you would like to Edit
Steps
- Tap on the second tab, the gas monitoring reading tab of the edit contaminant view.
Gas Monitoring values are listed in descending order with the contaminant name in red text,
the reading in blue text, and the date in black text.
- Scroll the list of gas monitoring records until the desired gas monitoring record is displayed on the screen.
- Swipe from the right edge to the left to bring up the delete button for the gas monitoring reading.
- Tap the Delete button. The gas monitoring reading will be deleted.
|
|
|
| Steps 1-3 |
|

|
| Steps 4-5 |
|
|
|
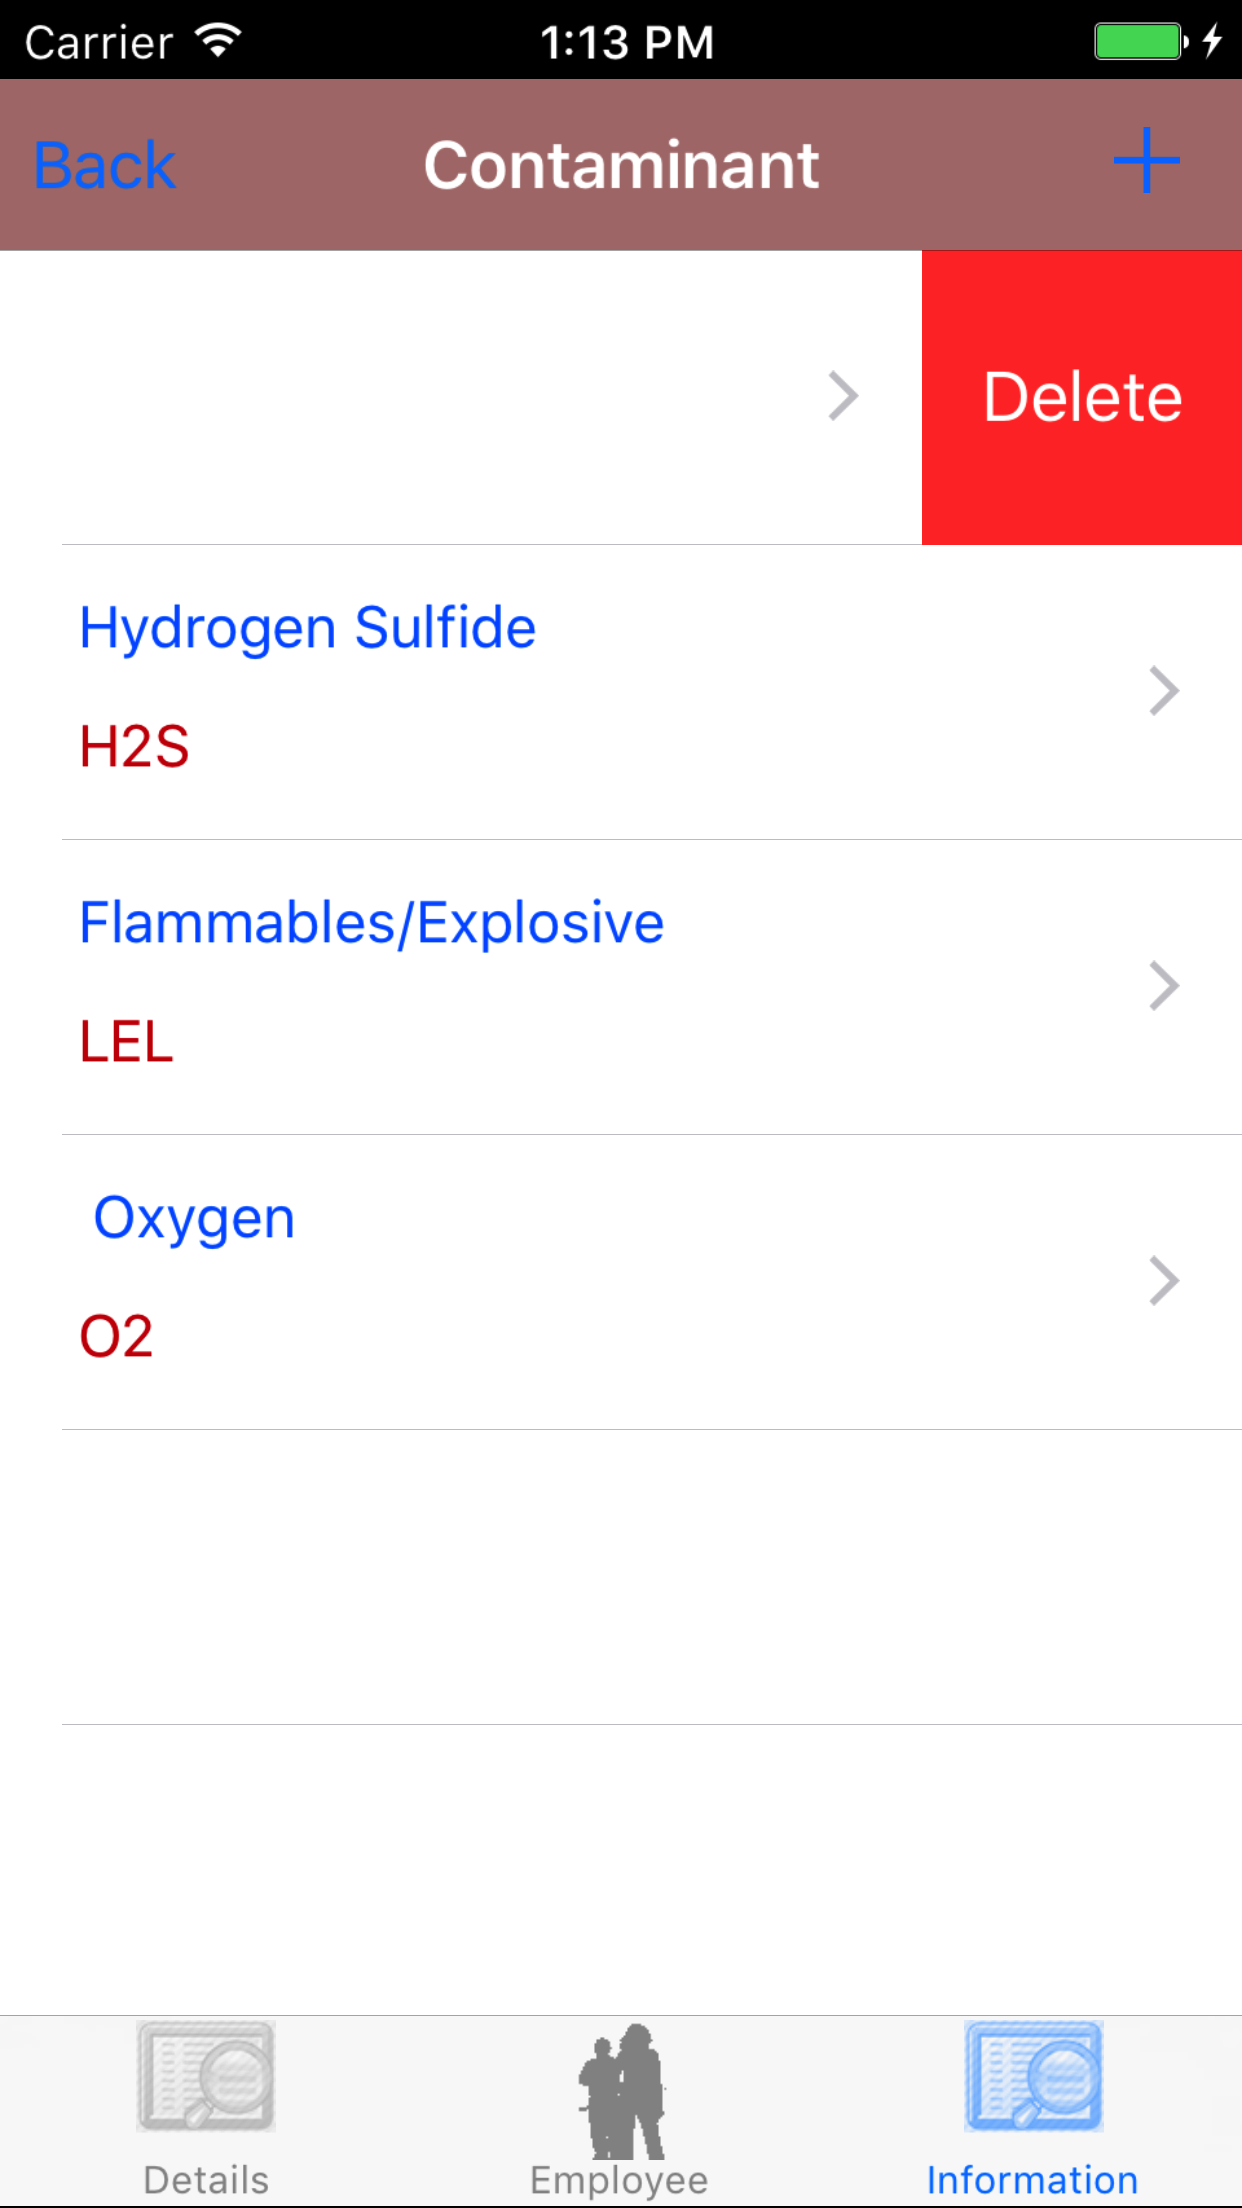
15.Delete Contaminant |
|
Once on the Confined Space Entry Report you would like to Edit
Steps
- Tap the Information icon at the button of the screen to open the Information screen.
- Tap the Gas Monitoring button to load the list of contaminants to be tested for on the confined space entry report.
Contaminants values are listed in descending order with the contaminant name in red text,
and the contaminant designation in blue text.
- Swipe from the right edge to the left to bring up the delete button for the contaminant.
- Tap the Delete button. The contaminant will be deleted.
|

|
| Steps 1-2 |
|
|
|
| Step 3 |
|
|
| Steps 4-5 |
|
|
|
16.Add Employee To Entry Log |
|
One part of confined space entry report is to track the entry and exit of field staff from the confined space. Ensuring staffs whereabouts are track in ensuring
the safety of all field staff involved.
Once on the Confined Space Entry Report you would like to Edit
Steps
- Tap the Information icon at the button of the screen to open the Information screen.
- Tap the Entry / Exit Log button to load the list of employees involved in the entry to the confined space.
Entry Employees are listed in descending order with employee names in black text,
the entry status in red text, and the entry count in blue text.
- Tap the + icon in the top right corner to open the Confined Space Employees list.
Employees are listed in descending order of last name.
- Scroll the list of employees until the desired employee is displayed on the screen.
- Tap the employee to add to the entry log.
Error Messages on Add Employee to Entry Log if
- Employee cannot be added twice: if employee added twice a error message will appear telling users employee cannot be added twice to entry log.
|
|
|
|
| Steps 1-2 |
|

|
| Step 3 |
|
|
|
| Steps 4-5 |
|
|
|
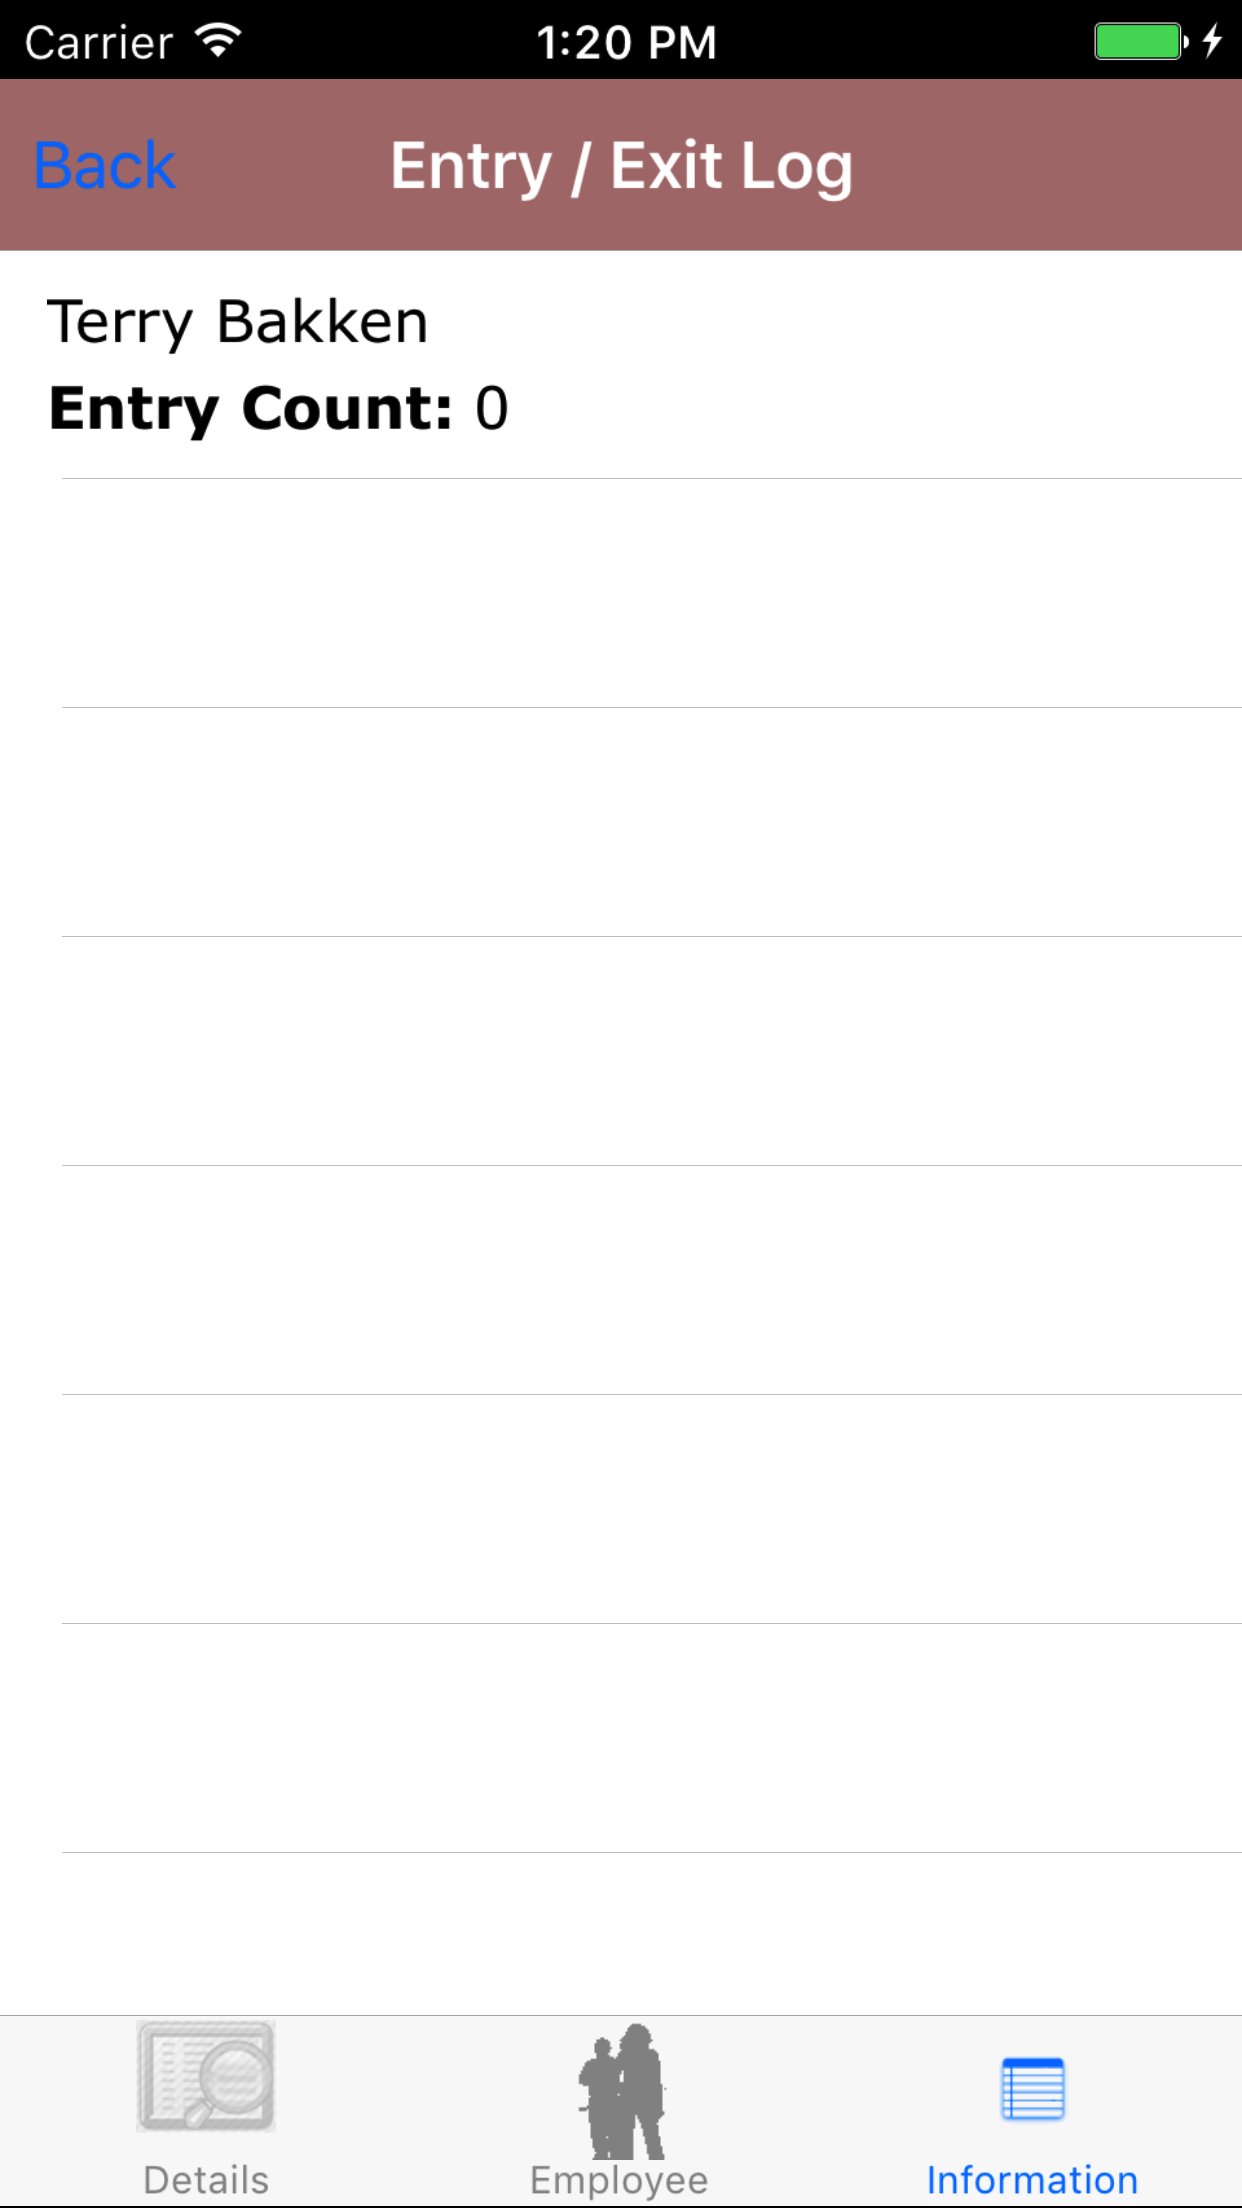
17.Look Up Employee Entry Log |
|
Once on the Confined Space Entry Report you would like to Edit
Steps
- Tap the Information icon at the button of the screen to open the Information screen.
- Tap the Entry / Exit Log button to load the list of employees involved in the entry to the confined space.
Entry Employees are listed in descending order with employee names in black text,
the entry status in red text, and the entry count in blue text.
- Scroll the list of entry employees until the desired employee is displayed on the screen.
- Tap the employee entry record to load the log.
|
|
|
| Steps 1-2 |
|
|
|
| Step 3 |
|
|
|
|
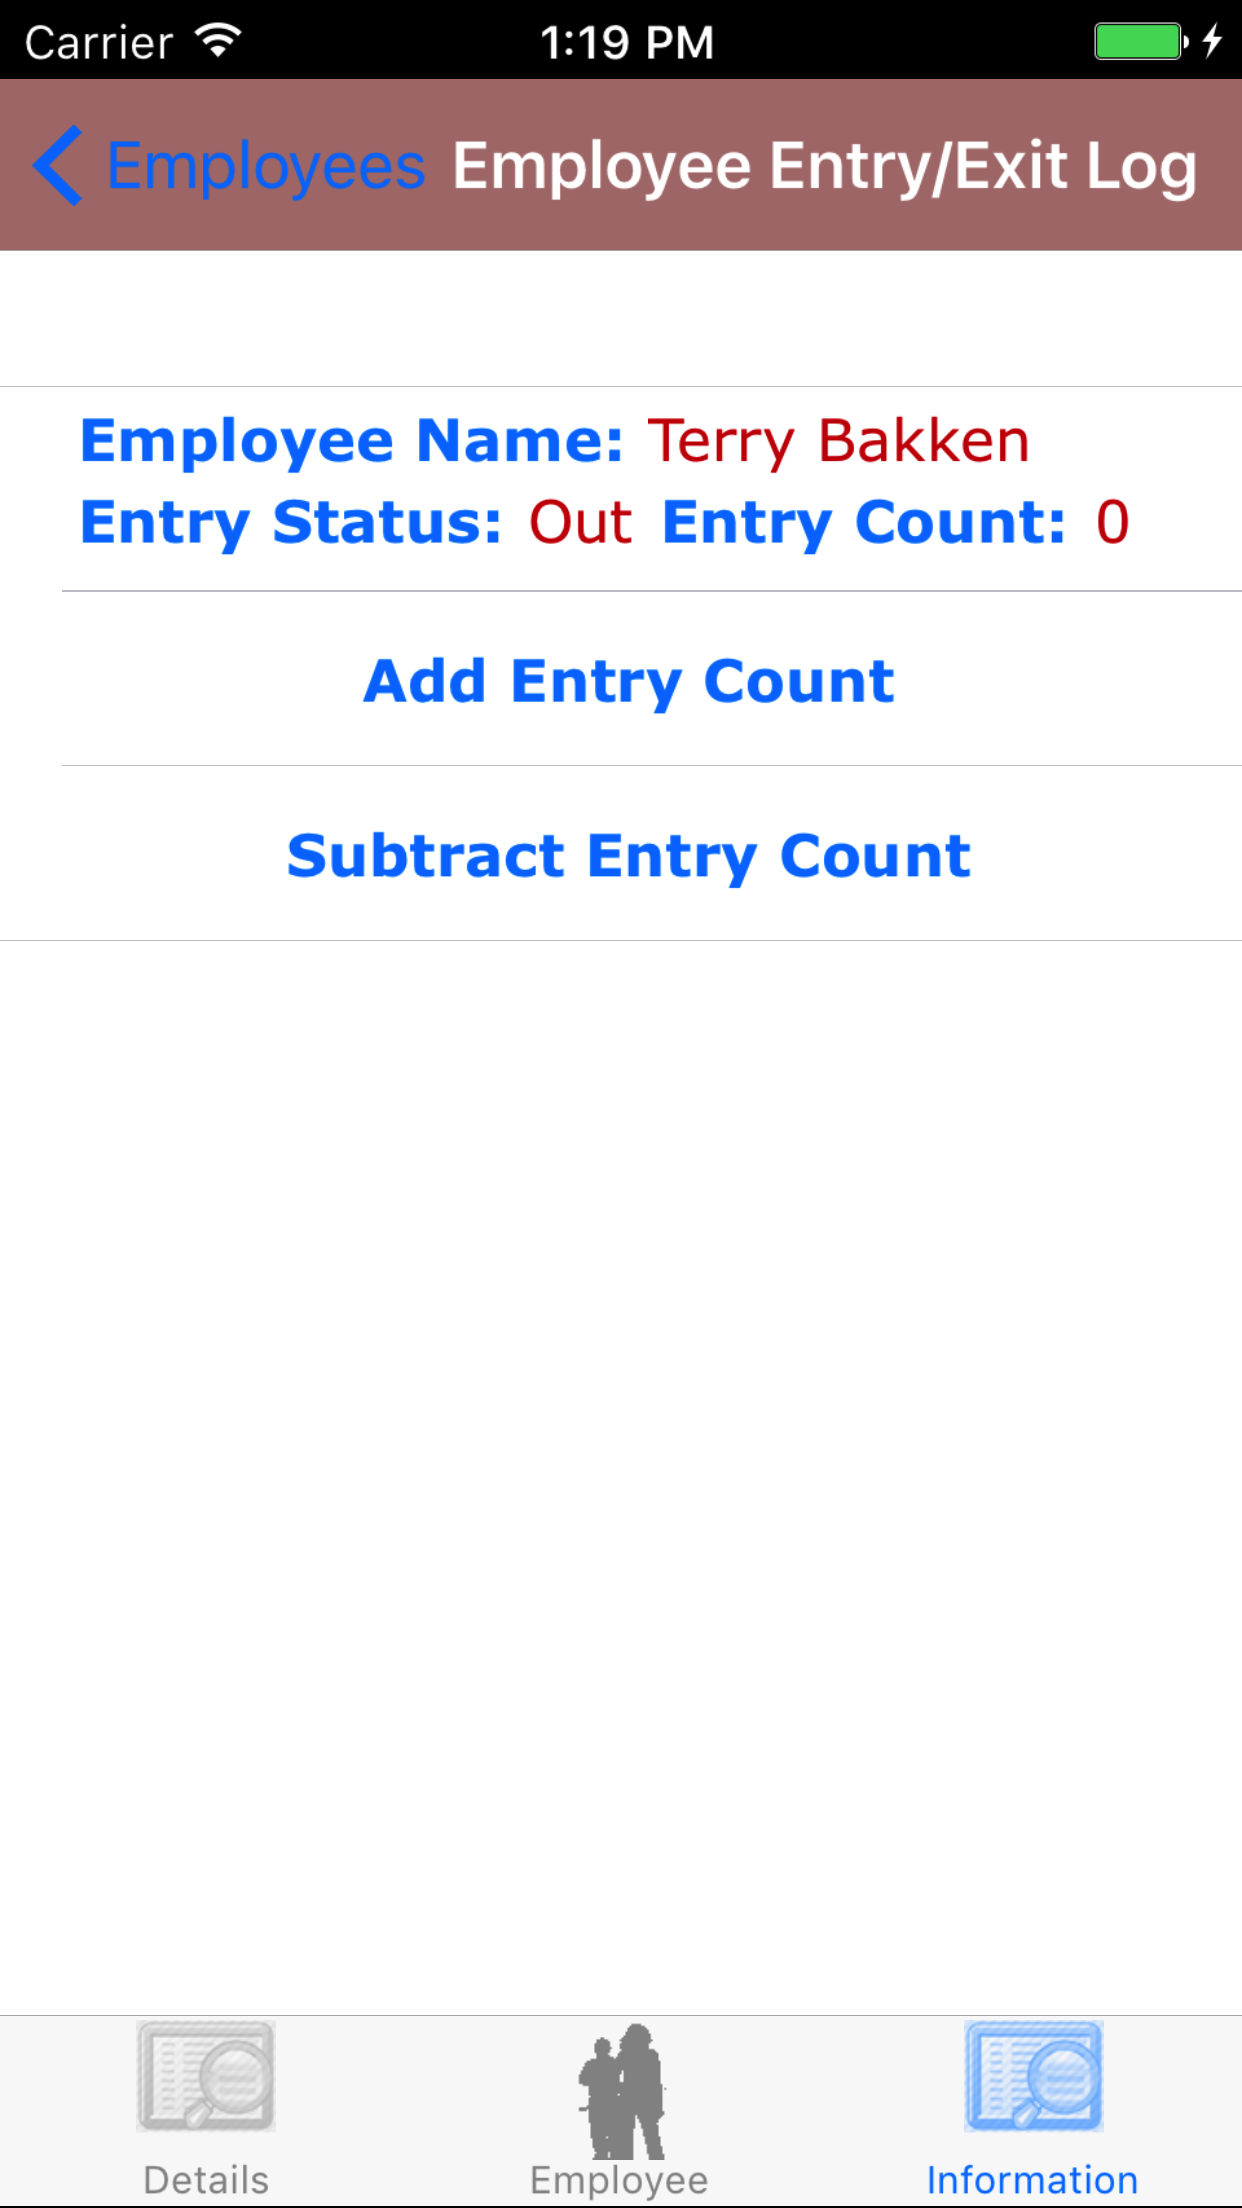
18.Record Employee Entry or Exit (Add Entry Count) |
|
Once on the Employee Entry Log screen you would like to Edit
Steps
- Tap the Add Entry Count button, to changed the status of the employee. Tapping the add entry count will increase the count.
|
|
| Step 1 |
|
|
19.Record Employee Entry or Exit (Subtract Entry Count) |
|
Once on the Employee Entry Log screen you would like to Edit
Steps
- Tap the Subtract Entry Count button, to changed the status of the employee. Tapping the subtract entry count will decrease the count.
|
|
|
| Step 1 |
|
|
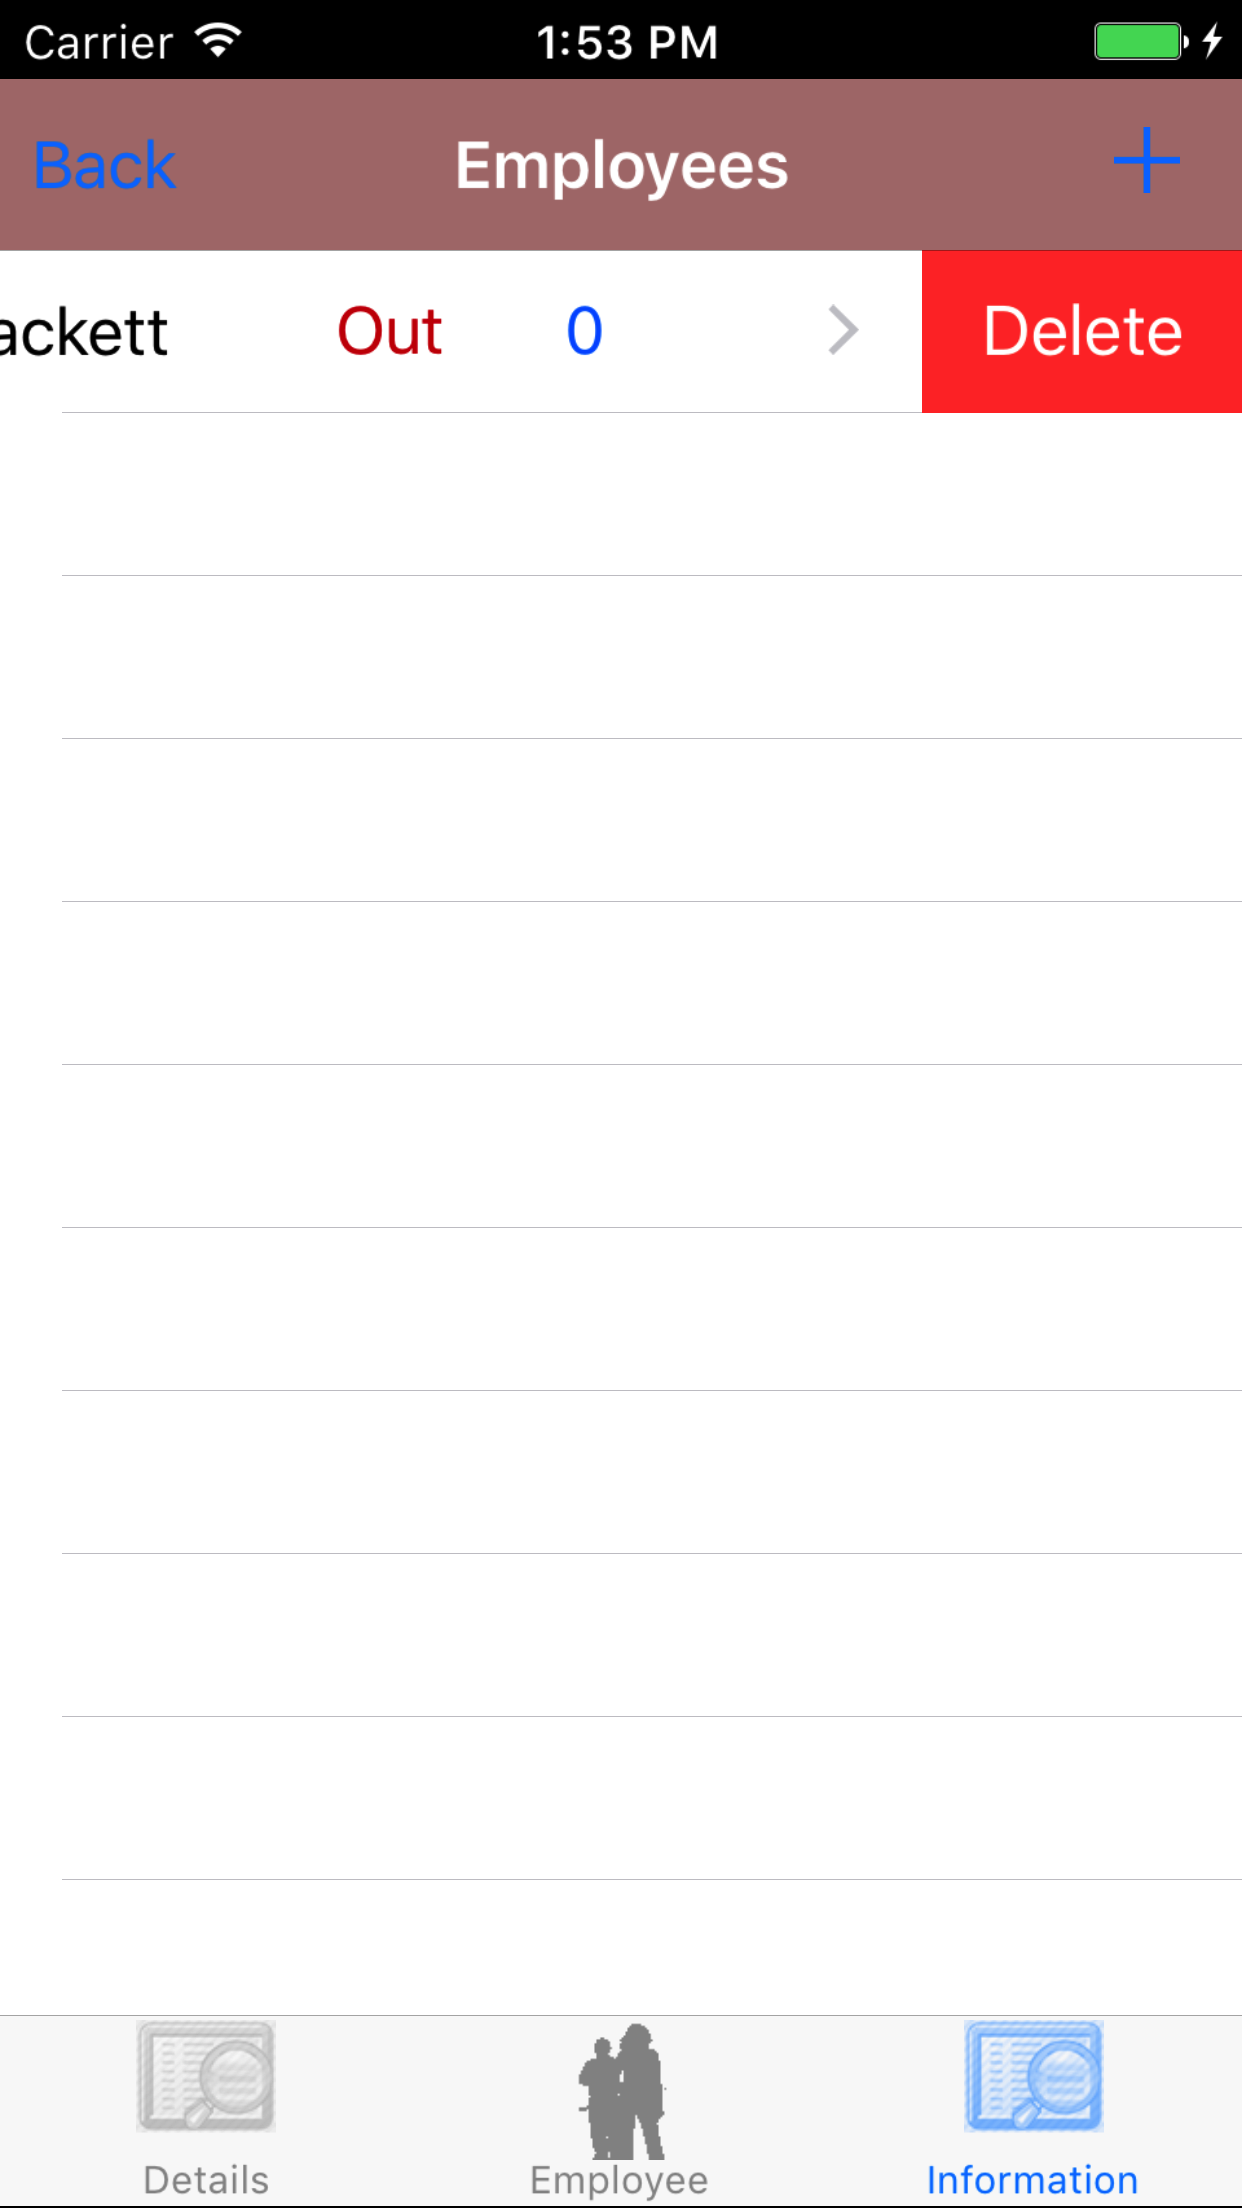
20.Delete Entry Log Employee |
|
Once on the Confined Space Entry Report you would like to Edit
Steps
- Tap the Information icon at the button of the screen to open the Information screen.
- Tap the Entry / Exit Log button to load the list of employees involved in the entry to the confined space.
Entry Employees are listed in descending order with employee names in black text,
the entry status in red text, and the entry count in blue text.
- Scroll the list of entry employees until the desired employee is displayed on the screen.
- Swipe from the right edge to the left to bring up the delete button for the employee entry log.
- Tap the Delete button. The employee entry log will be deleted.
|
|
|
|
| Steps 1-2 |
|
|
|
| Step 3 |
|
|
| Steps 4-5 |
|
|
21.Look Up Considerations |
|
Considerations are added to the Confined Space Entry Report upon creation the list of considerations added to every
Confined Space Entry Report are added from each companies list of Company Confined Space Considerations. Management and Safety Officers
can add to the list. In the Considerations section users will check off considerations which will apply to this confined space entry.
Once on the Confined Space Entry Report you would like to Edit
Steps
- Tap the Information icon at the button of the screen to open the Information screen.
- Tap the Considerations button to load the list of considerations that should be considered during the entry to the confined space.
|
|
|
| Step 1 |
|
|
| Step 2 |
|
|
|
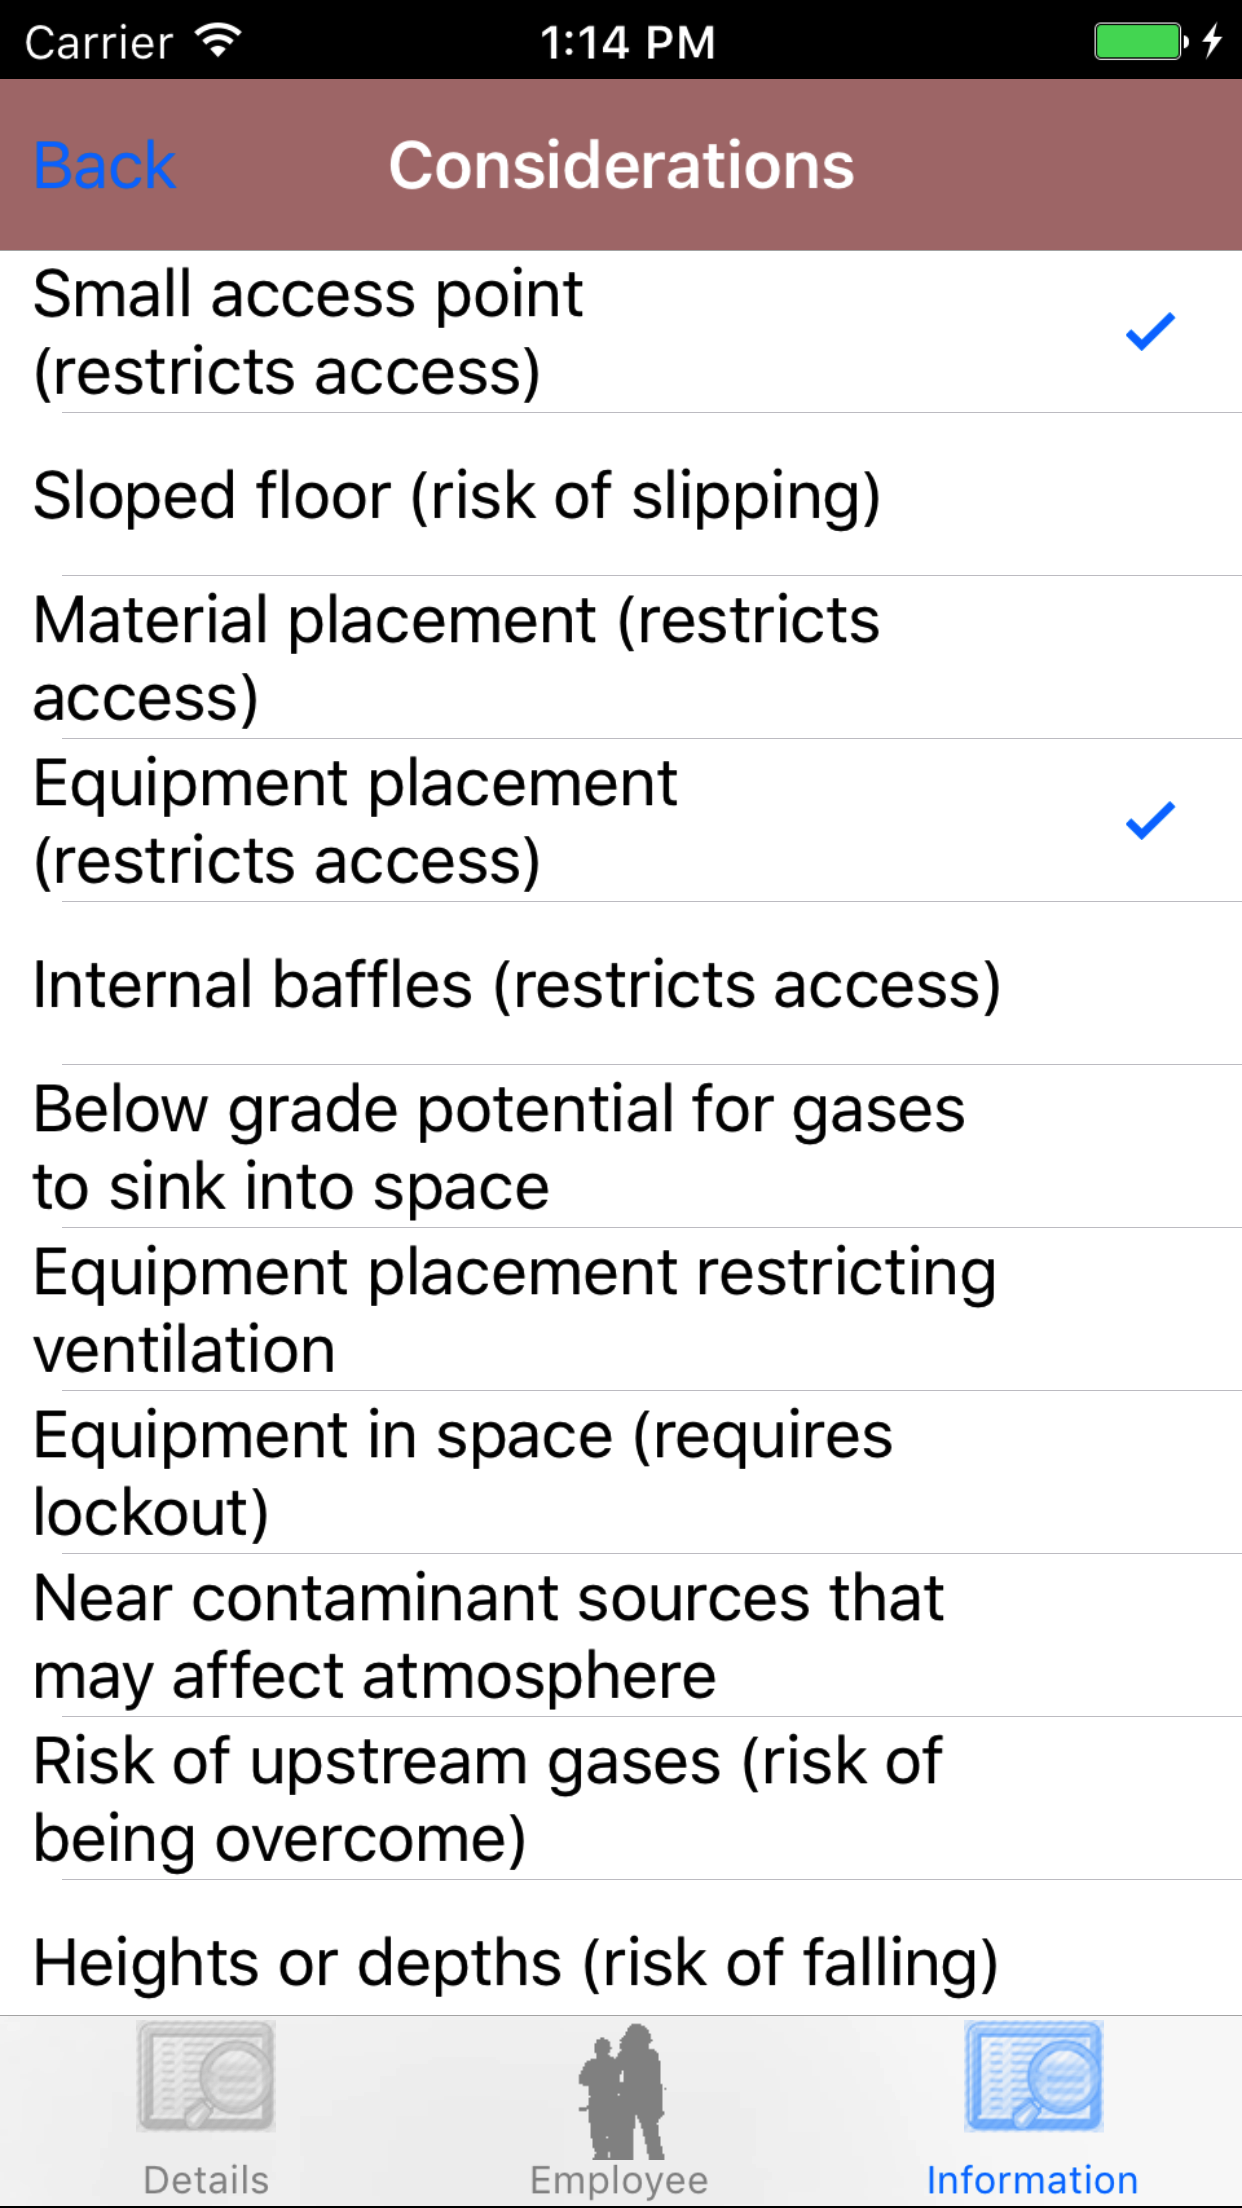
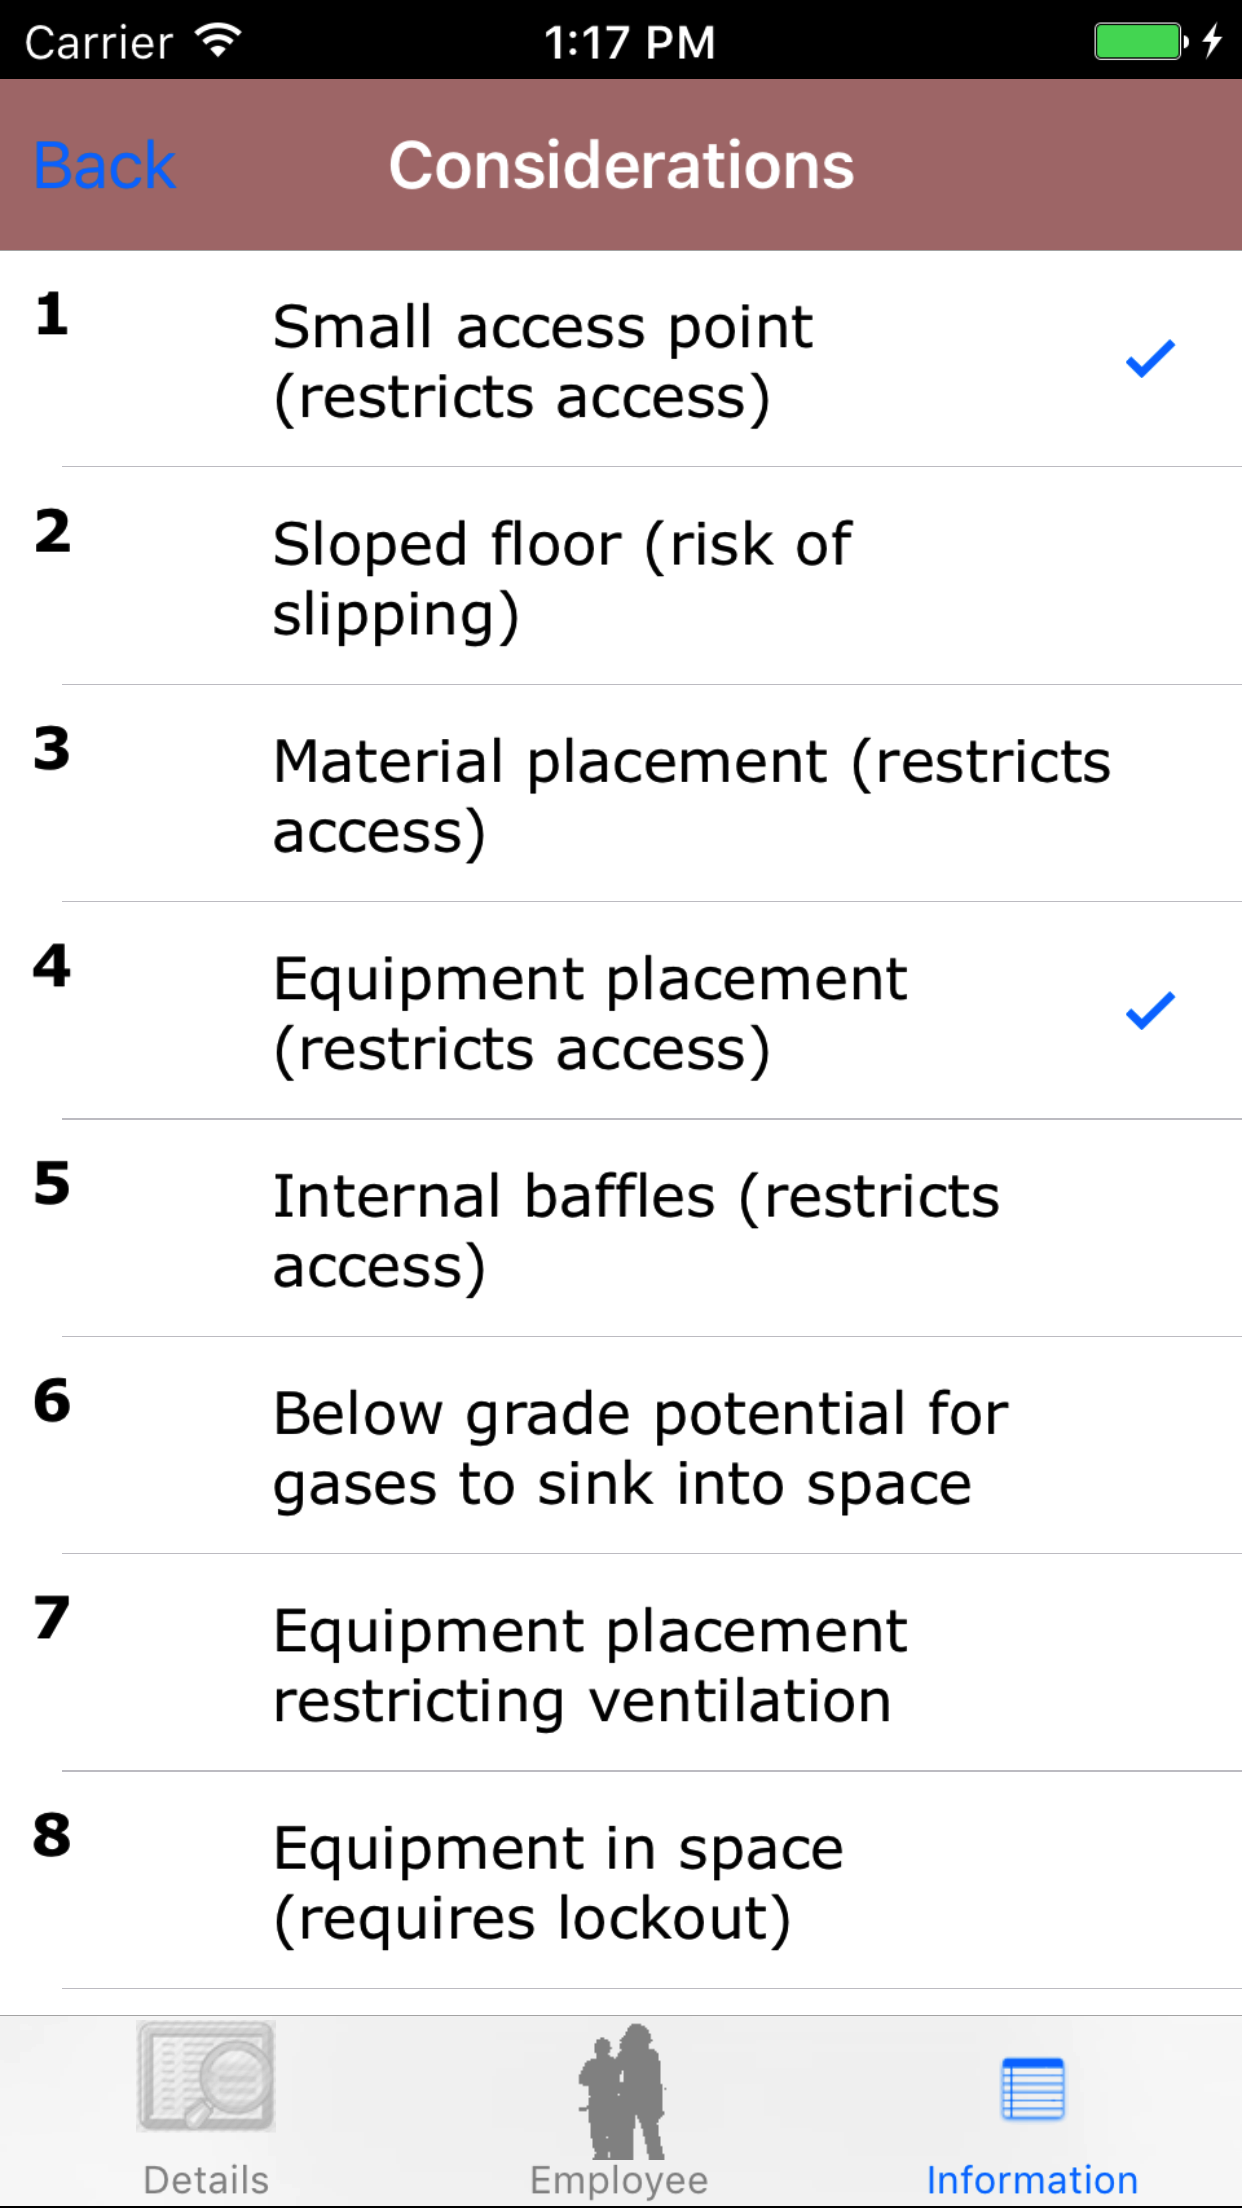
22.Mark Considerations |
|
Considerations are added to the Confined Space Entry Report upon creation the list of considerations added to every
Confined Space Entry Report are added from each companies list of Company Confined Space Considerations. Management and Safety Officers
can add to the list. In the Considerations section users will check off considerations which will apply to this confined space entry.
Once on the Confined Space Entry Report you would like to Edit
Steps
- Tap the Information icon at the button of the screen to open the Information screen.
- Tap the Considerations button to load the list of considerations that should be considered during the entry to the confined space.
- Scroll the list of consideration until the desired consideration is displayed on the screen.
- Tap the consideration and a checkmark will appear by the consideration. To un check the consideration Tap it again.
|
|
|
| Step 1 |
|
|
|
| Step 2-4 |
|
|
|
23.Add Personal Protective Equipment |
|
Personal Protective Equipment section allow field staff to add personal protective equipment to the require equipment to be used
on the confined space entry.
Once on the Confined Space Entry Report you would like to Edit
Steps
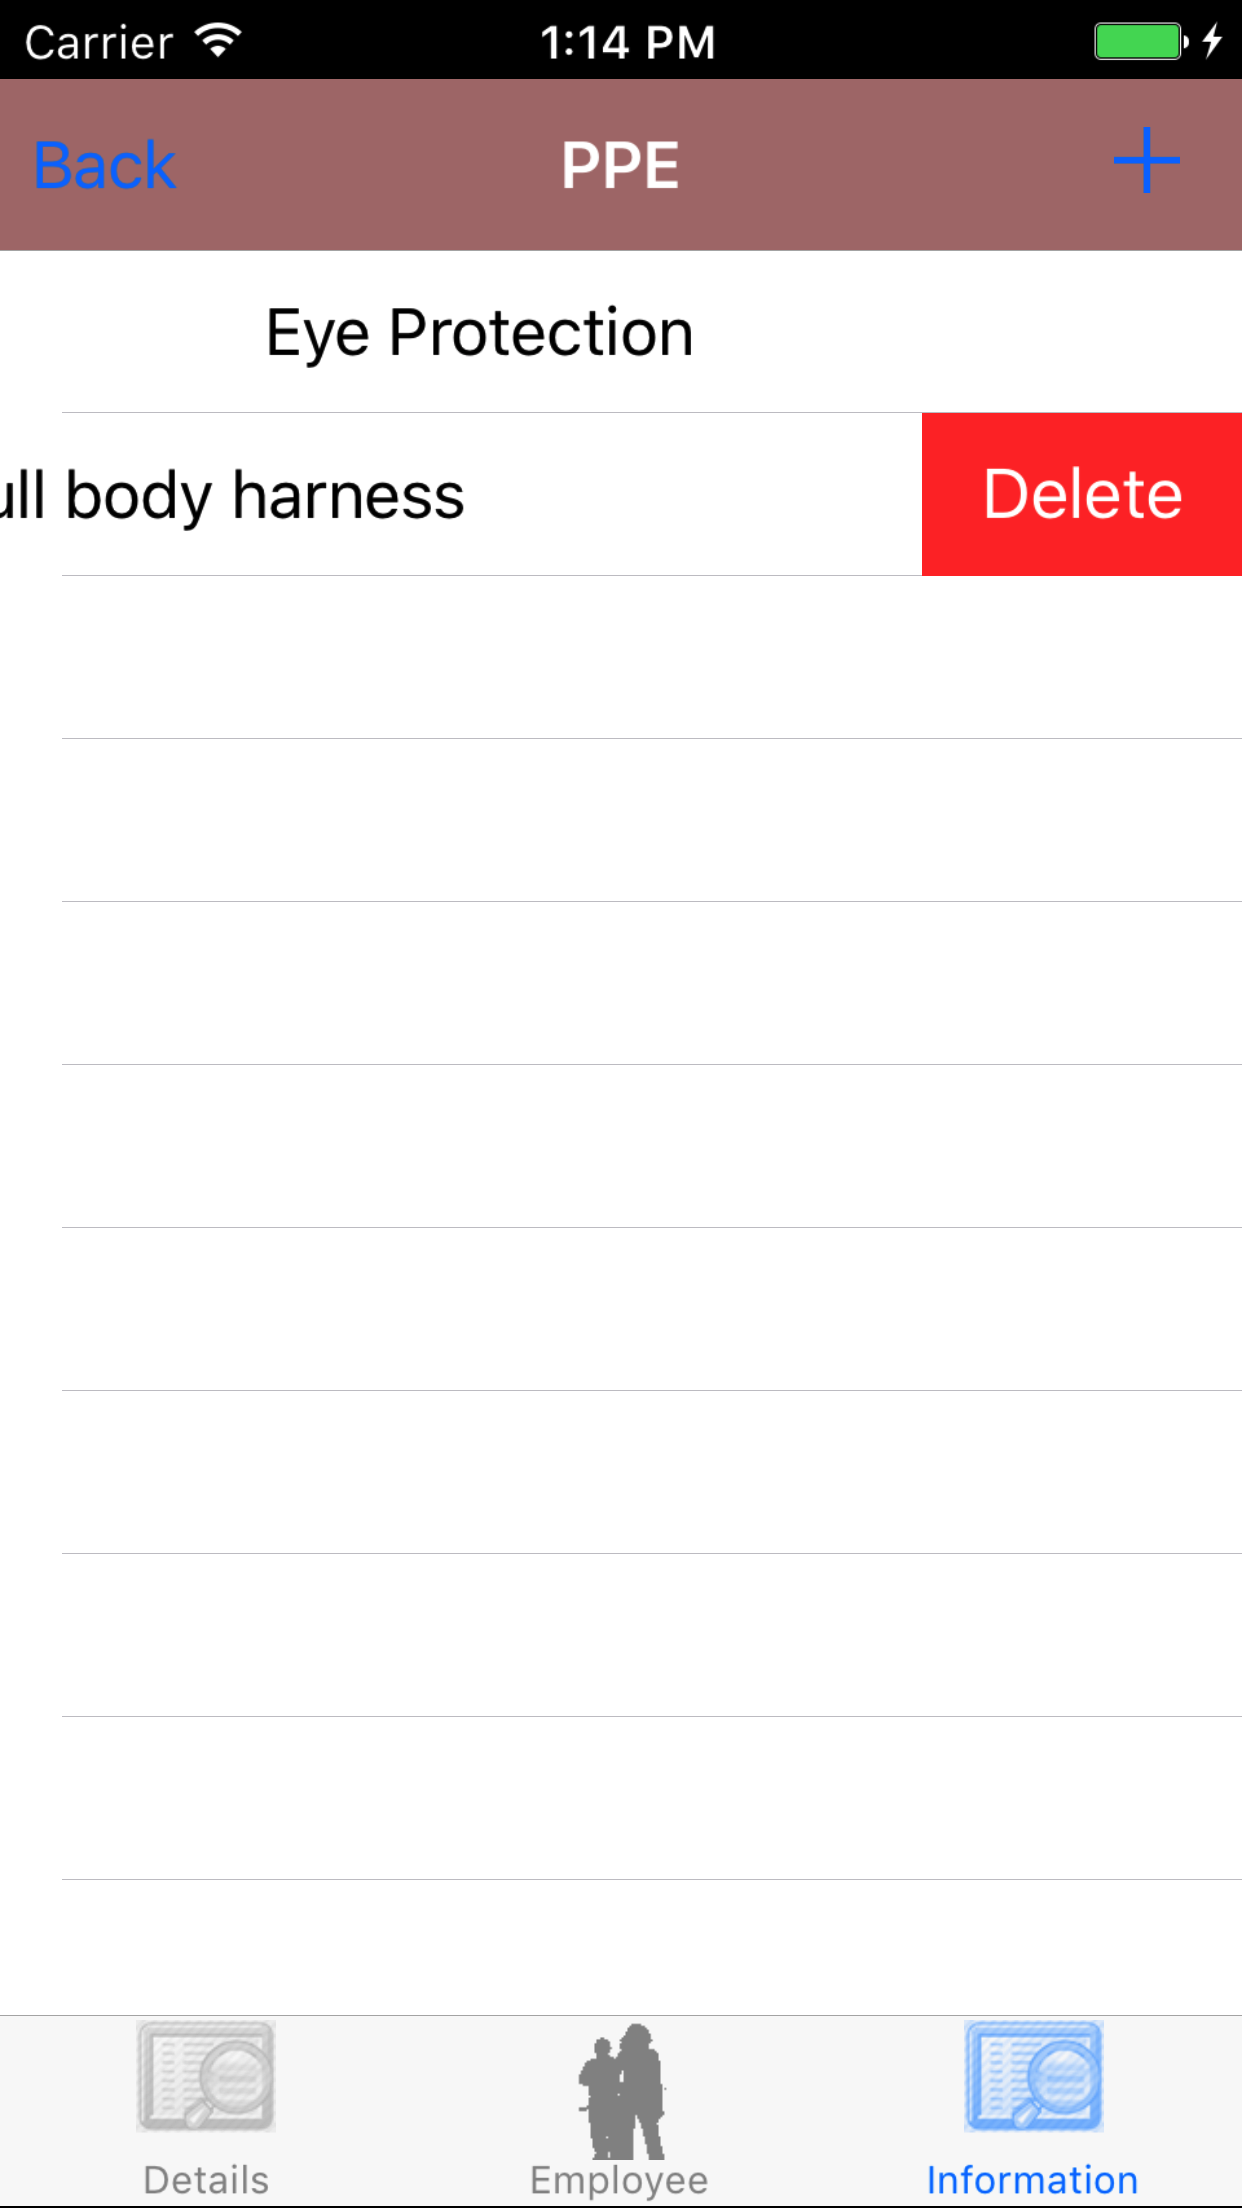
- Tap the Information icon at the button of the screen to open the Information screen.
- Tap the Personal Protective Equipment button to load the list of personal protective equipment that should be worn during the entry to the confined space.
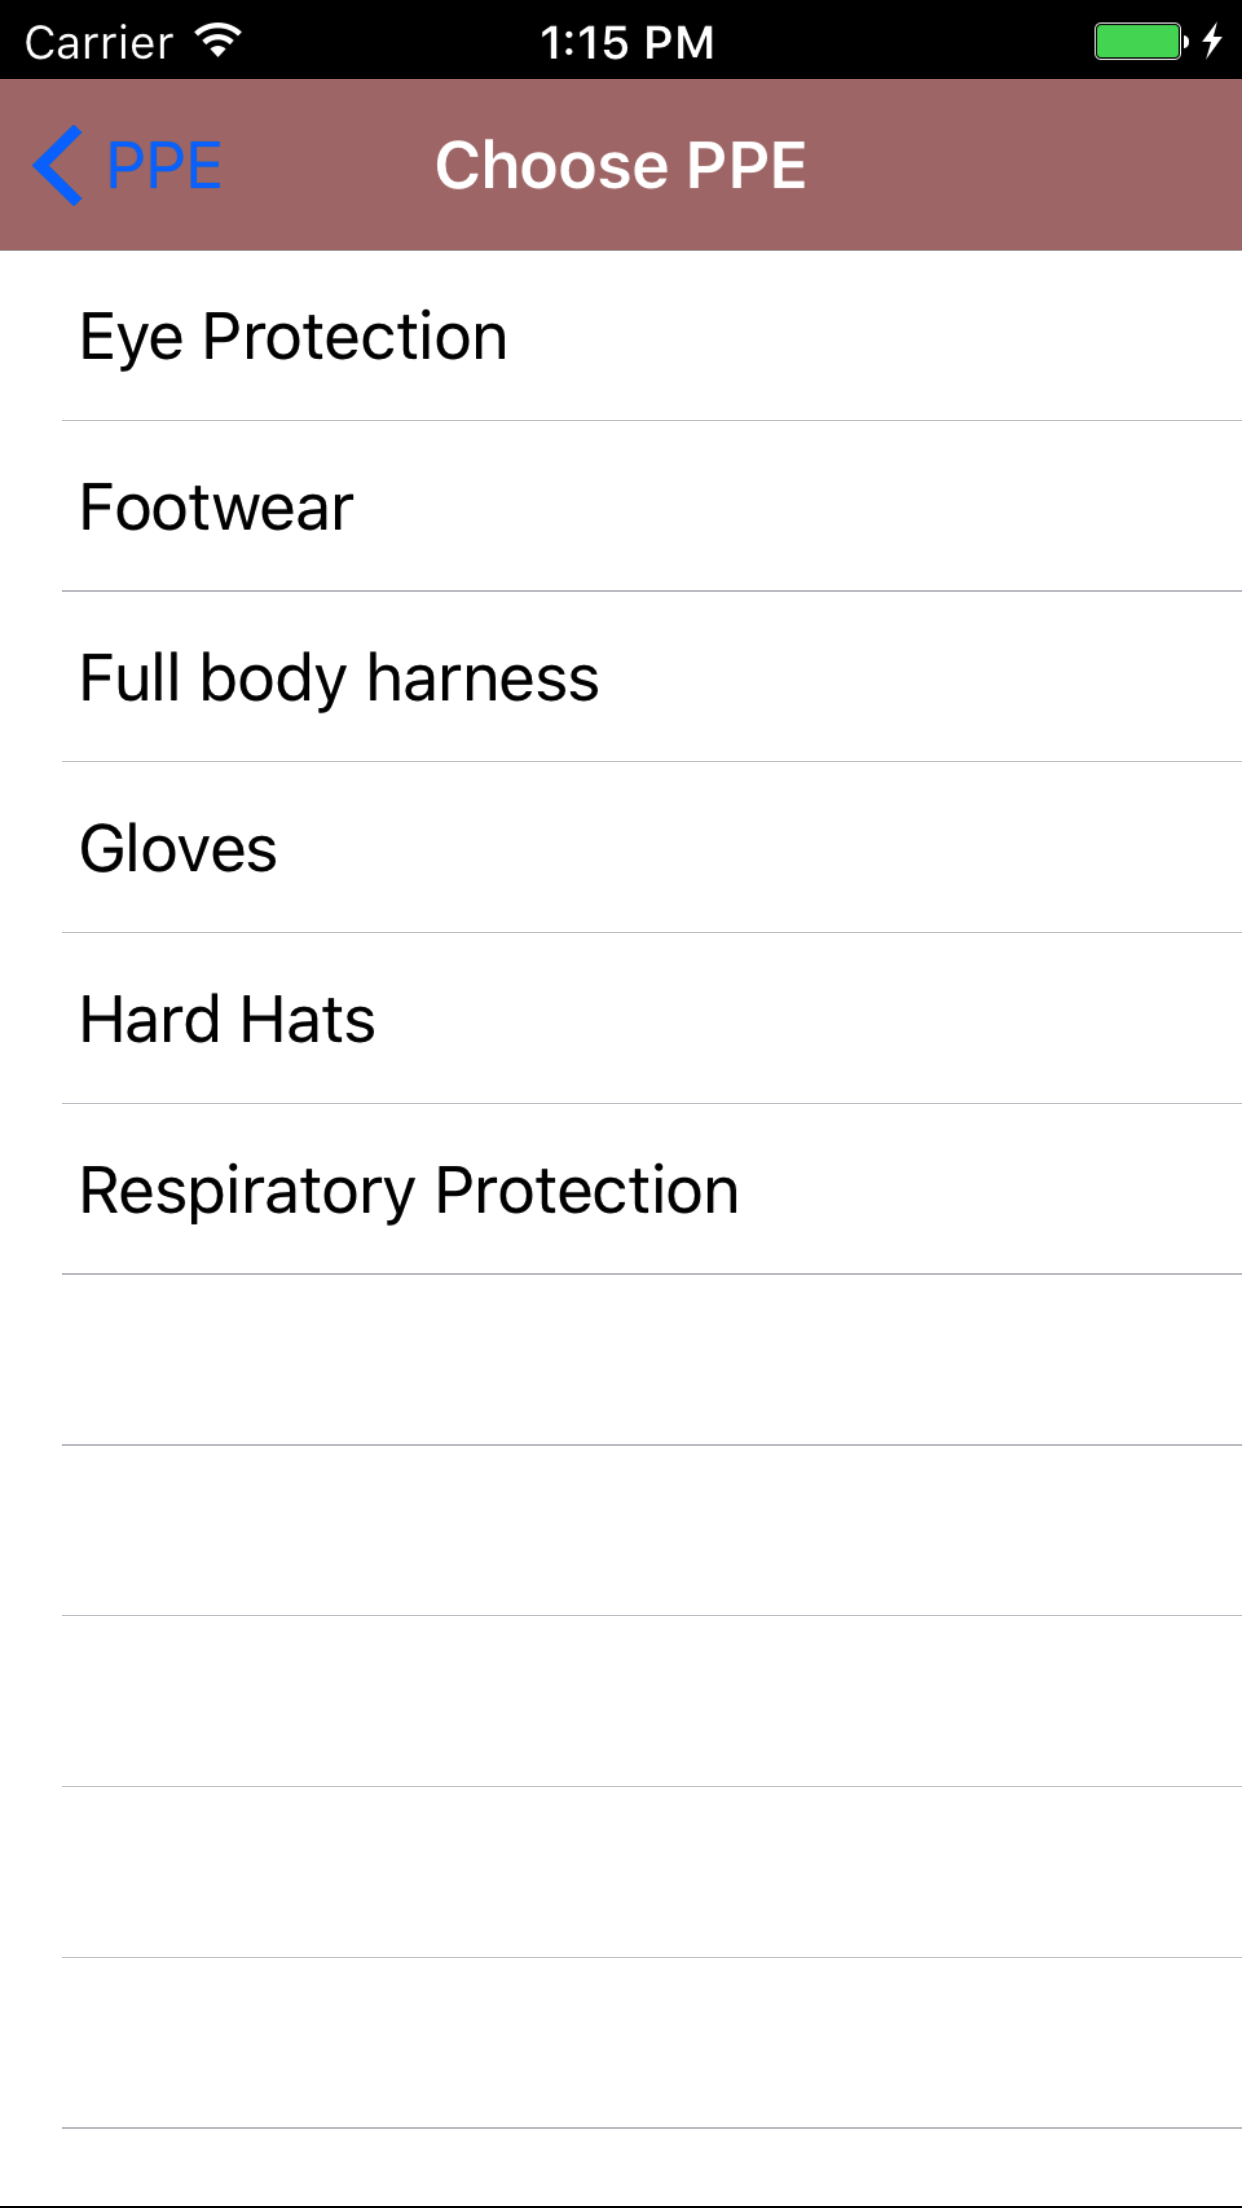
- Tap the + icon in the top right corner to open the Personal Protective Equipment list.
Personal Protective Equipment are listed in descending order of name.
- Scroll the list of personal protective equipment until the desired personal protective equipment is displayed on the screen.
- Tap the personal protective equipment to add to the confined space entry report.
Error Messages on Add Personal Protective Equipment if
- Equipment cannot be added twice: if equipment has been added twice a error message will appear telling users ppe cannot be added twice to confined space entry report.
|
|
|
| Steps 1-2 |
|

|
| Step 3 |
|
|
| Steps 4-5 |
|
|
|
24.Remove Personal Protective Equipment |
|
|
25.Add Control Measure |
|
Control Measures allow field staff to add descriptions of control measure which will be put in place for the safety of the field staff working in the confined space.
Once on the Confined Space Entry Report you would like to Edit
Steps
- Tap the Information icon at the button of the screen to open the Information screen.
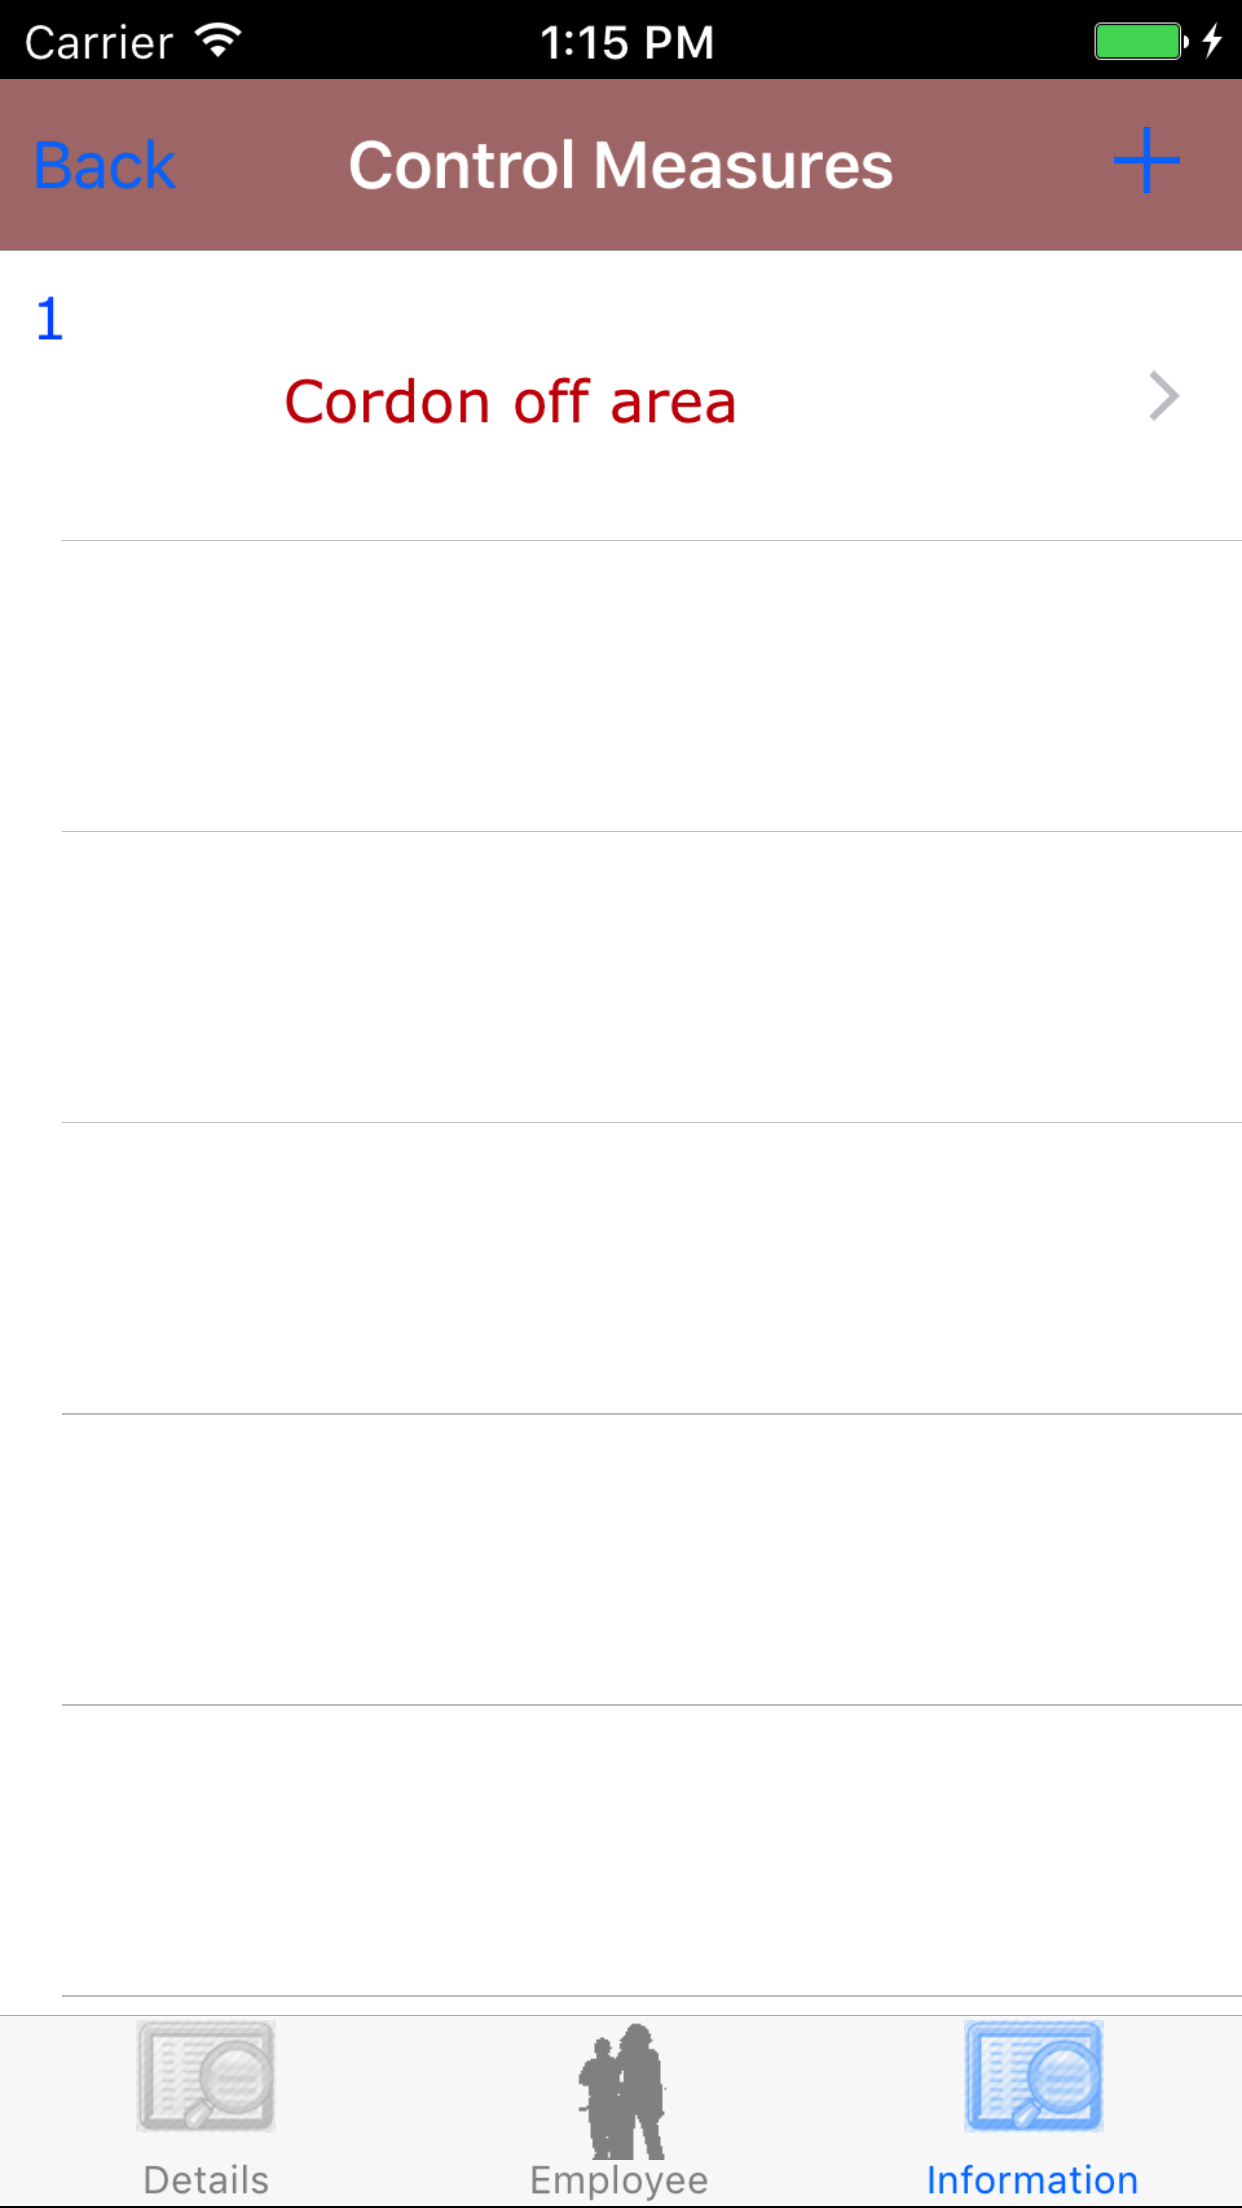
- Tap the Control Measure button to load the list of control measures added to the confined space entry report.
Control Measure values are listed in descending order of paragraph number with the paragraph in red text,
and the paragraph number in blue text.
- Tap the + icon in the top right corner to open the Add Control Measure screen.
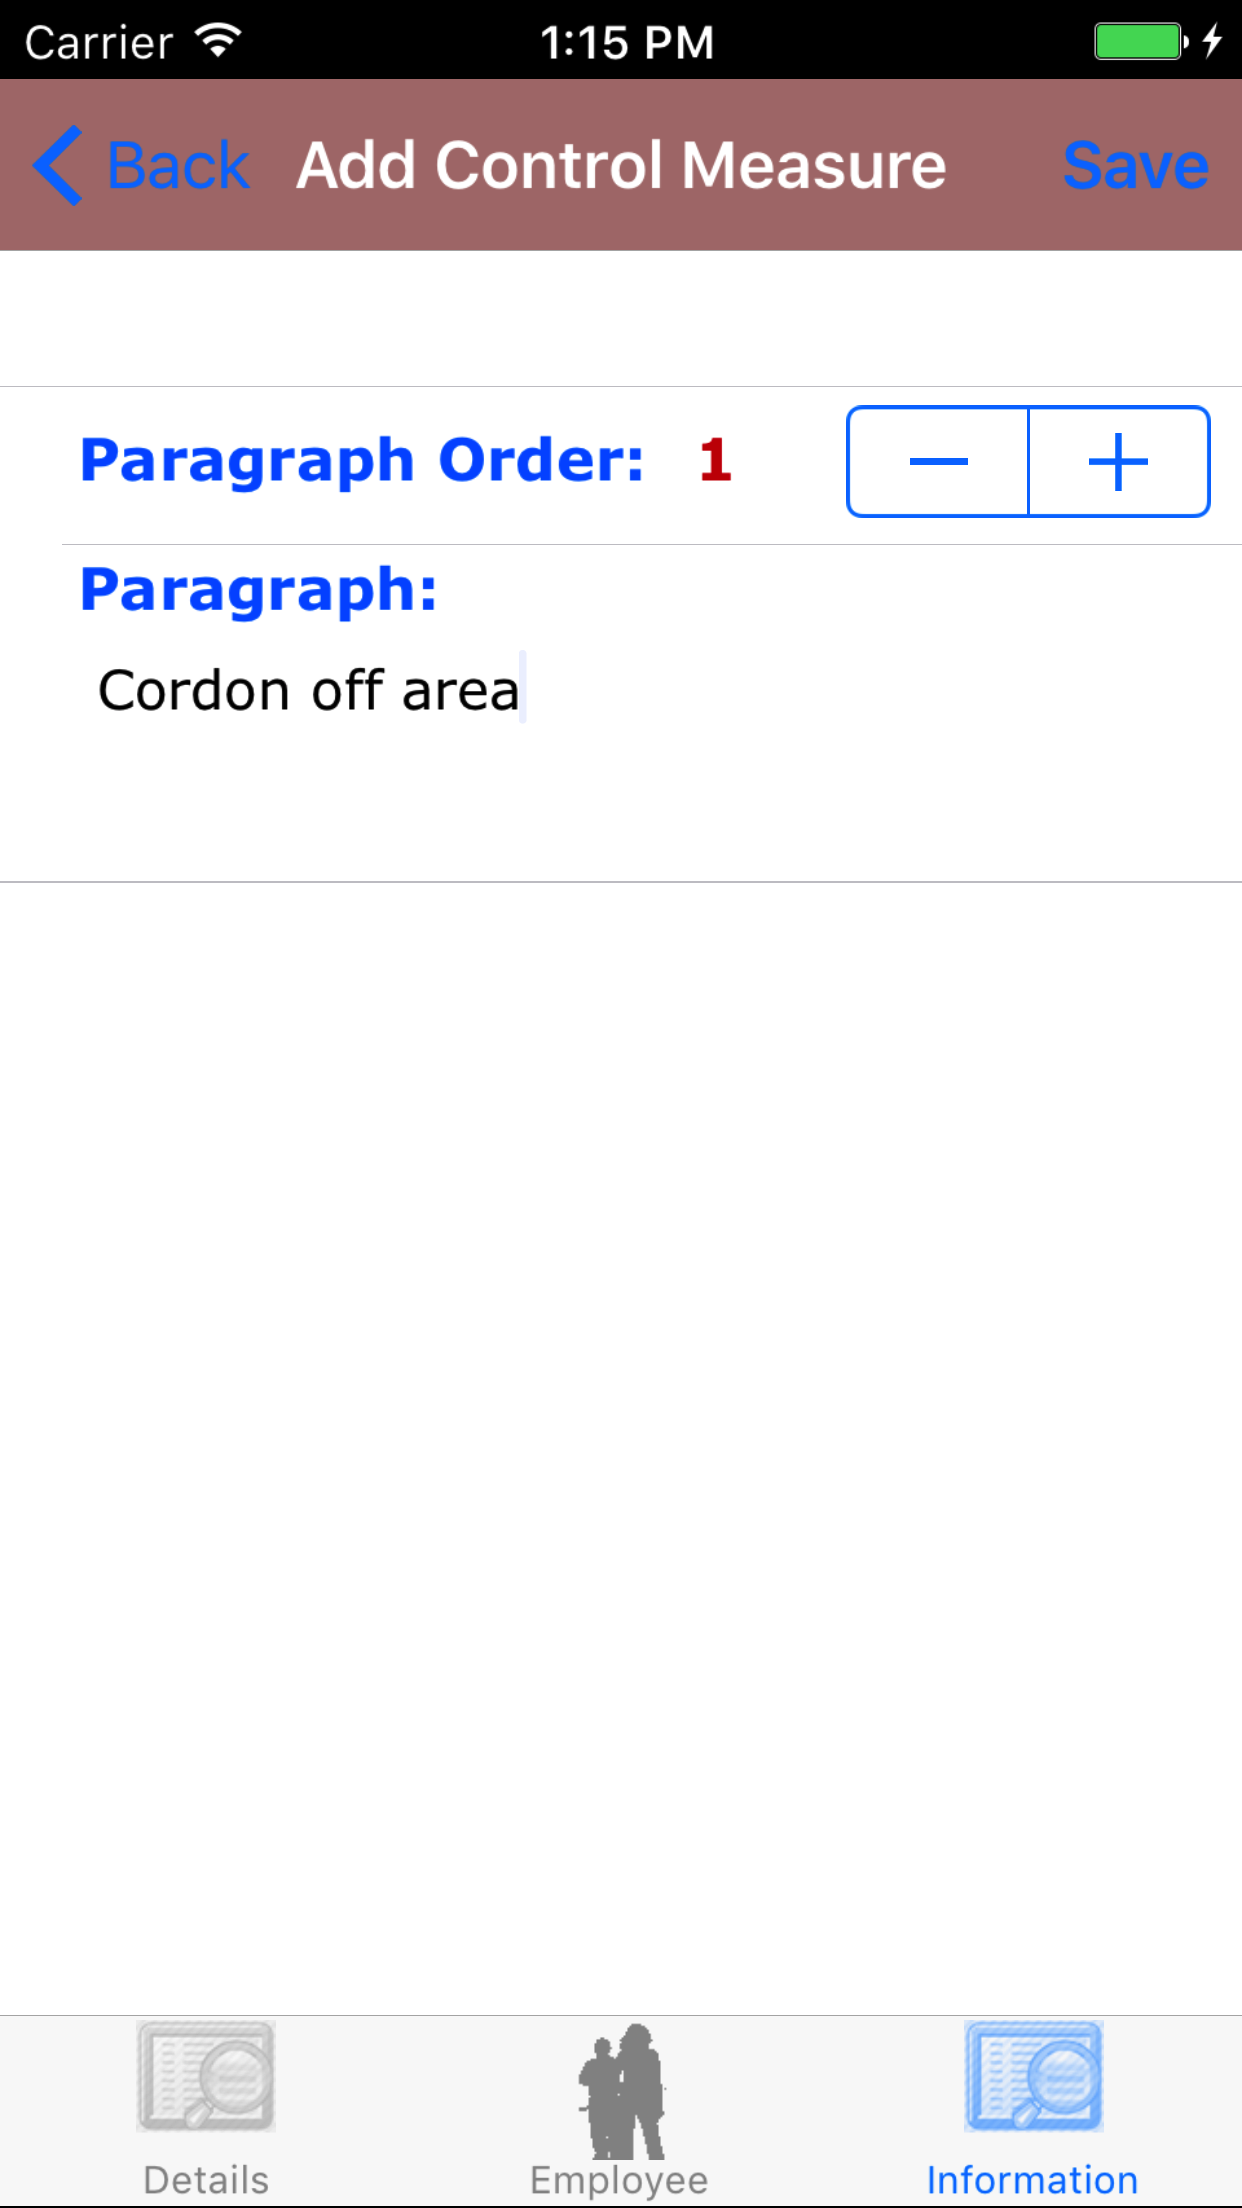
- Paragraph Order: Tap the stepper + or - to increase or decrease the value of the paragraph order field.
- Paragraph: Enter the description of the control measure.Paragraph is a required field. The character limit of this field is 500 characters.
- Tap Save in the top right corner of the screen to add the control measure to the Confined Space Entry Report.
|
|
|
|
| Steps 1-2 |
|
|
| Step 3 |
|
|
| Steps 4-7 |
|
|
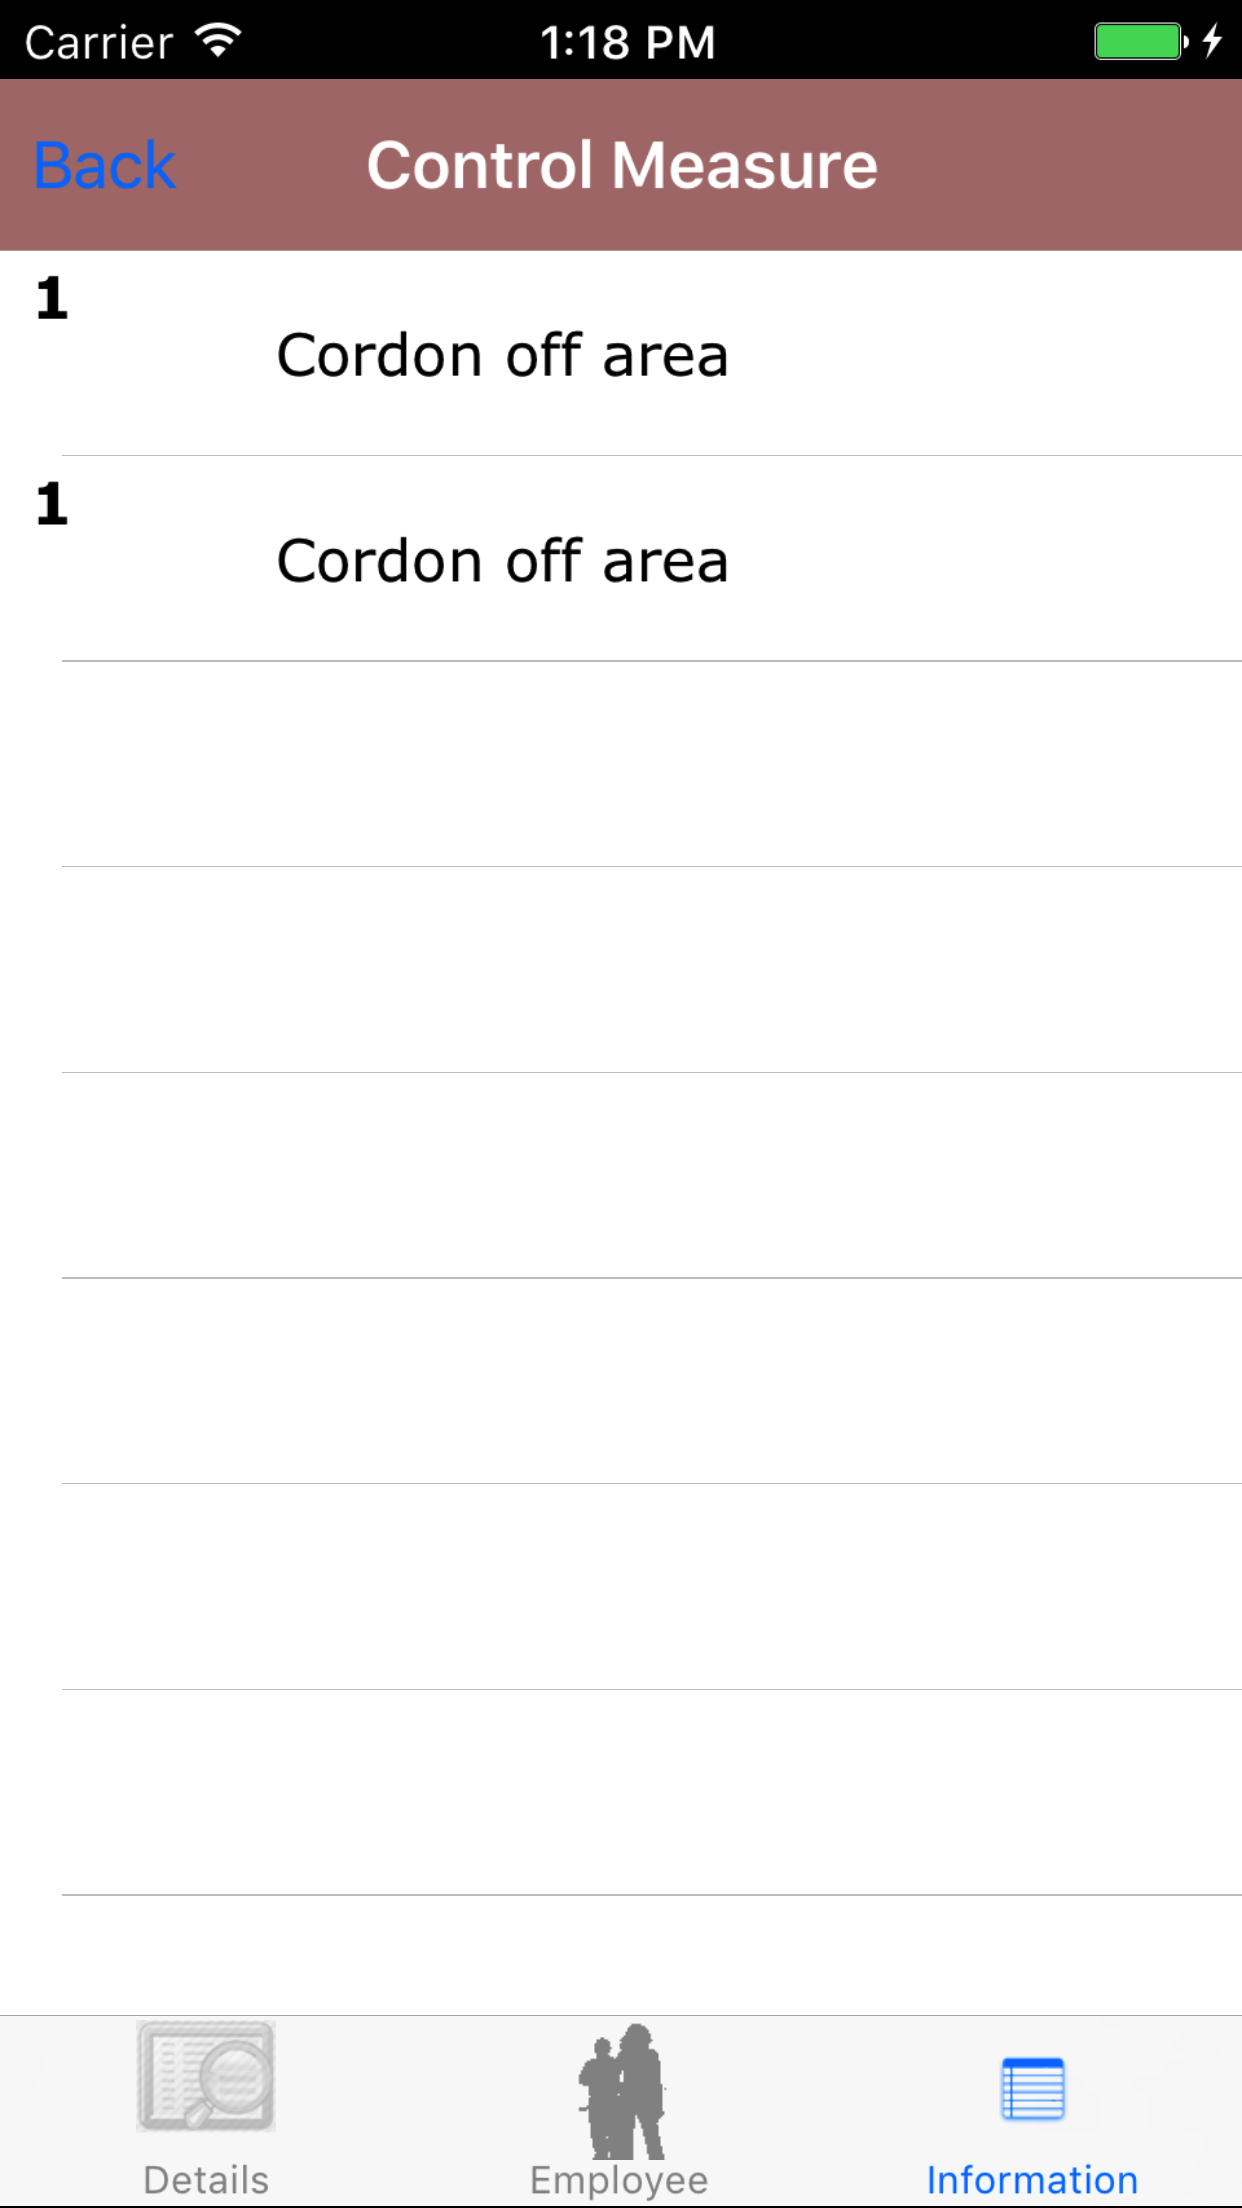
26.Look Up Control Measure |
|
Once on the Confined Space Entry Report you would like to Edit
Steps
- Tap the Information icon at the button of the screen to open the Information screen.
- Tap the Control Measure button to load the list of control measures added to the confined space entry report.
Control Measure values are listed in descending order of paragraph number with the paragraph in red text,
and the paragraph number in blue text.
- Scroll the list of control measure values til the desire value is displayed on the screen.
- Tap the desired control measure to select it.
The Screen will load the edit control measure screen.
|
|
|
|
| Steps 1-2 |
|
|
|
| Step 3 |
|
|
|
| Steps 4-5 |
|
|
|
27.Edit Control Measure |
|
Once on the Control Measure you would like to Edit
Steps
- Paragraph Order: Tap the stepper + or - to increase or decrease the value of the paragraph order field.
- Paragraph: Enter the description of the control measure.Paragraph is a required field. The character limit of this field is 500 characters.
- Tap Save in the top right corner of the screen to add the control measure to the Confined Space Entry Report.
|
|
|
| Steps 1-3 |
|
|
|
28.Delete Control Measure |
|
Once on the Confined Space Entry Report you would like to Edit
Steps
- Tap the Information icon at the button of the screen to open the Information screen.
- Tap the Control Measure button to load the list of control measures added to the confined space entry report.
Control Measure values are listed in descending order of paragraph number with the paragraph in red text,
and the paragraph number in blue text.
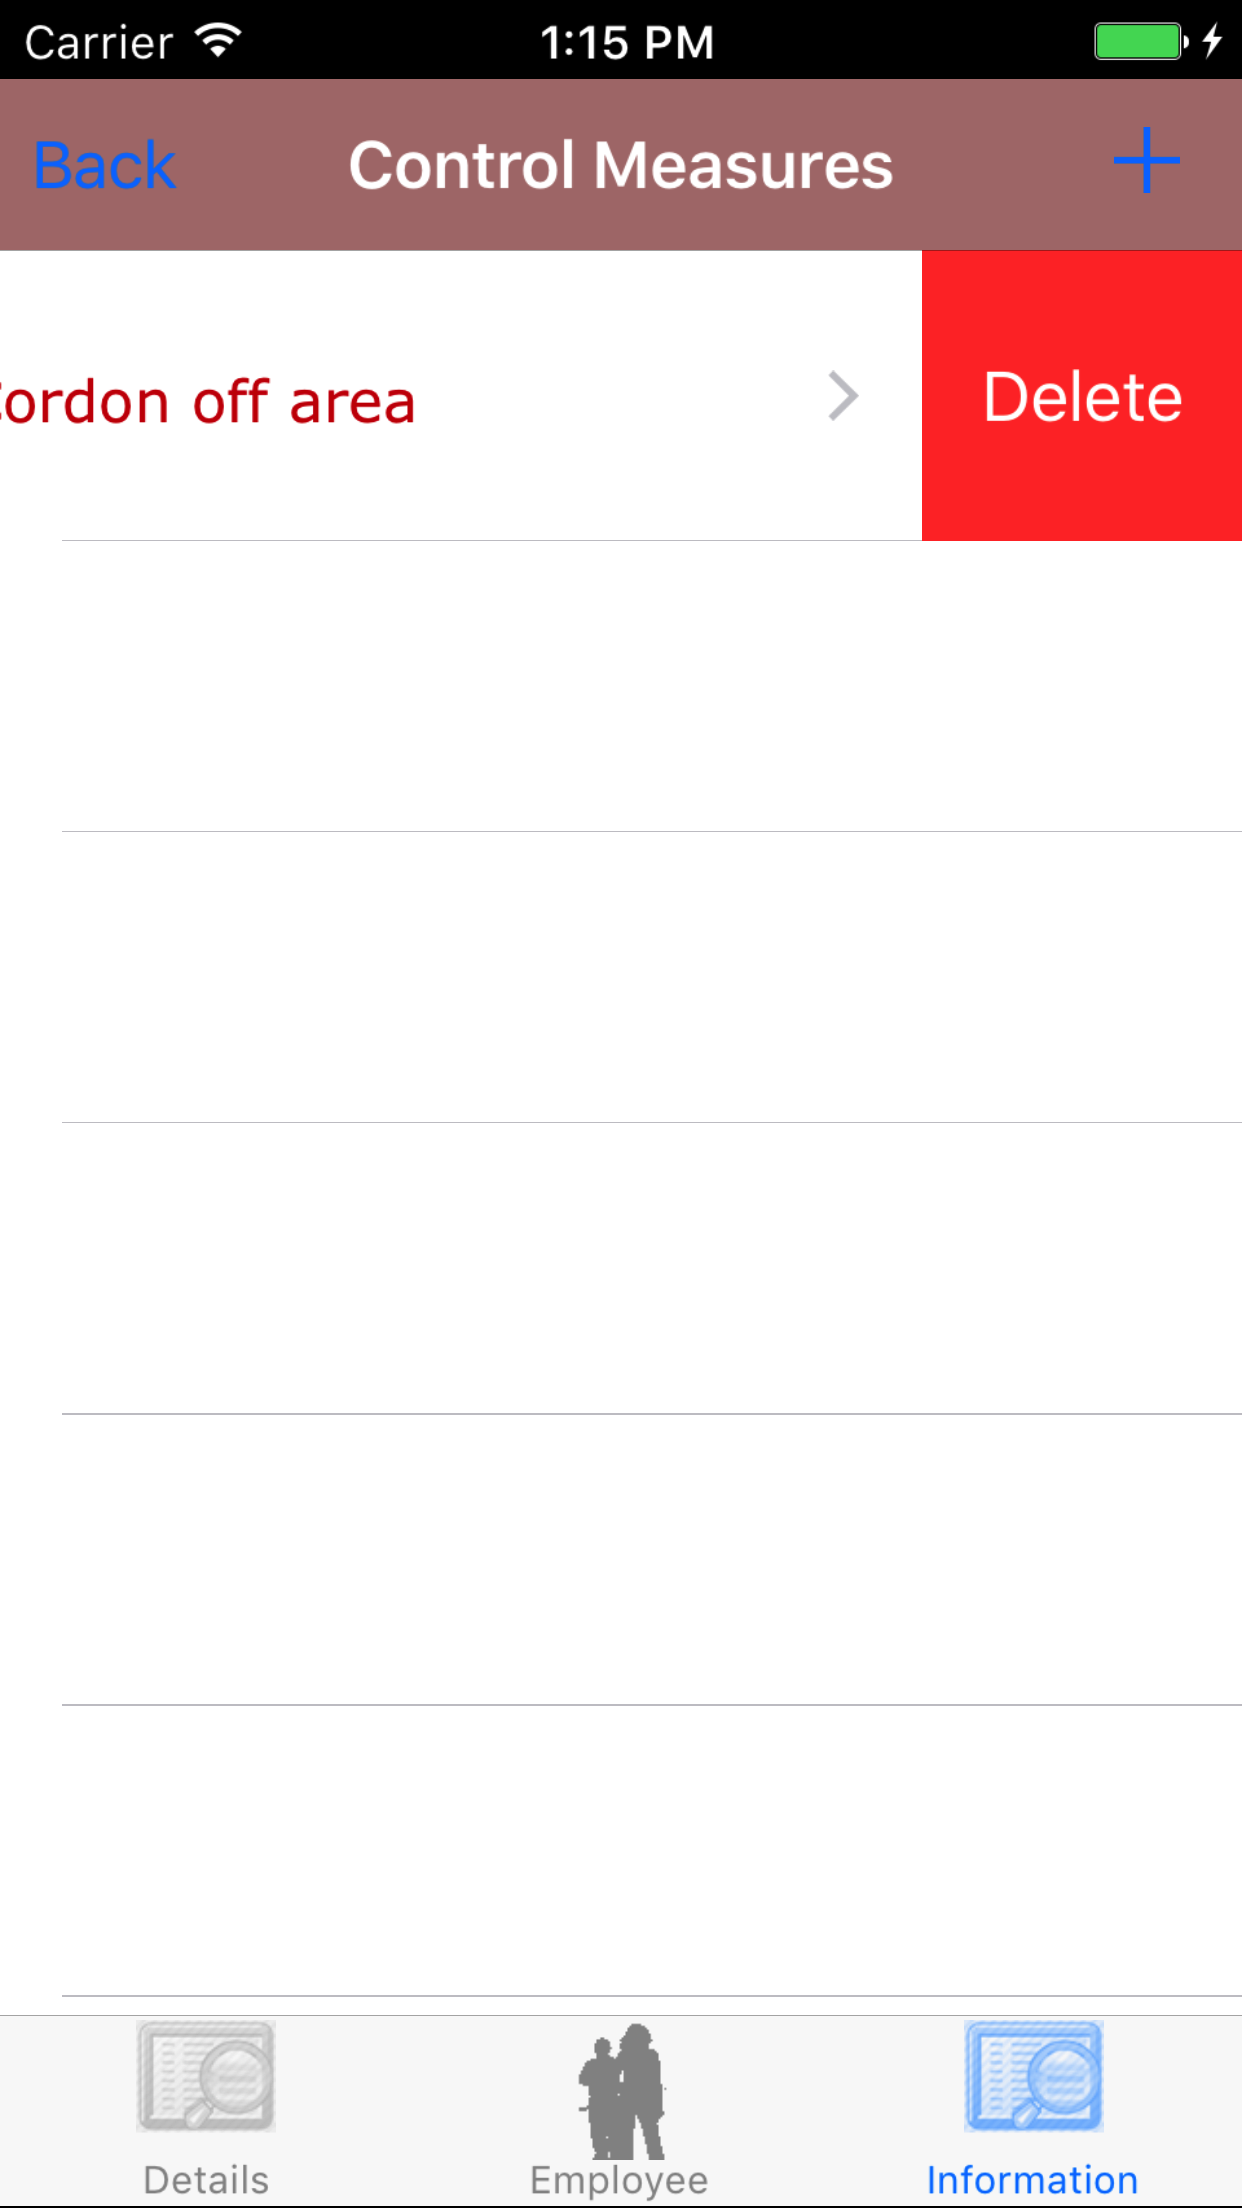
- Scroll the list of control measure values til the desire value is displayed on the screen.
- Swipe from the right edge to the left to bring up the delete button for the control measure.
- Tap the Delete button. The control measure will be deleted from the confined space entry report.
|
|
|
|
| Steps 1-2 |
|
|
|
| Step 3 |
|
|
| Steps 4-5 |
|
|
|
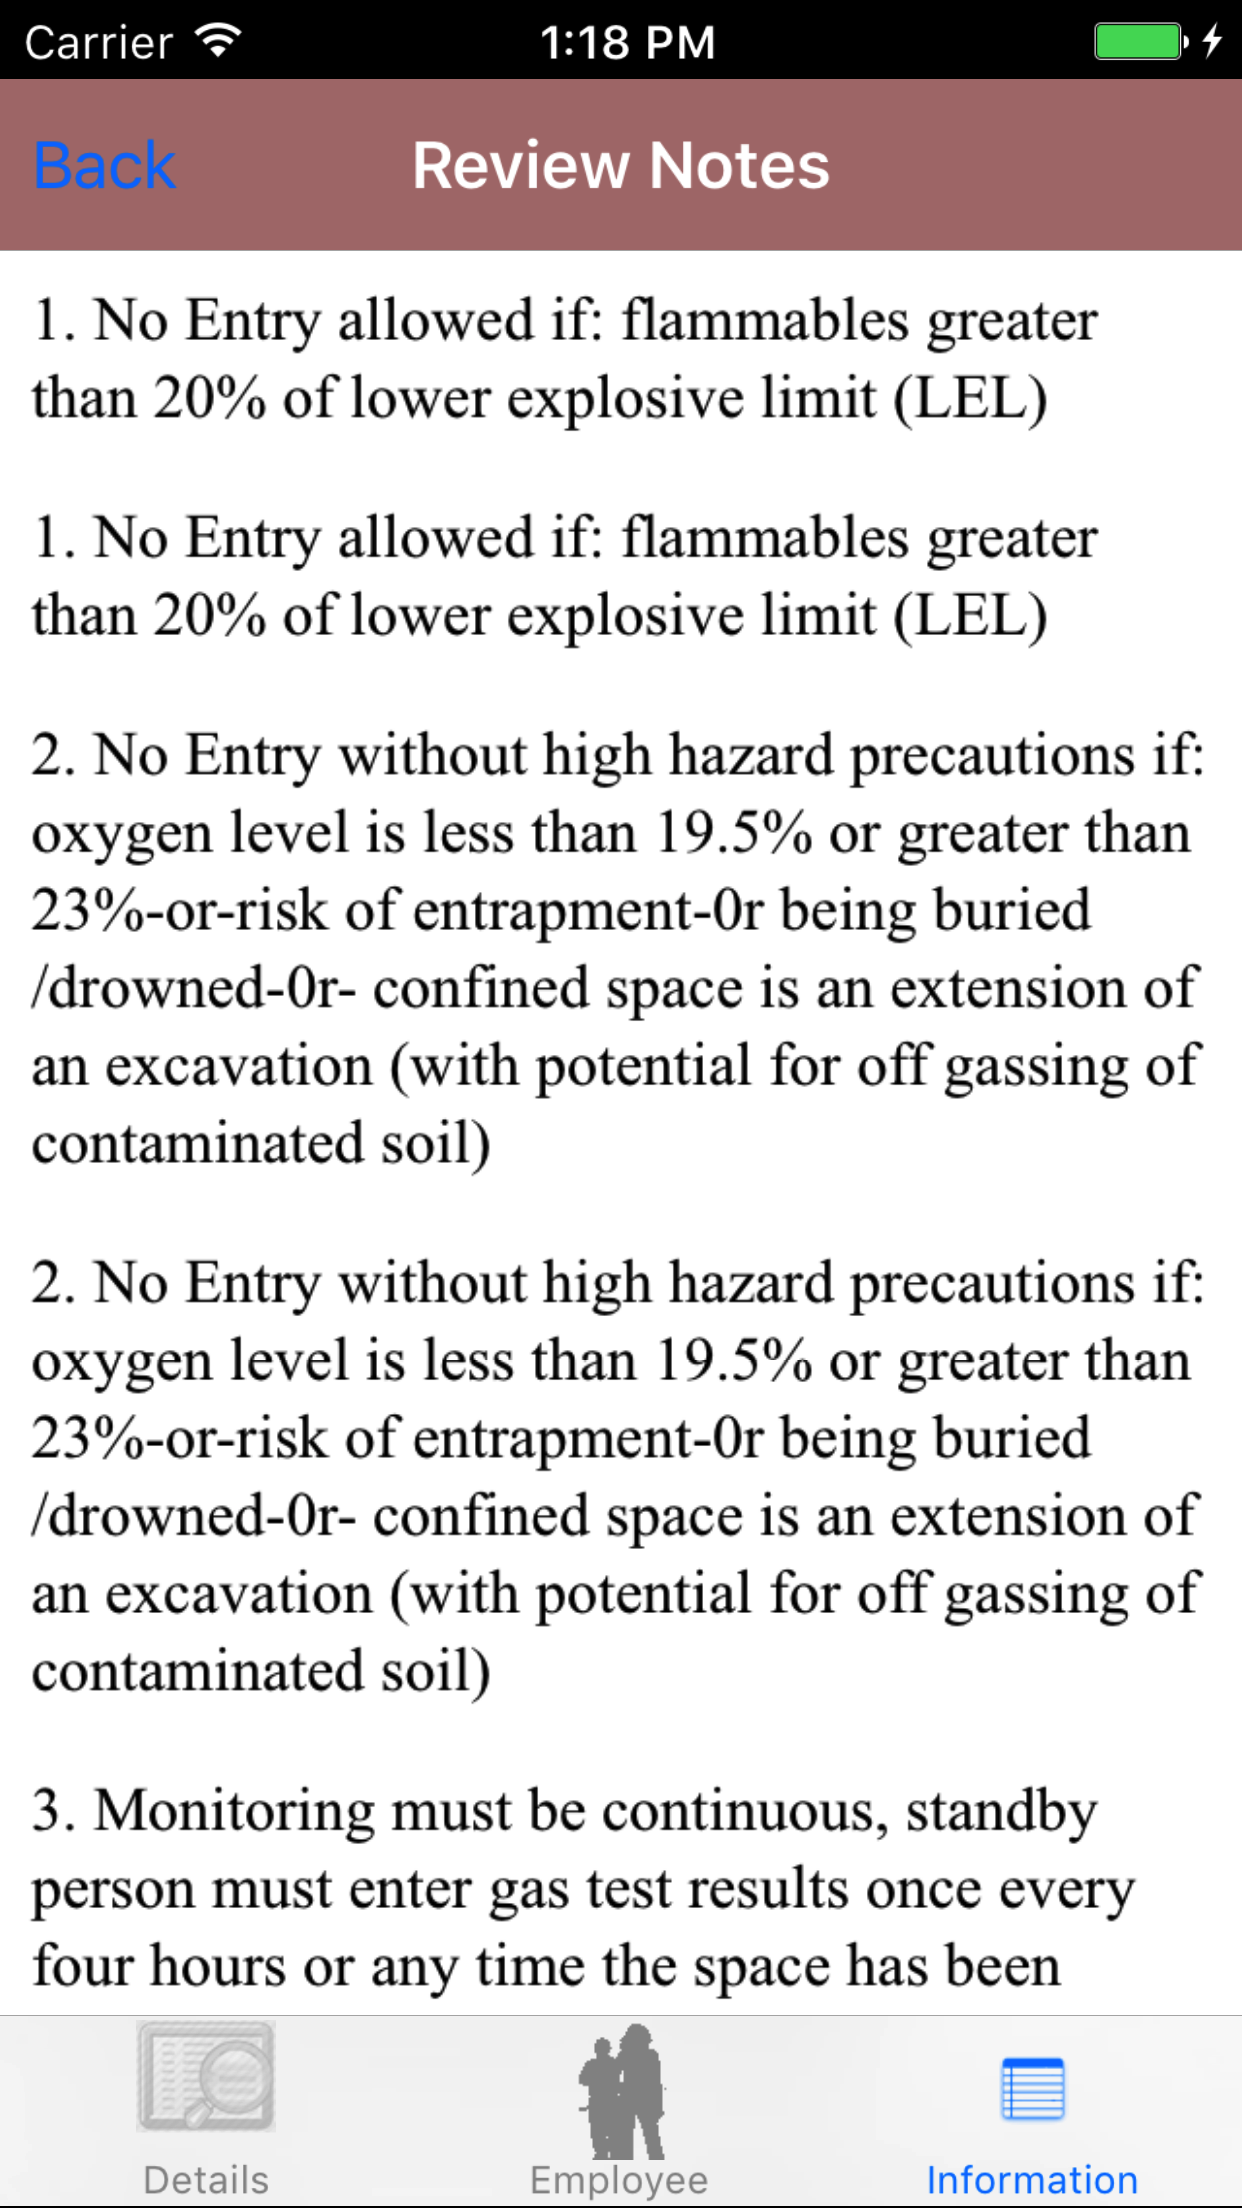
29.Review Confined Space Notes |
|
Once on the Confined Space Entry Report you would like to Edit
Steps
- Tap the Information icon at the button of the screen to open the Information screen.
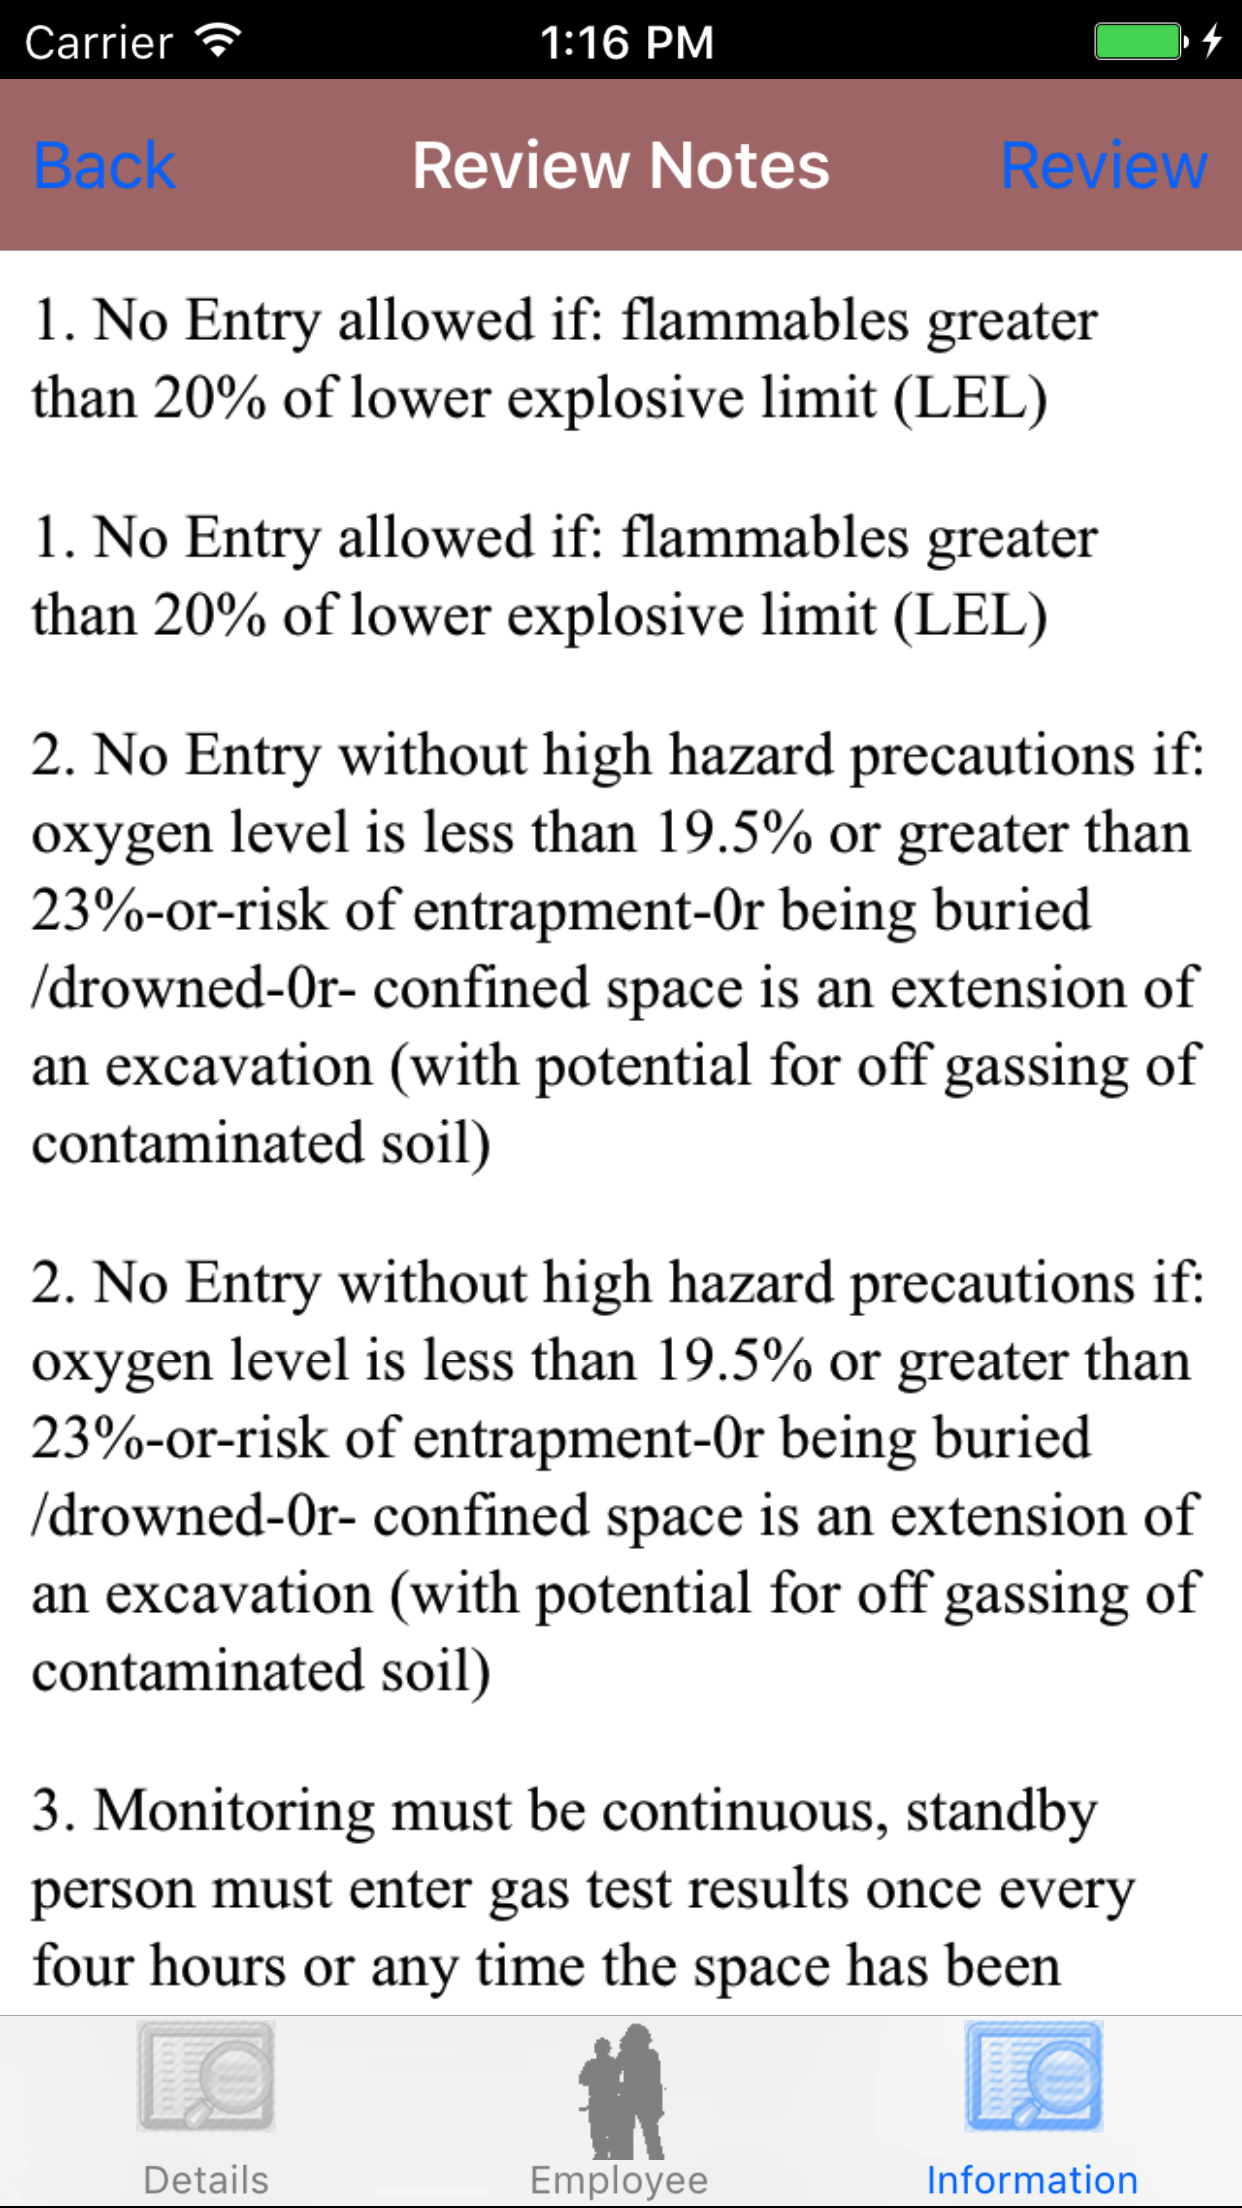
- Tap the Confined Space Review Notes button to load the confined space review notes the confined space entry report.
Companies create their own confined space review notes, which staff must review every time they perform a confined space entry. The notes will load on this view
- Review confined space review notes.
- Tap the Review button in the top right hand corner to mark that the notes have been read and reviewed by field staff involved in the confined space entry report.
|
|
|
|
| Steps 1-2 |
|
|
| Steps 3-4 |
|
|
|
30.Submit Confined Space Entry |
|
Once the Confined Space details have been entered, the employees added, the list of considerations checked off, the personal protective equipment required added
and the control measures added and the confined space notes reviewed, the Confined Space Entry Report should be submitted.
Once on the Confined Space Entry Report you would like to Edit, on the the first tab
Steps
- Tap Submit Report button
Error Messages on Submit Confined Space Entry Report if
- Report is submitted out of order: if the confined space entry report is submitted out of order a error message will appear telling users the confined space entry report is submitted out of order.
Once a confined space has been submitted a email will be sent to the employee set up in safetynet to receive confined space updates,
and all field staff included on the confined space entry report.
|
|
|
31.Close Out Confined Space Entry |
|
Once the Confined Space details have been entered, the employees added, the list of considerations checked off, the personal protective equipment required added
and the control measures added,the confined space notes reviewed, the employee entry logs completed, and the gas monitoring reading all recorded, the Confined Space Entry Report should be closed out.
Once on the Confined Space Entry Report you would like to Edit, on the the first tab
Steps
- Tap Close Out Report button
Error Messages on Submit Confined Space Entry Report if
- Signature Missing: if the employee has not signed the confined space entry report a error message will appear telling users the confined space entry report could not be closed with out signatures from employees.
- Report is submitted out of order: if the confined space entry report is submitted out of order a error message will appear telling users the confined space entry report is submitted out of order.
Once a confined space has been closed a email will be sent to the employee set up in safetynet to receive confined space updates,
and all field staff included on the confined space entry report.
|
|
|
32.Delete Confined Space Entry Report |
|
Once in the Confined Space section
Steps
- Tap the second tab on the menu, the Confined Space view.
Confined Space Entry Reports are listed in descending order of the entry date/time in black text, with the work order number in blue text,
and the job site name in red text.
To Search Confined Space Entry Reports: Pull down on the list view, the search is defaulted to search by date enter the date in following
format YYYY-MM-DD. The other options for the Confined Space Entry Report search are by job site and work order number. Enter your search
criteria and click the Search button.
- Scroll the list of Confined Space Entry Reports until the desired Confined Space Entry Report is displayed on the screen.
- Swipe from the right edge to the left to bring up the delete button for the confined space entry report.
- Tap the Delete button. The confined space entry report will be deleted.
|
|
|
| Steps 1-2 |
|

|
| Steps 3-4 |
|
|
|
33.View Closed Out Confined Space Entry Reports |
|
After Confined Space Entry Reports have been closed out, they will be available to look at through the History view on the iPhone Application
Once on the Confined Space Entry Report section
Steps
- Tap the third tab on the menu, the History tab of the main menu view.
Confined Space Entry Reports are listed in descending order of the entry date/time in black text, with the work order number in black text,
and the job site name in black text.
To Search Confined Space Entry Reports: Pull down on the list view, the search is defaulted to search by date enter the date in following
format YYYY-MM-DD. The other options for the Confined Space Entry Report search are by job site and work order number. Enter your search
criteria and click the Search button.
- Scroll the list of Confined Space Entry Reports until the desired Confined Space Entry Report is displayed on the screen.
- Tap on the Confined Space Entry Report you would like to view. This loads the first tab, the Confined Space Entry Report details tab of the History view.
It loads the following details including entry date/time, exit date/time, work order number, scope of work, location of space, description of space, etc.
- Tap the second tab, the Confined Space Employee’s tab of the History view. This loads with the employee’s names and their roles.
- Tap the third tab, the Information tab of the History view. This loads the with the follow sections:
- Gas Monitoring readings for Contaminants
- Employee Entry Log
- Considerations
- Personal Protective Equipment
- Control Measures
- Confined Space Review Notes
|

|
| Steps 1-2 |
|
|
|
|
| Step 3 |
|
|
|
| Step 4 |
|
|

|
| Step 5 |
|
|
|
| Step 5.a |
|
|

|
| Step 5.a.a |
|
|
|
| Step 5.b |
|
|
|
| Step 5.c |
|
|

|
| Step 5.d |
|
|
|
| Step 5.e |
|
|
|
| Step 5.f |
|
|
|
34.Update Confined Space Entry Reports |
|
As other field staff create confined space entry reports and include other field staff on their confined space entry report staff will
have to update their phones in order to have a copy of their updated confined space entry reports on their phone.
Steps
- From the Menu screen, tap the Updates button.
- Scroll the list of sections until you find the Confined Space Entry Report button.
- Tap on the Confined Space Entry Report button.
|
|
|
|
| Step 1 |
|
|
| Step 2 |
|
|