|
The Time off Request section allows field staff to submit requests for days off, giving the field staff the ability
to add a reason for why they need the time off directly from the Android application.
Once a time off request has been approved by management, the requested days off will added to the schedule section of
the SafetyNet application.
When Time off Requests are submitted to SafetyNet a email is sent to the companies representative, with the requested
days off and the reason for the days off.
Configuring Time off Request Submission Email Alert
The company representative that receives a email from SafetyNet, when a time off request submission occurs is a function
of who is set up to receive the Time off Request Submission. The person whom should receive this email, should
probably be someone in management or human resources. To configure Safety Net for whom receives
receives this email alert in the Company Email Alert section.
Management, Office Staff and Safety Officers can edit who should receive the Time off Request Submission email alert in the company email alert section. For more information about configuring your
company email alerts in this web site manual click here to view the company email alert section.
The time off request section is only available to users that have the time off request section turned on for their users group.
To change users access to time off requests, management and office staff
can change access in Application Section to view the information about the Application Section Click Here
|
|
|
1.Add Time off Request |
Steps
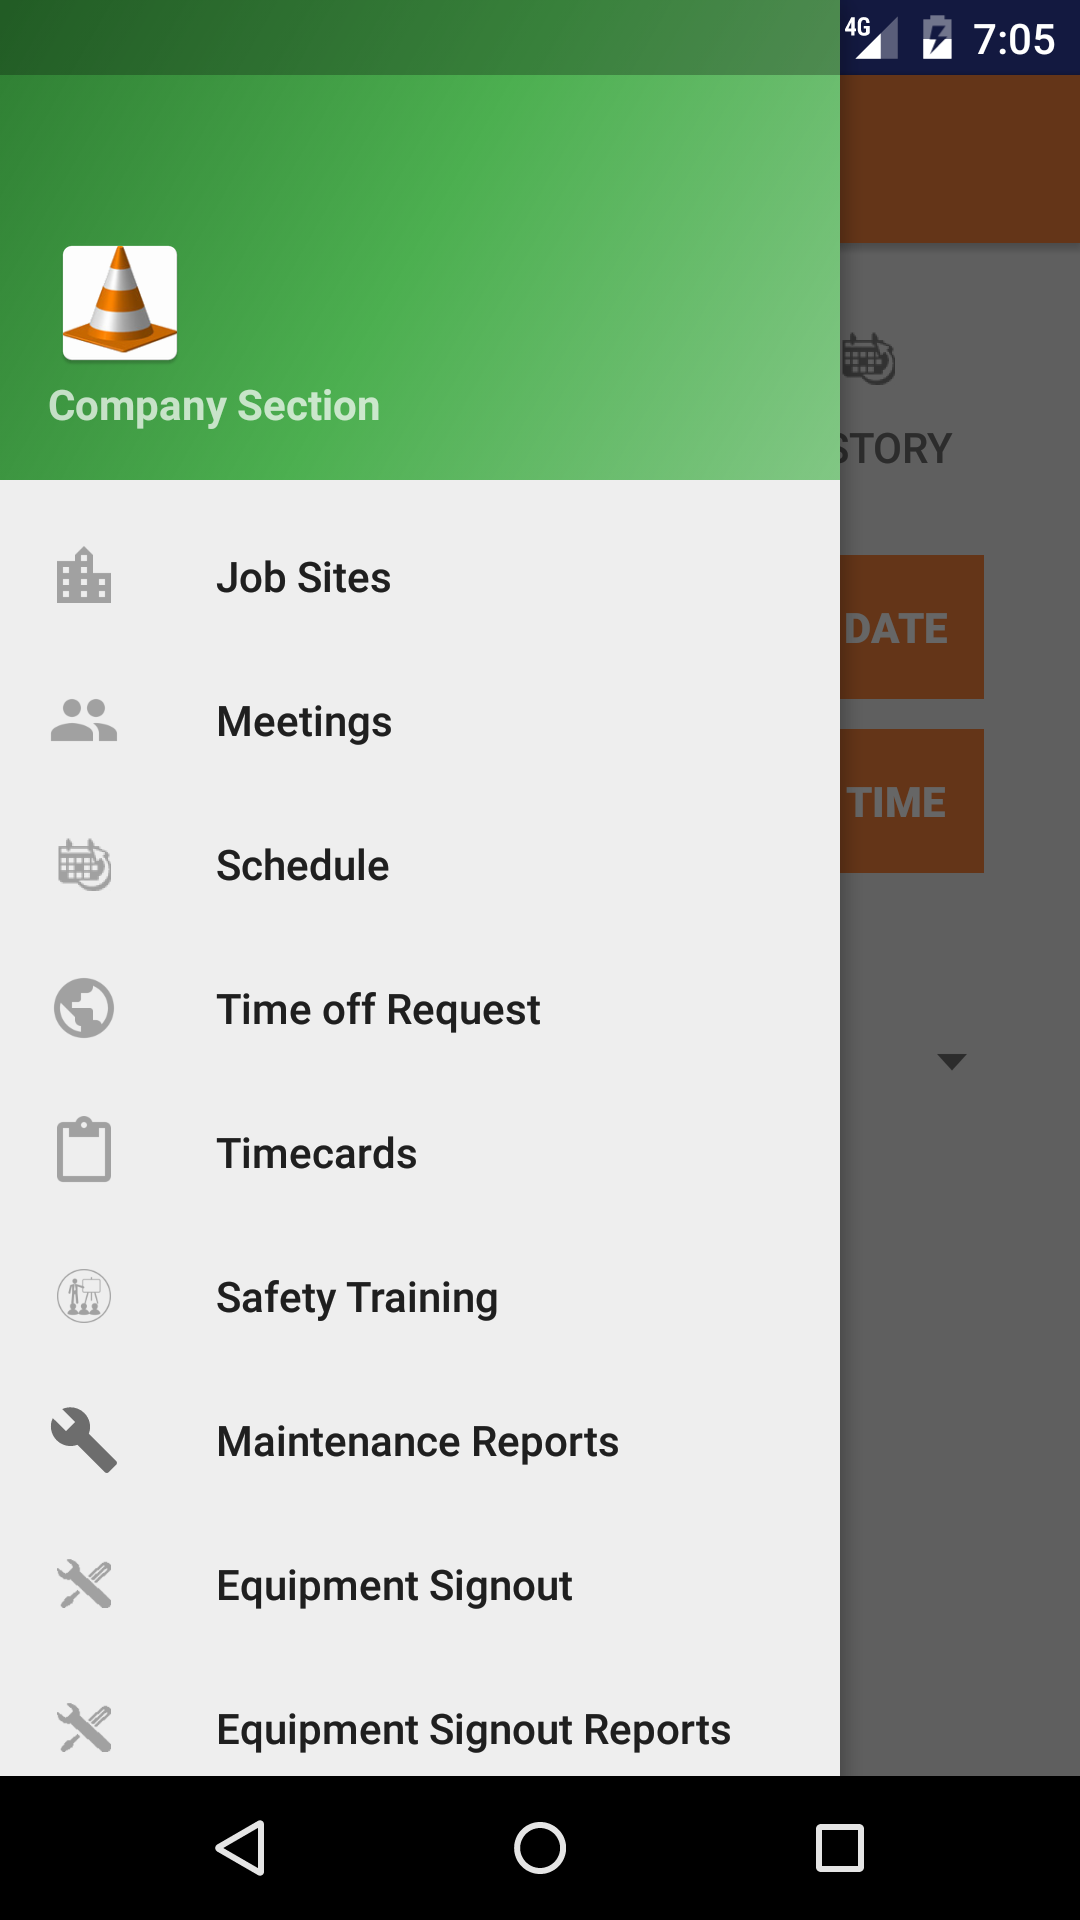
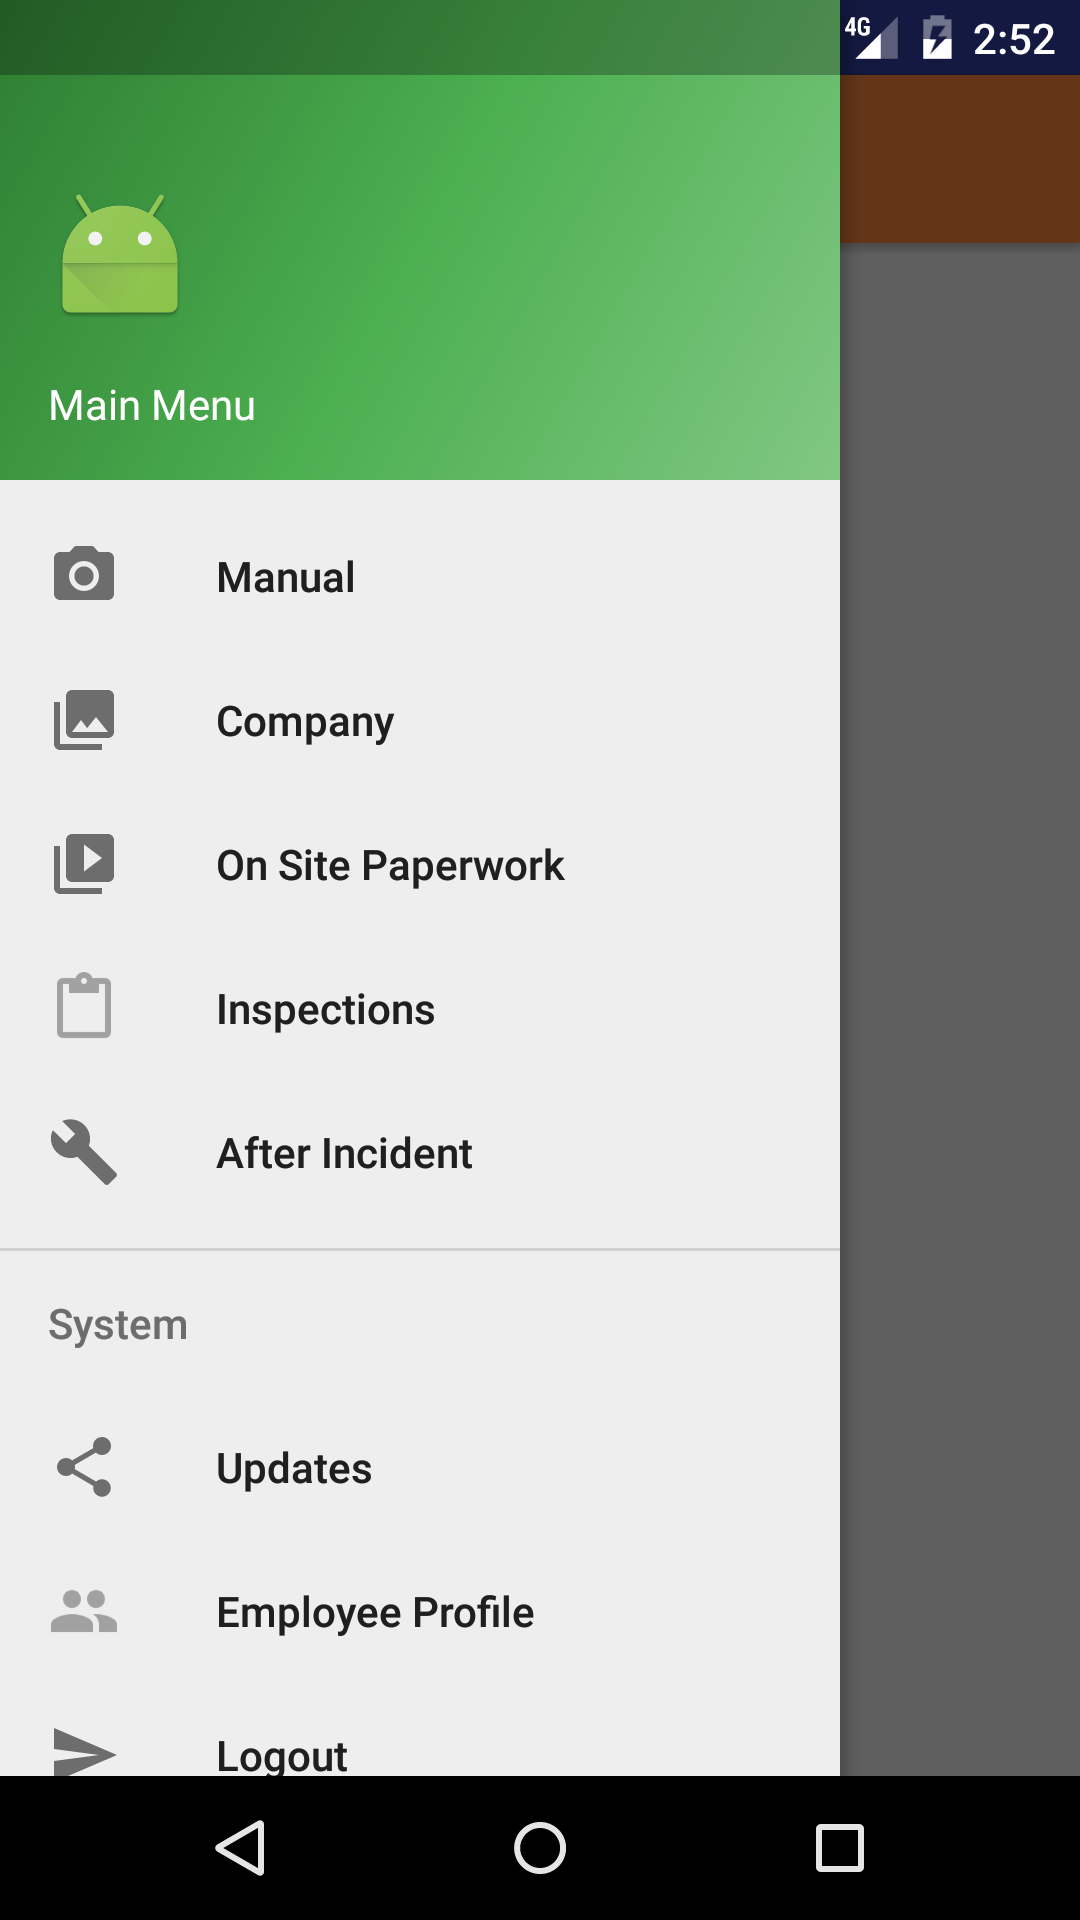
- From the Main Menu screen, tap the Company button.
- Then tap on the Time Off Requests button to open the Time Off Requests section. Which opens the Add Time off Request tab.
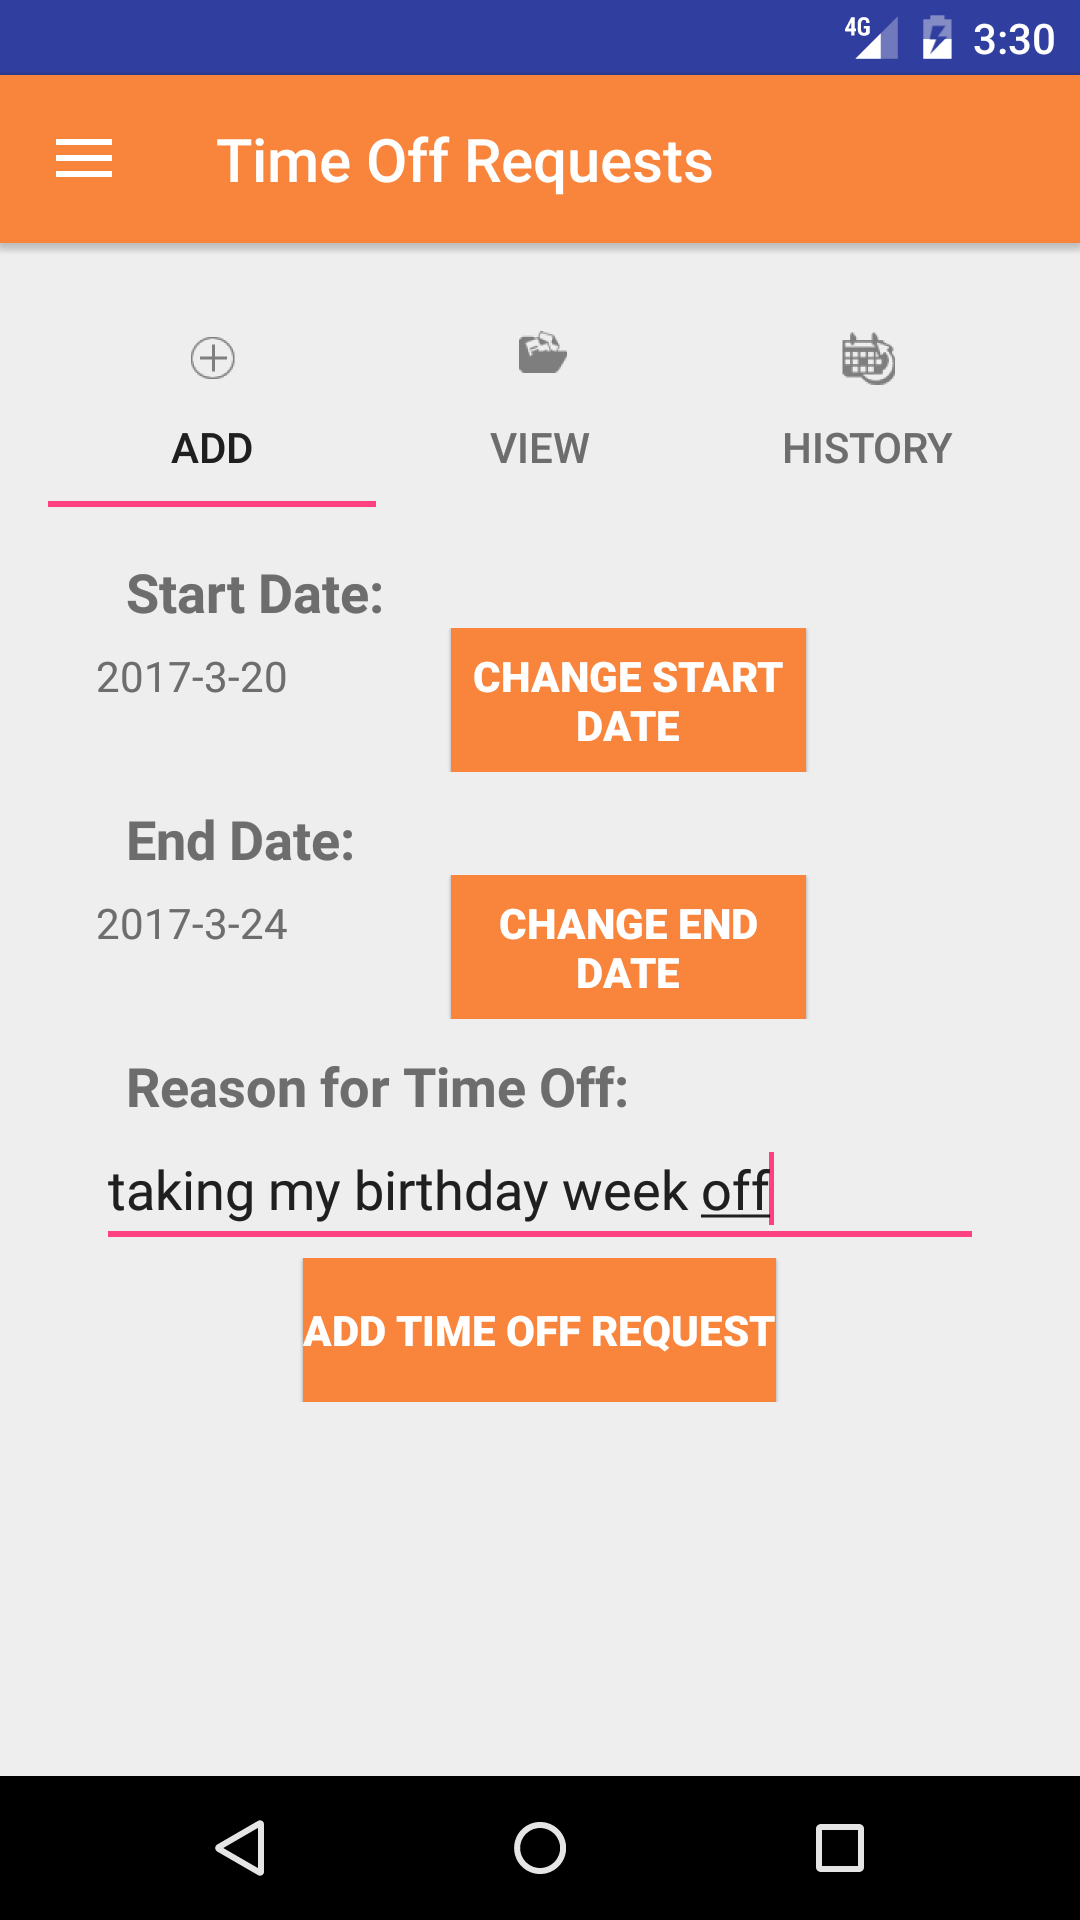
- Start Date: The start date field will mark the date first day the user would like off from work.
- Tap the Start Date button to open the Choose Date screen.
- Scroll the calender screen and select the date from the calender.
- End Date: The end date field will mark the date last day the user would like off from work.
- Tap the End Date button to open the Choose Date screen.
- Scroll the calender screen and select the date from the calender.
- Reason for Time off: The Reason for Time off field allows field staff to enter a reason for the field staff requiring the day. The character limit of this field is 500.
- Tap the Add Time off Request button to add the Time off Request.
- A pop-up message that reads 'Time off Request Added! Remember to submit it!' indicates that the Time off Request has been saved.
|
|
|
2.Look Up un submitted Time off Request |
|
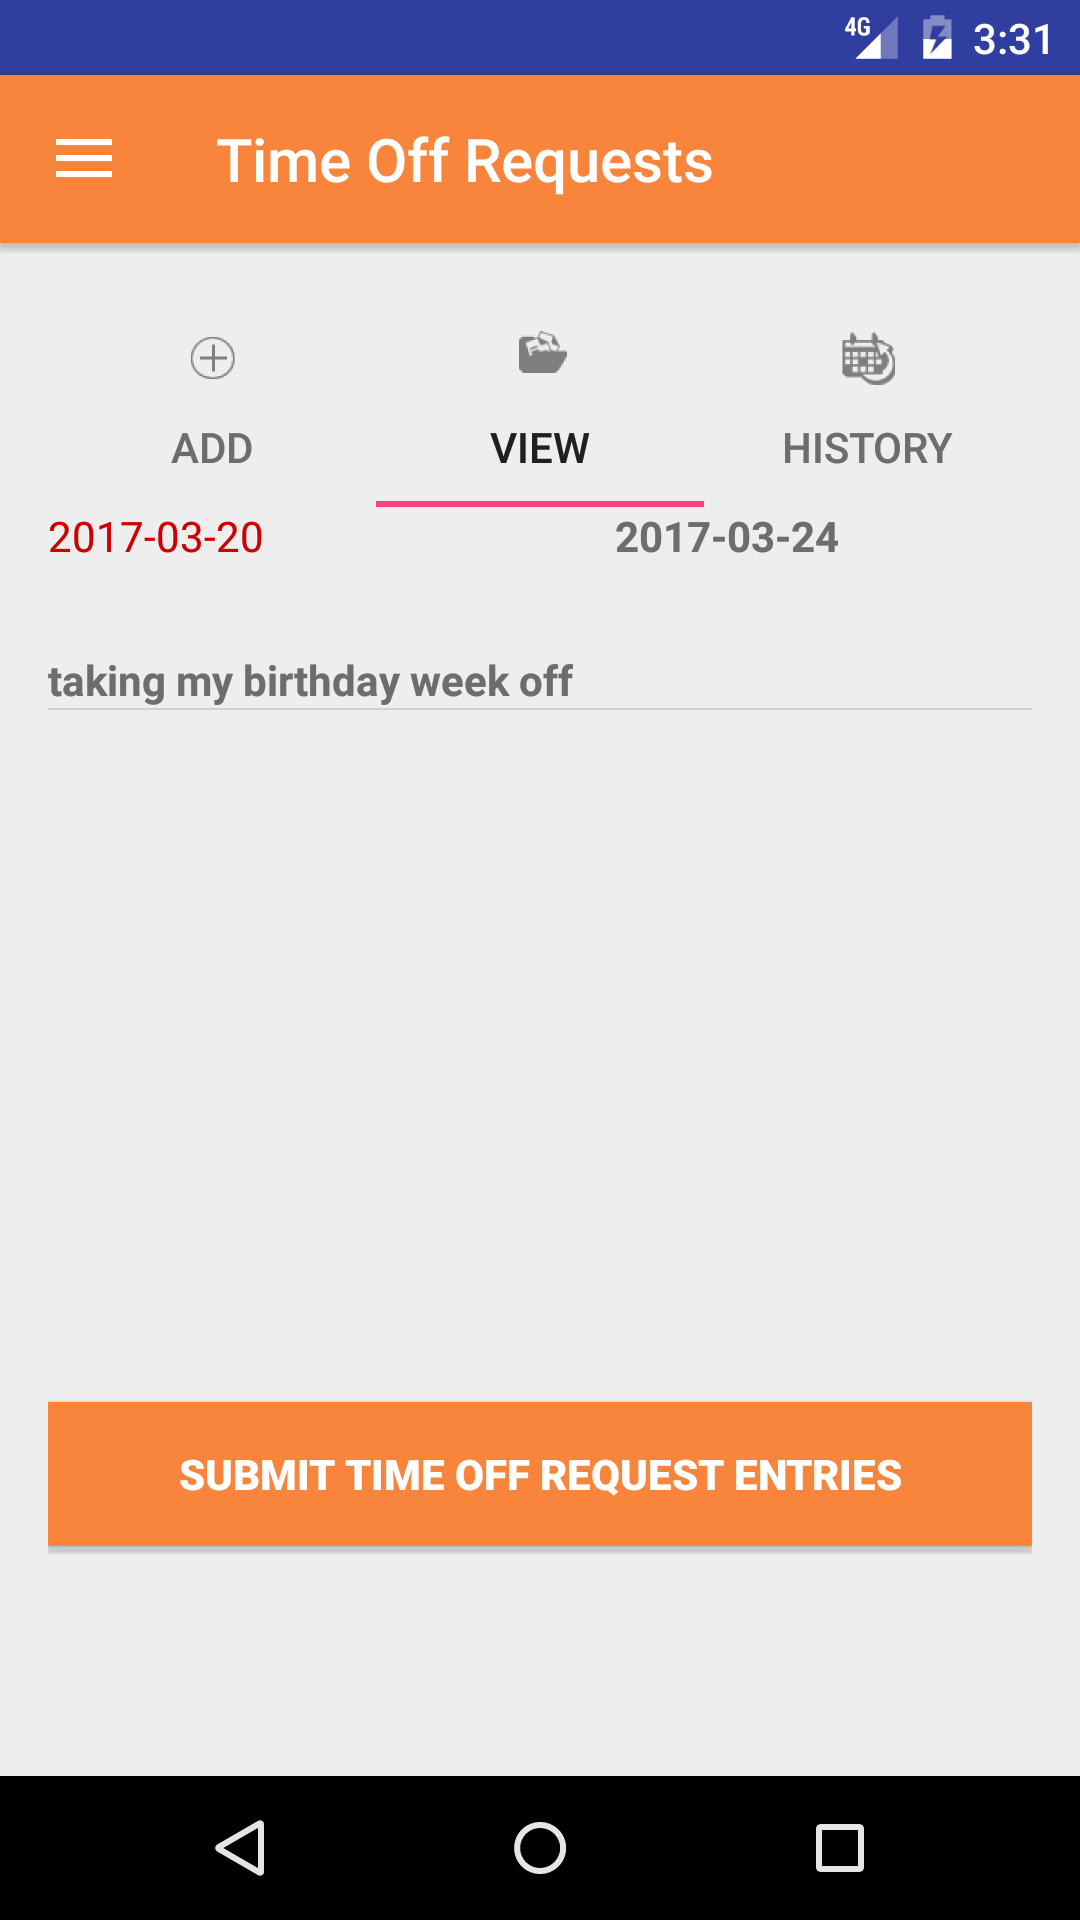
Once a time off requested has been created, it can be accessed on the View un submitted tab. From this tab field staff can:
- Edit the time off requests
- Submit time off requests
Once in the Time off Request section
Steps
- Tap the second tab on the menu, the Un submitted view. If their are time off requests to view they will be listed
with the Start date in red, the End date in black beside the customer name in black on the first line. The second line
will be the entered reason for time off in black.
- Scroll the list of Time off Request until the desired Time off Request is displayed on the screen.
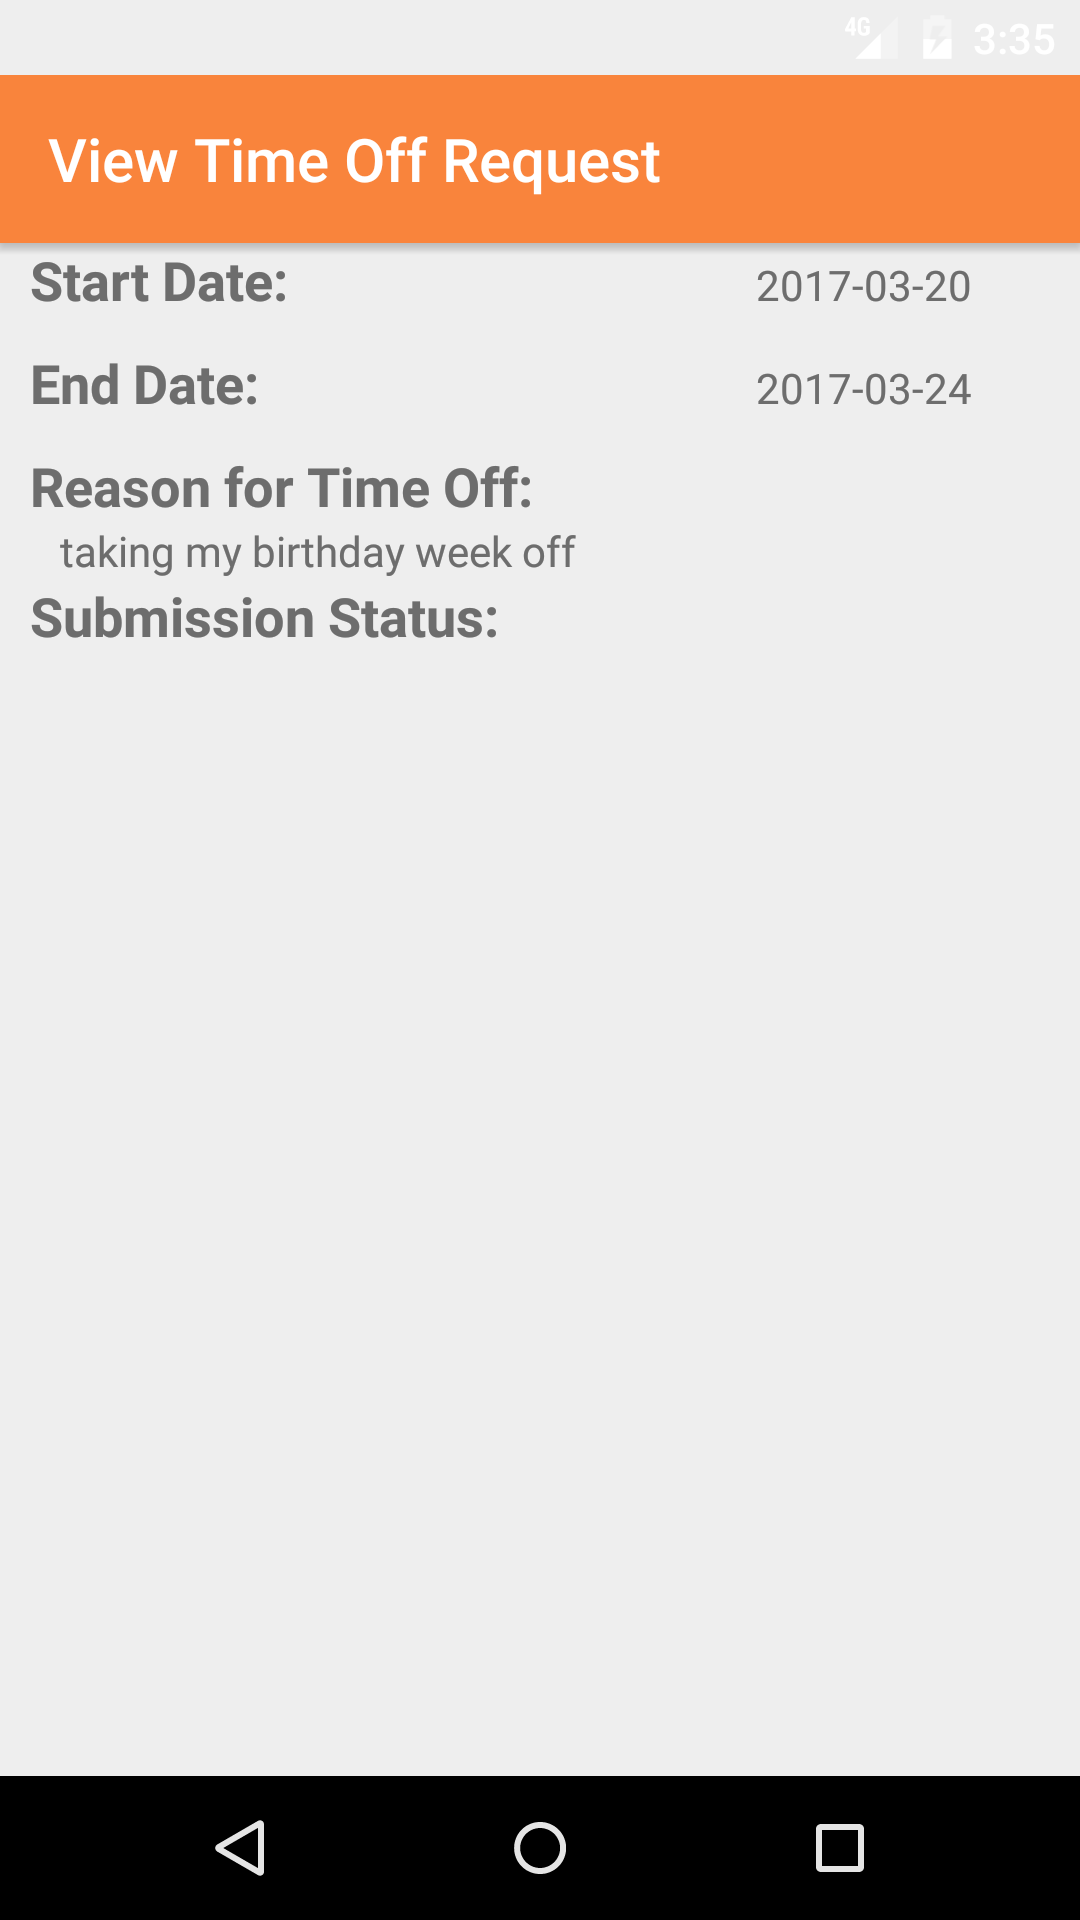
- Tap on the Time off Request you would like to view. This loads the time off request.
|
|
| Steps 1-3 |
|
|
3.Edit Time off Request |
|
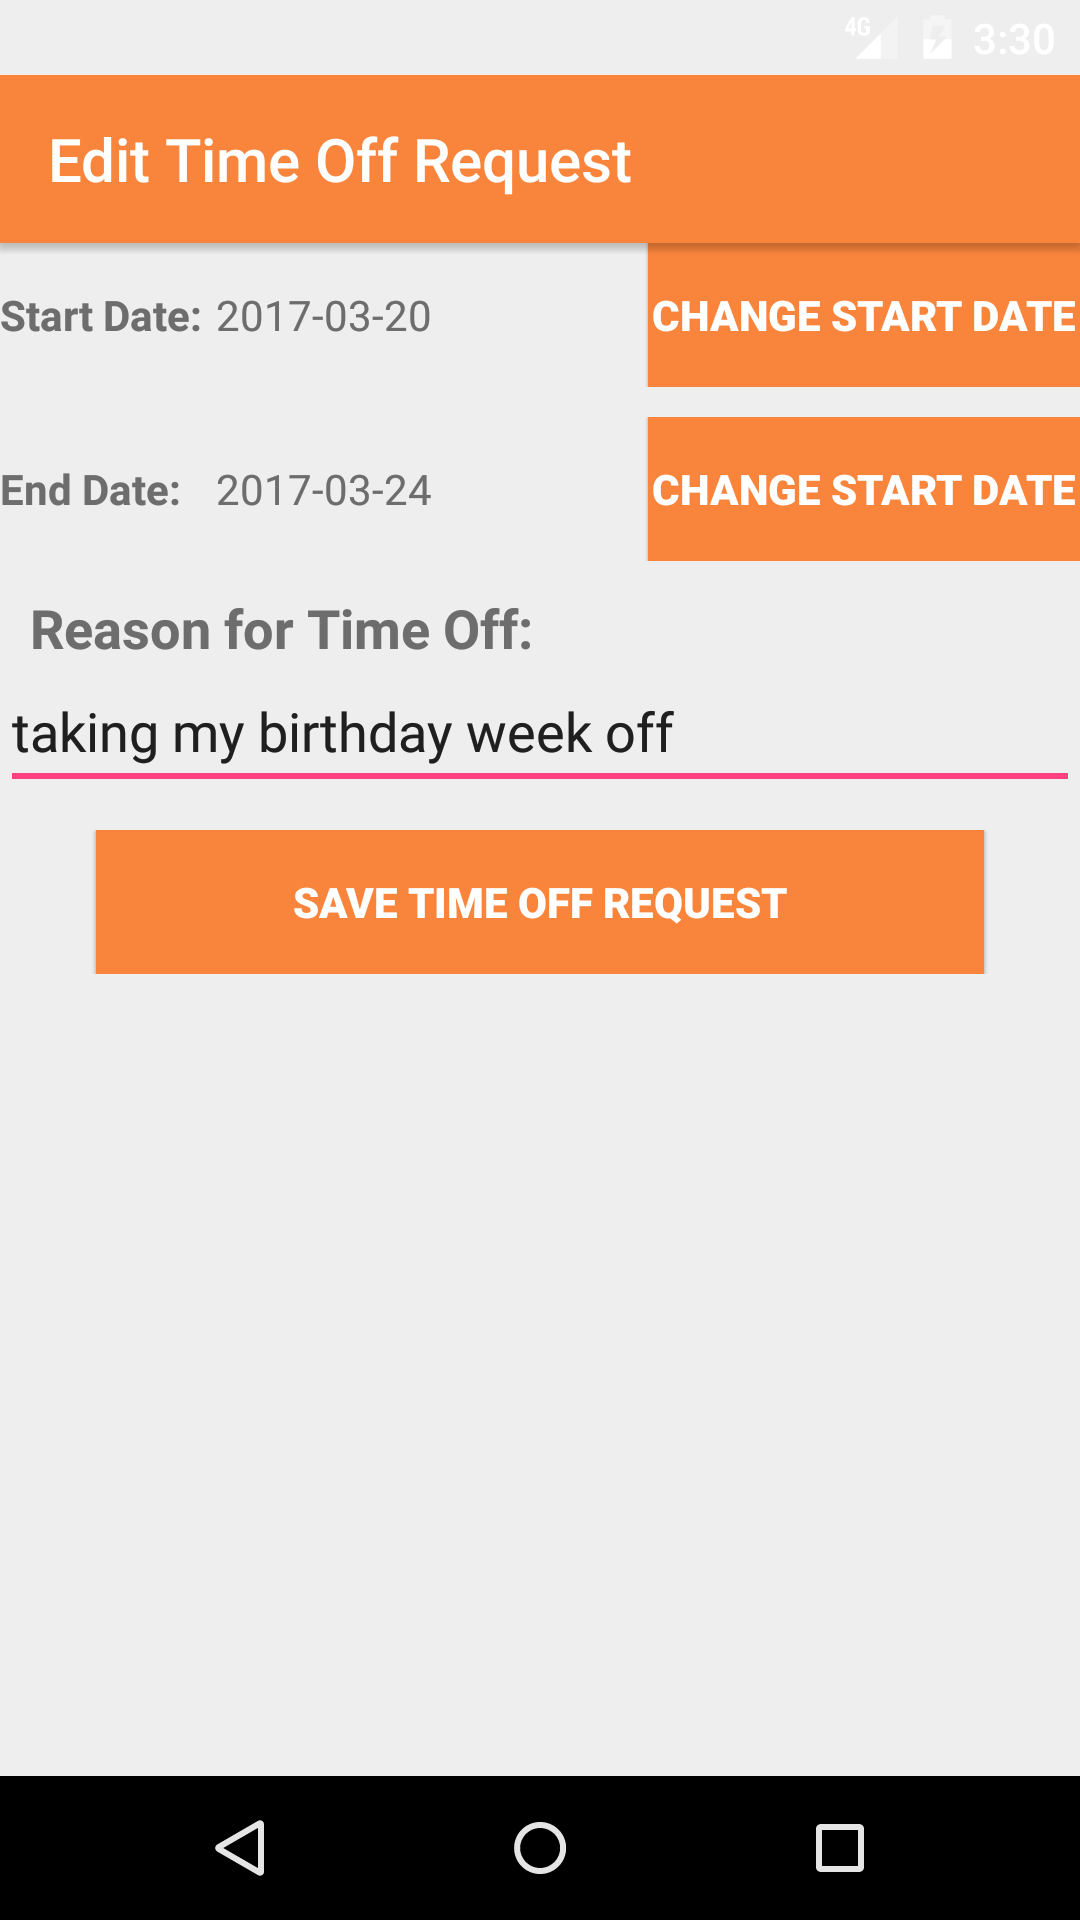
Once on the Time off Request you would like to Edit
Steps
- Start Date: The start date field will mark the date first day the user would like off from work.
- Tap the End Date button to open the Choose Date screen.
- Scroll the calender screen and select the date from the calender.
- End Date: The end date field will mark the date last day the user would like off from work.
- Tap the End Date button to open the Choose Date screen.
- Scroll the calender screen and select the date from the calender.
- Reason for Time off: The Reason for Time off field allows field staff to enter a reason for the field staff requiring the day. The character limit of this field is 500.
- Tap Save Time off Request button to save any changes to the Time off Request.
- A pop-up message that reads Time off Request have been Saved indicates that the time off request have been saved.
|
|
| Steps 1-4 |
|
|
|
4.Submit Time off Requests |
|
Once one or many time off request have been entered, the time off requests need to be submitted to SafetyNet.
Once in the Time off request section
Steps
- Tap the second tab on the menu, the Un submitted view.
- Tap on the Submit Time off Request Entries button in the top right corner.
- A pop-up message that reads Time Off Request have been submitted indicates that the time off request have been submitted to SafetyNet.
|
|
|
| Steps 1-3 |
|
|
5.Delete Time off Requests |
|
Once in the Time off Request section
Steps
- Tap the second tab on the menu, the Un submitted view. If their are timecard entries to view they will be listed
with the Start date in red, the End date in
black beside the customer name in black on the first line. The second line
will be the entered reason for time off in black.
- Scroll the list of Time off Requests until the desired Time off Request is displayed on the screen.
- Long Tap the time off request to bring up the delete screen for the time off request.
- Tap the Delete button. The time off request will be deleted.
|

|
| Steps 1-3 |
|
|
6.View Historic Time off Request |
|
Once in the Time off Request section
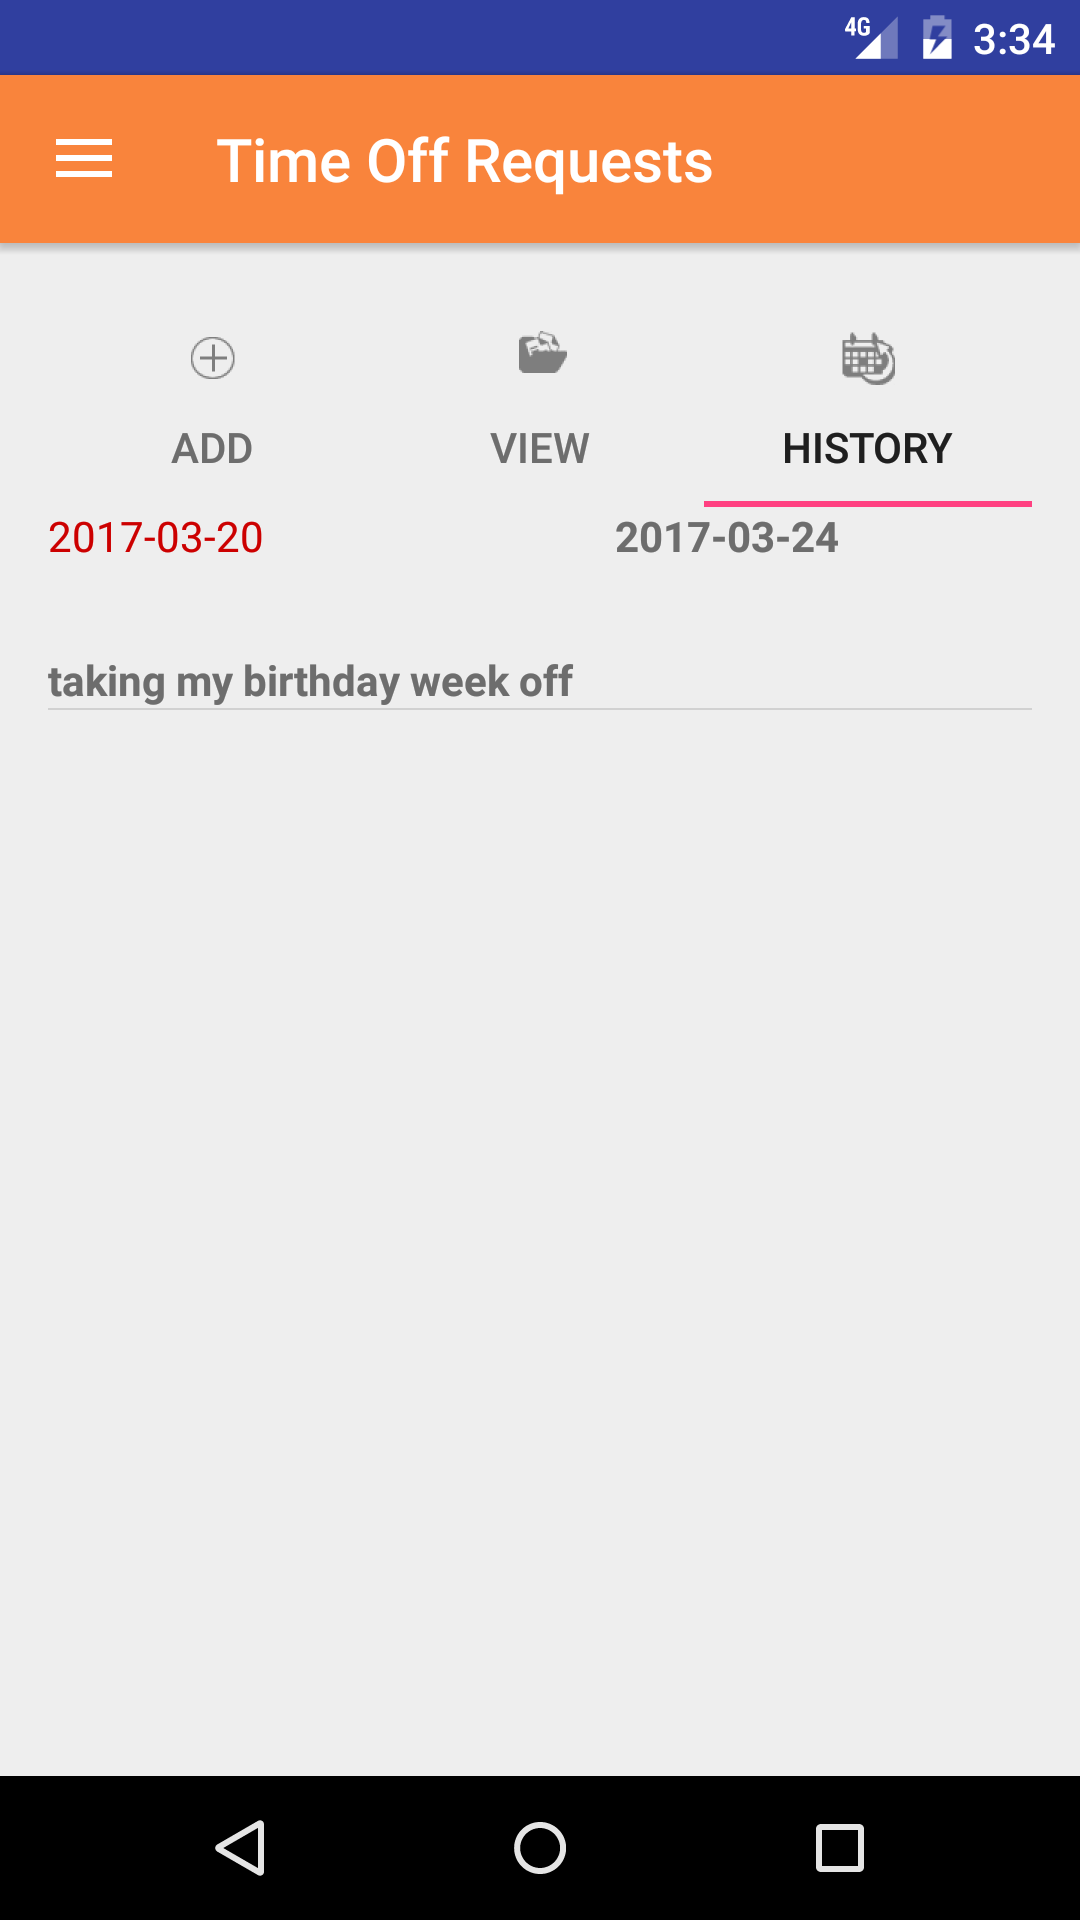
- Tap the third tab on the menu, the History tab of the main menu view. If their are time off request to view they will be listed
with the Start date in red, the End date in
black beside the customer name in black on the first line. The second line
will be the entered reason for time off in black.
- Scroll the list of Time off Request until the desired Time off Request is displayed on the screen.
- Tap on the Time off Request you would like to view. This loads the time off request.
|
|
|
3.Update Time off Requests |
|
As management approves time off request on a ongoing basis employees will have to update their phones in order to have a copy of their updated schedule on their phone.
Safety Net handles this for Time off Requests, by updating Human Resources including: employee, safety training, customer, job site, work order, schedule and timecard information.
Steps
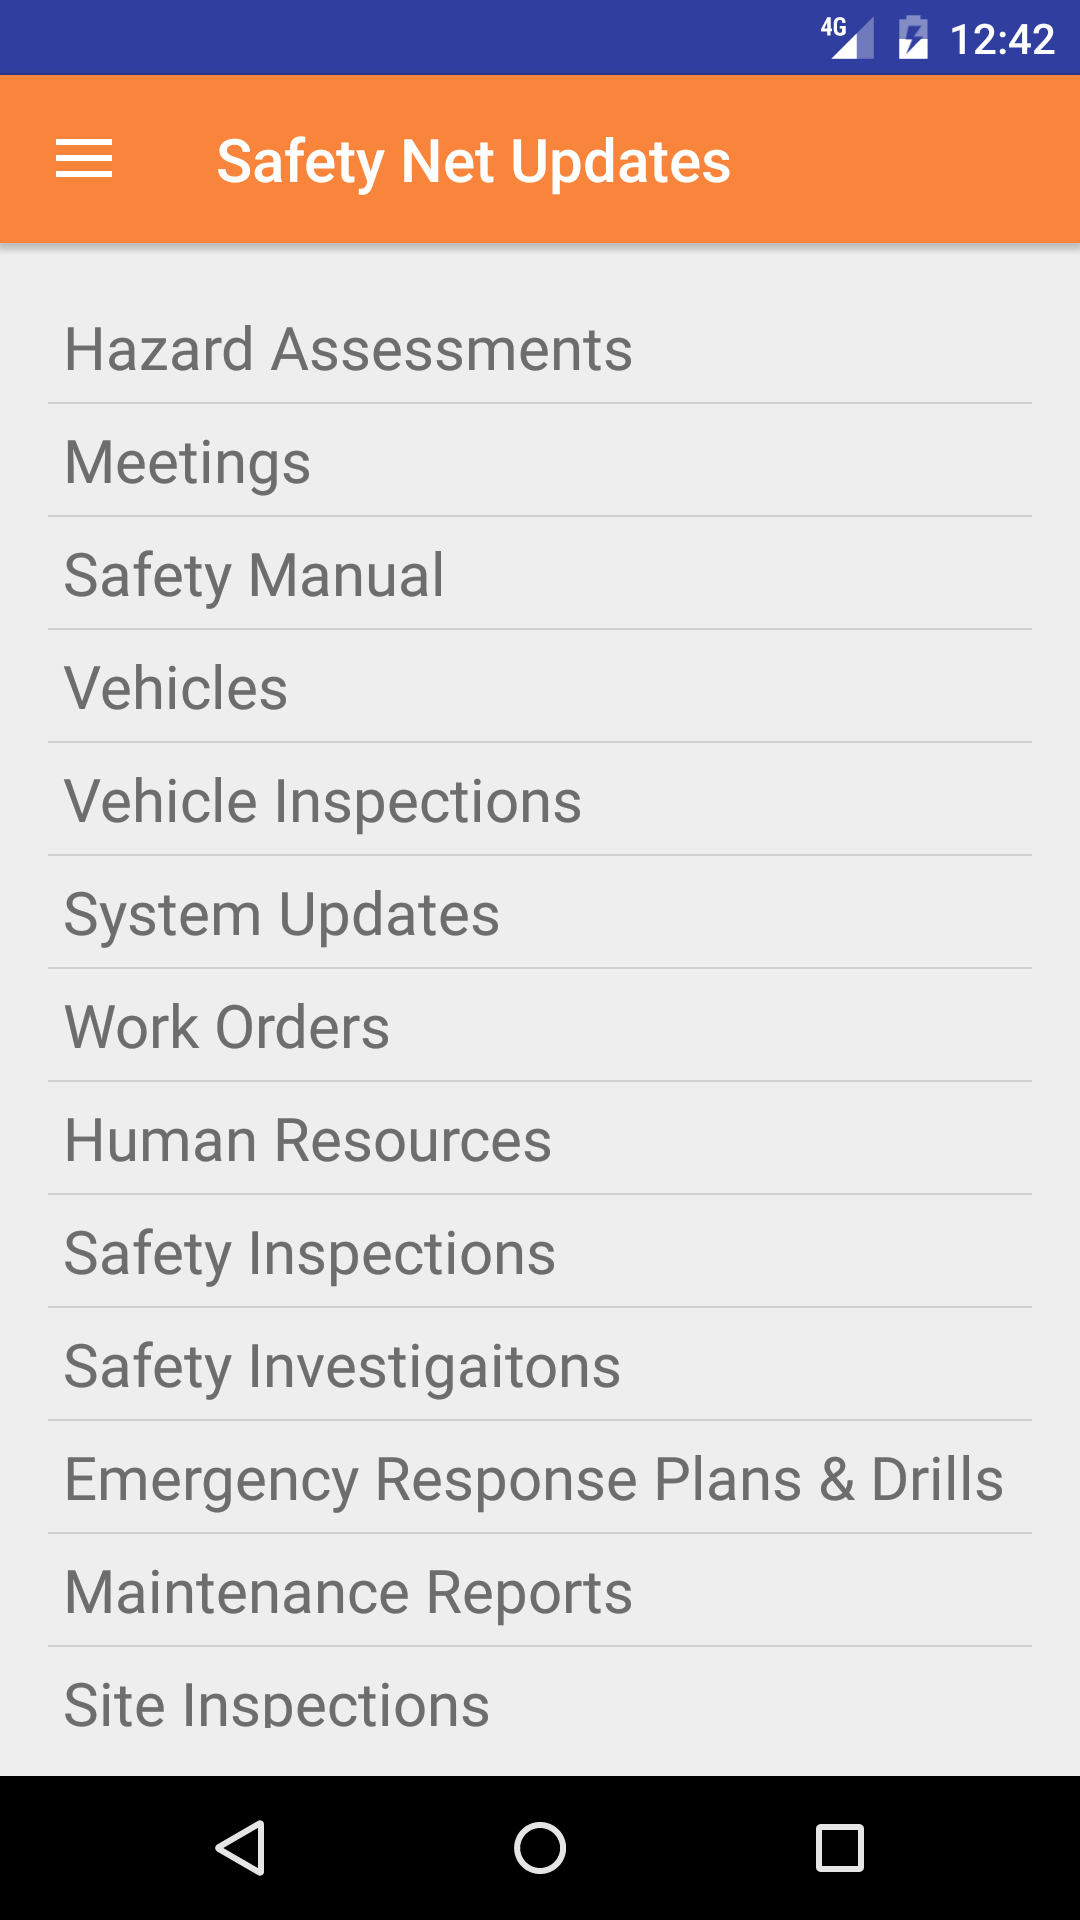
- From the Menu screen, tap the Updates button.
- Scroll the list of sections until you find the Human Resources button.
- Tap on the Human Resources button.
|
|
|
| Step 1 |
|
|
| Steps 2-3 |
|
|