|
The Equipment Sign Out section allows field staff to sign out equipment, re check out equipment and return equipment directly from the IPhone application.
When Equipment Sign Out actions occur in R & T Electric Pro a email is sent to the companies representative, so that the movement of equipment can be noted.
Configuring Equipment Sign Out Submission Email Alert
The company representative that receives a email from R & T Electric Pro, when a equipment sign out submission occurs is a function
of who is set up to receive the Equipment Sign Out Submission. The person whom should receive this email, should
probably be someone in management. To configure Safety Net for whom receives
receives this email alert in the Company Email Alert section.
Management, Office Staff and Safety Officers can edit who should receive the Equipment Sign Out Submission email alert in the company email alert section. For more information about configuring your
company email alerts in this web site manual click here to view the company email alert section.
|
|
|
1.Add Equipment Sign Out |
Steps
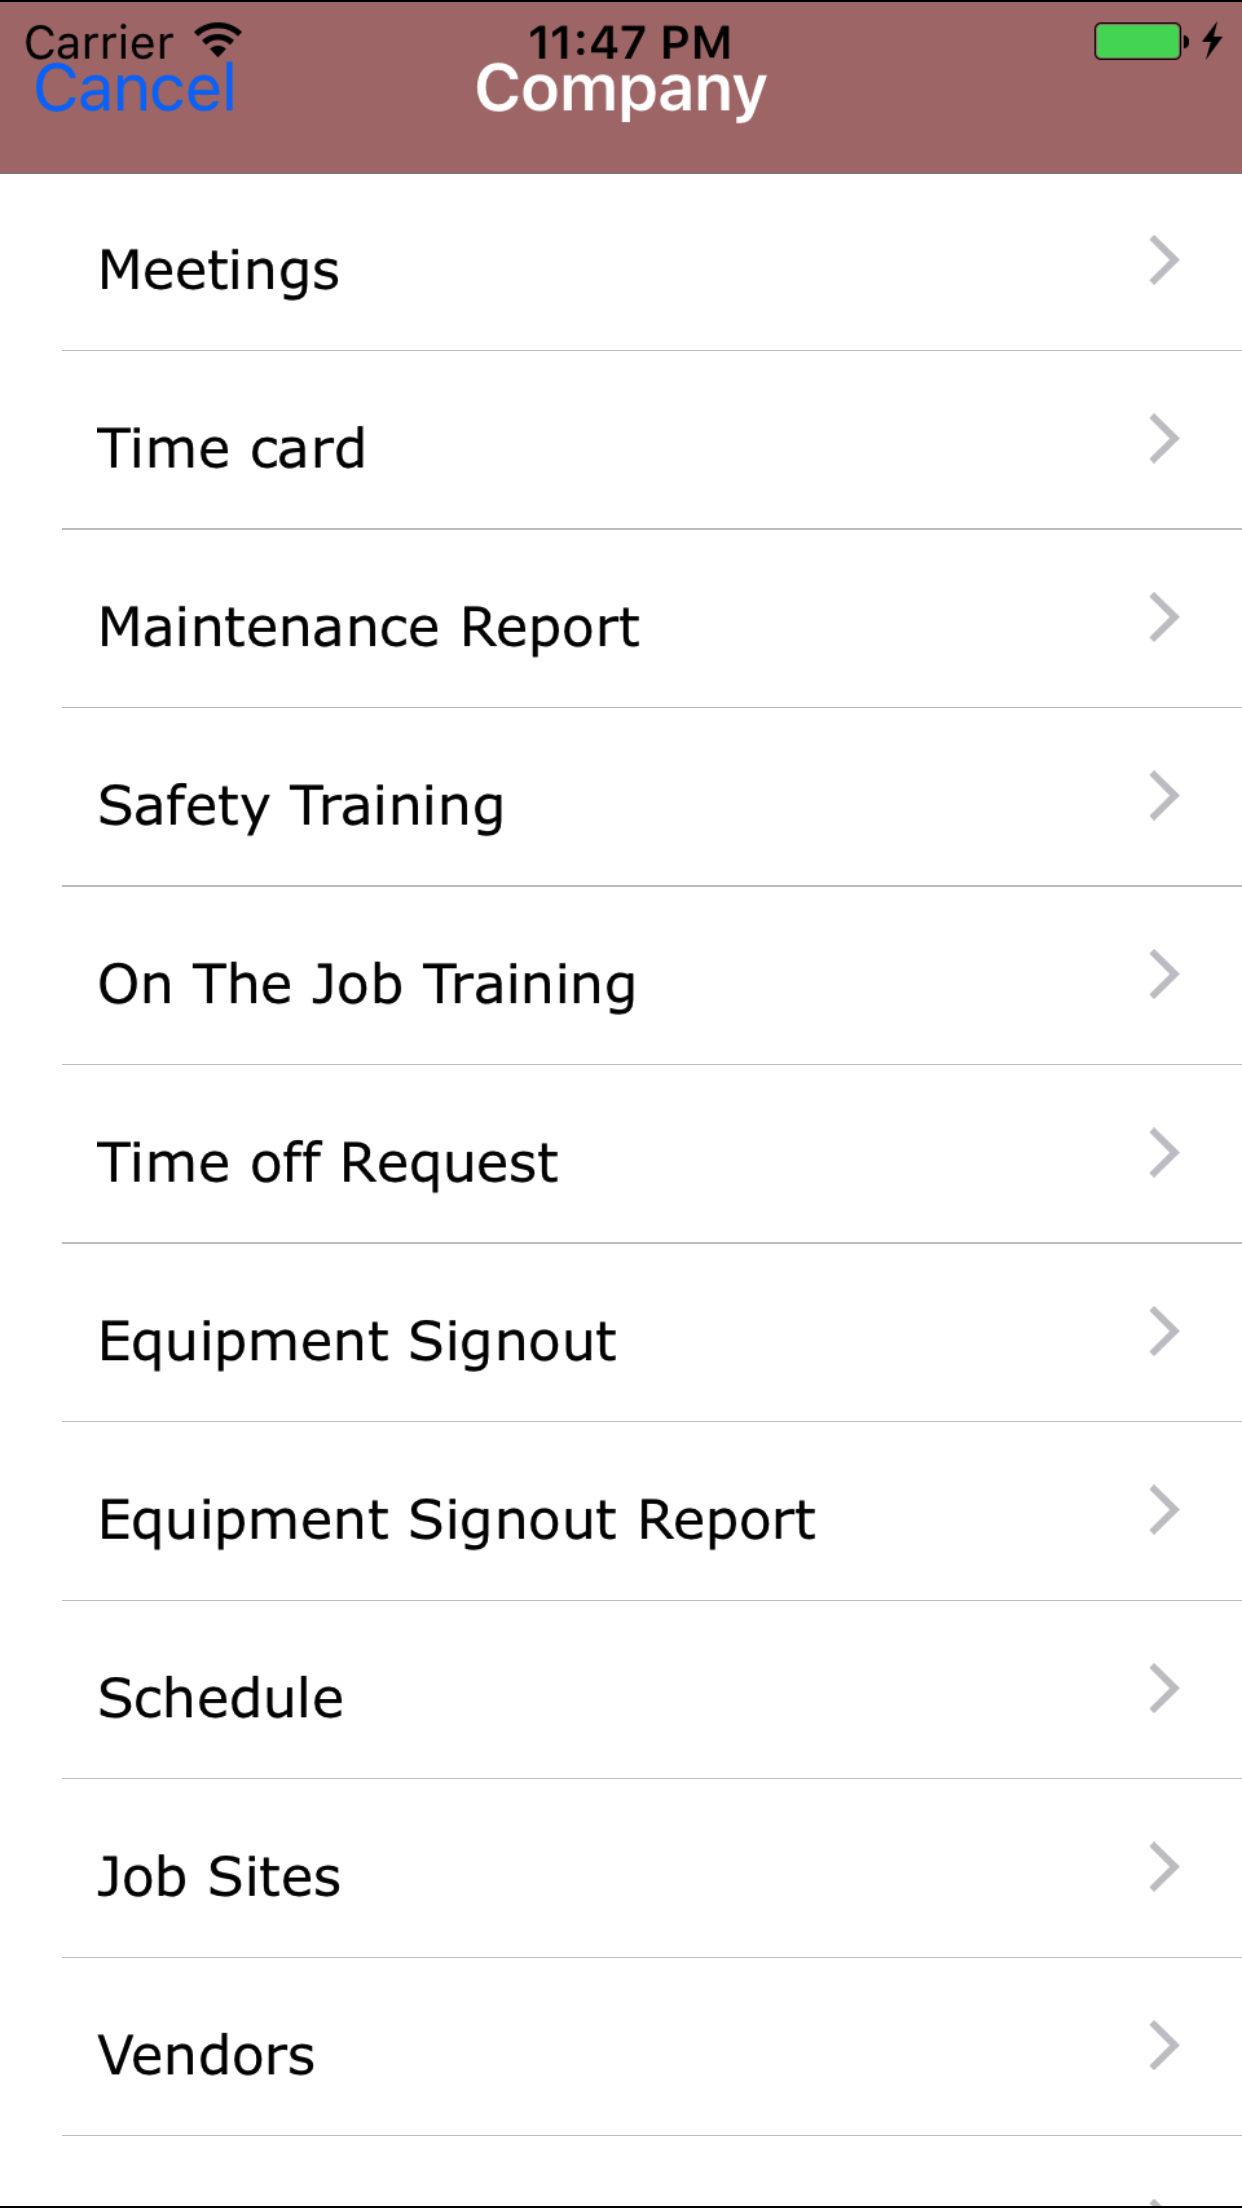
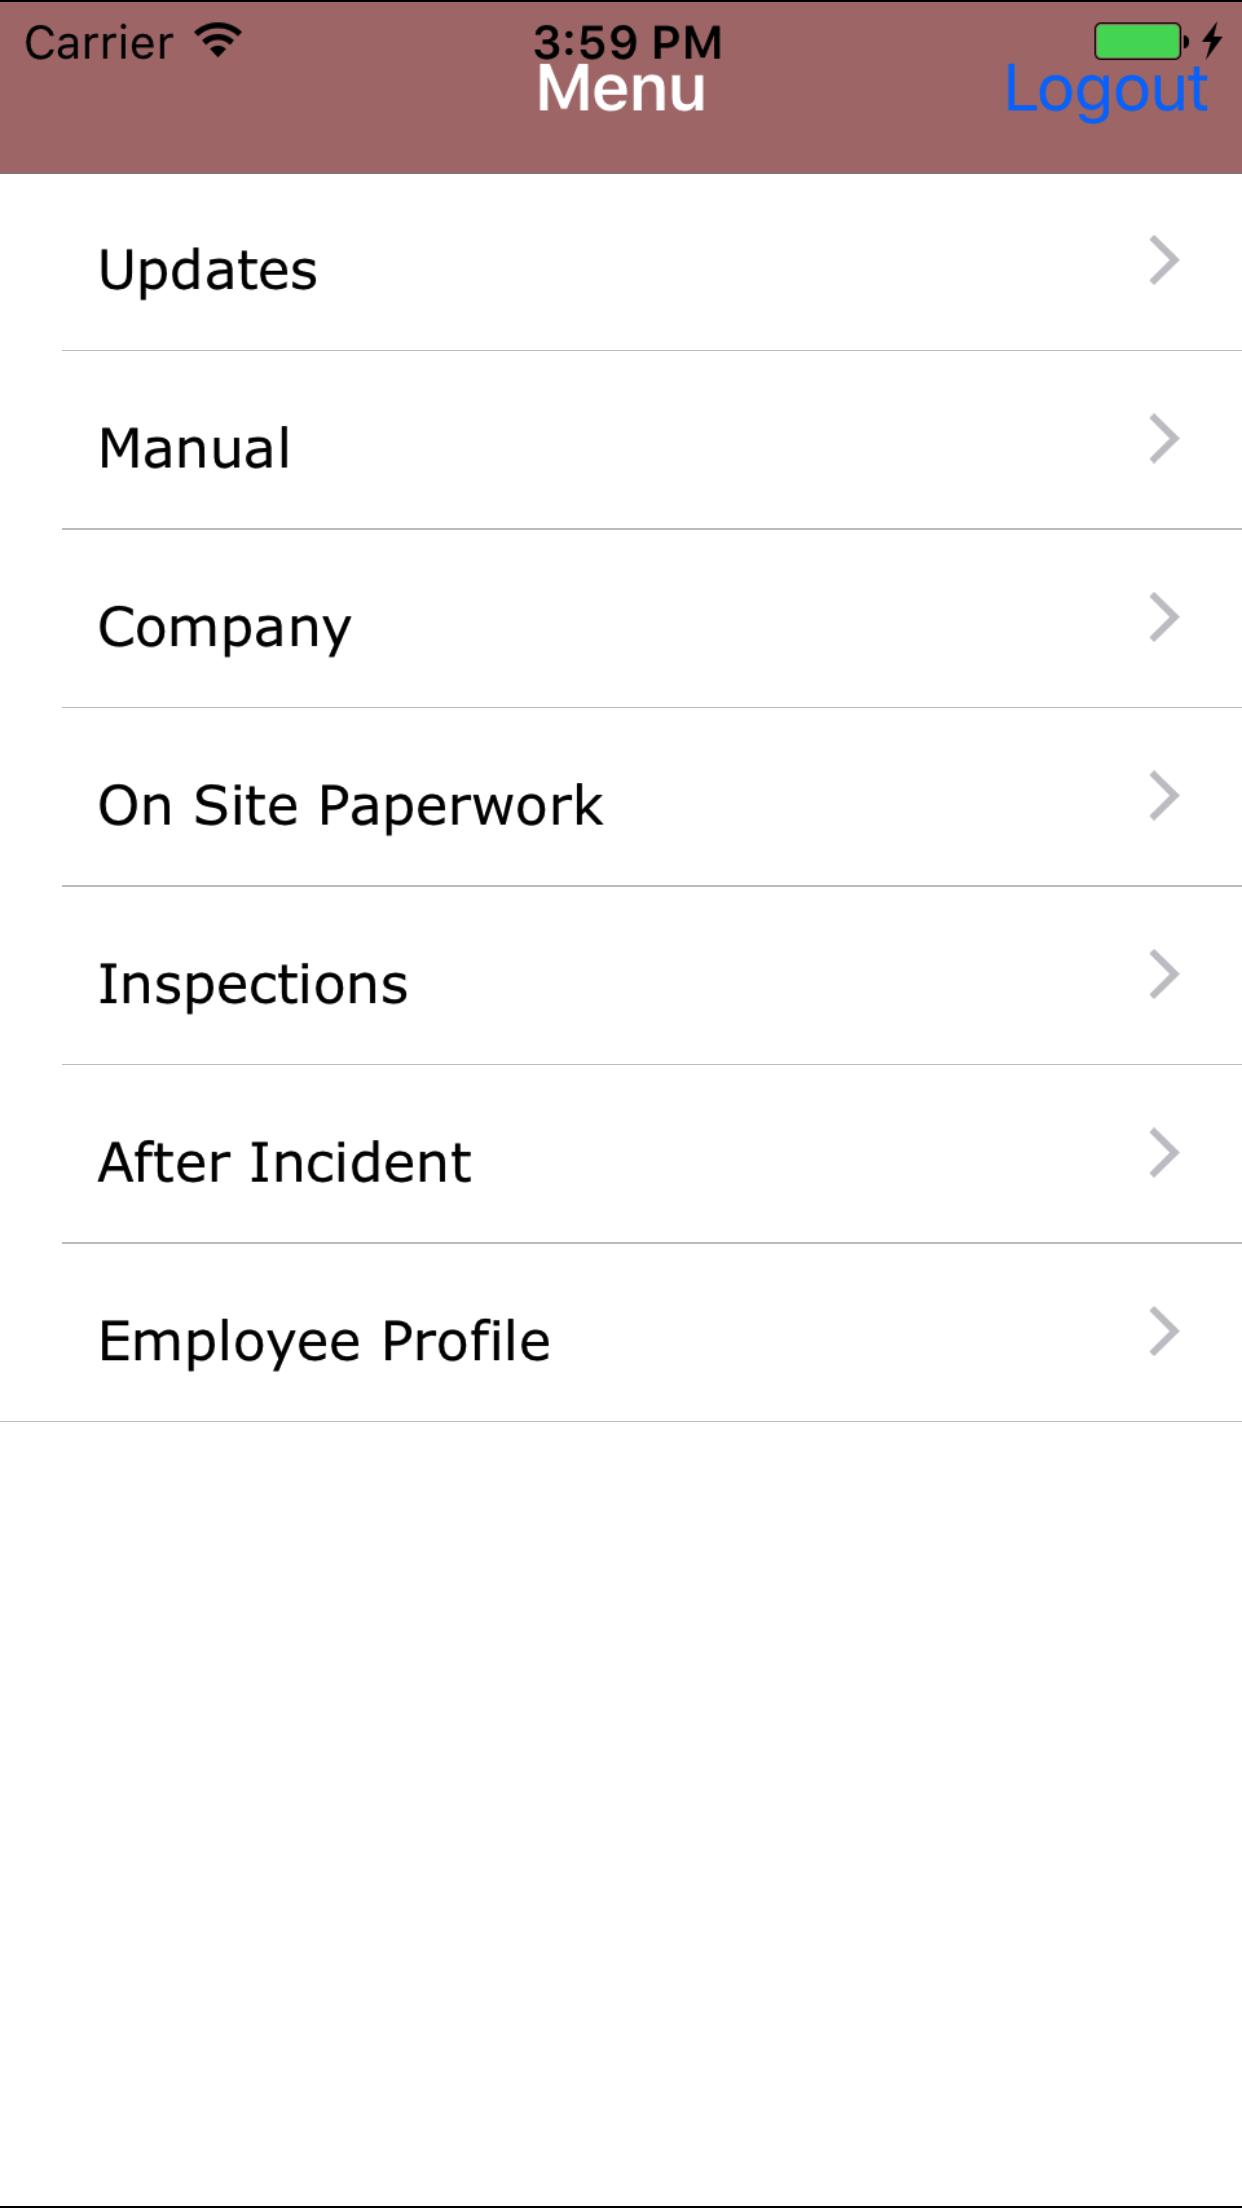
- From the Main Menu screen, tap the Company button.
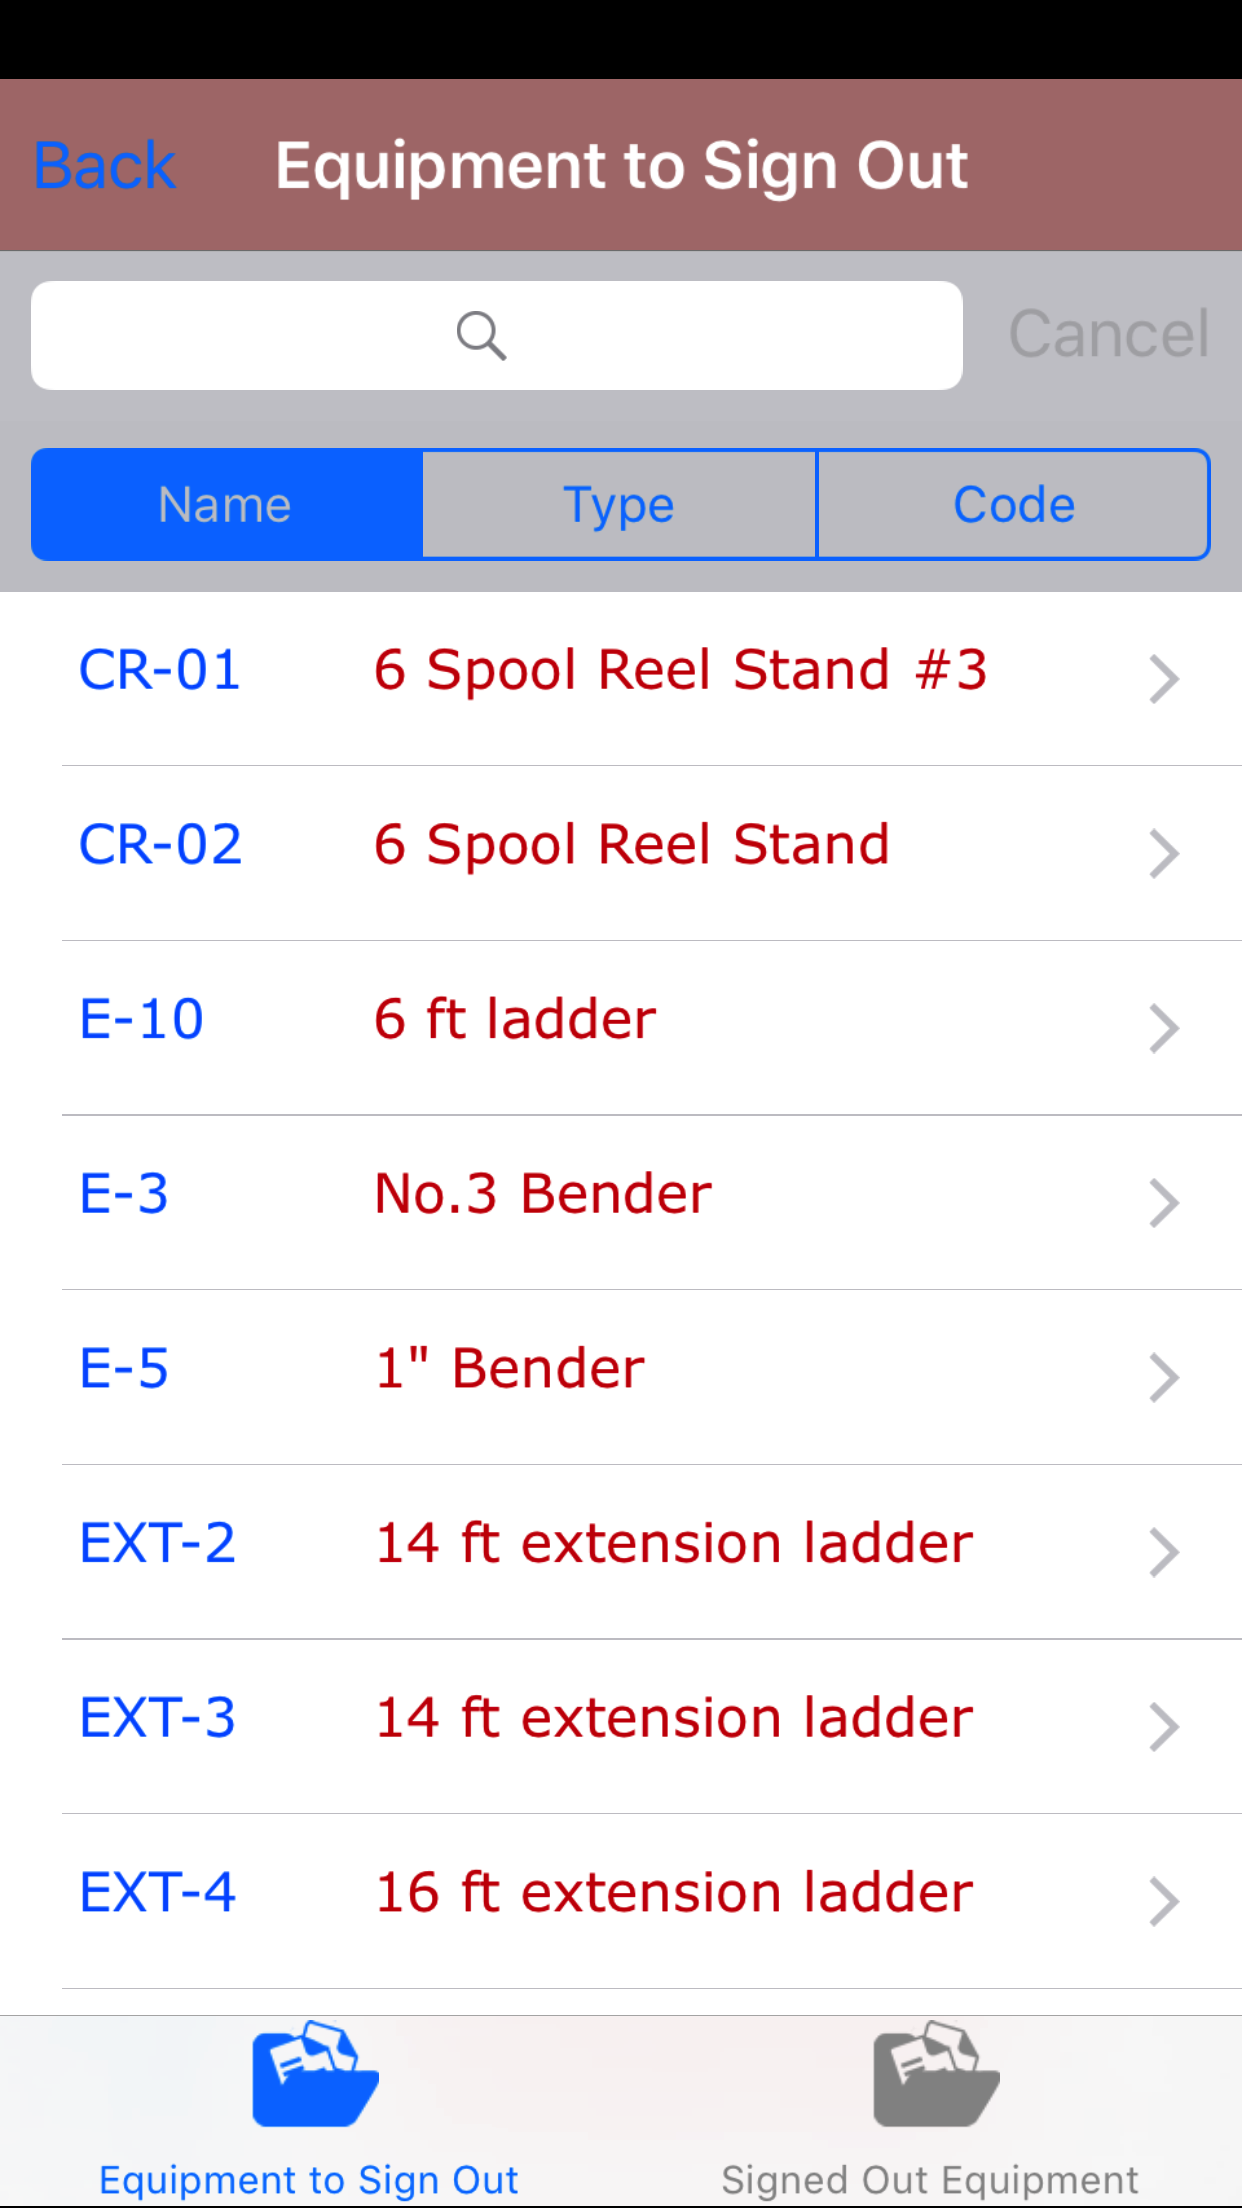
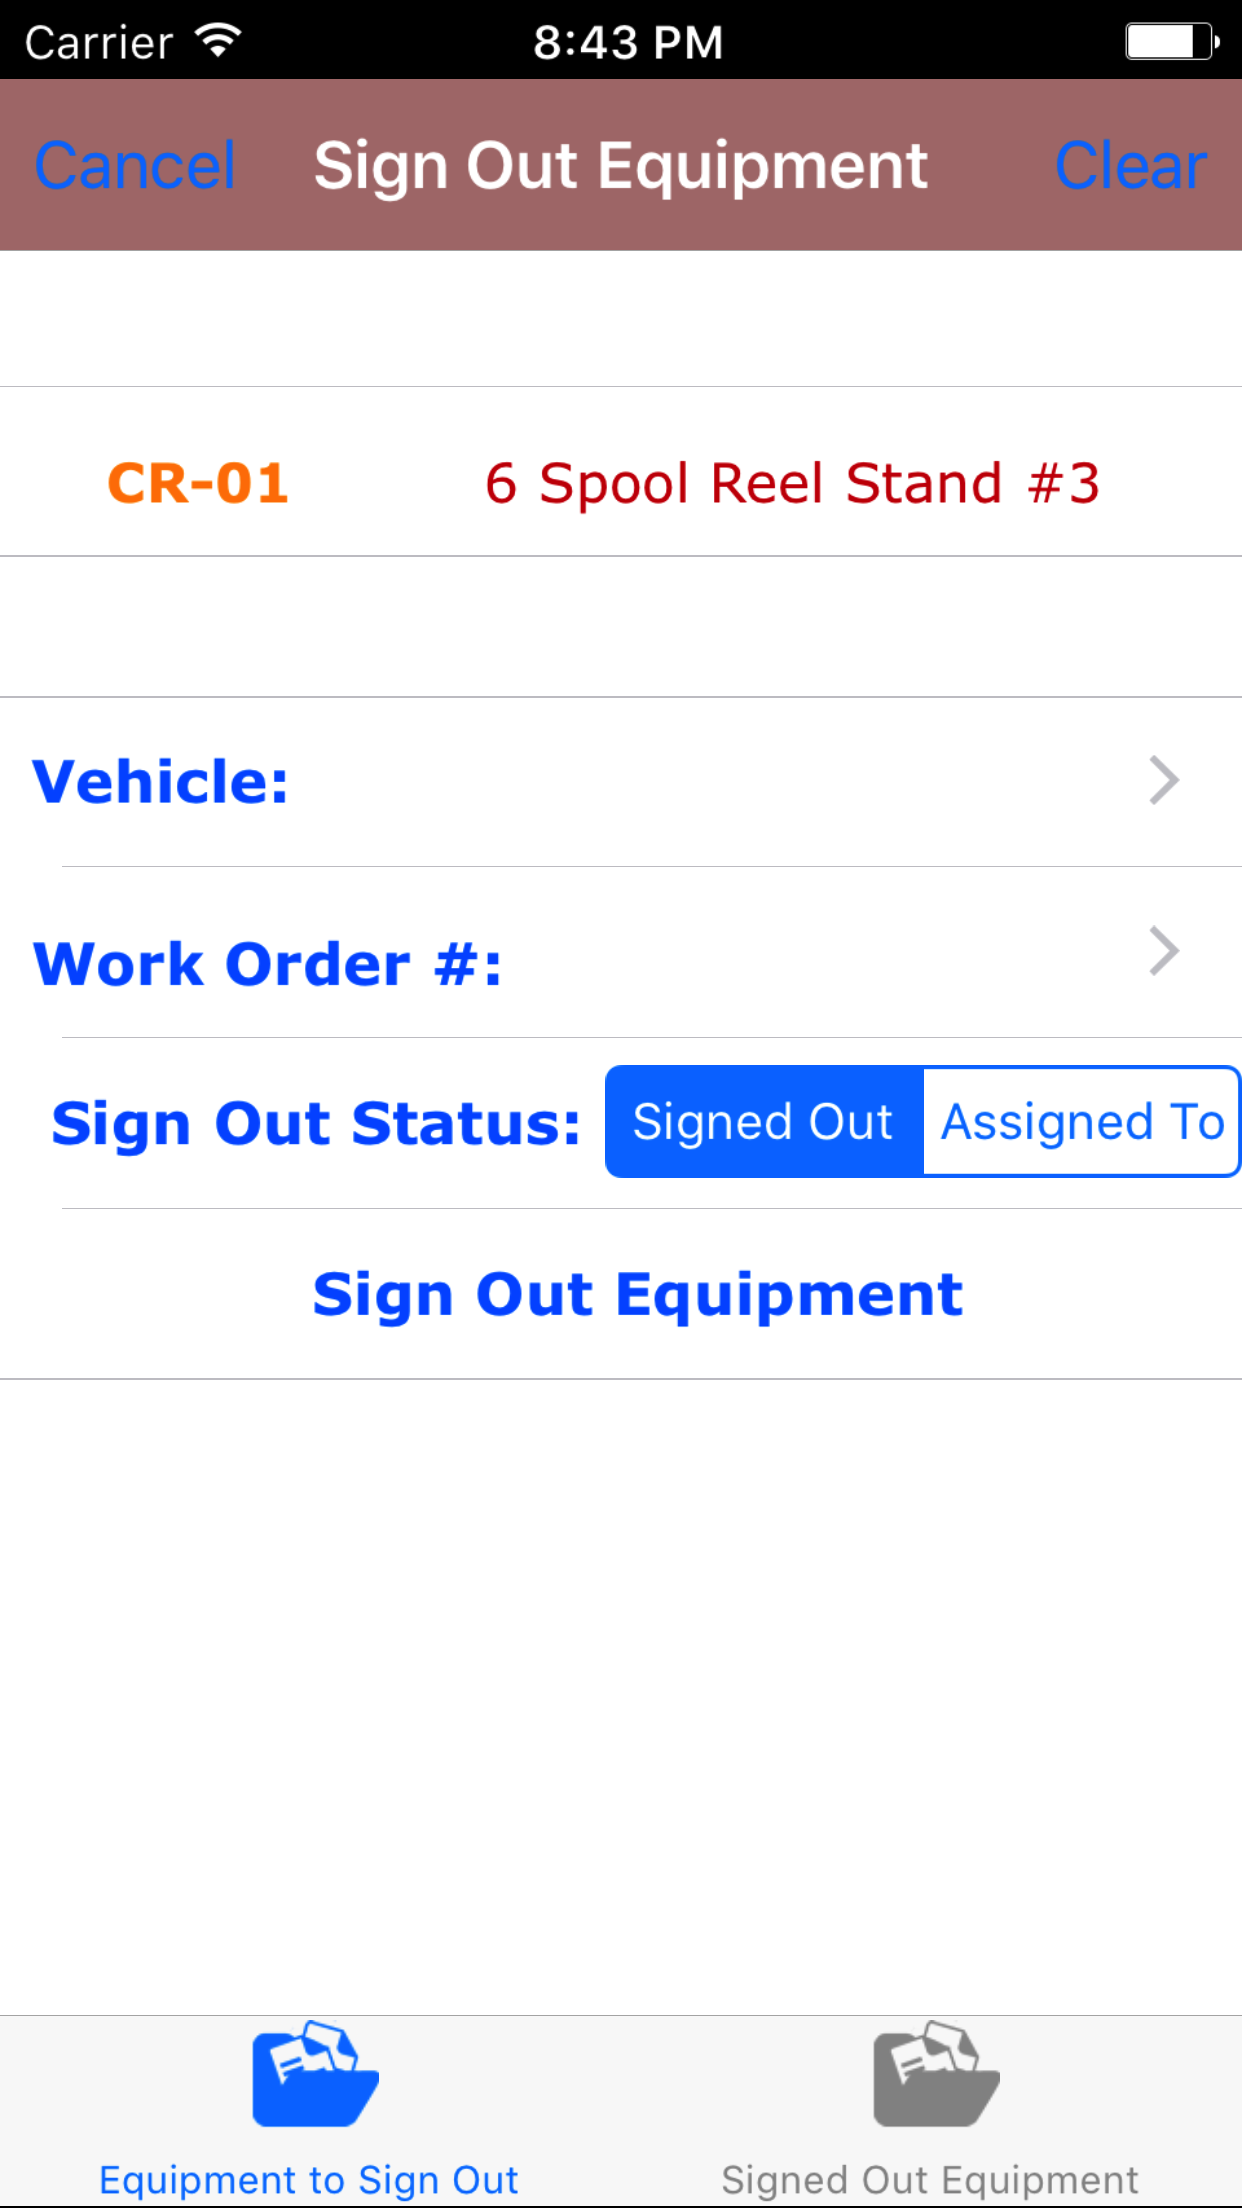
- Then tap on the Equipment Sign Out button to open the Equipment Sign Out section. Which opens the Equipment to Sign Out tab.
- Scroll the list of equipment to sign out until the desired equipment to sign out is highlighted. Then tap the desired equipment to select it to sign it out.
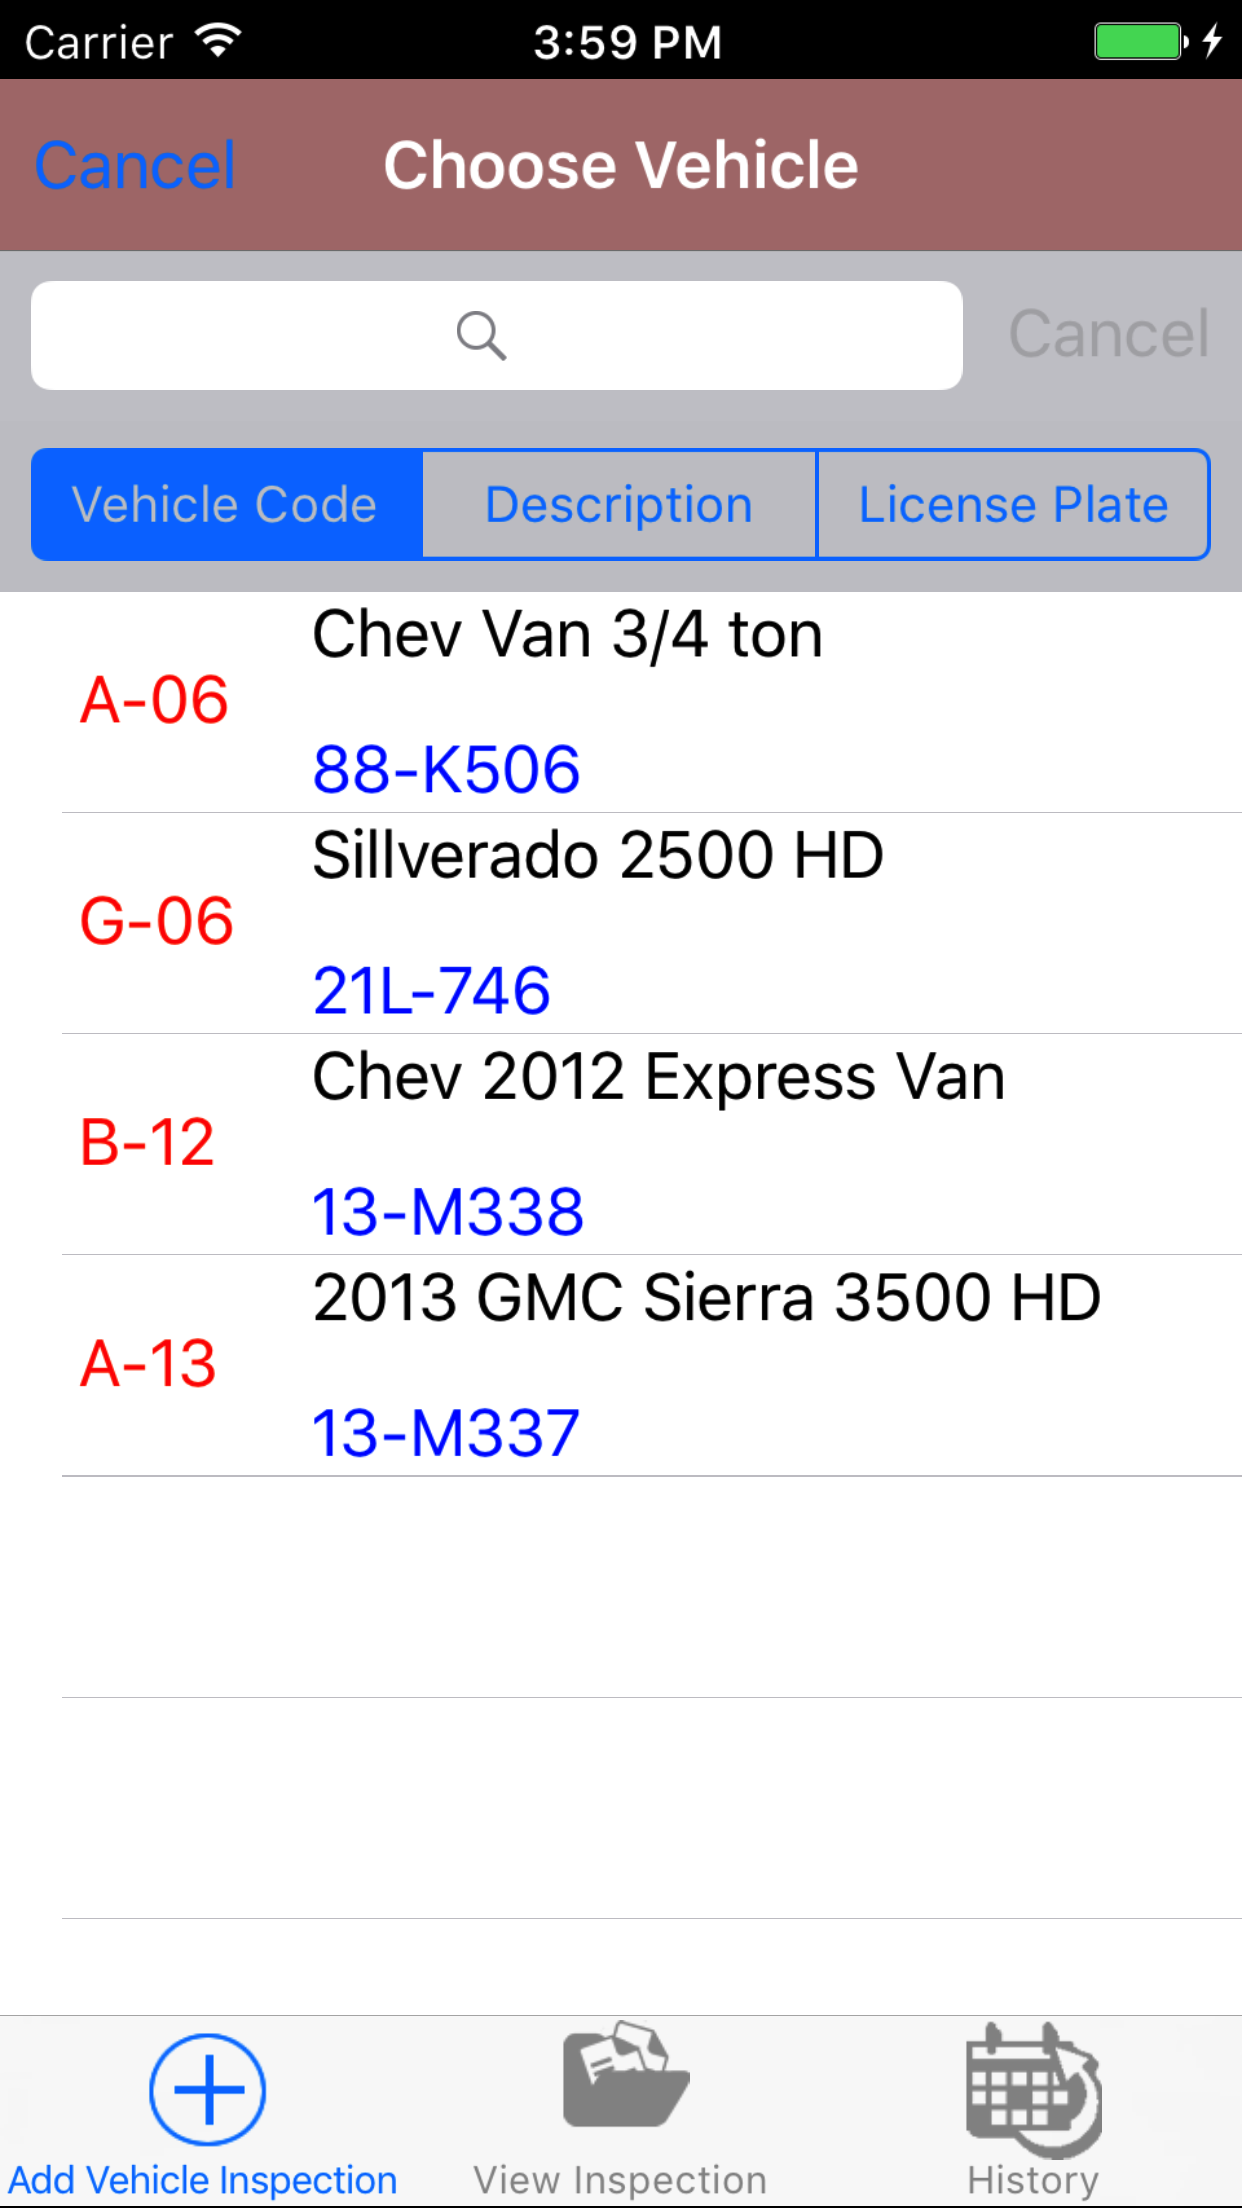
- Tap the Vehicle field to open the Choose Vehicle screen.
Vehicle are listed in descending order with the vehicle code in red text,
the vehicle description in black text, and the license plate in blue text.
Note: New vehicles are not automatically added to the list when they are created, so it may be necessary to update the list click here to view information about updating for the desired vehicle to be included in the list.
To Search Vehicles: Pull down on the list view, the search is defaulted to search by vehicle code.
The other options for the Vehicle search are by description and license plate. Enter your search
criteria and click the Search button.
- Scroll the list of vehicle until the desired vehicle is displayed on the screen.
- Tap the desired vehicle to select it or tap Back in the top left corner to leave the vehicle field unchanged and return to the Add Equipment Sign Out screen.
- Return to the Add Equipment Sign Out screen by either tapping Save in the top right corner to select the highlighted vehicle or tapping Cancel in the top left corner to leave the Vehicle field unchanged.
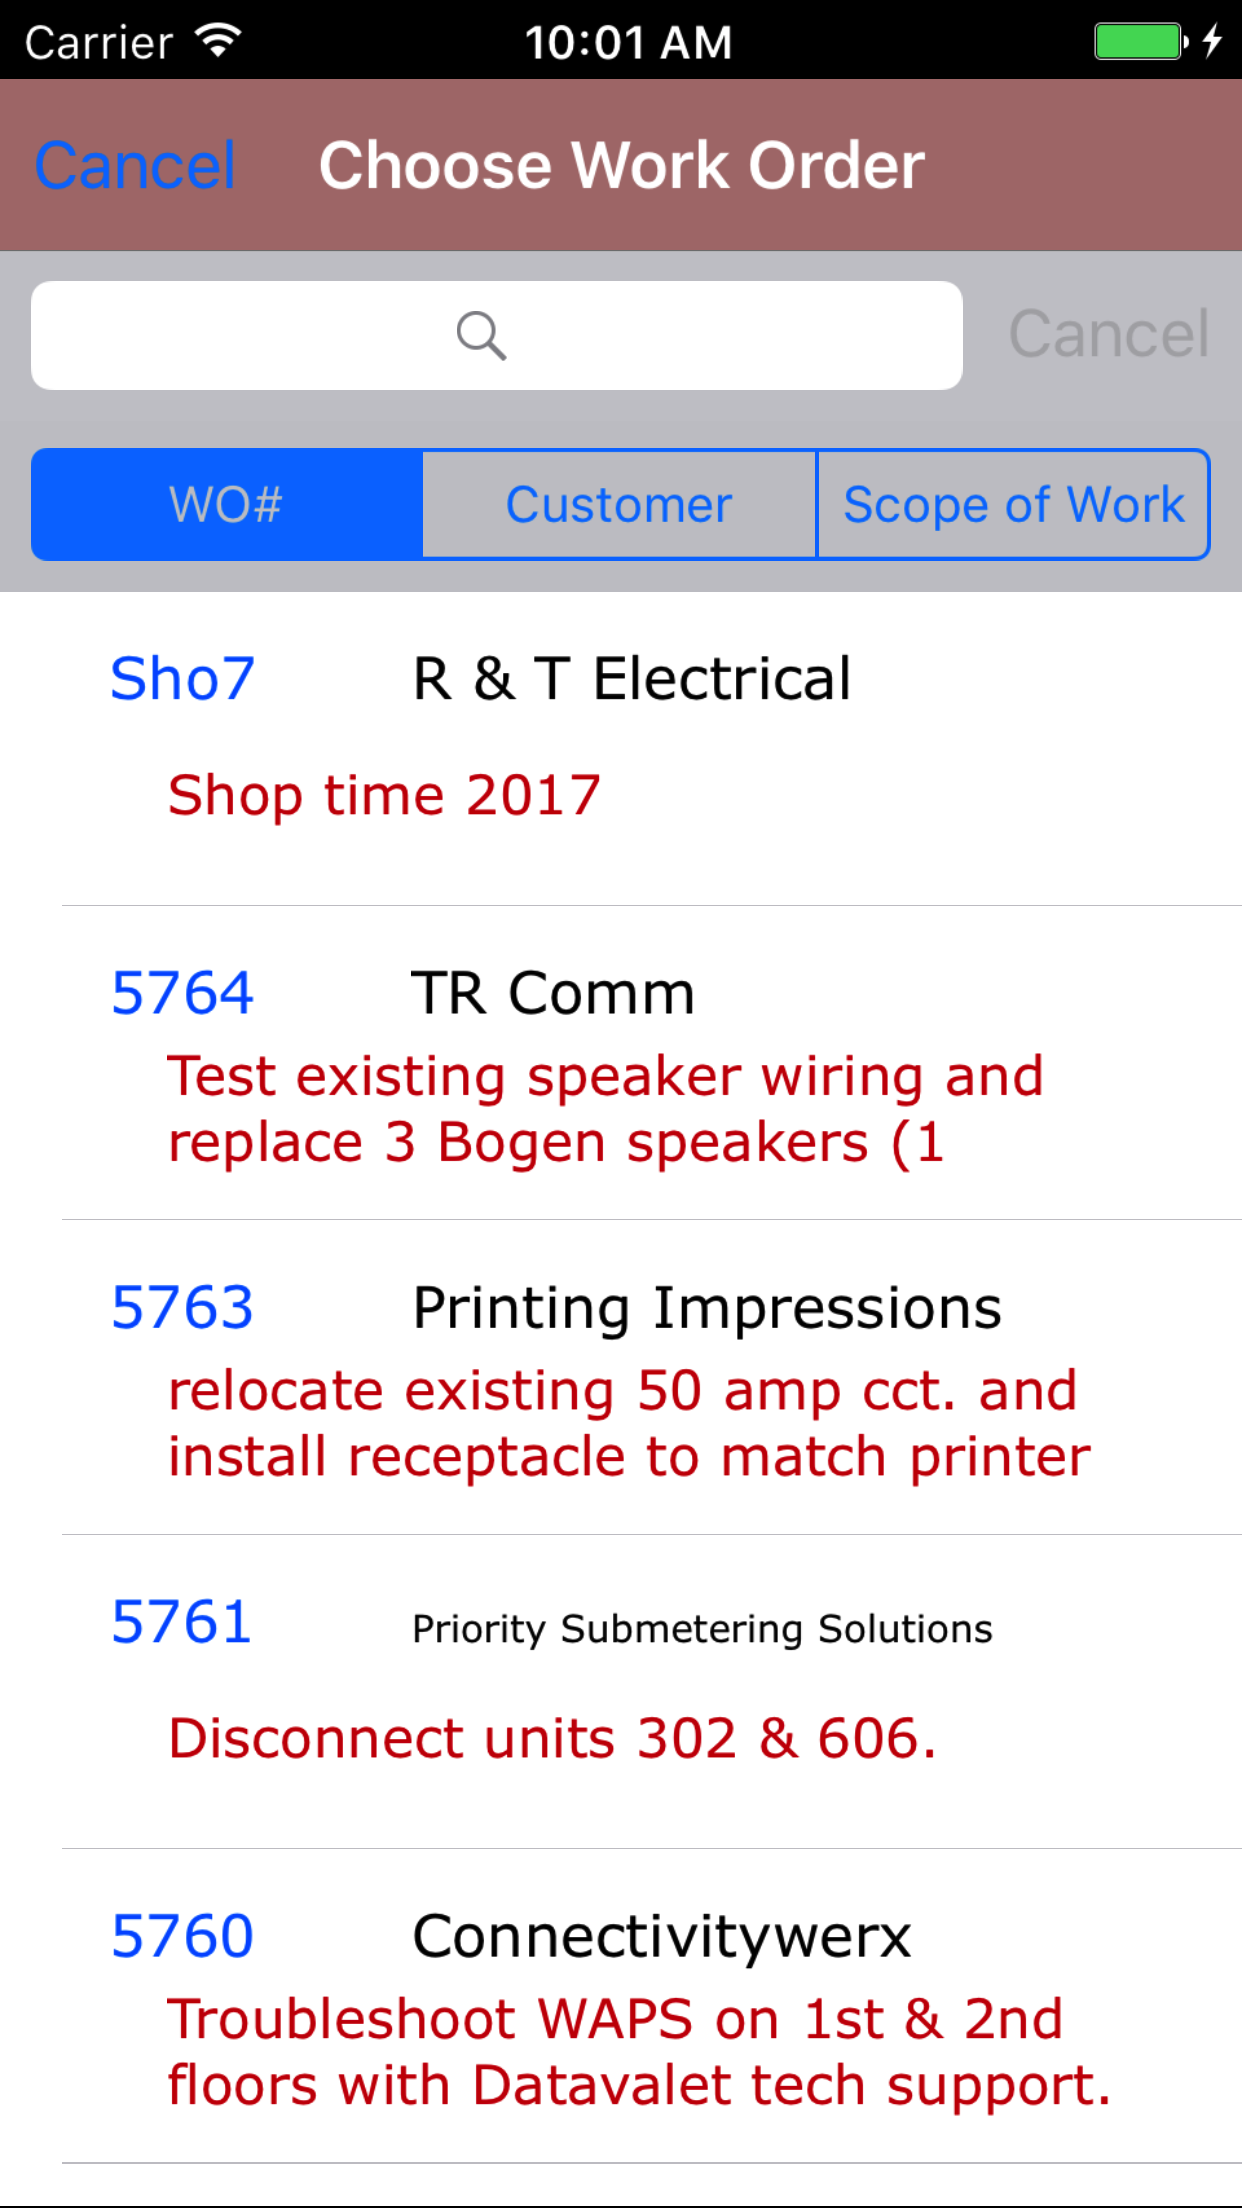
- Tap the Work Order # field to open the Choose Work Order screen.
Work orders are listed in descending order with the work order number in blue text,
the customer name in black text, and the scope of work in red text.
Note: New work orders are not automatically added to the list when they are created, so it may be necessary to update the list click here to view information about updating for the desired work order to be included in the list.
To Search Work Orders: Pull down on the list view, the search is defaulted to search by date enter the date in following
format YYYY-MM-DD. The other options for the Work Order search are by work order number and customer. Enter your search
criteria and click the Search button.
- Scroll the list of work orders until the desired work order is displayed on the screen.
- Tap the desired work order to select it or tap Back in the top left corner to leave the Work Order # field unchanged and return to the Add Equipment Sign Out screen.
- Return to the Add Equipment Sign Out screen by either tapping Save in the top right corner to select the highlighted work order or tapping Cancel in the top left corner to leave the Work Order field unchanged.
- Signed Out Status: The Signed Out Status field should be set to Signed Out when the equipment is to be signed out for a period of time. It should be set to Assigned To is to be assigned to.
- Tap Signed Out on the Signed Out|Assigned To selector to indicate when the equipment is to be signed out for a period of time.
- Tap Assigned To on the Signed Out|Assigned To selector to indicate when the equipment is to be assigned to a vehicle.
- Tap the Sign Out Equipment button to add the equipment sign out.
- A pop-up message that reads 'Equipment has been signed out' indicates that the Equipment Sign Out has been saved.
|
|
|
|
|
2.View Equipment Signed Out |
|
Once a equipment signed out , it can be accessed on the Equipment Signed Out tab. From this tab field staff can:
- Edit equipment signed out
- Returned equipment signed out
- Recheck out equipment signed out
Once in the Equipment Sign Out section
Steps
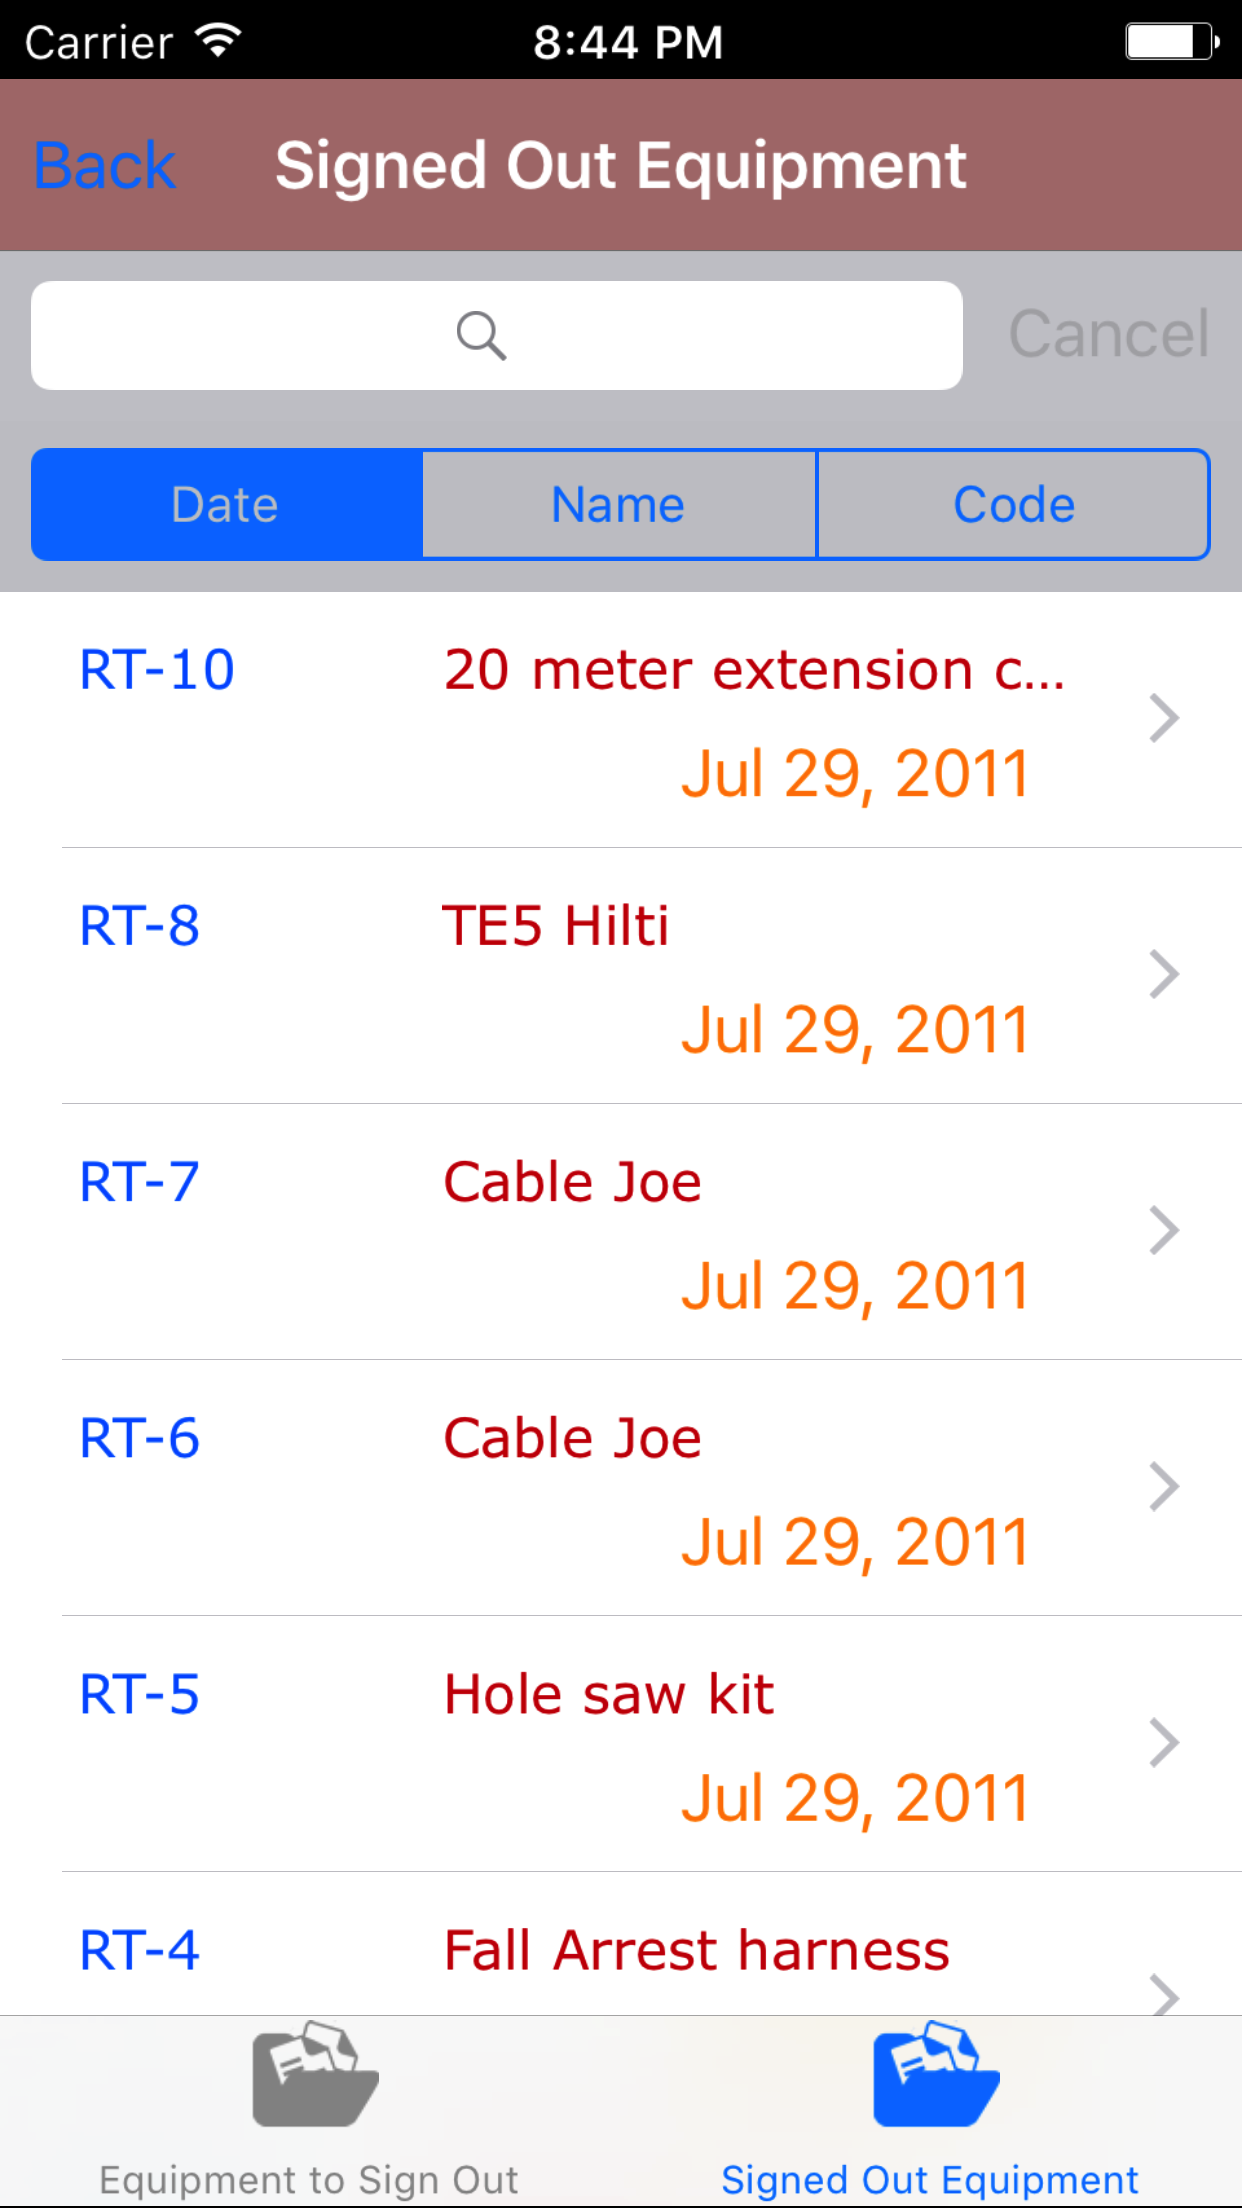
- Tap the second tab on the menu, the Signed Out Equipment view. If their are equipment signed out to view they will be listed
with the Vehicle Code in blue or the Work Order # in
blue, the Equipment signed out in red
and the Sign Out Date in orange.
To Search Equipment Signed Out: Pull down on the list view, the search is defaulted to search by equipment name.
The other options for the Job Site search are by type and code. Enter your search
criteria and click the Search button.
- Scroll the list of Equipment Signed Out until the desired Equipment Signed Out is displayed on the screen.
- Tap on the Equipment Signed Out you would like to view. This loads the edit Equipment Signed Out screen.
|
|
| Steps 1-3 |
|
|
3.Edit Equipment Signed Out |
|
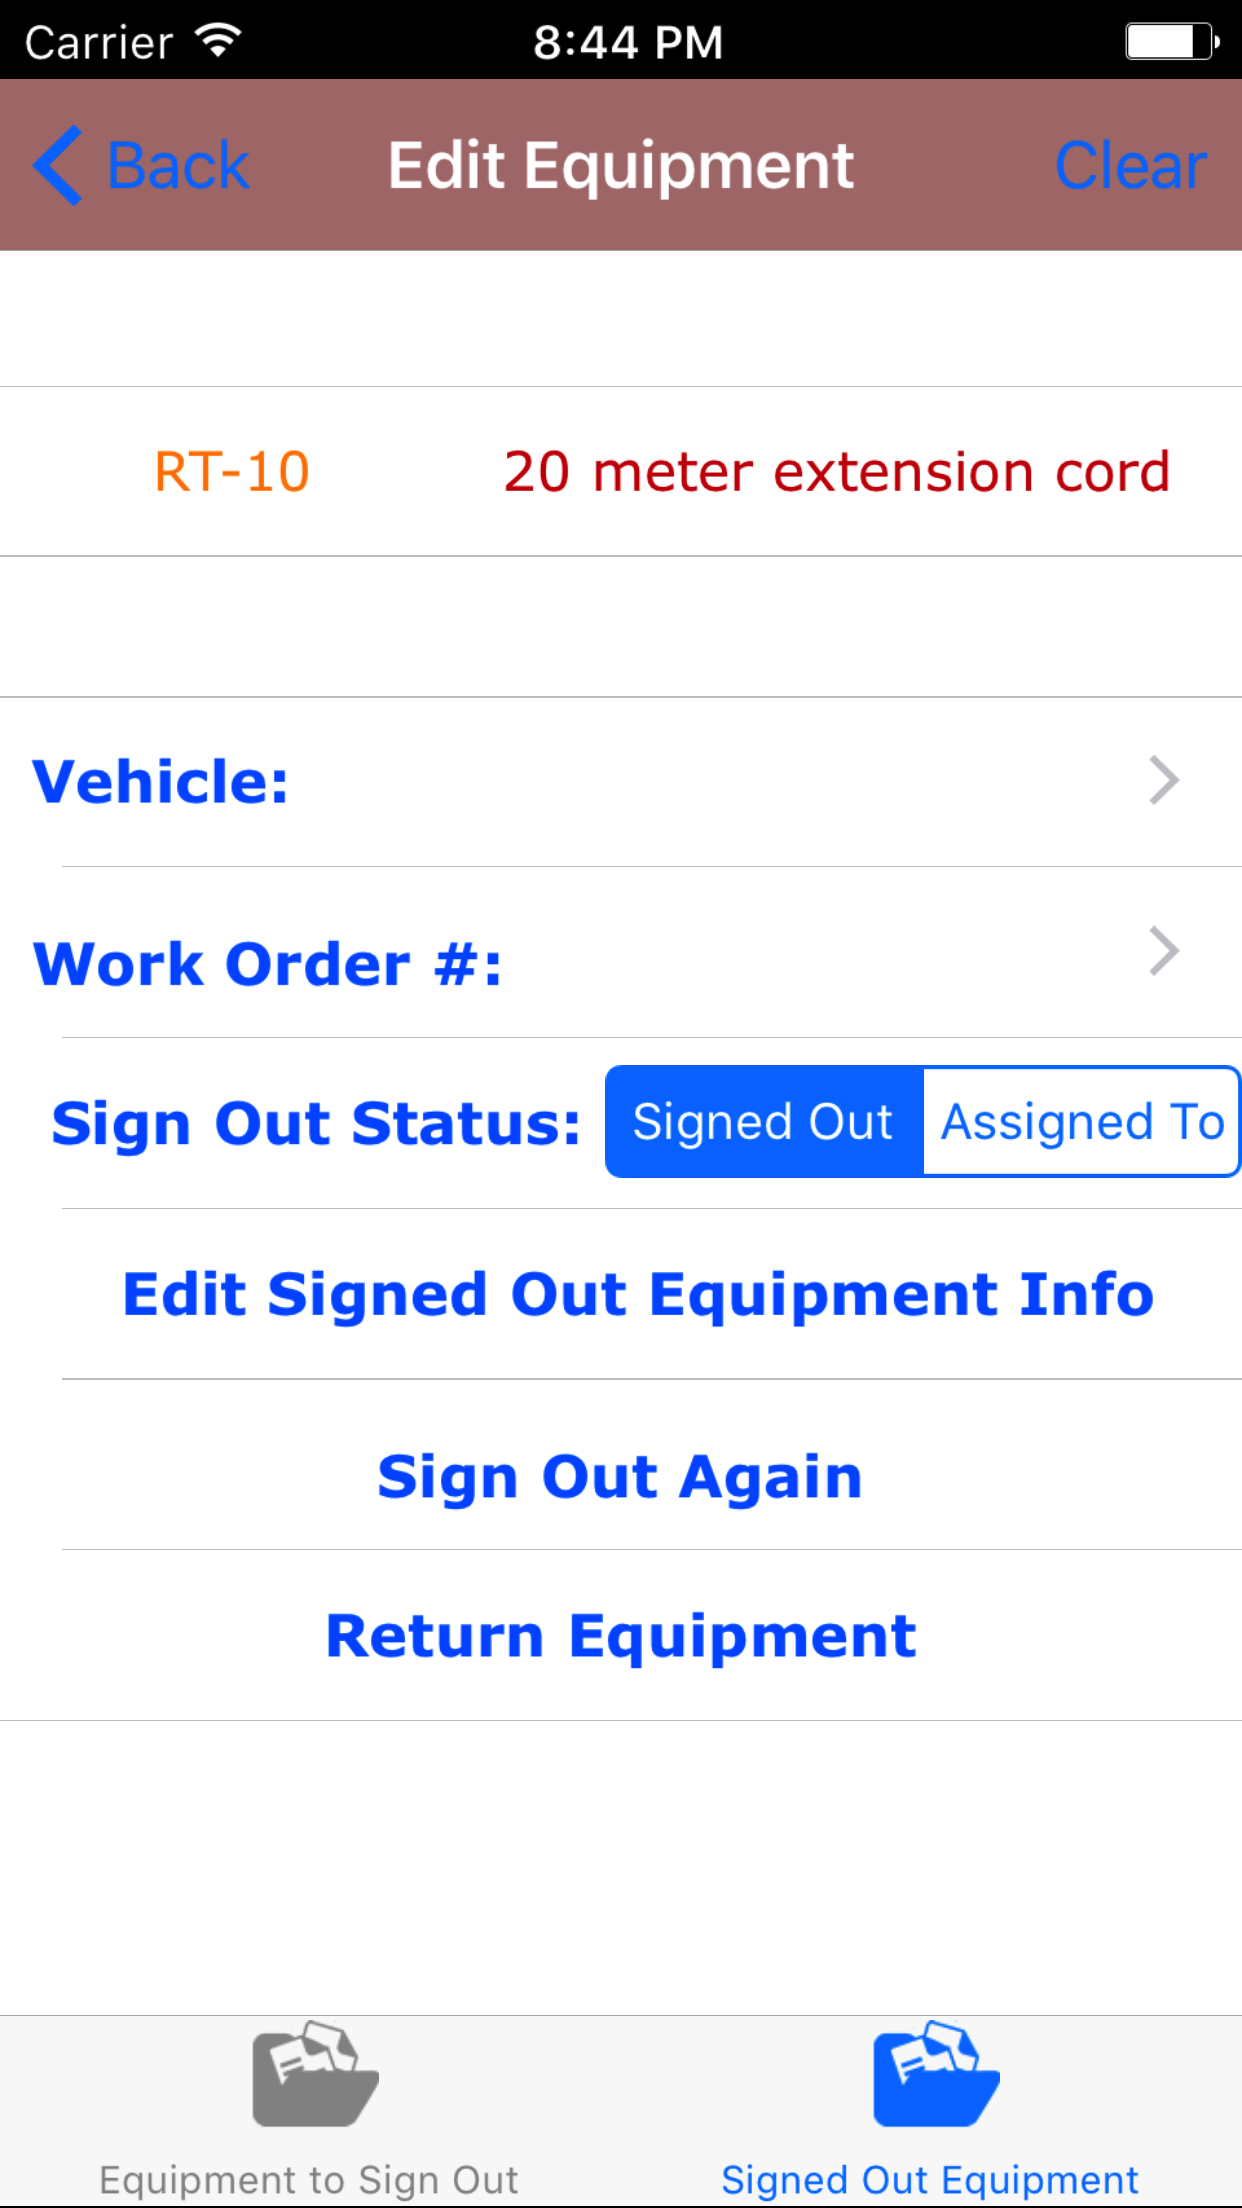
Once on the Equipment Signed Out you would like to Edit
Steps
- Tap the Vehicle field to open the Choose Vehicle screen.
Vehicle are listed in descending order with the vehicle code in red text,
the vehicle description in black text, and the license plate in blue text.
Note: New vehicles are not automatically added to the list when they are created, so it may be necessary to update the list click here to view information about updating for the desired vehicle to be included in the list.
To Search Vehicles: Pull down on the list view, the search is defaulted to search by vehicle code.
The other options for the Vehicle search are by description and license plate. Enter your search
criteria and click the Search button.
- Scroll the list of vehicle until the desired vehicle is displayed on the screen.
- Tap the desired vehicle to select it or tap Back in the top left corner to leave the vehicle field unchanged and return to the Edit Equipment Sign Out screen.
- Return to the Edit Equipment Sign Out screen by either tapping Save in the top right corner to select the highlighted vehicle or tapping Cancel in the top left corner to leave the Vehicle field unchanged.
- Tap the Work Order # field to open the Choose Work Order screen.
Work orders are listed in descending order with the work order number in blue text,
the customer name in black text, and the scope of work in red text.
Note: New work orders are not automatically added to the list when they are created, so it may be necessary to update the list click here to view information about updating for the desired work order to be included in the list.
To Search Work Orders: Pull down on the list view, the search is defaulted to search by date enter the date in following
format YYYY-MM-DD. The other options for the Work Order search are by work order number and customer. Enter your search
criteria and click the Search button.
- Scroll the list of work orders until the desired work order is displayed on the screen.
- Tap the desired work order to select it or tap Back in the top left corner to leave the Work Order # field unchanged and return to the Edit Equipment Sign Out screen.
- Return to the Edit Equipment Sign Out screen by either tapping Save in the top right corner to select the highlighted work order or tapping Cancel in the top left corner to leave the Work Order field unchanged.
- Signed Out Status: The Signed Out Status field should be set to Signed Out when the equipment is to be signed out for a period of time. It should be set to Assigned To is to be assigned to.
- Tap Signed Out on the Signed Out|Assigned To selector to indicate when the equipment is to be signed out for a period of time.
- Tap Assigned To on the Signed Out|Assigned To selector to indicate when the equipment is to be assigned to a vehicle.
- Tap Save in the top right corner to save any changes to the Equipment Sign Out.
- A pop-up message that reads Equipment Sign Out have been Saved indicates that the equipment sign out have been saved.
|
|
|
|
4.ReCheck Out Equipment Signed Out |
|
Once on the Equipment Signed Out you would like to Edit
Steps
- Tap on the Sign Out Again button.
- A pop-up message that reads Equipment has been Signed Out Again indicates that the equipment has been signed out again.
|
|
| Steps 1-2 |
|
|
4.Return Equipment Signed Out |
|
Once on the Equipment Signed Out you would like to Edit
Steps
- Tap on the Return Equipment button.
- A pop-up message that reads Equipment has been Signed Out Again indicates that the equipment has been signed out again.
|
|
|
| Step 1 |
|
|
13.Update Equipment Sign Out |
|
As other field staff and employee's perform equipment sign out the the records of equipment signed out will change for work orders and vehicles.
Steps
- From the Menu screen, tap the Updates button.
- Scroll the list of sections until you find the Equipment button.
- Tap on the Equipment button.
|
|
|
| Step 1 |
|
|
| Steps 2-3 |
|
|