|
The fall protection plan section allows a user to prepare the fall protection plans for work performed on job sites for a specific work order. A fall protection plan
is intended to look at the unique hazards field staff will encounter when working at height. The fall protection plan is set up in a number of
sections; basic information, pre work checklists, ladder checklists, and fall protection notes.
The pre work,ladder, and methods of restraint checklists are configured and maintained by company staff, to match up with companies safety concerns and field of work. The checklist categories include
Configuring Safety Net Fall Protection Notes
Companies can set up fall protection notes they would like their field staff to review and consider while developing a plan for working at height.
For more information about company fall protection notes check out the Fall Protection Plan Notes section of the manual.
Configuring Safety Net Pre Work checklists
Companies can set up the list of pre work checklist items they would like their field staff to review and consider while developing a plan for working at height.
For more information about company pre work check lists check out the Fall Protection Plan Pre Work checklists section of the manual.
Configuring Safety Net Ladder checklists
Companies can set up the list of ladder checklist items they would like their field staff to review and consider while developing a plan for working at height.
For more information about company ladder check lists check out the Fall Protection Plan Ladder checklists section of the manual.
Configuring Safety Net Methods of Restraint checklists
Companies can set up the list of methods of restraint they would like their field staff to review and consider while developing a plan for working at height.
For more information about company methods of restraint check lists check out the Fall Protection Plan Methods of Restraint section of the manual.
Hazard Assessments
As part of hazard assessments, field staff will record if the work they are performing involves working at height. If field staff mark a hazard assessment as involving working at height
field staff should complete a fall protection plan. They should have all hazard assessment employees involved sign off on the fall protection plan. If they are not involved then they should
complete a separate hazard assessment and make sure to not include working at height.
For more information about hazard Assessments check out the Hazard Assessments in the Hazard Assessment section of the manual.
|
|
|
1.Add Fall Protection Plan |
Steps
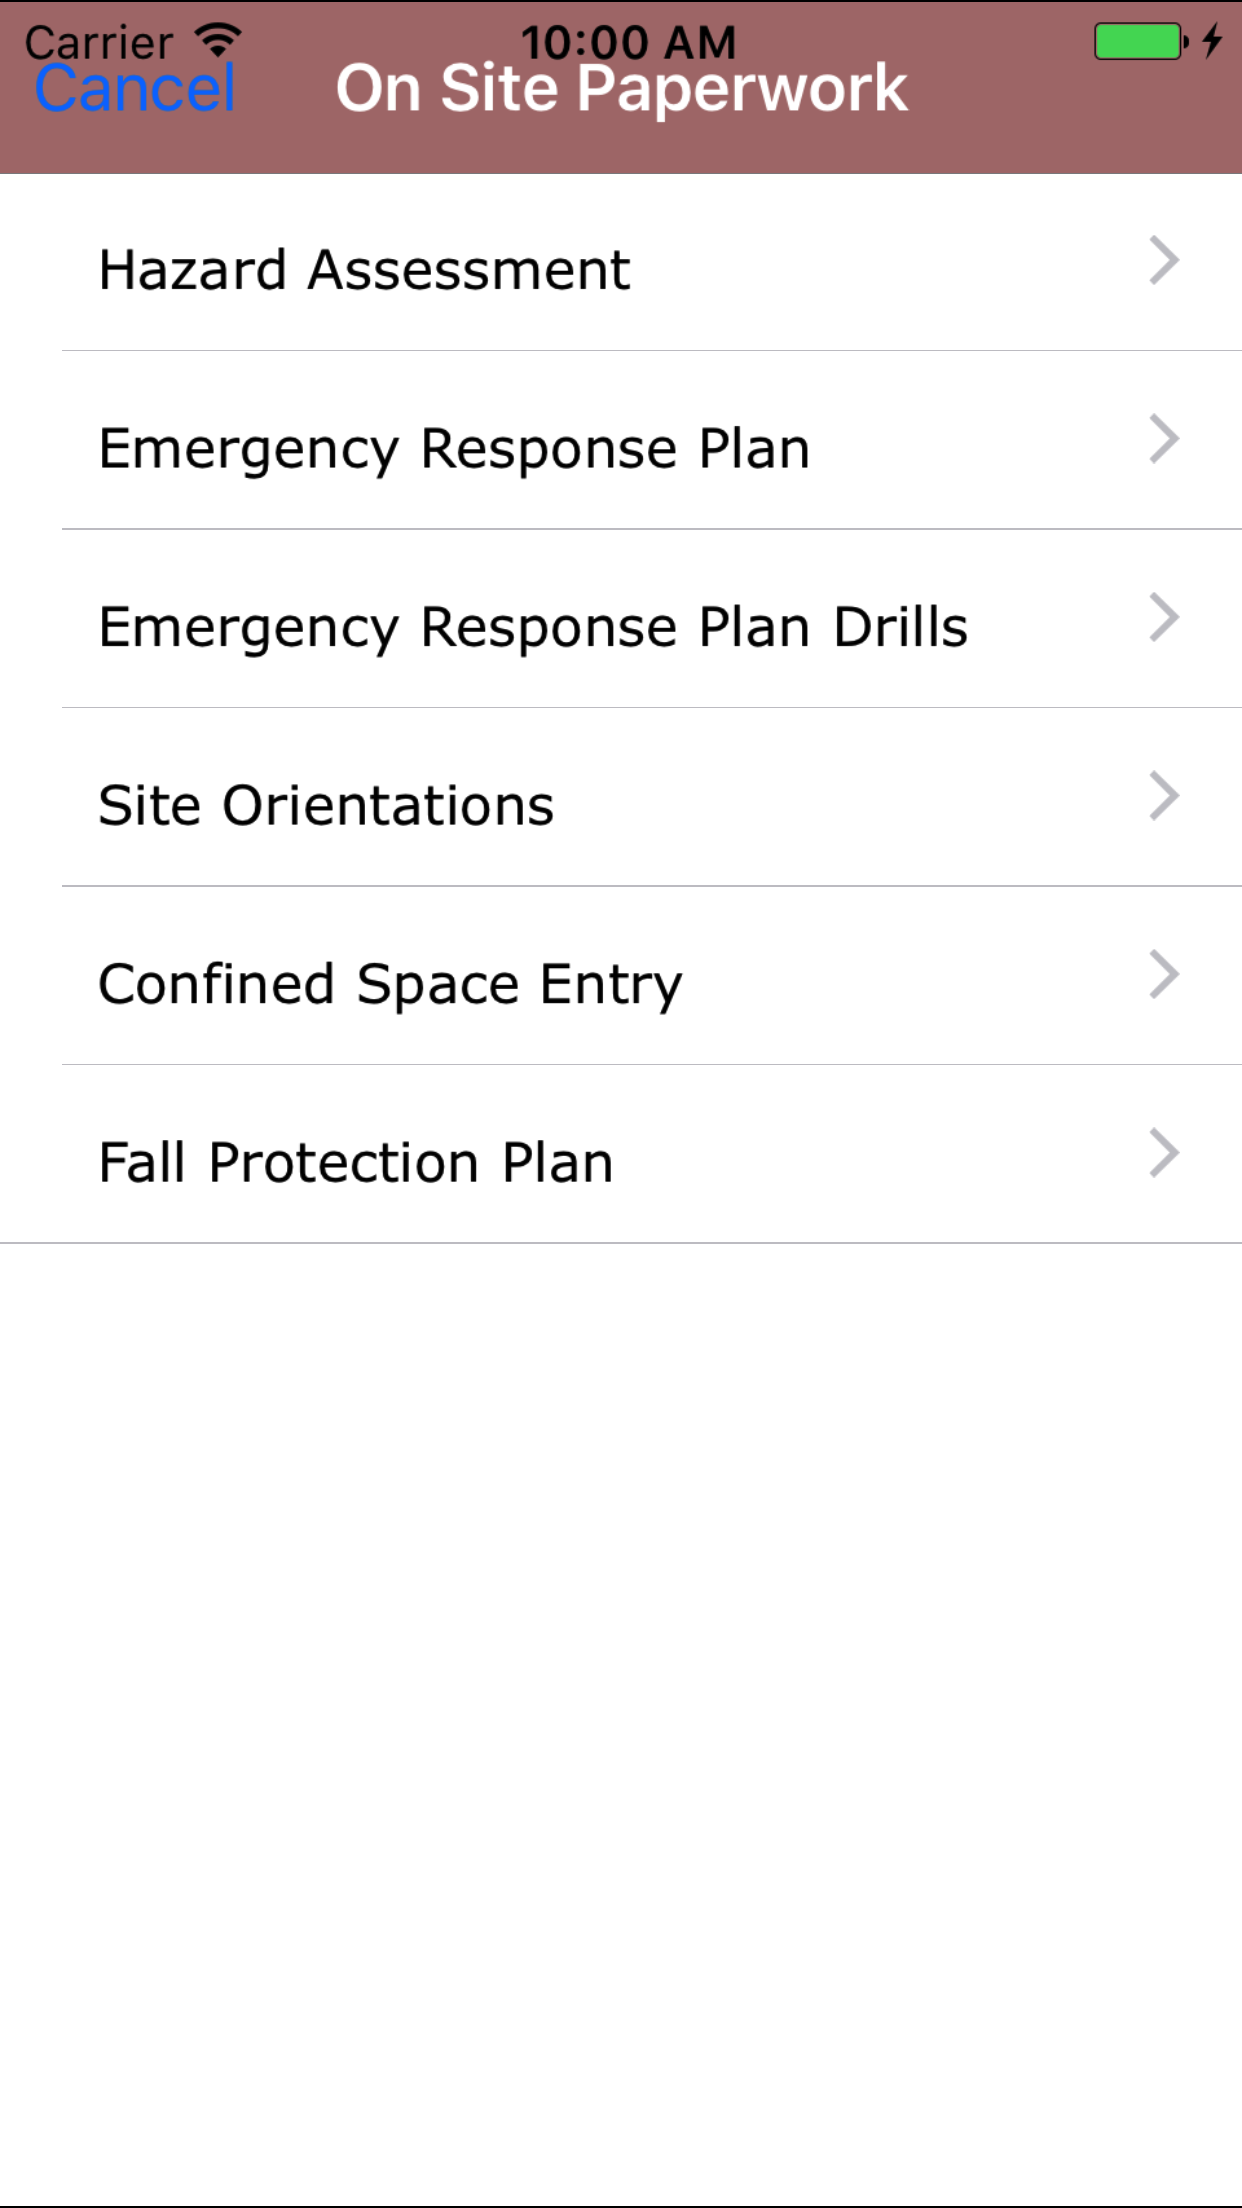
- From the Main Menu screen, tap the Inspection button.
- Then tap on the Fall Protection Plan button.
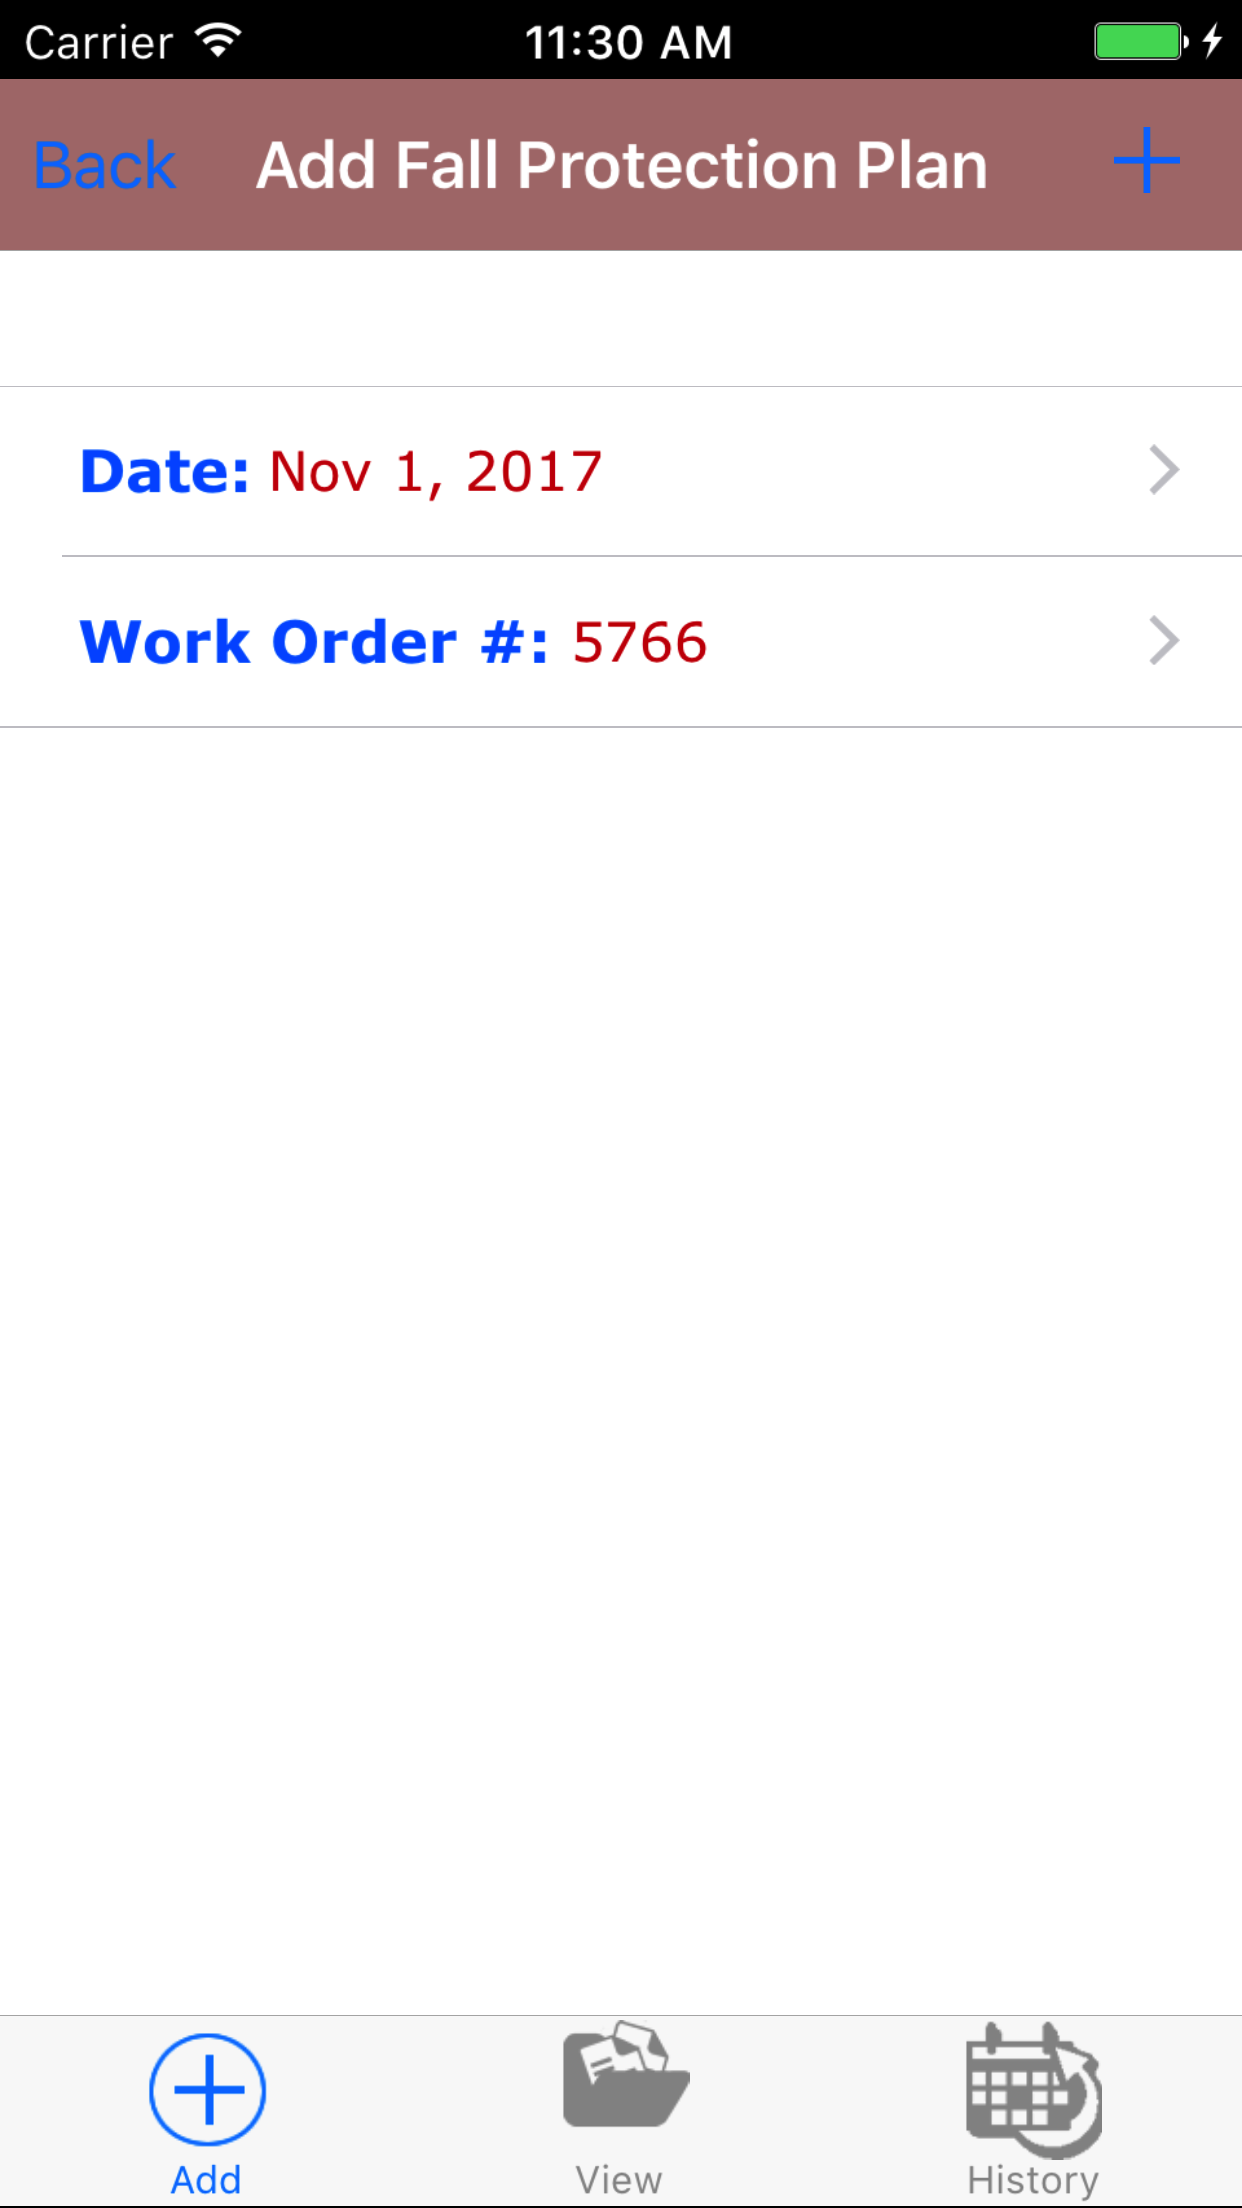
- This opens the Add Fall Protection Plan screen.
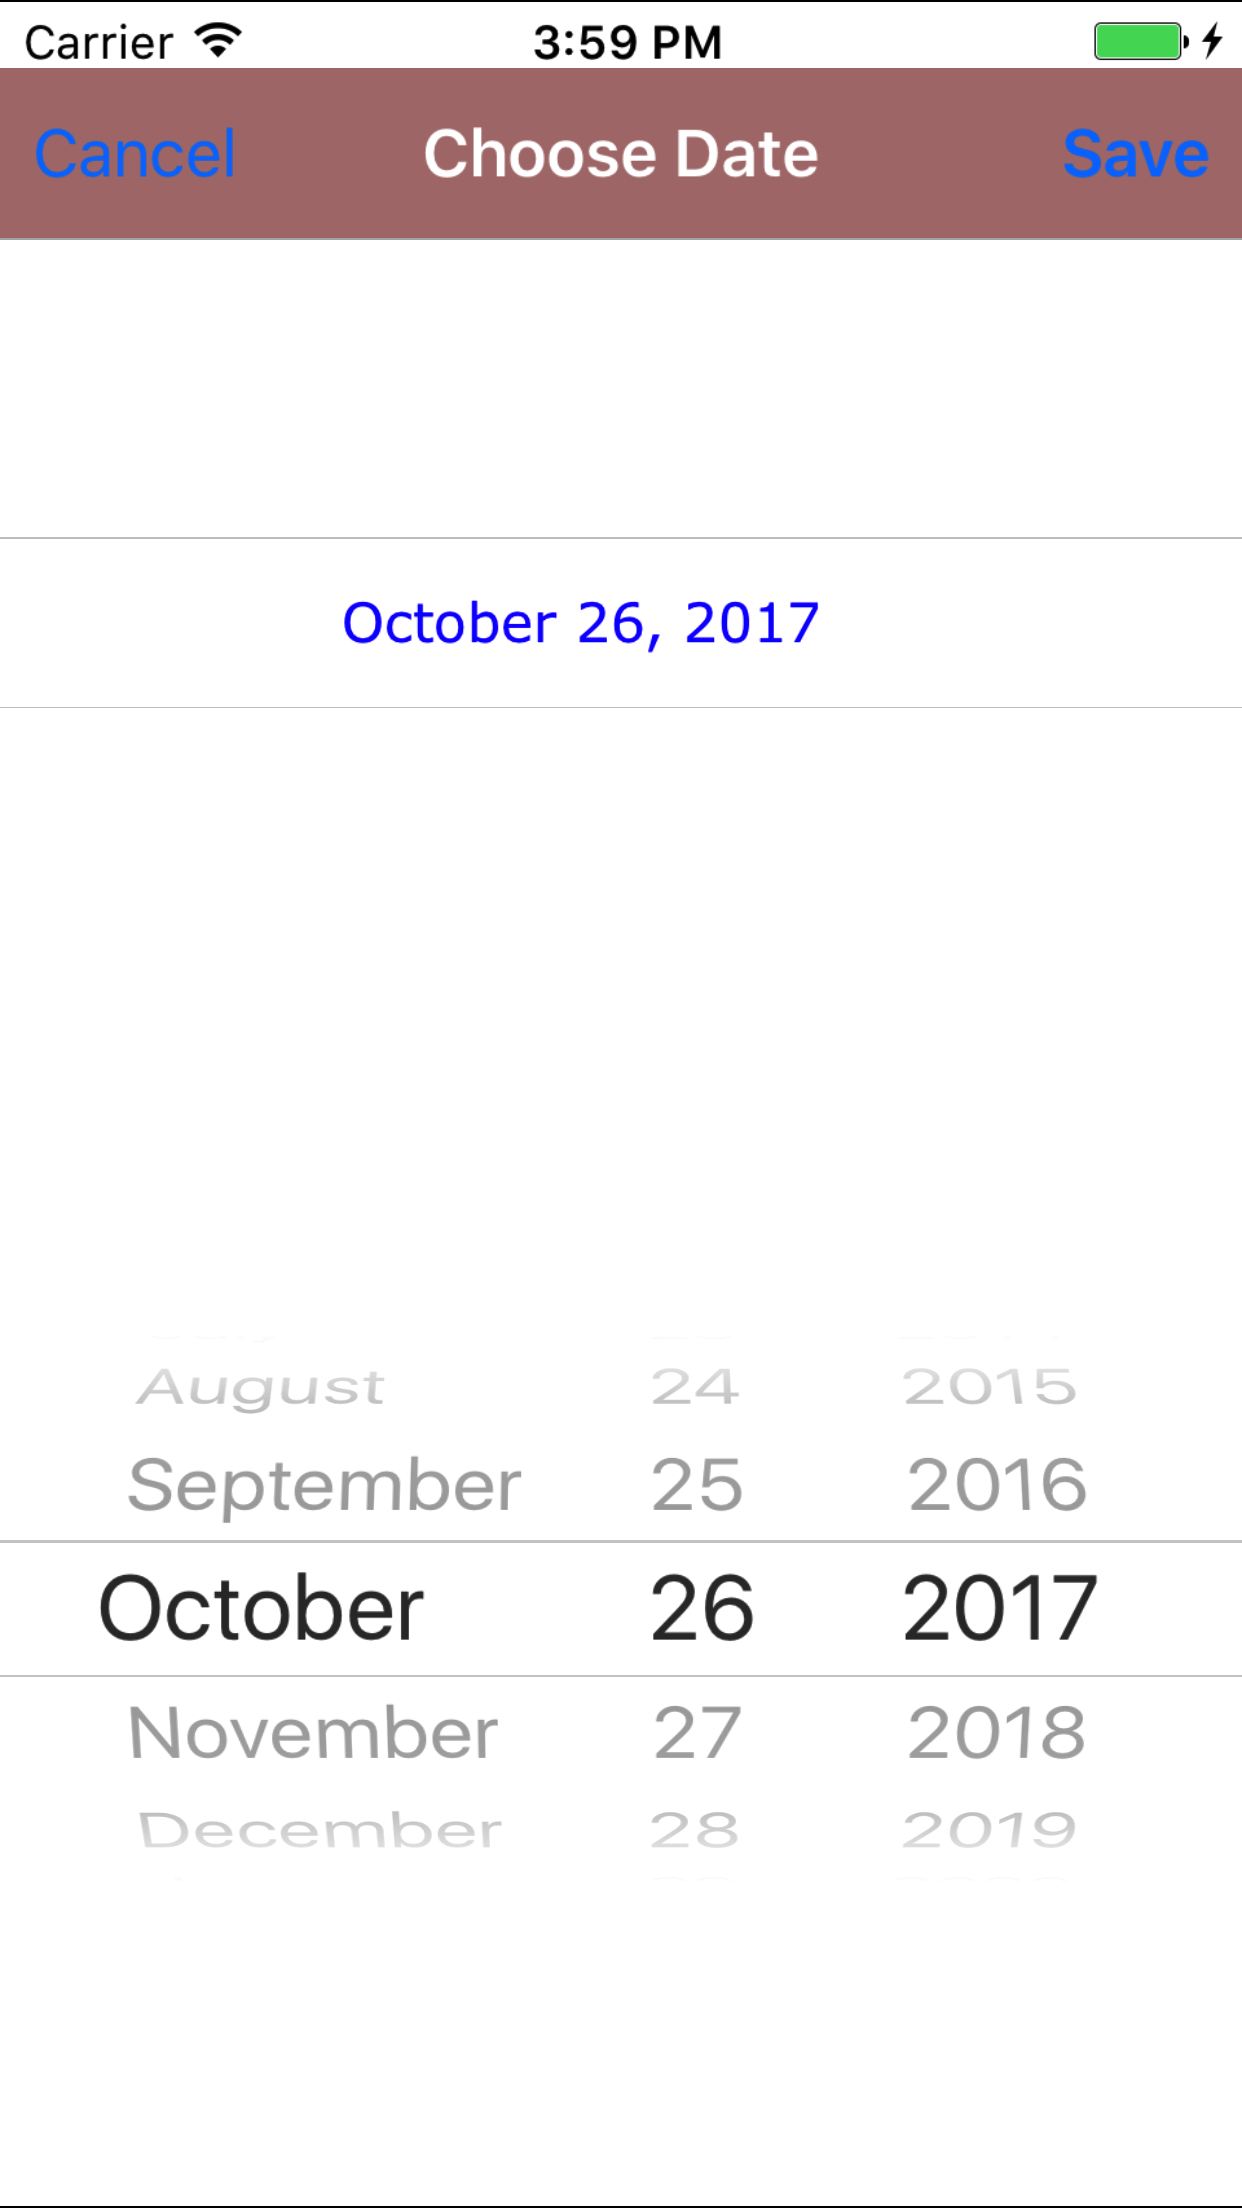
- Date: The date field allow field staff to choose the date and time the fall protection plan occurs.
- Tap the Date field to open the Choose Date screen.
- Scroll the date wheel on the far left of the screen until the desired date is highlighted.
- Return to the Add Fall Protection Plan screen by either tapping Save in the top right corner to select the highlighted date or tapping Cancel in the top left corner to leave the Date: field unchanged.
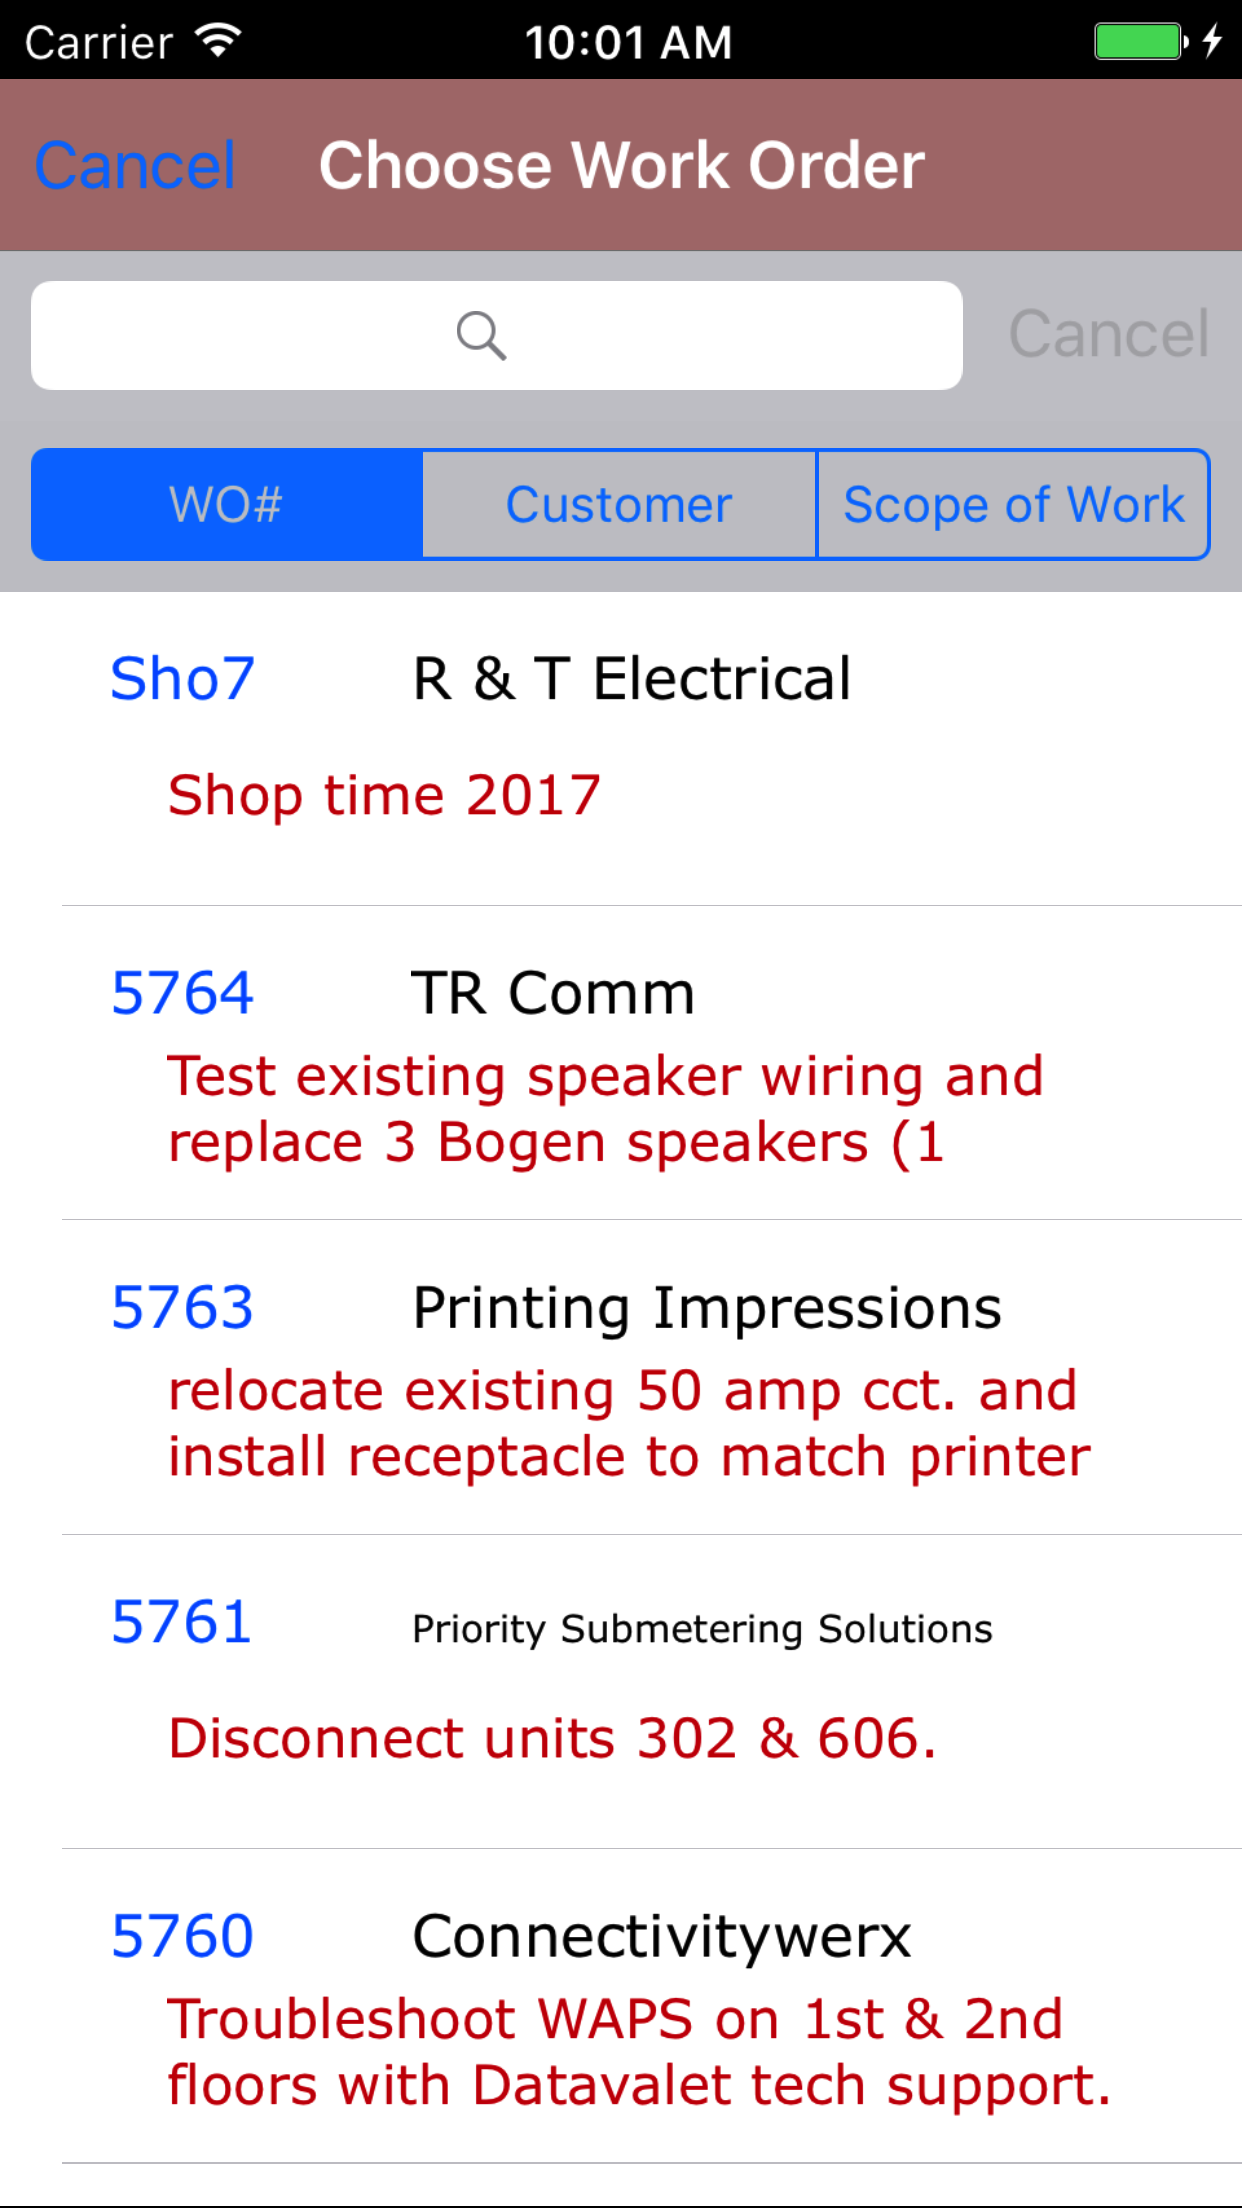
- Tap the Work Order # field to open the Choose Work Order screen.
Work orders are listed in descending order with the work order number in blue text,
the customer name in black text, and the scope of work in red text.
Note: New work orders are not automatically added to the list when they are created, so it may be necessary to update the list click here to view information about updating for the desired work order to be included in the list.
To Search Work Orders: Pull down on the list view, the search is defaulted to search by date enter the date in following
format YYYY-MM-DD. The other options for the Work Order search are by work order number and customer. Enter your search
criteria and click the Search button.
- Scroll the list of work orders until the desired work order is displayed on the screen.
- Tap the desired work order to select it or tap Back in the top left corner to leave the Work Order # field unchanged and return to the Add Fall Protection Plan screen.
- Return to the Add Fall Protection Plan screen by either tapping Save in the top right corner to select the highlighted work order or tapping Cancel in the top left corner to leave the Work Order field unchanged.
- Tap the + icon in the top right corner to add the Fall Protection Plan.
- A pop-up message that reads Fall Protection Plan Added indicates that the Fall Protection Plan is ready to have details to be entered and checklists of plan tasks checked off.
|
|
| Step 1 |
|
|
| Step 2 |
|
|
|
|
2.Look Up Open Fall Protection Plan |
|
Once in the Fall Protection Plan section
Steps
- Tap the second tab on the menu, the Fall Protection Plan view.
To Search Fall Protection Plans: Pull down on the list view, the search is defaulted to search by date enter the date in following
format YYYY-MM-DD. The other options for the Fall Protection Plan search are by job site and work order number. Enter your search
criteria and click the Search button.
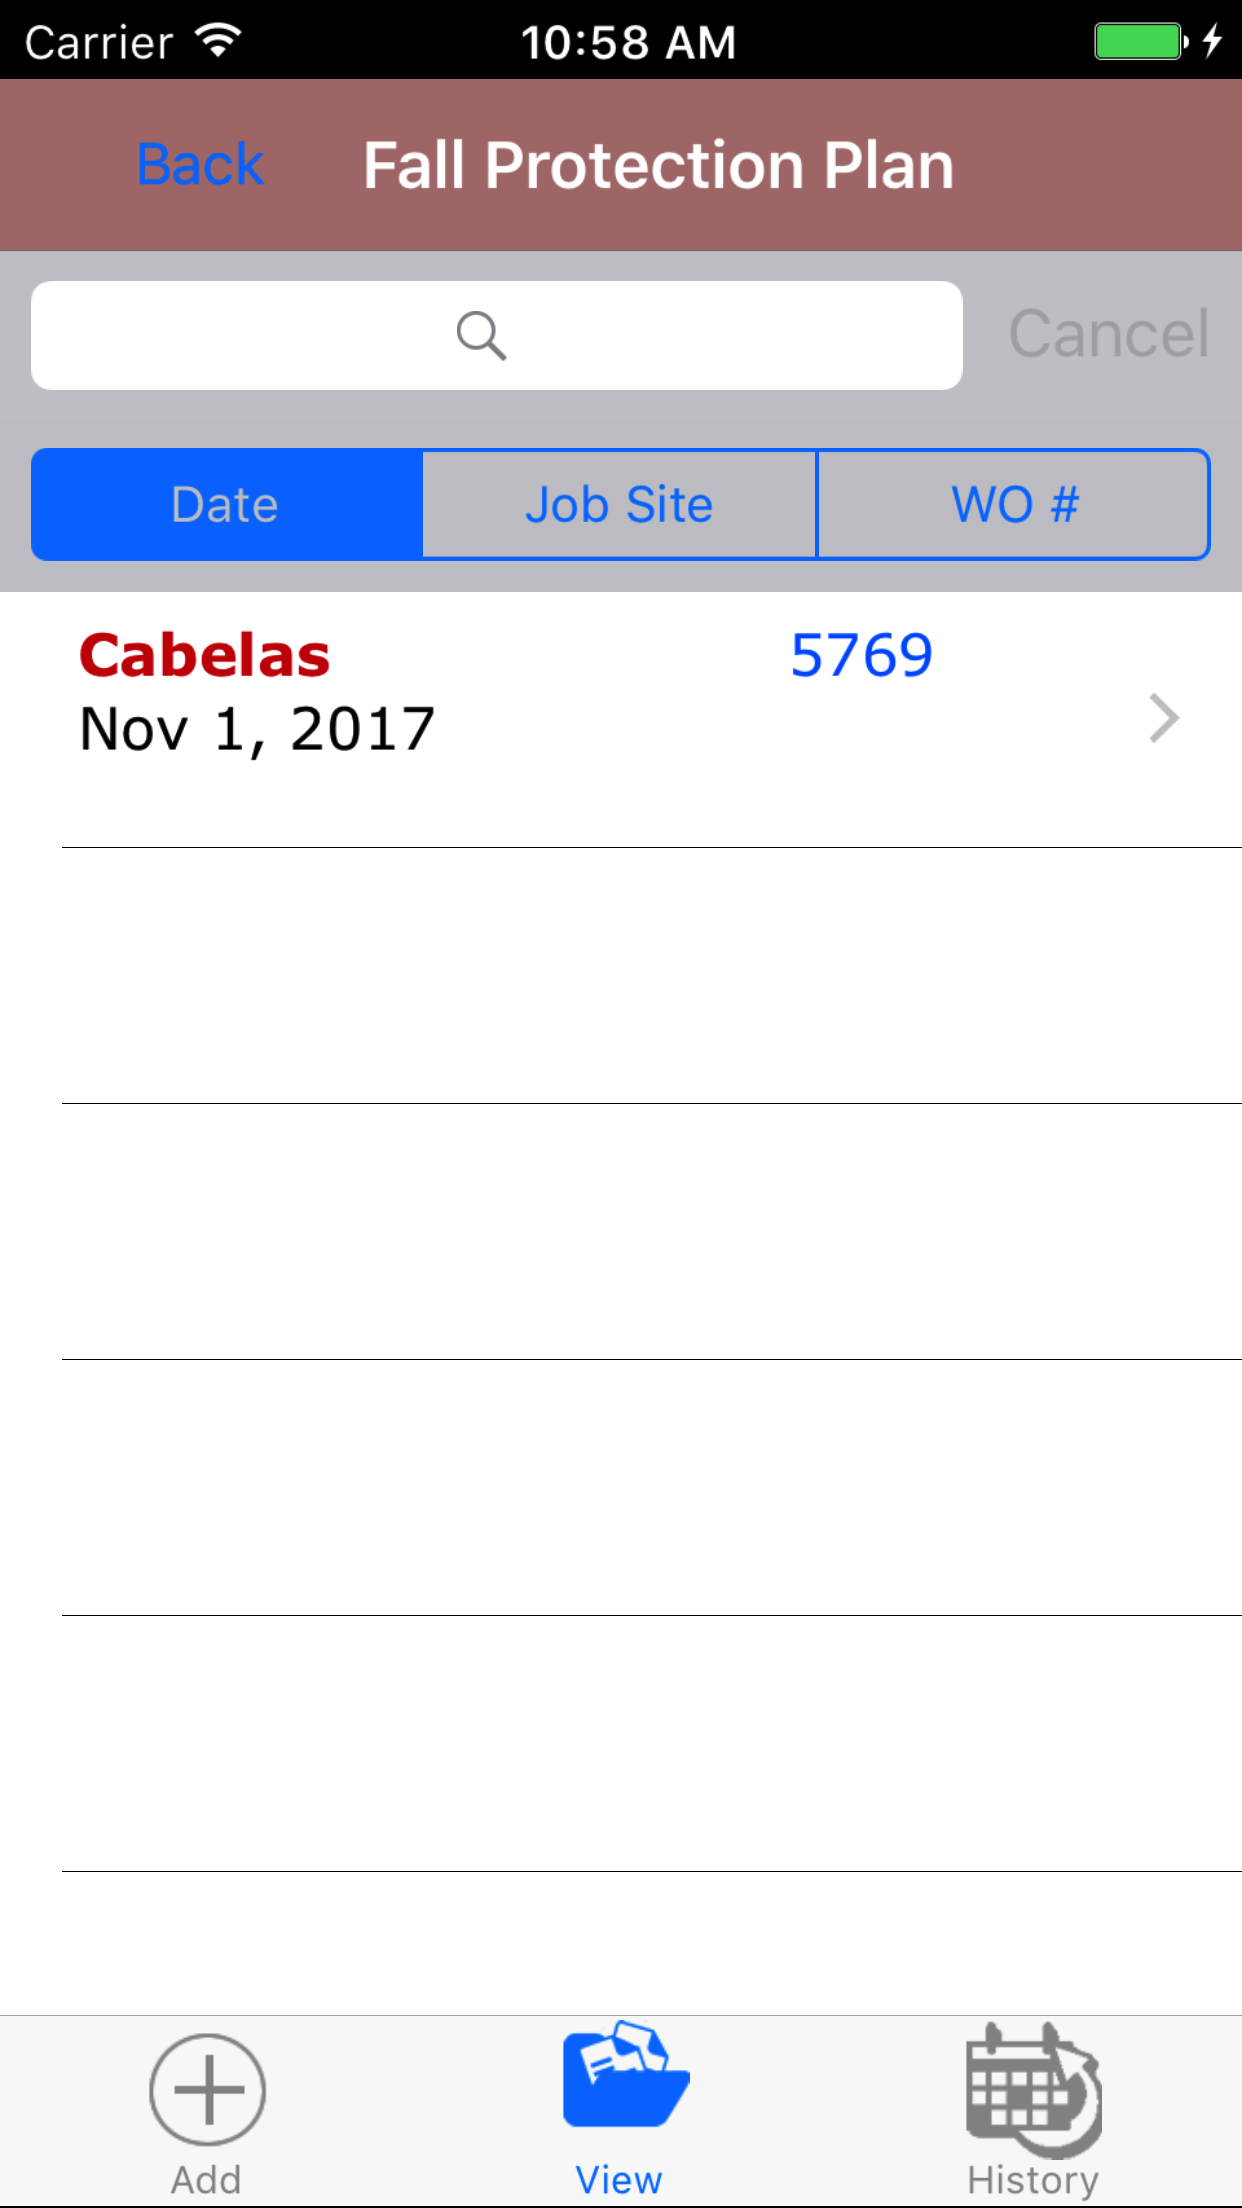
- Scroll the list of Fall Protection Plans until the desired Fall Protection Plan is displayed on the screen.
Listing the Customer Name in red text, the work order number in blue text
and the fall protection plan date in black text.
- Tap on the Fall Protection Plan you would like to view. This loads the fall protection plan edit screen.
|
|
| Steps 1-2 |
|
|
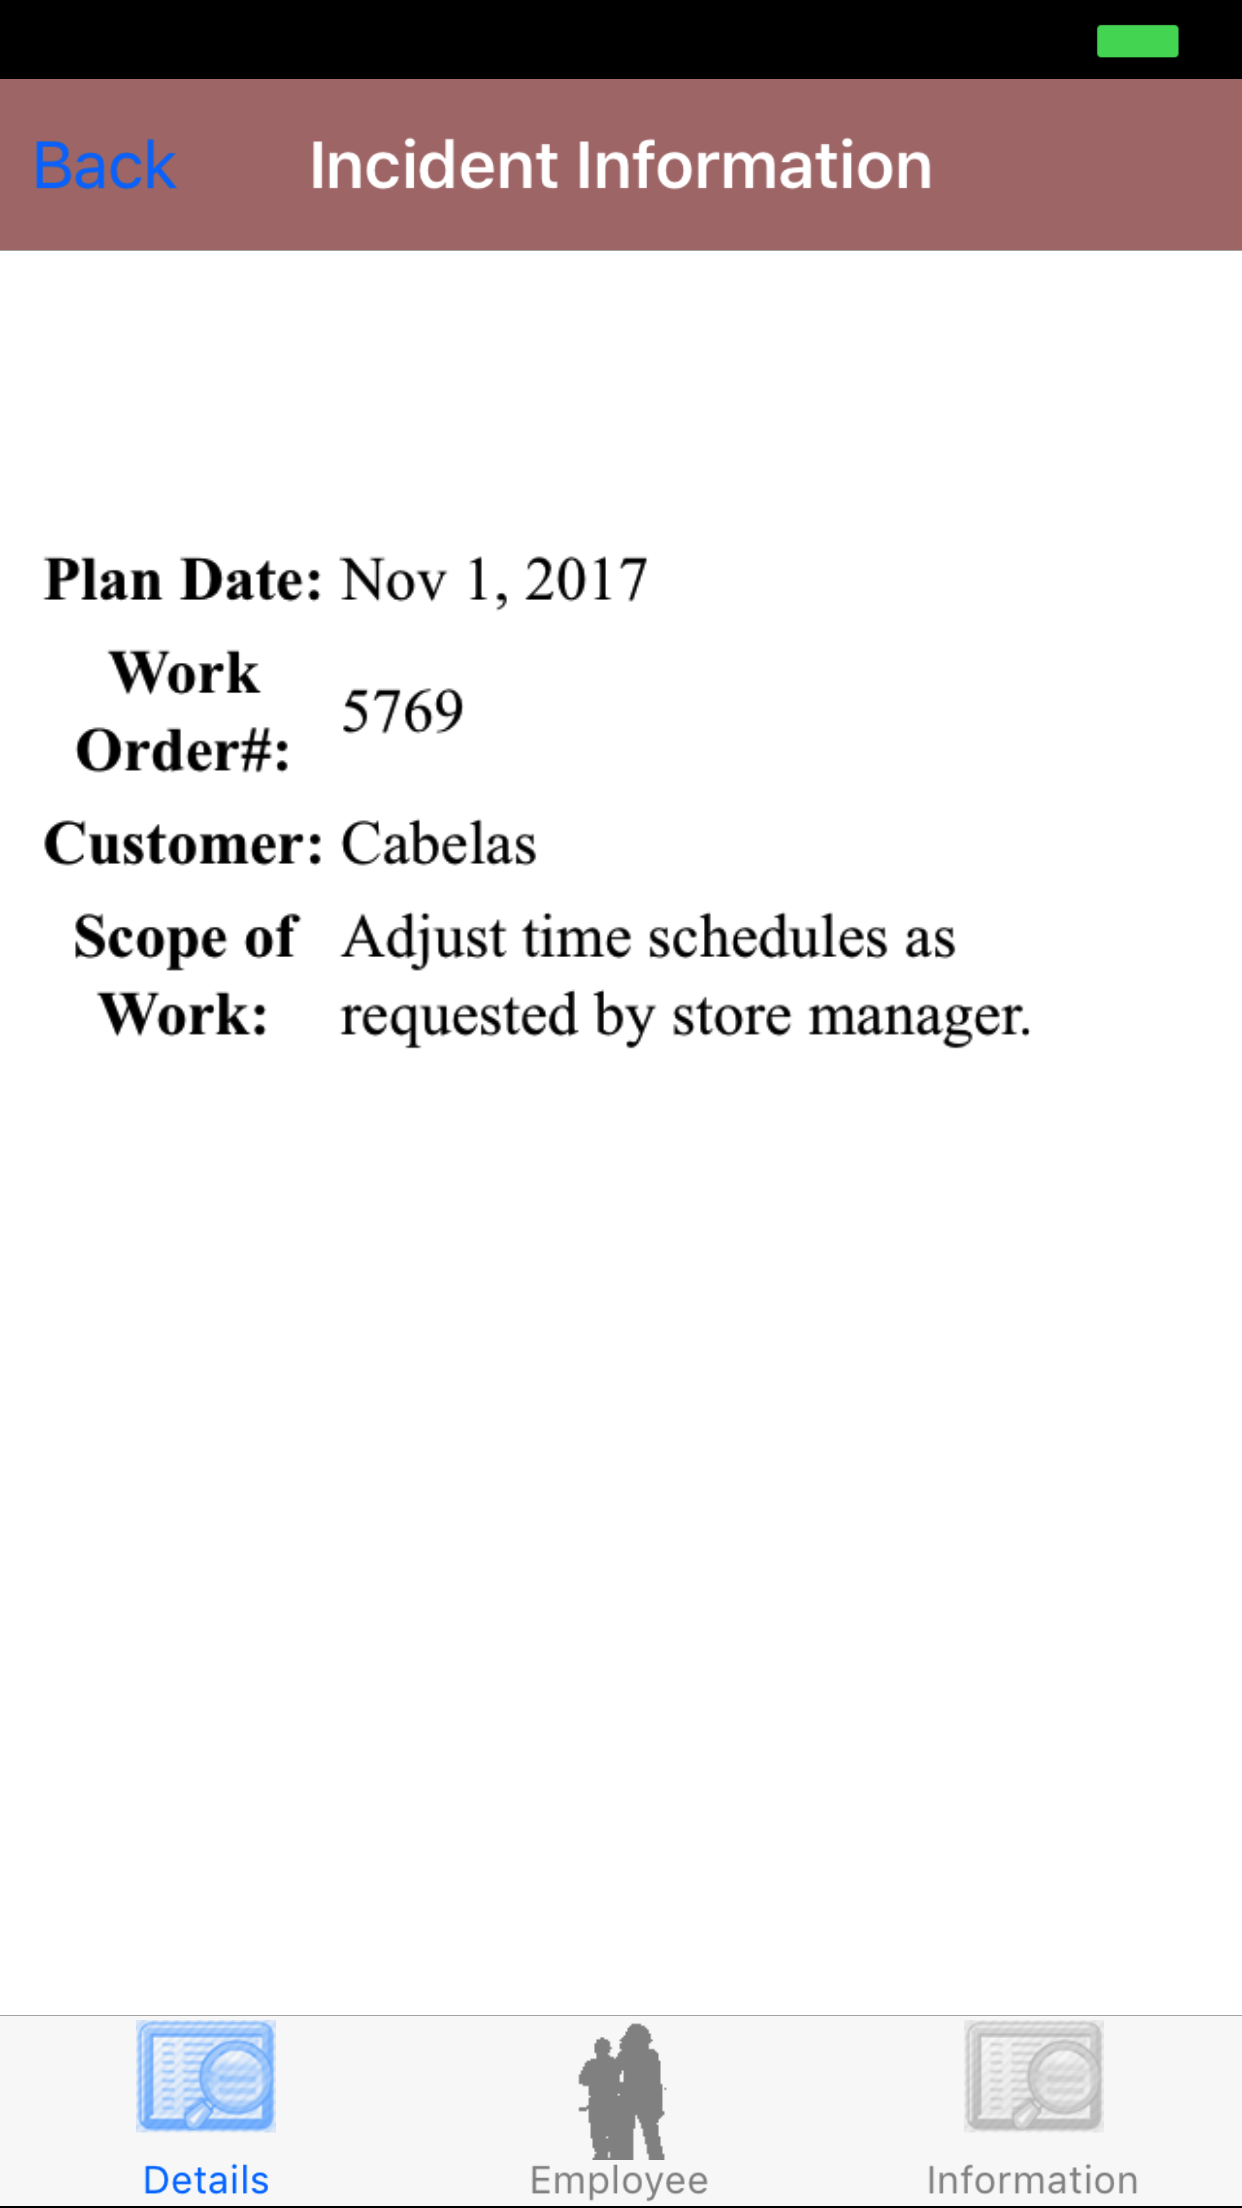
3.Edit Fall Protection Plan |
|
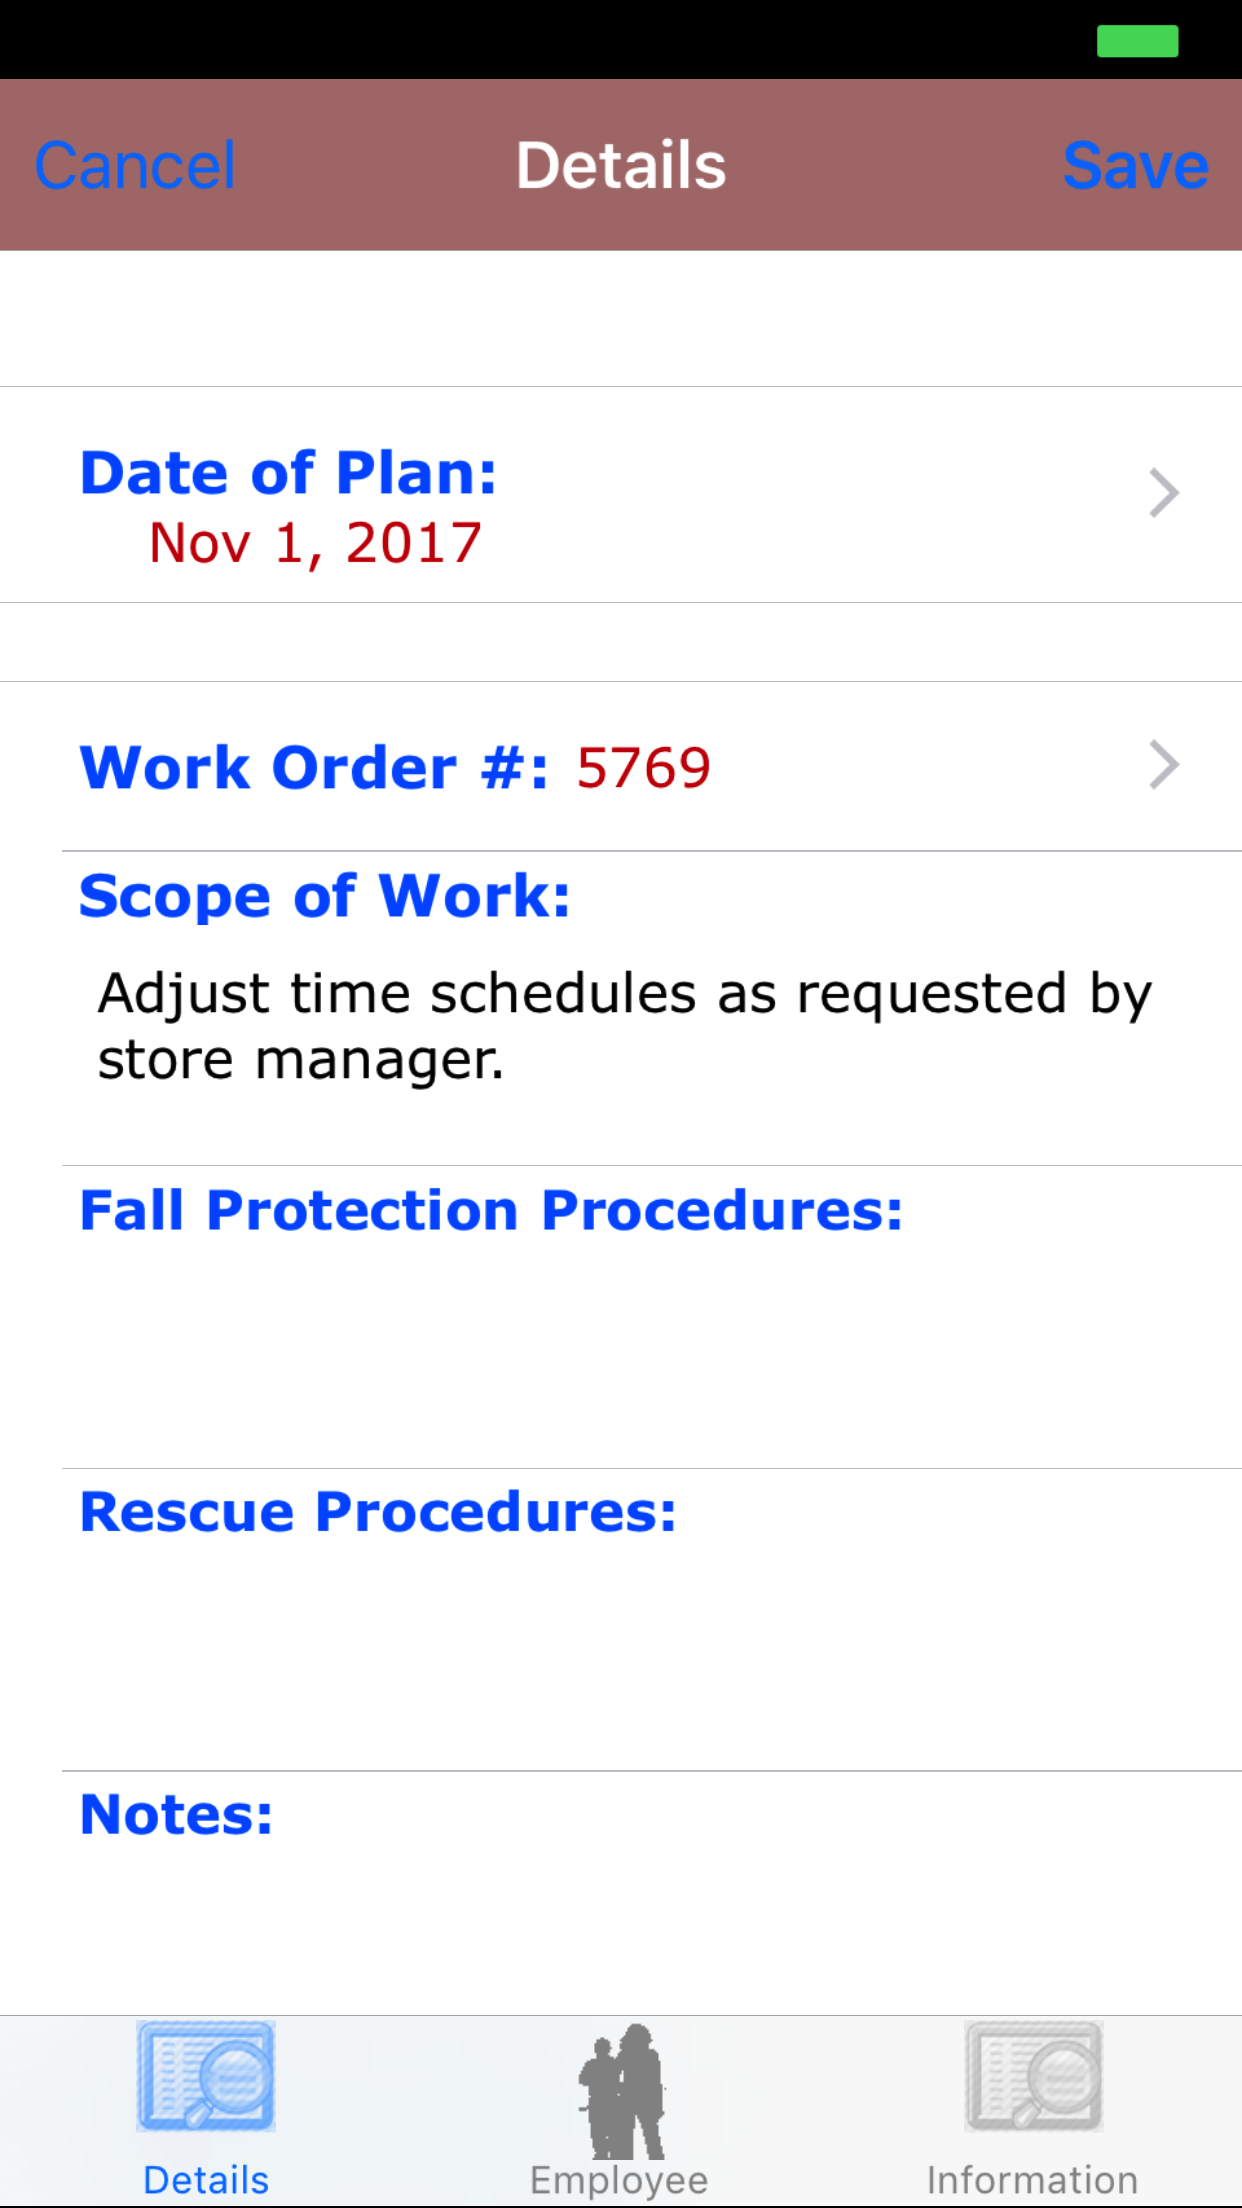
The first step in completing a Fall Protection Plan is completing the details of the plan; including date, setting the employee whom inspected the job site,
work order number, scope of work and notes.
Once on the Fall Protection Plan you would like to Edit, on the details tab.
Steps
- Date: The date field allow field staff to choose the date and time the fall protection plan occurs.
- Tap the Date field to open the Choose Date screen.
- Scroll the date wheel on the far left of the screen until the desired date is highlighted.
- Return to the Edit Fall Protection Plan screen by either tapping Save in the top right corner to select the highlighted date or tapping Cancel in the top left corner to leave the Date: field unchanged.
- Tap the Work Order # field to open the Choose Work Order screen.
Work orders are listed in descending order with the work order number in blue text,
the customer name in black text, and the scope of work in red text.
Note: New work orders are not automatically added to the list when they are created, so it may be necessary to update the list click here to view information about updating for the desired work order to be included in the list.
To Search Work Orders: Pull down on the list view, the search is defaulted to search by date enter the date in following
format YYYY-MM-DD. The other options for the Work Order search are by work order number and customer. Enter your search
criteria and click the Search button.
- Scroll the list of work orders until the desired work order is displayed on the screen.
- Tap the desired work order to select it or tap Back in the top left corner to leave the Work Order # field unchanged and return to the Add Fall Protection Plan screen.
- Return to the Edit Fall Protection Plan screen by either tapping Save in the top right corner to select the highlighted work order or tapping Cancel in the top left corner to leave the Work Order field unchanged.
- Scope of Work: The Scope of Work field initially displays the scope of work from the work order and, therefore, may need to be refined to reflect the scope of work for the day/shift. The character limit of this field is 250.
- Fall Protection Procedures: The Scope of Work field allows field staff to enter a fall protection procedure for the field staff working at height. The character limit of this field is 500.
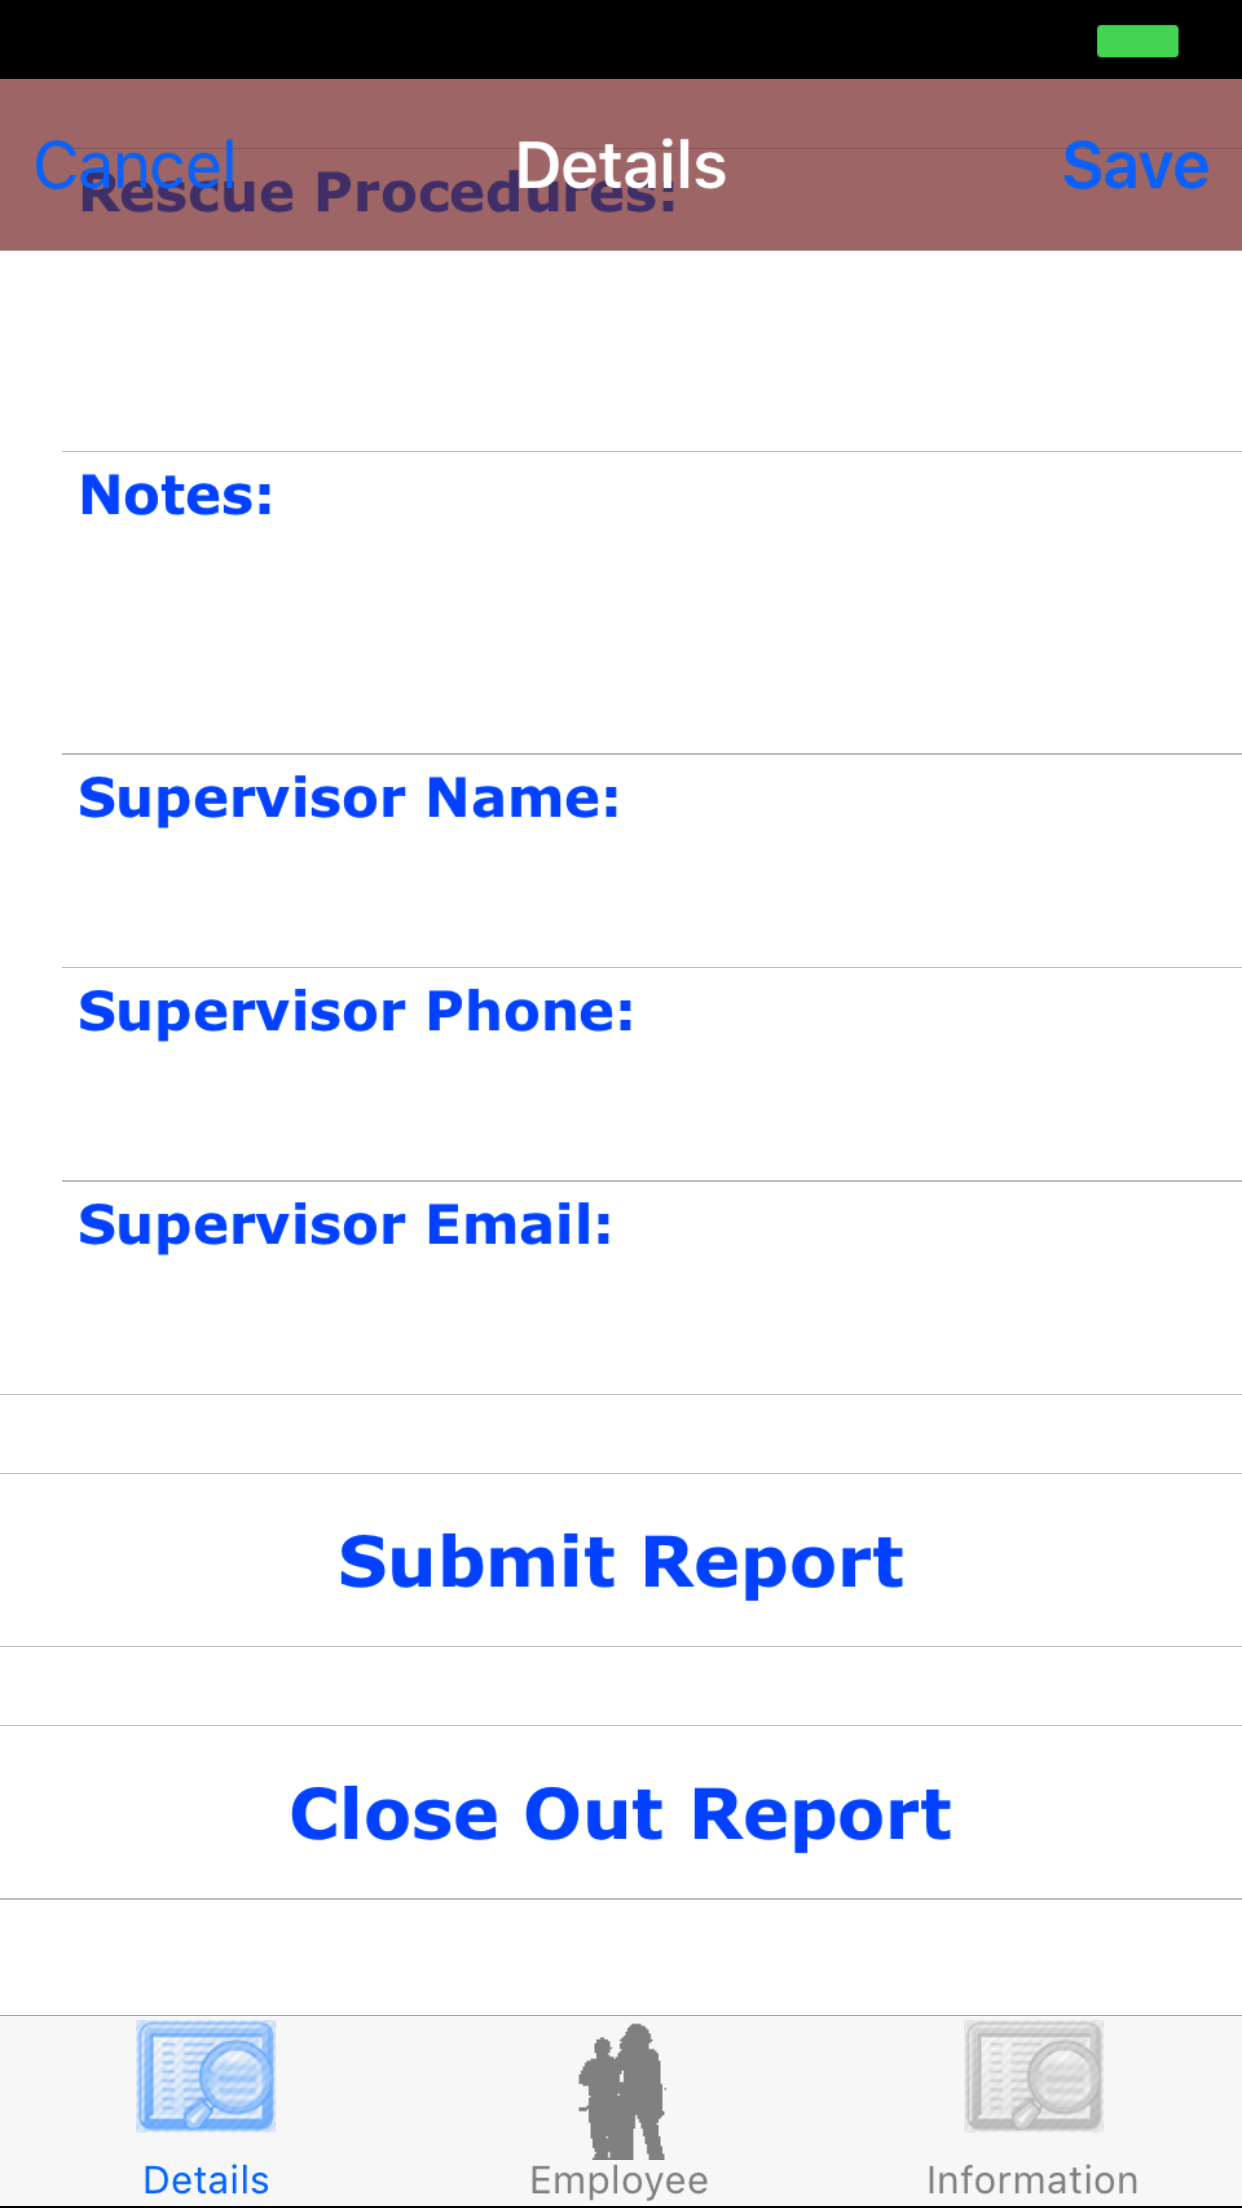
- Rescue Procedures: The Rescue Procedures field allows field staff to enter a description of the rescue procedures in case of a emergency specific to the issues involved with working at height. The character limit of this field is 500.
- Notes: The Notes field allows field staff to enter any notes or comments about the fall protection plan. The character limit of the field is 500.
- Supervisor Name: The Supervisor Name field allows field staff to enter the supervisors name. The character limit of the field is 50.
- Supervisor Phone: The Supervisor Phone field allows field staff to enter the supervisors phone number. The character limit of the field is 20.
- Supervisor Email: The Supervisor Email field allows field staff to enter the supervisors email address. The character limit of the field is 80.
- Tap Save in the top right corner to save any changes to the Fall Protection Plan Details.
- A pop-up message that reads Fall Protection Plan Details have been Saved indicates that the fall protection plan details have been saved.
|
|
|
|
4.Add Employee to Fall Protection Plan |
|
Adding employees to the Fall Protection Plan is crucial to reporting accurately. Adding other field staff to the fall protection plan allows a group of
workers to share and complete a fall protection plan as a group. Once a fall protection plan is submitted all employee's added to the fall protection plan will have access to the fall protection plan.
Here are the steps on how to do it:
Once on the Fall Protection Plan you would like to Edit
Steps
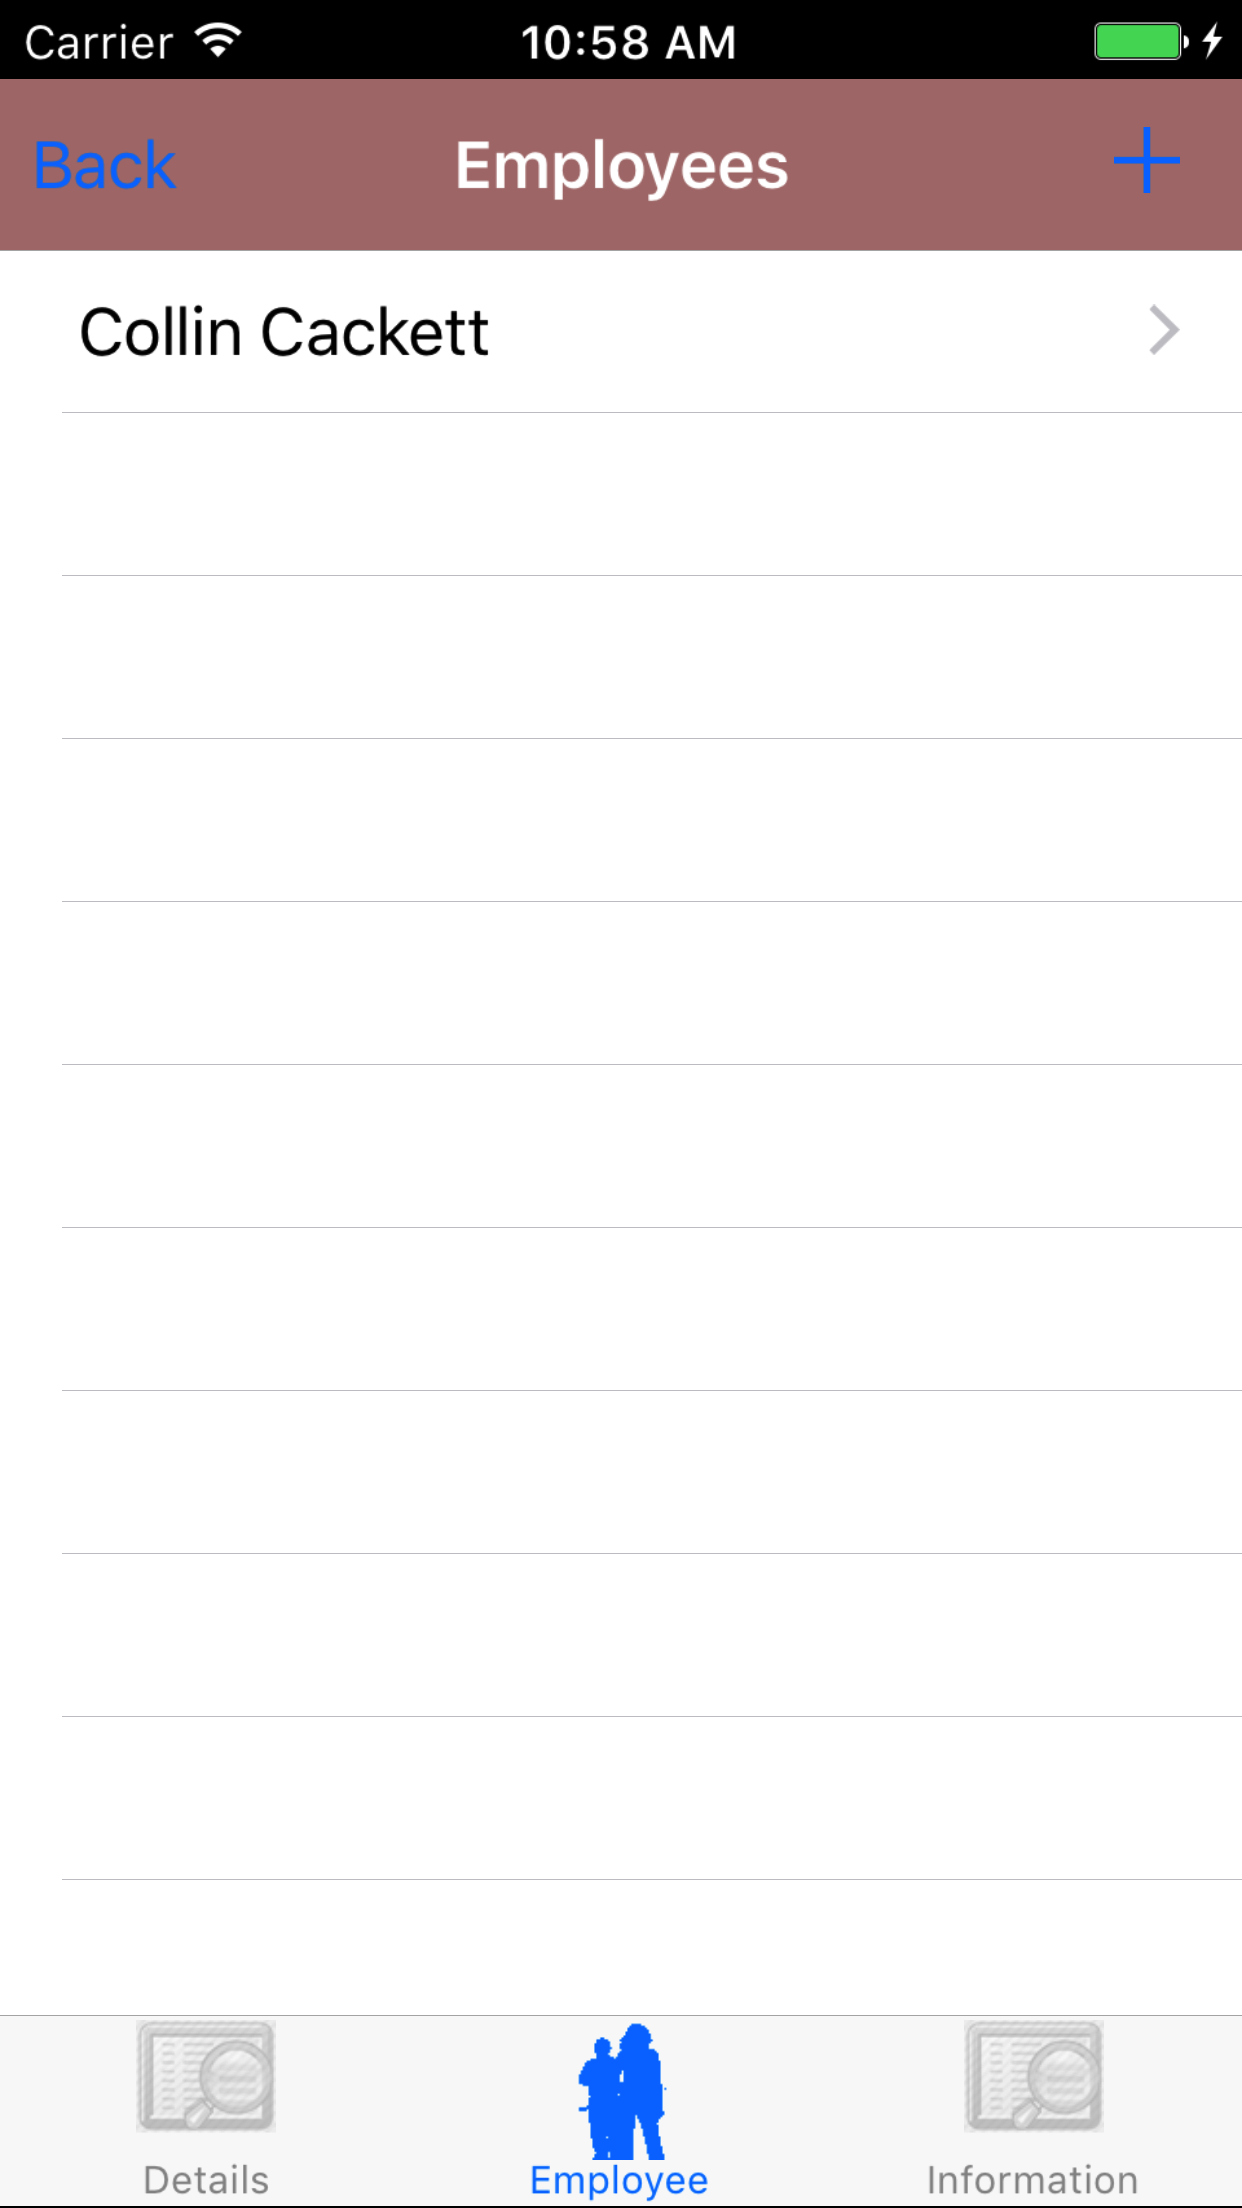
- Tap the Employees icon at the bottom of the screen to open the Employees screen.
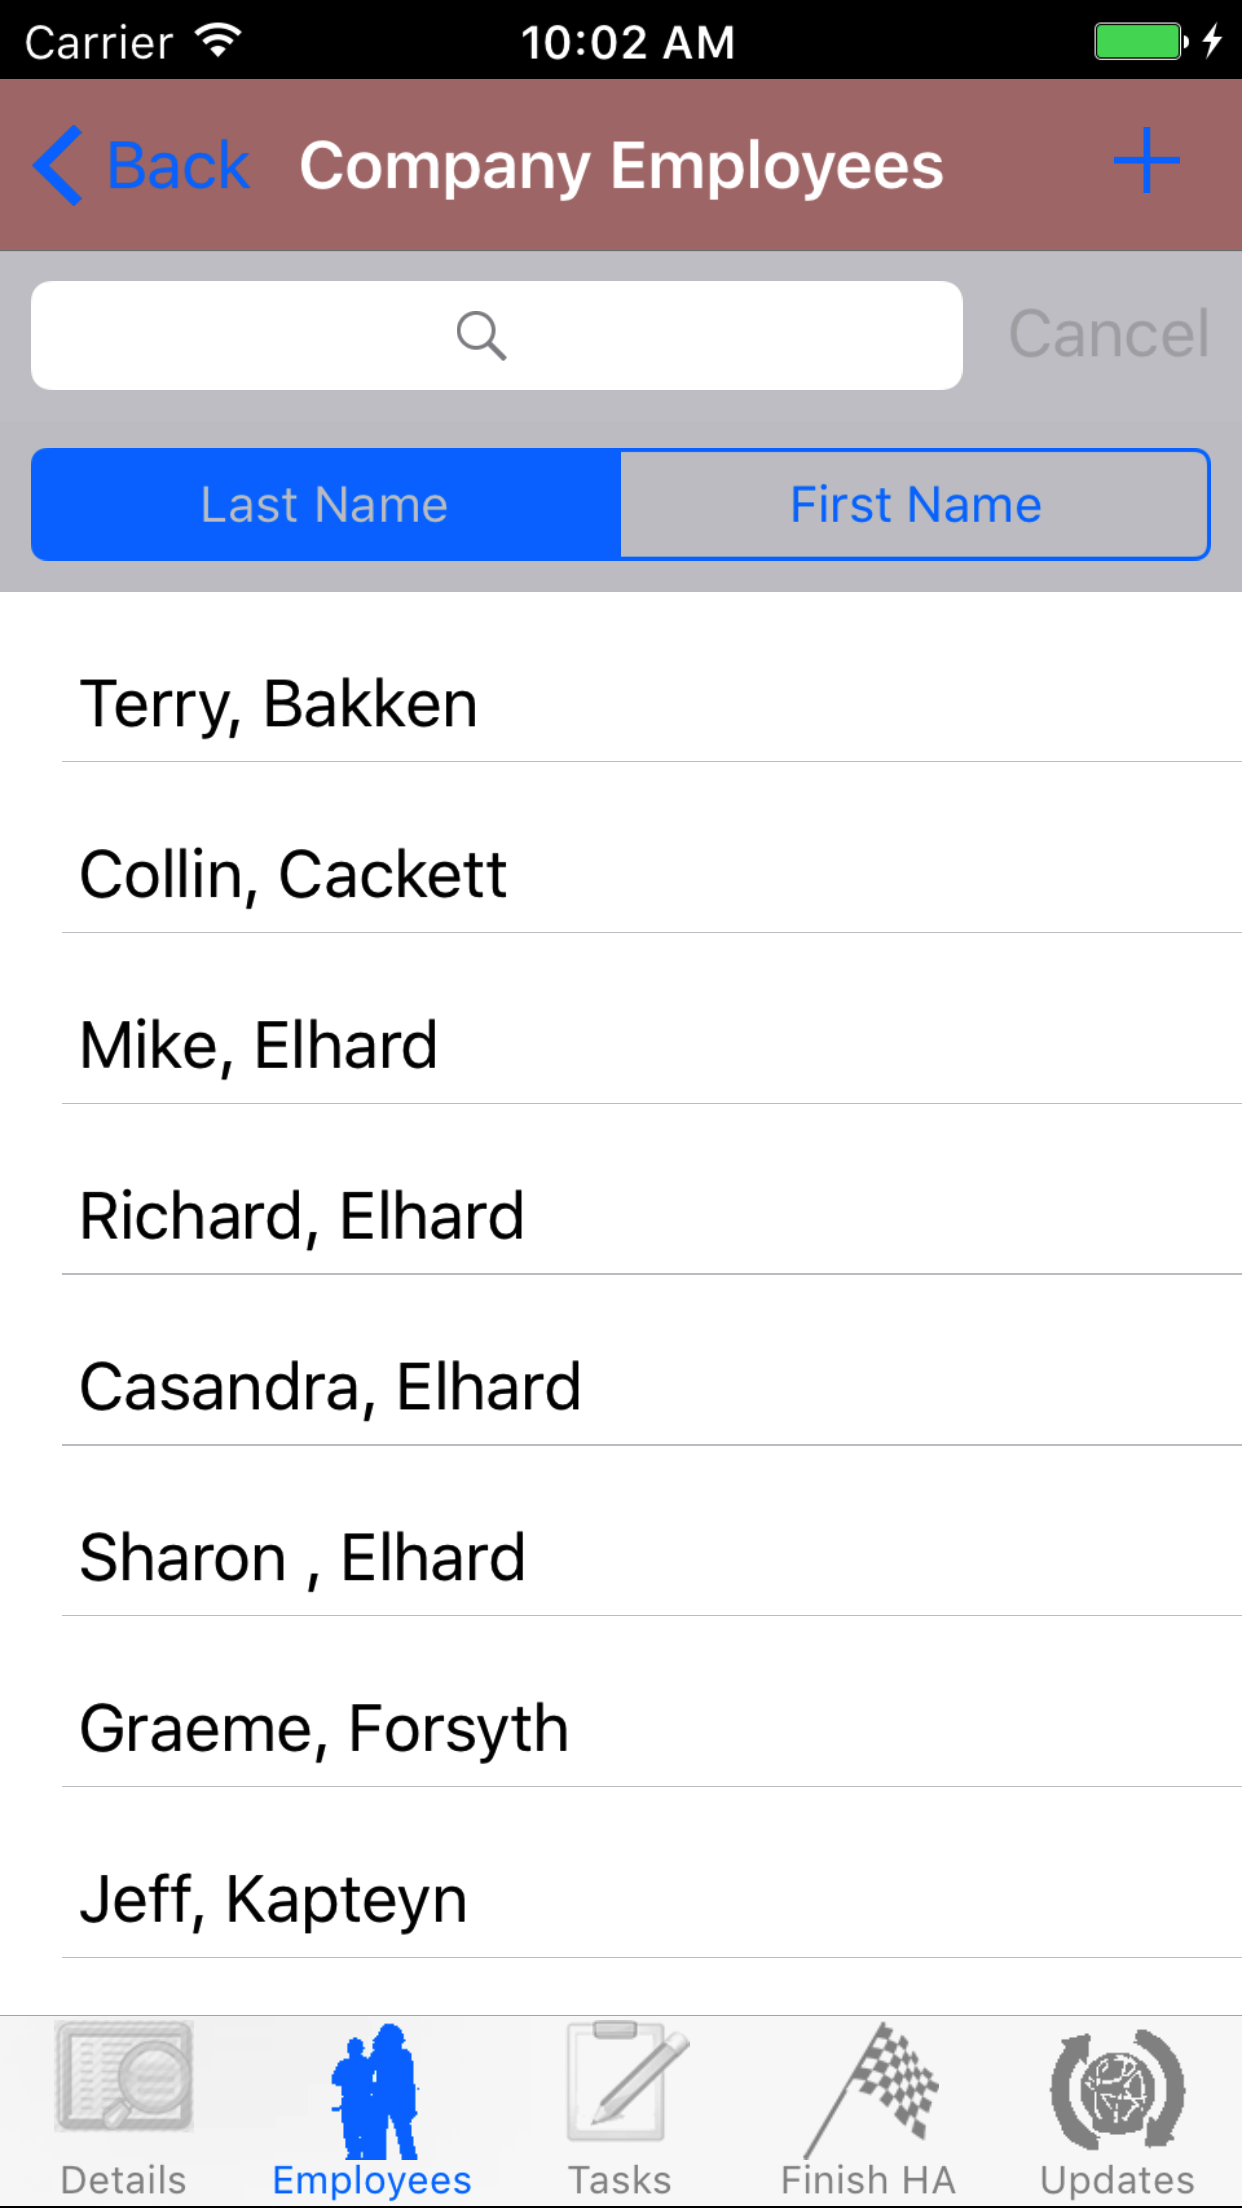
- Tap the + icon in the top right corner to open the Employees list or tap Employees in the top left corner to return to the Employees screen.
Employees are listed in descending order of last name.
To Search Employees: Pull down on the list view, the search is defaulted to search by last name.
The other option for the Employee search is by first name. Enter your search
criteria and click the Search button.
- Scroll the list of employees until the desired employee is displayed on the screen.
- If the desired employee is in the list, tap the employee to add them to the Hazard Assessment.
A pop-up message that reads Employee Added indicates that the employee is now listed on the Hazard Assessment Employees screen.
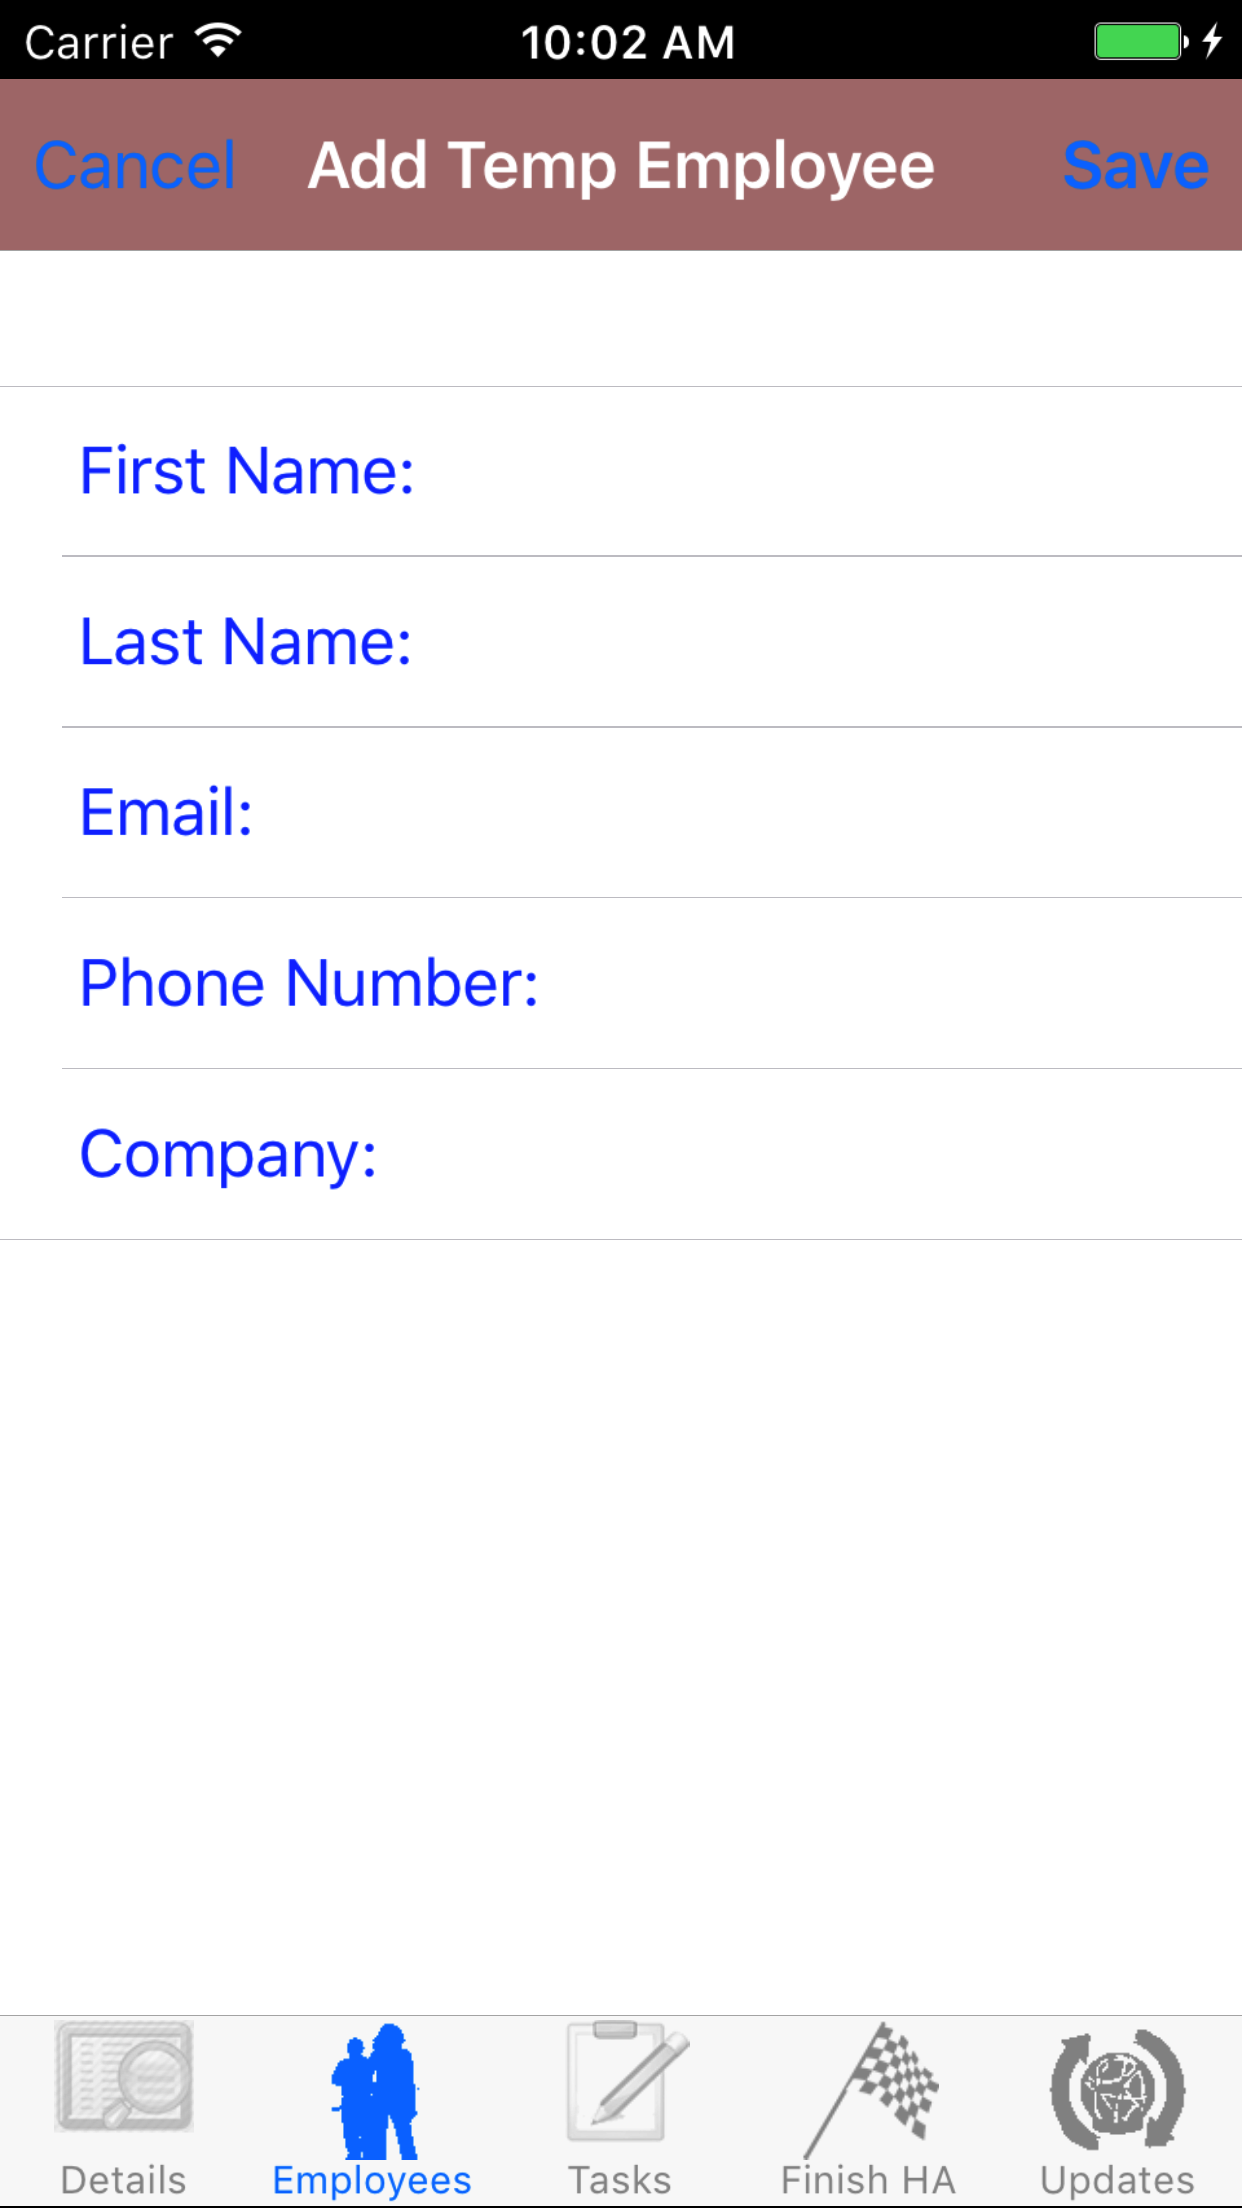
- If the desired employee is not in the list, tap Add Outside Employee in the top left corner of the screen to open the New Employee screen.
- First Name: The First Name field should indicate the legal given name of the employee. The character limit of this field is 25.
- Last Name: The Last Name field should indicate the legal surname of the employee. The character limit of this field is 25.
- Email: The Email field should indicate the best (i.e., most often used for business purposes) e-mail address for the employee. The character limit of this field is 25.
- Phone Number: The Phone Number field should indicate the best (i.e., most often used for business purposes) telephone number (land line or cellular) for the employee. The character limit of this field is 13.
- Company: The Company field should indicate the name of the company for which the employee works. The character limit of this field is 75.
- Tap Save in the top right corner of the screen to add the outside employee to the Fall Protection Plan.
|
|
|
|
5.Delete Employee from Fall Protection Plan |
|
Once on the Fall Protection Plan you would like to Edit
Steps
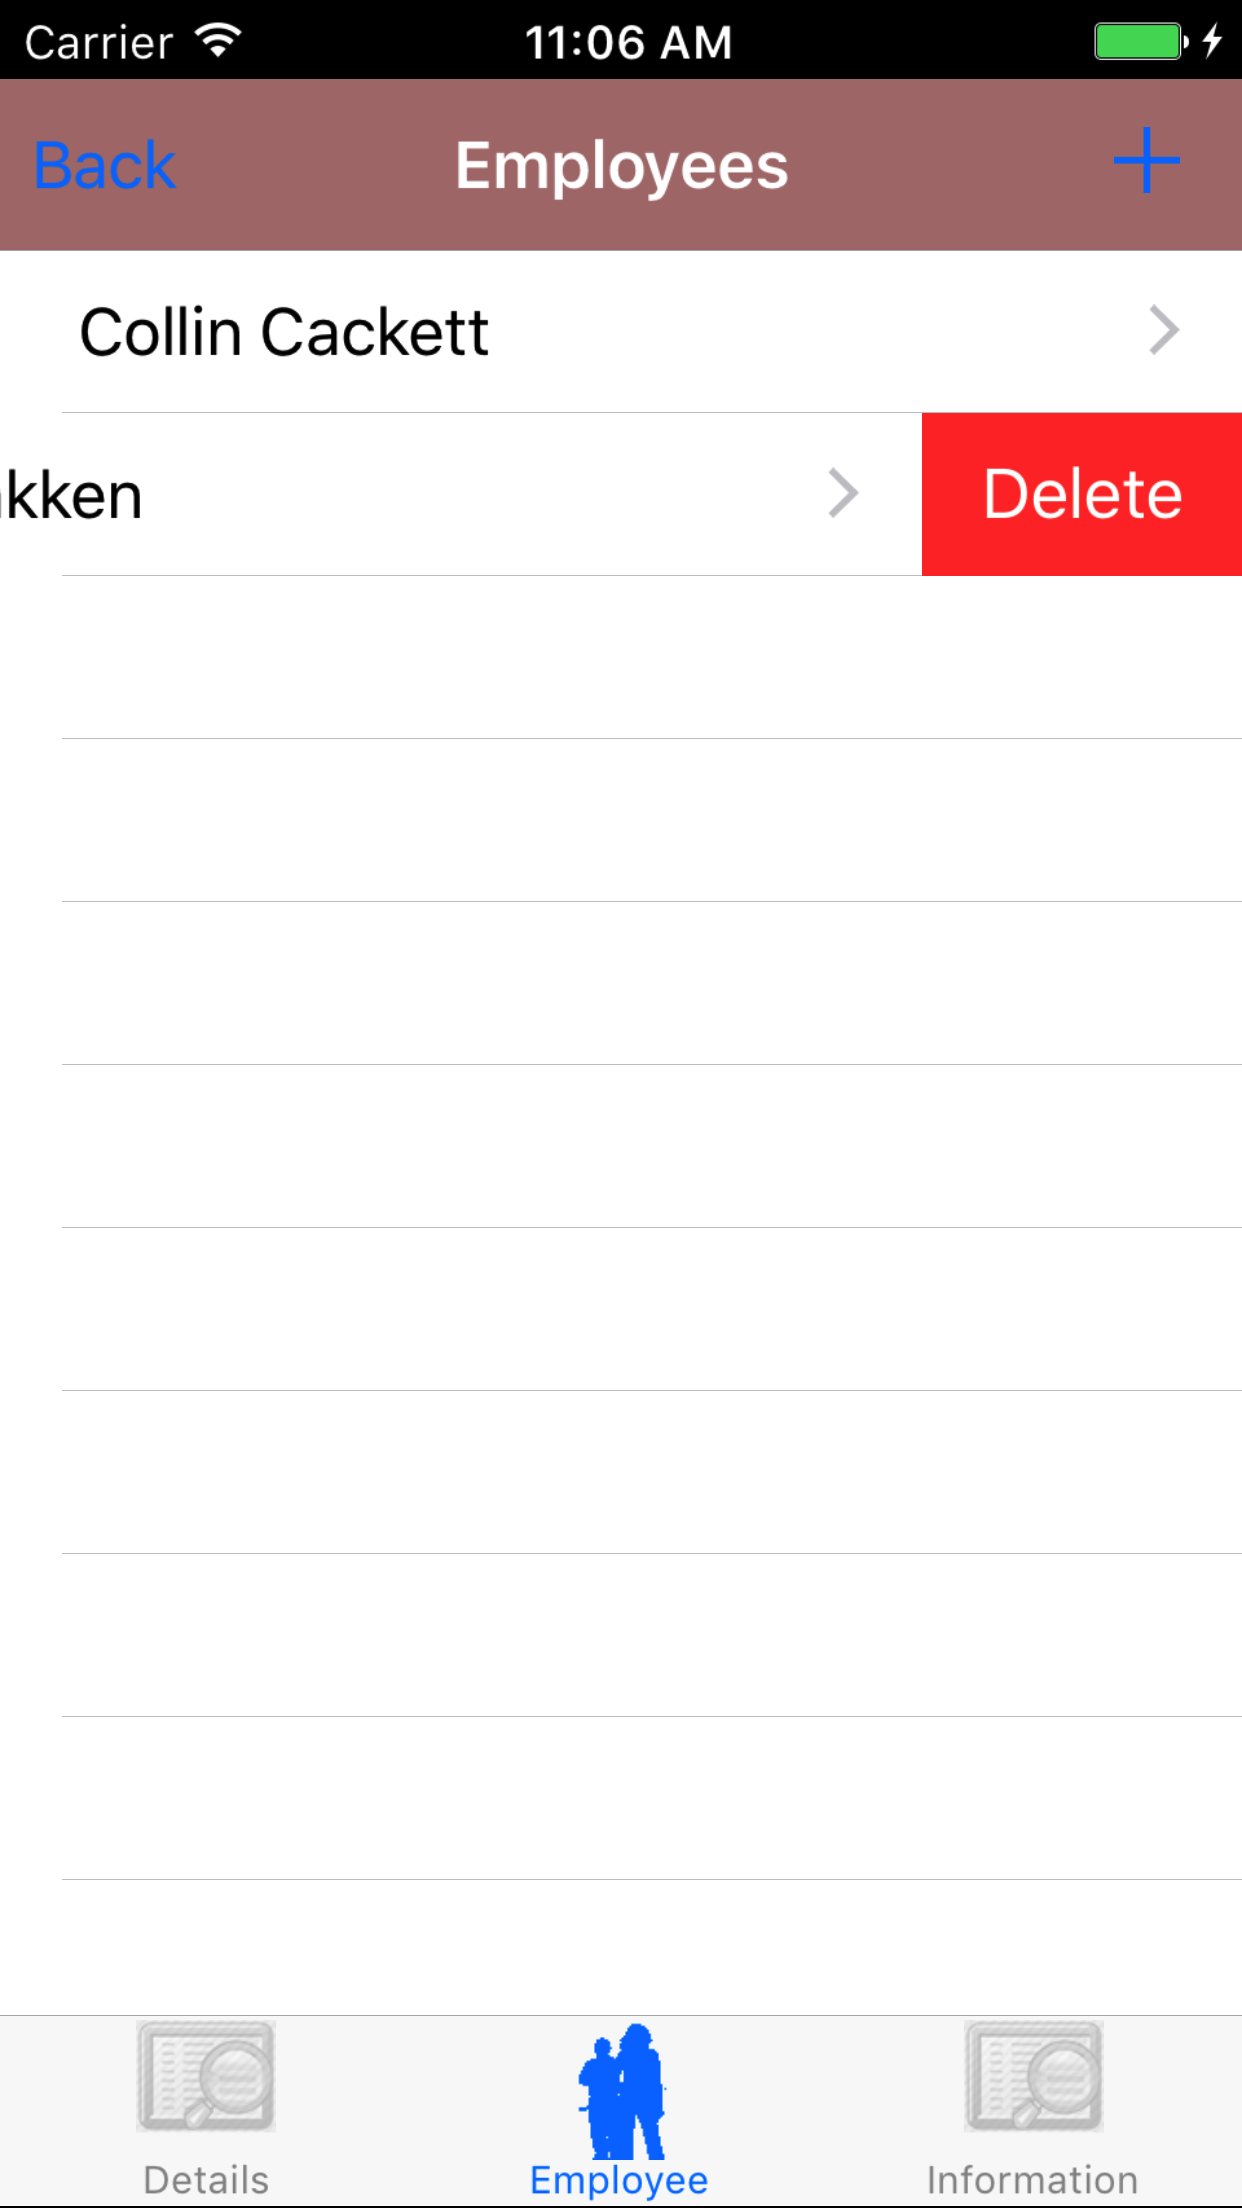
- Tap the Employees icon at the bottom of the screen to open the Employees screen.
- Scroll the list of employees until the desired employee is displayed on the screen.
- Swipe from the right edge to the left to bring up the delete button for the employee.
- Tap the Delete button. The employee will be deleted.
|
|
| Steps 1-2 |
|
|
| Steps 3-4 |
|
|
|
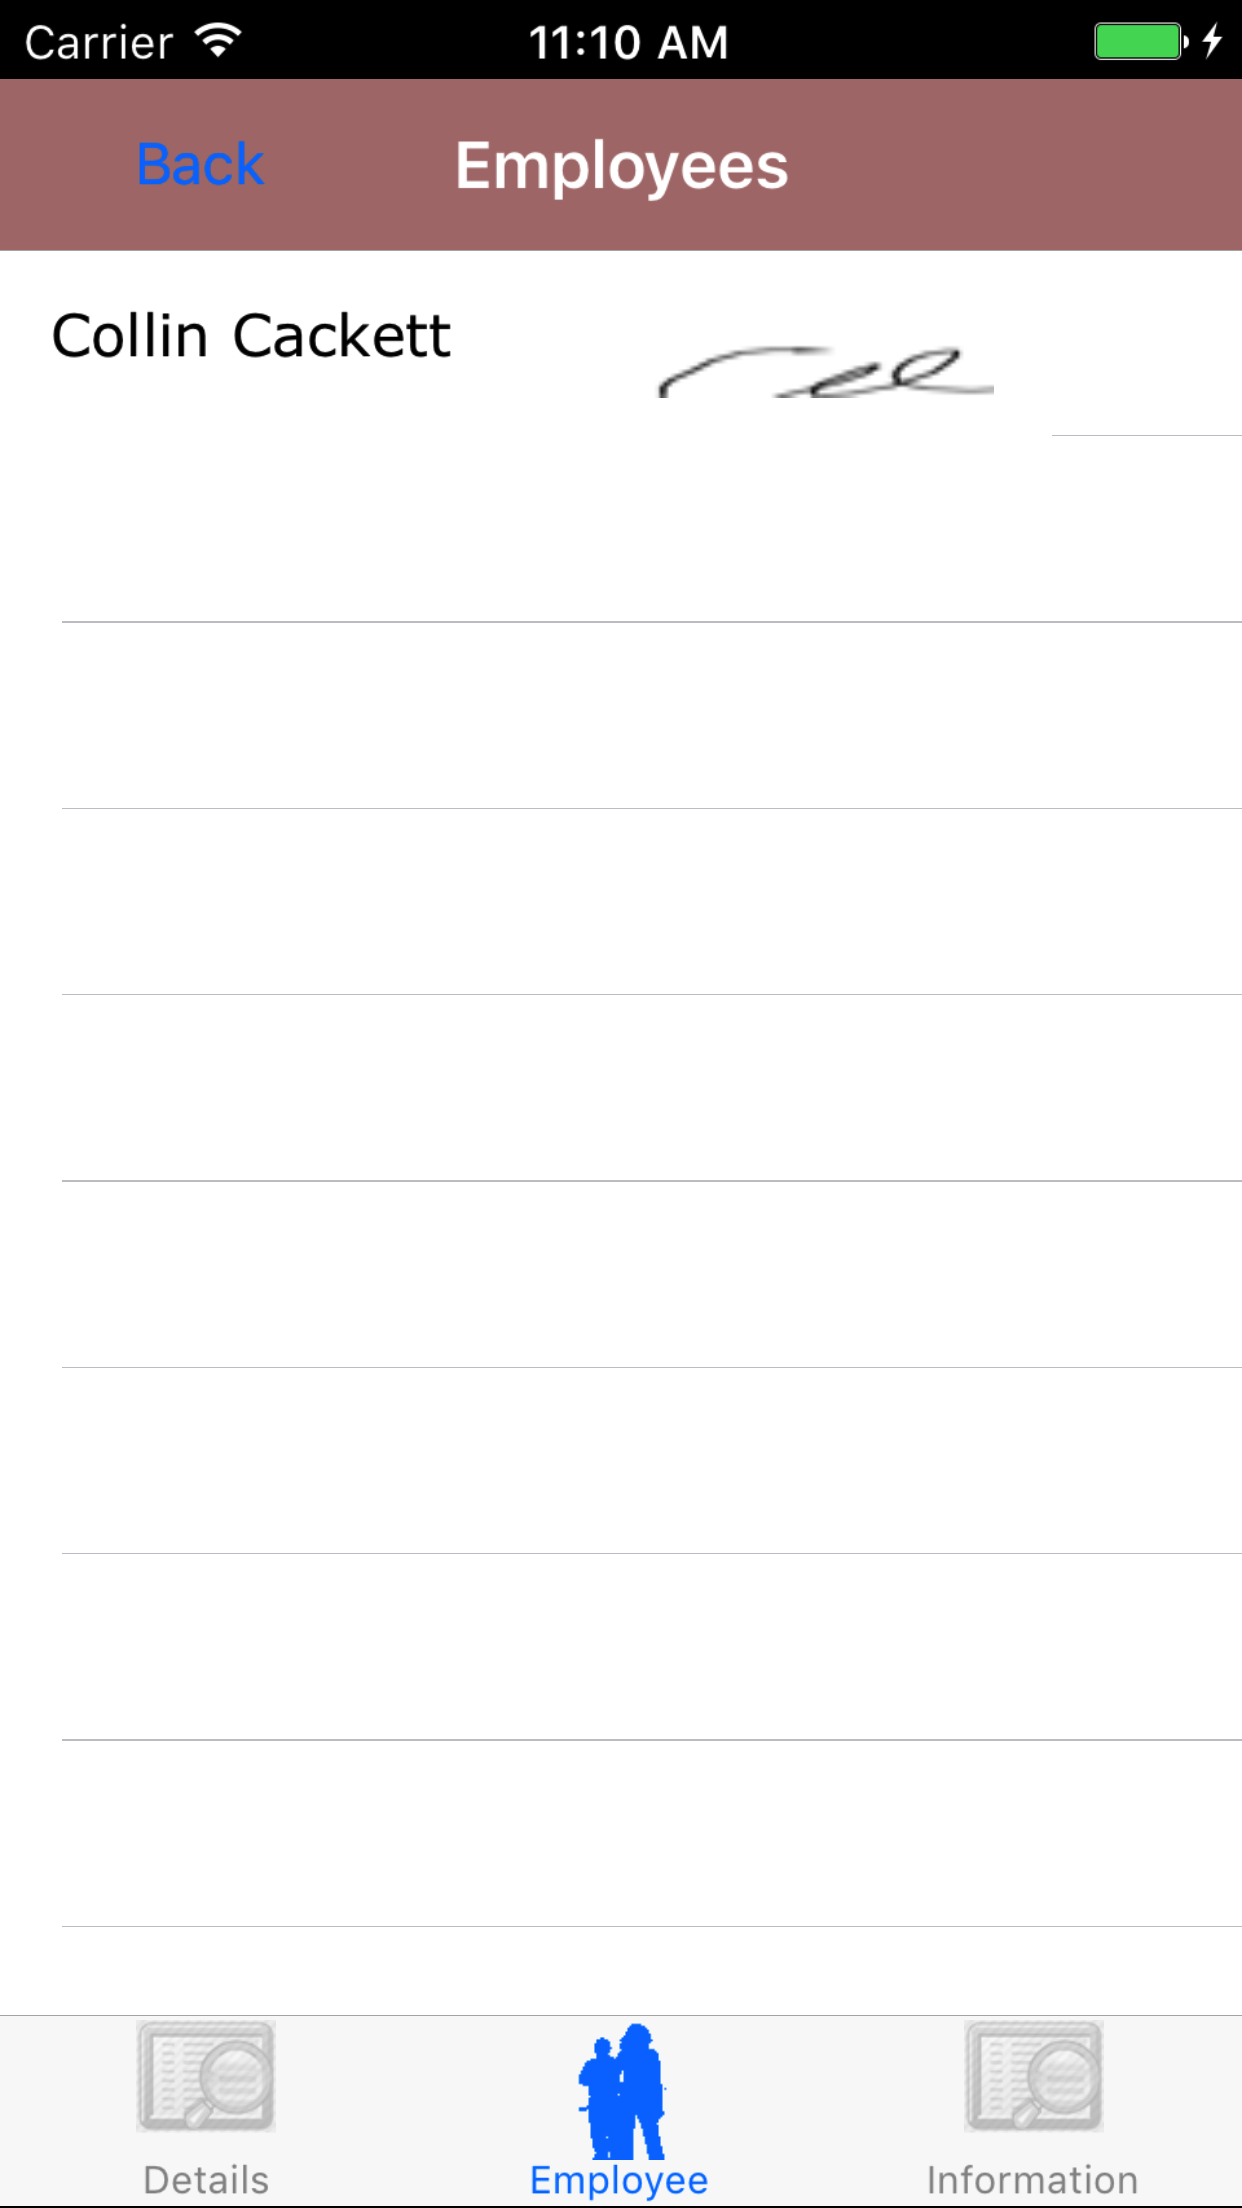
6.Add Employee Signature |
|
Each employee added to the Fall Protection Plan must provide an electronic signature to indicate that they have been made aware of all tasks and hazards and will comply with all safe work procedures and plans for elimination.
Once on the Fall Protection Plan you would like to Edit
Steps
- Tap the Employees icon at the bottom of the screen to open the Employees screen.
- Scroll the list of employees until the desired employee is displayed on the screen.
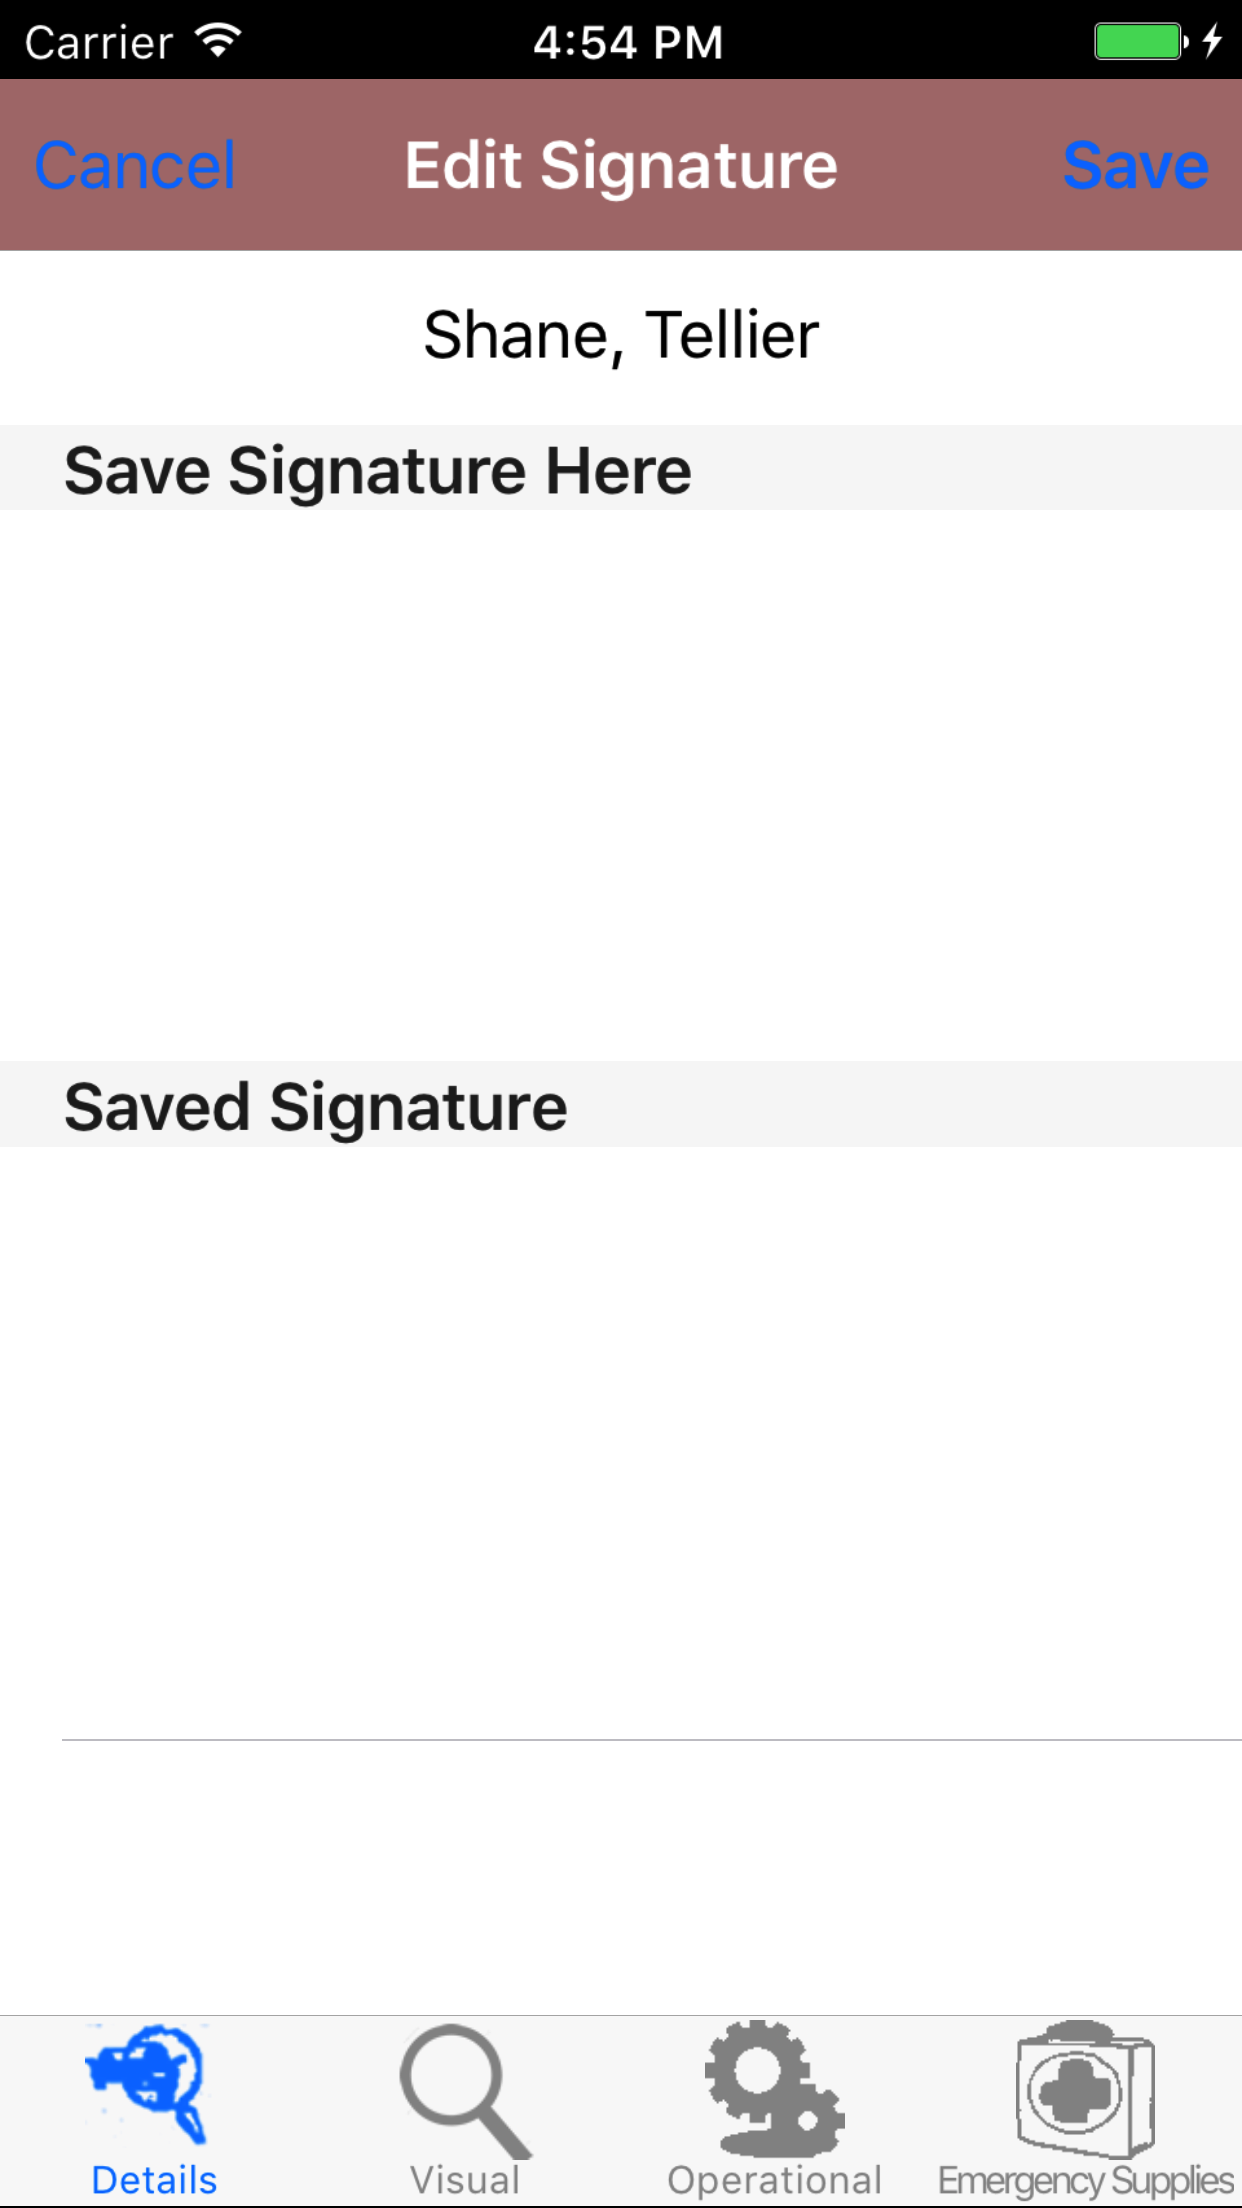
- Tap the desired employee to select them and open the Edit Employee screen
- Have the selected employee sign in the white space beneath the Save New Signature Here label.
- Tap Save in the top right corner of the screen to update the Saved Signature field.
The saved signature will appear below the signature entry screen.
|
|
|
| Steps 1-2 |
|
|
| Steps 3-4 |
|
|
|
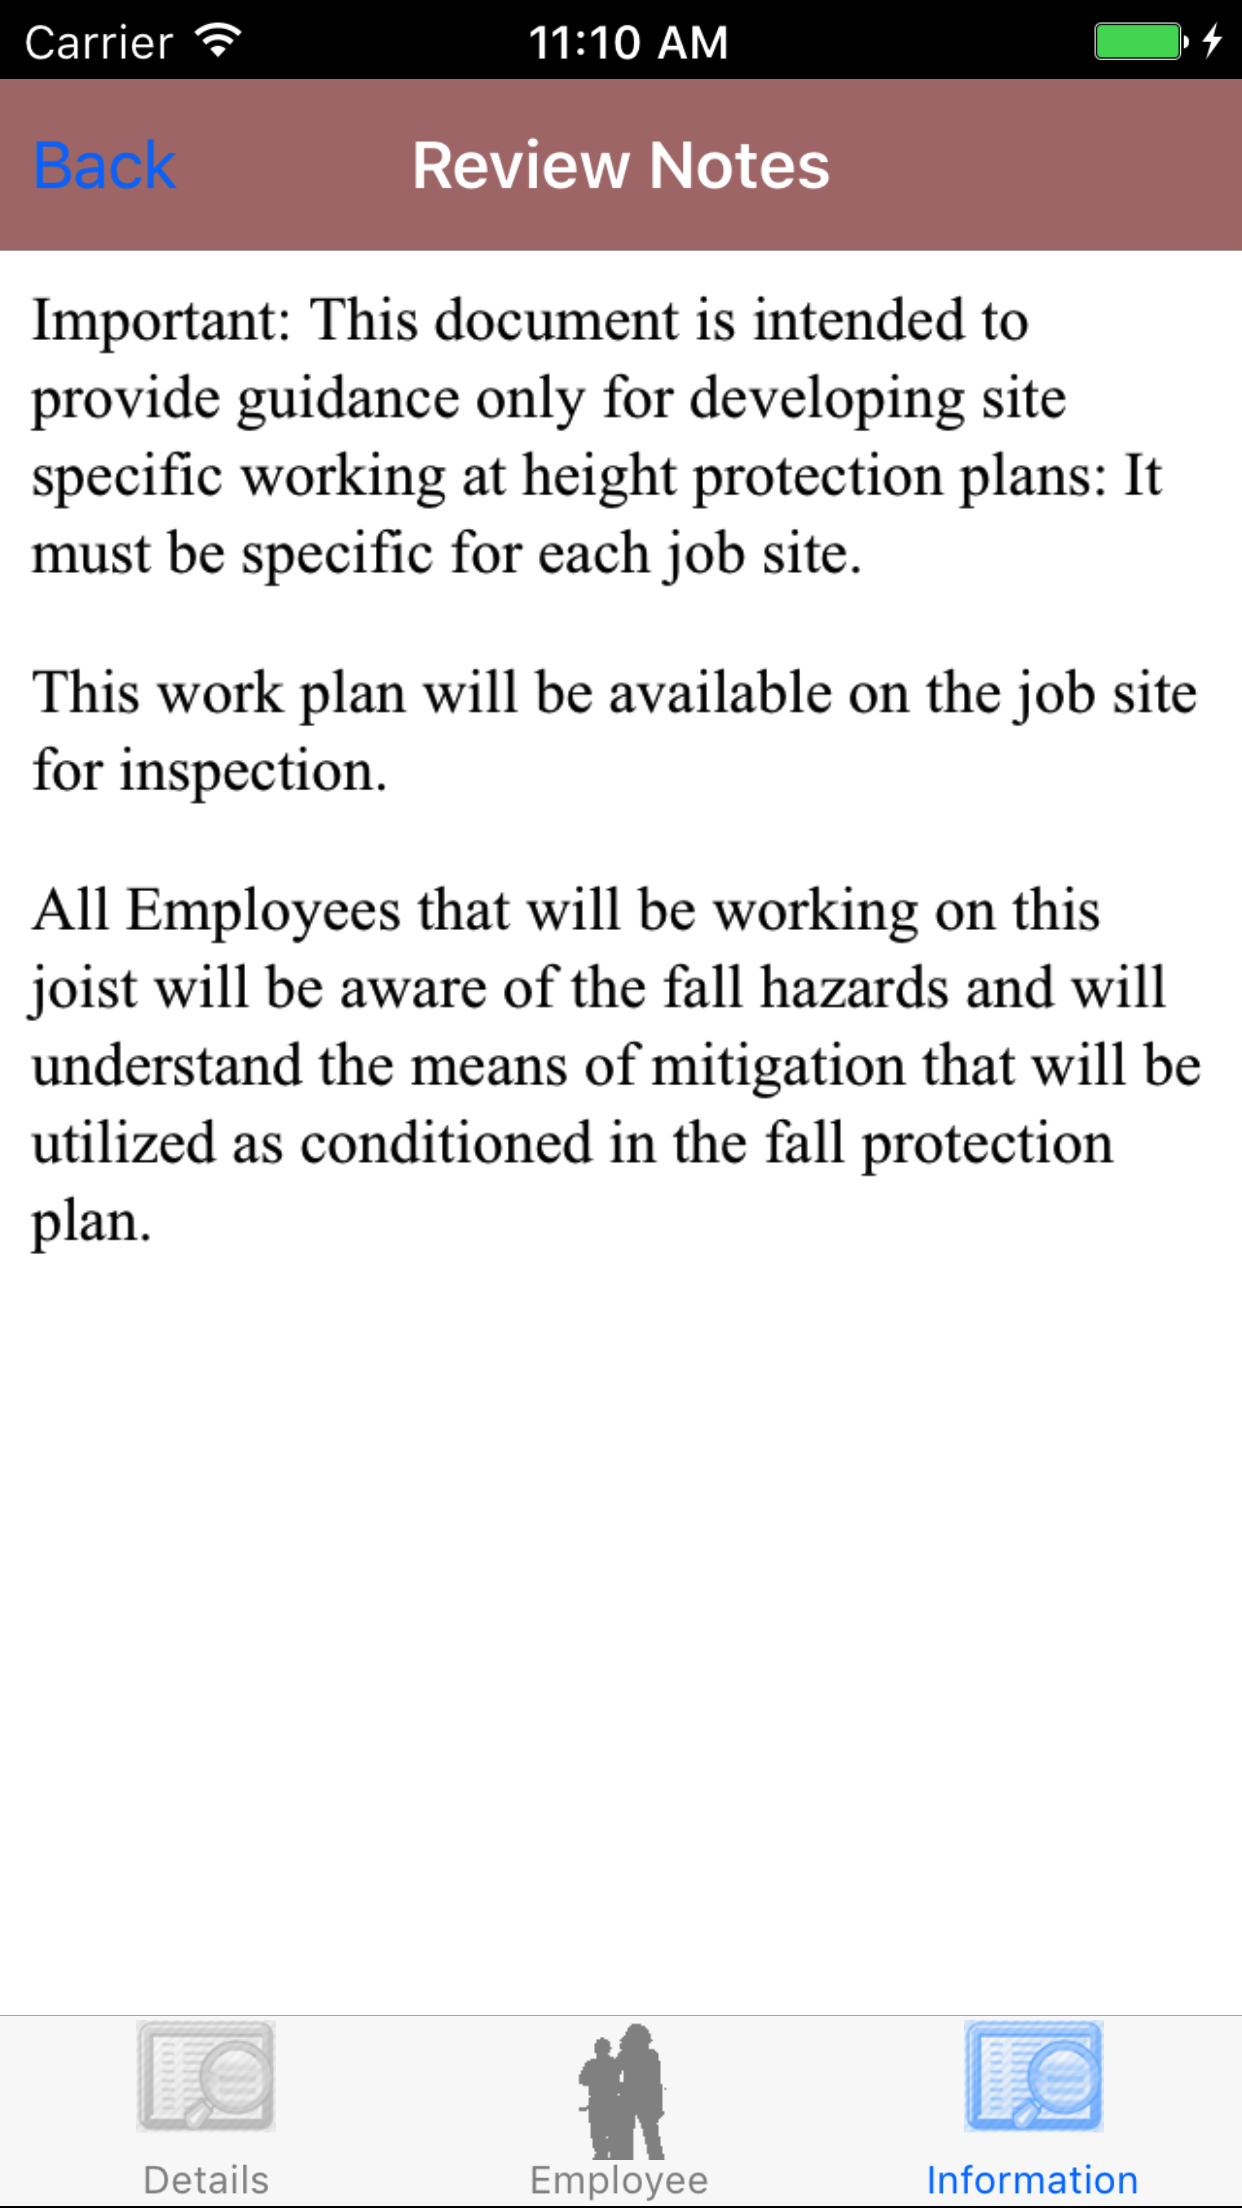
7.View Fall Protection Plan Notes |
|
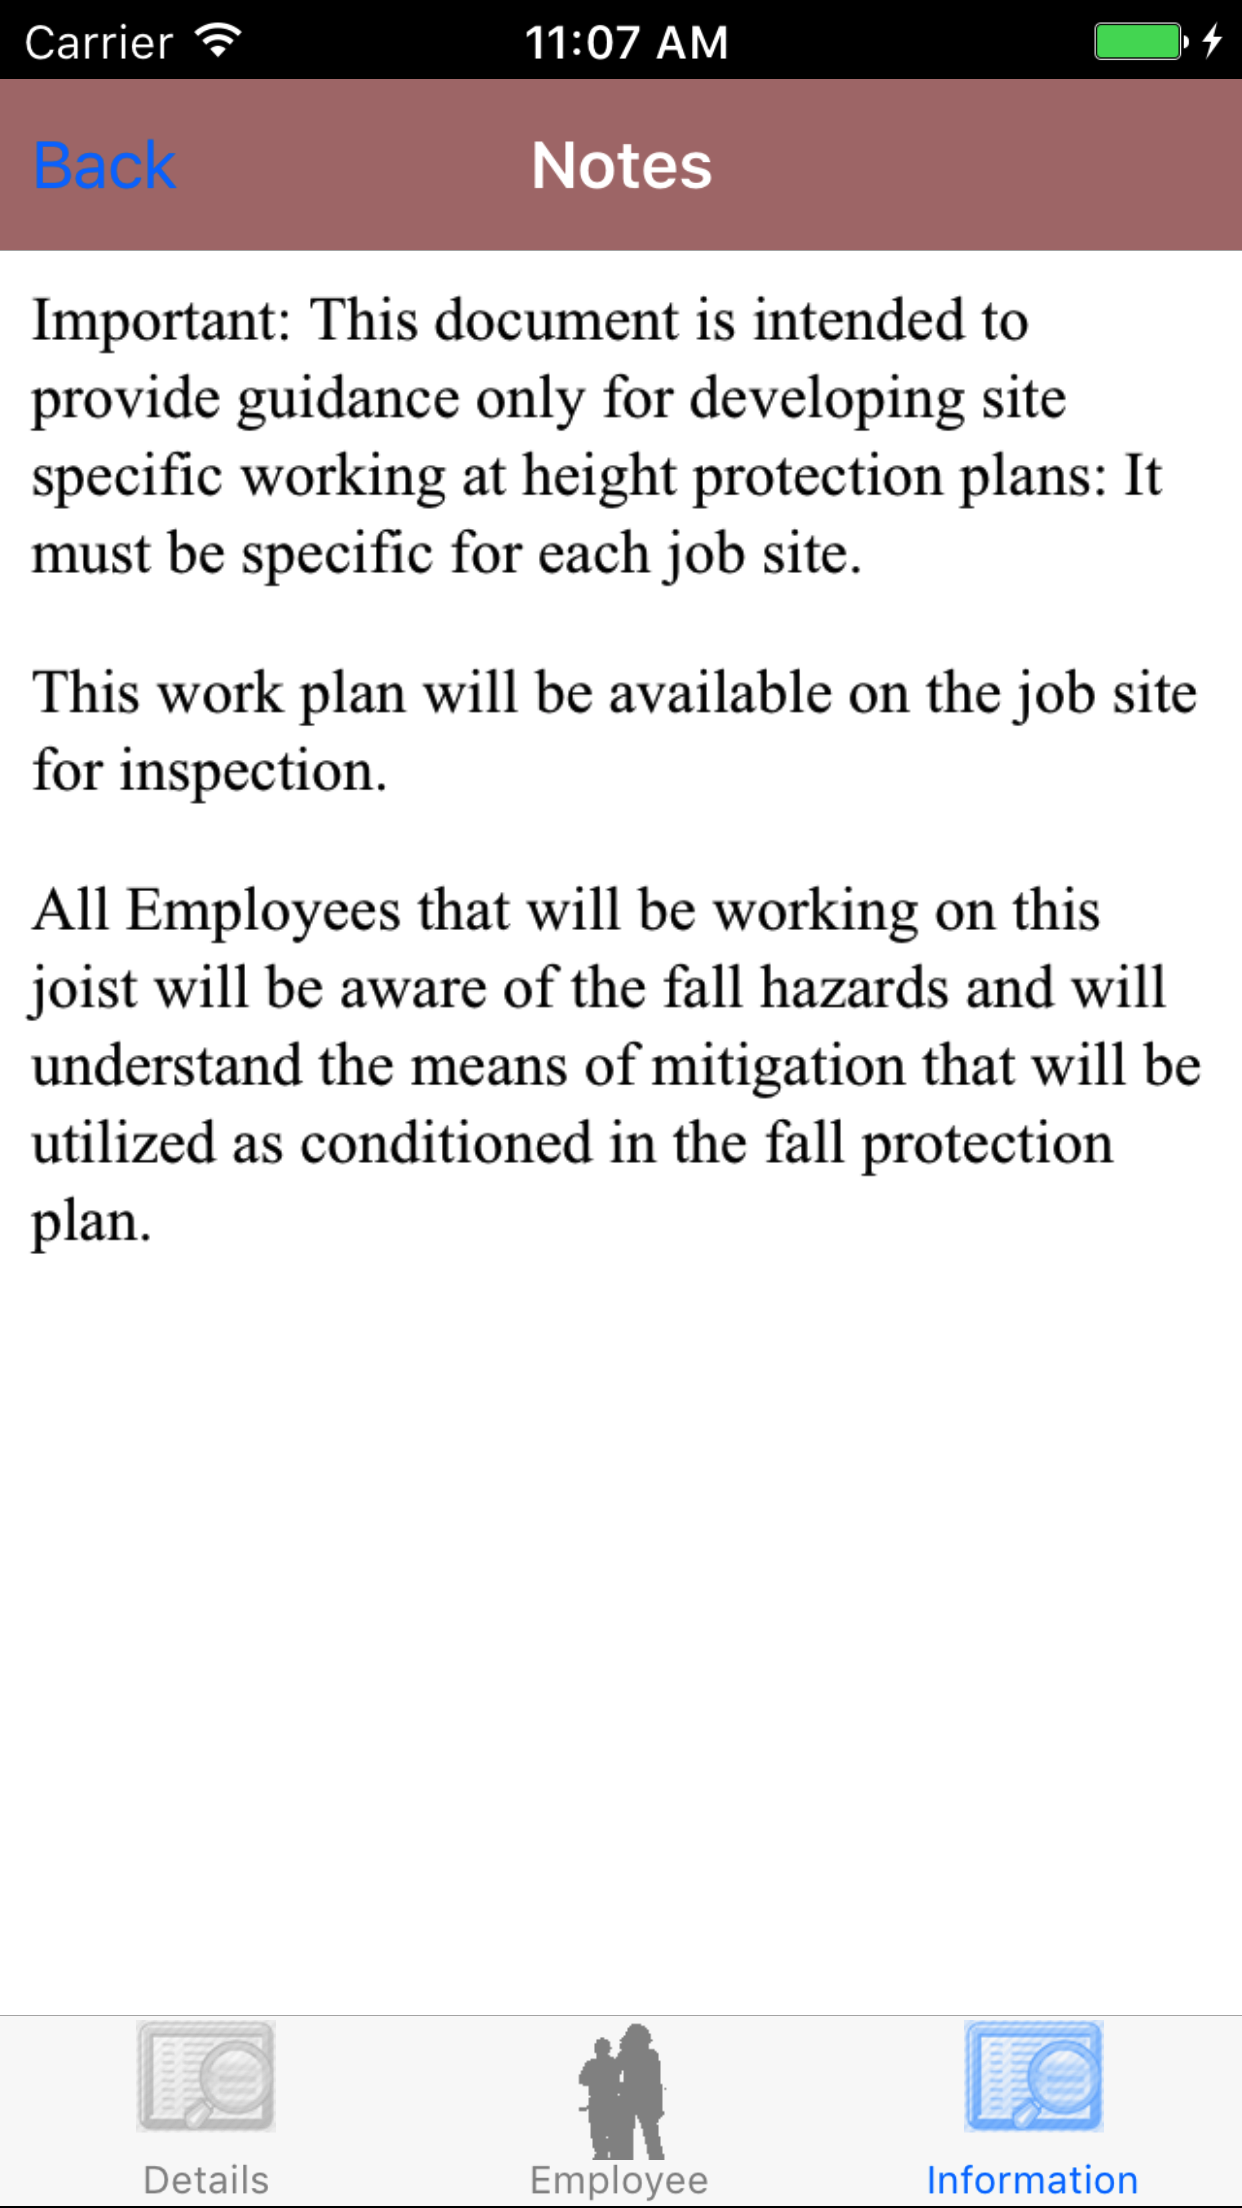
Fall protection notes are the notes set up by your company as things their field staff should review and consider while developing a plan for working at height.
Once on the Fall Protection Plan you would like to Edit
Steps
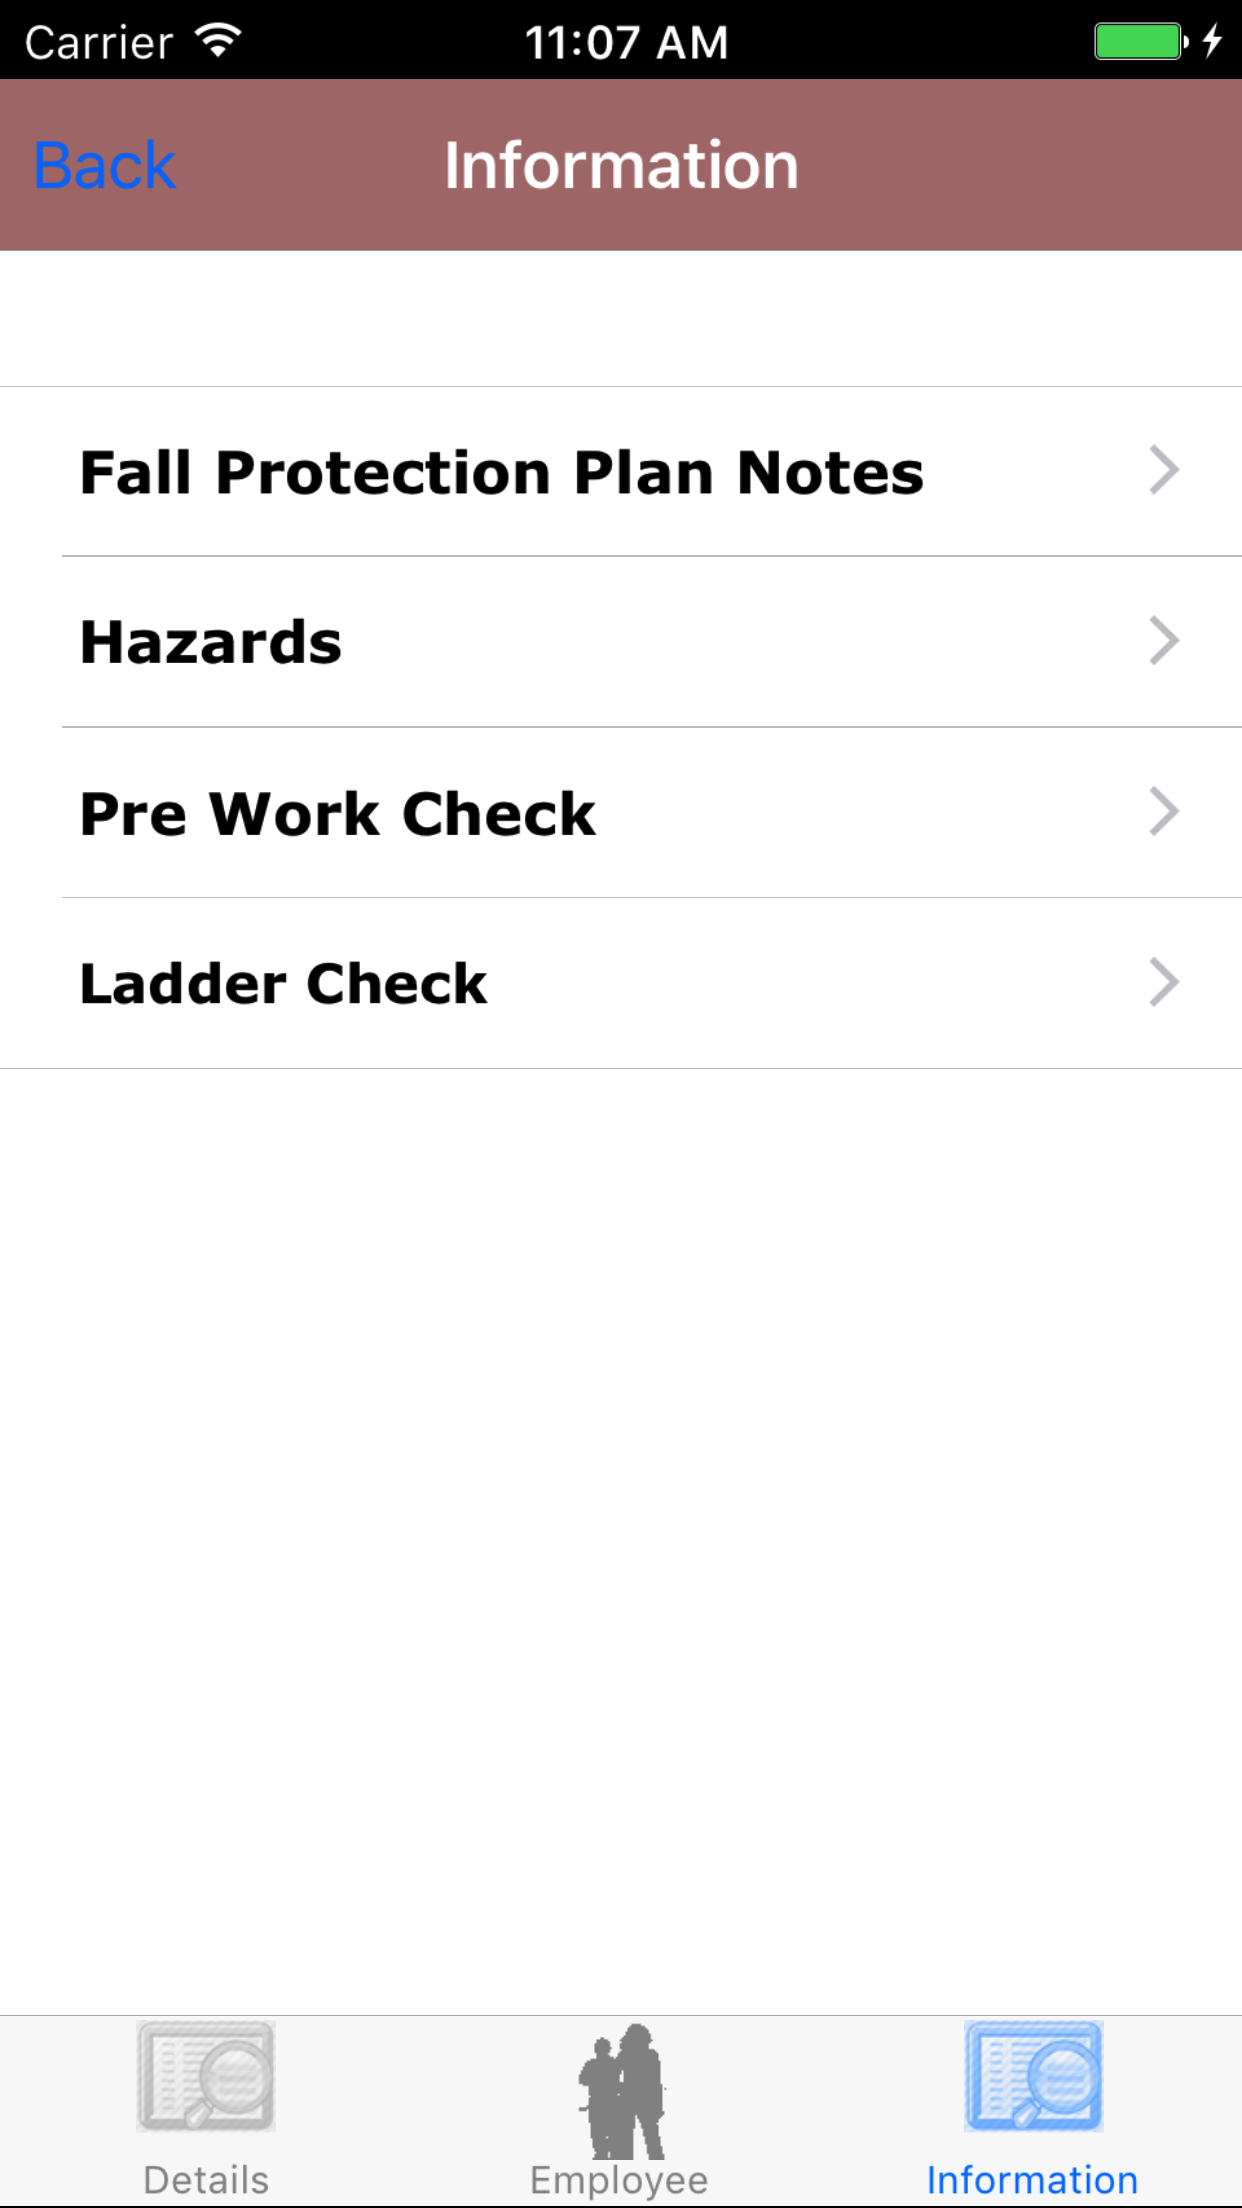
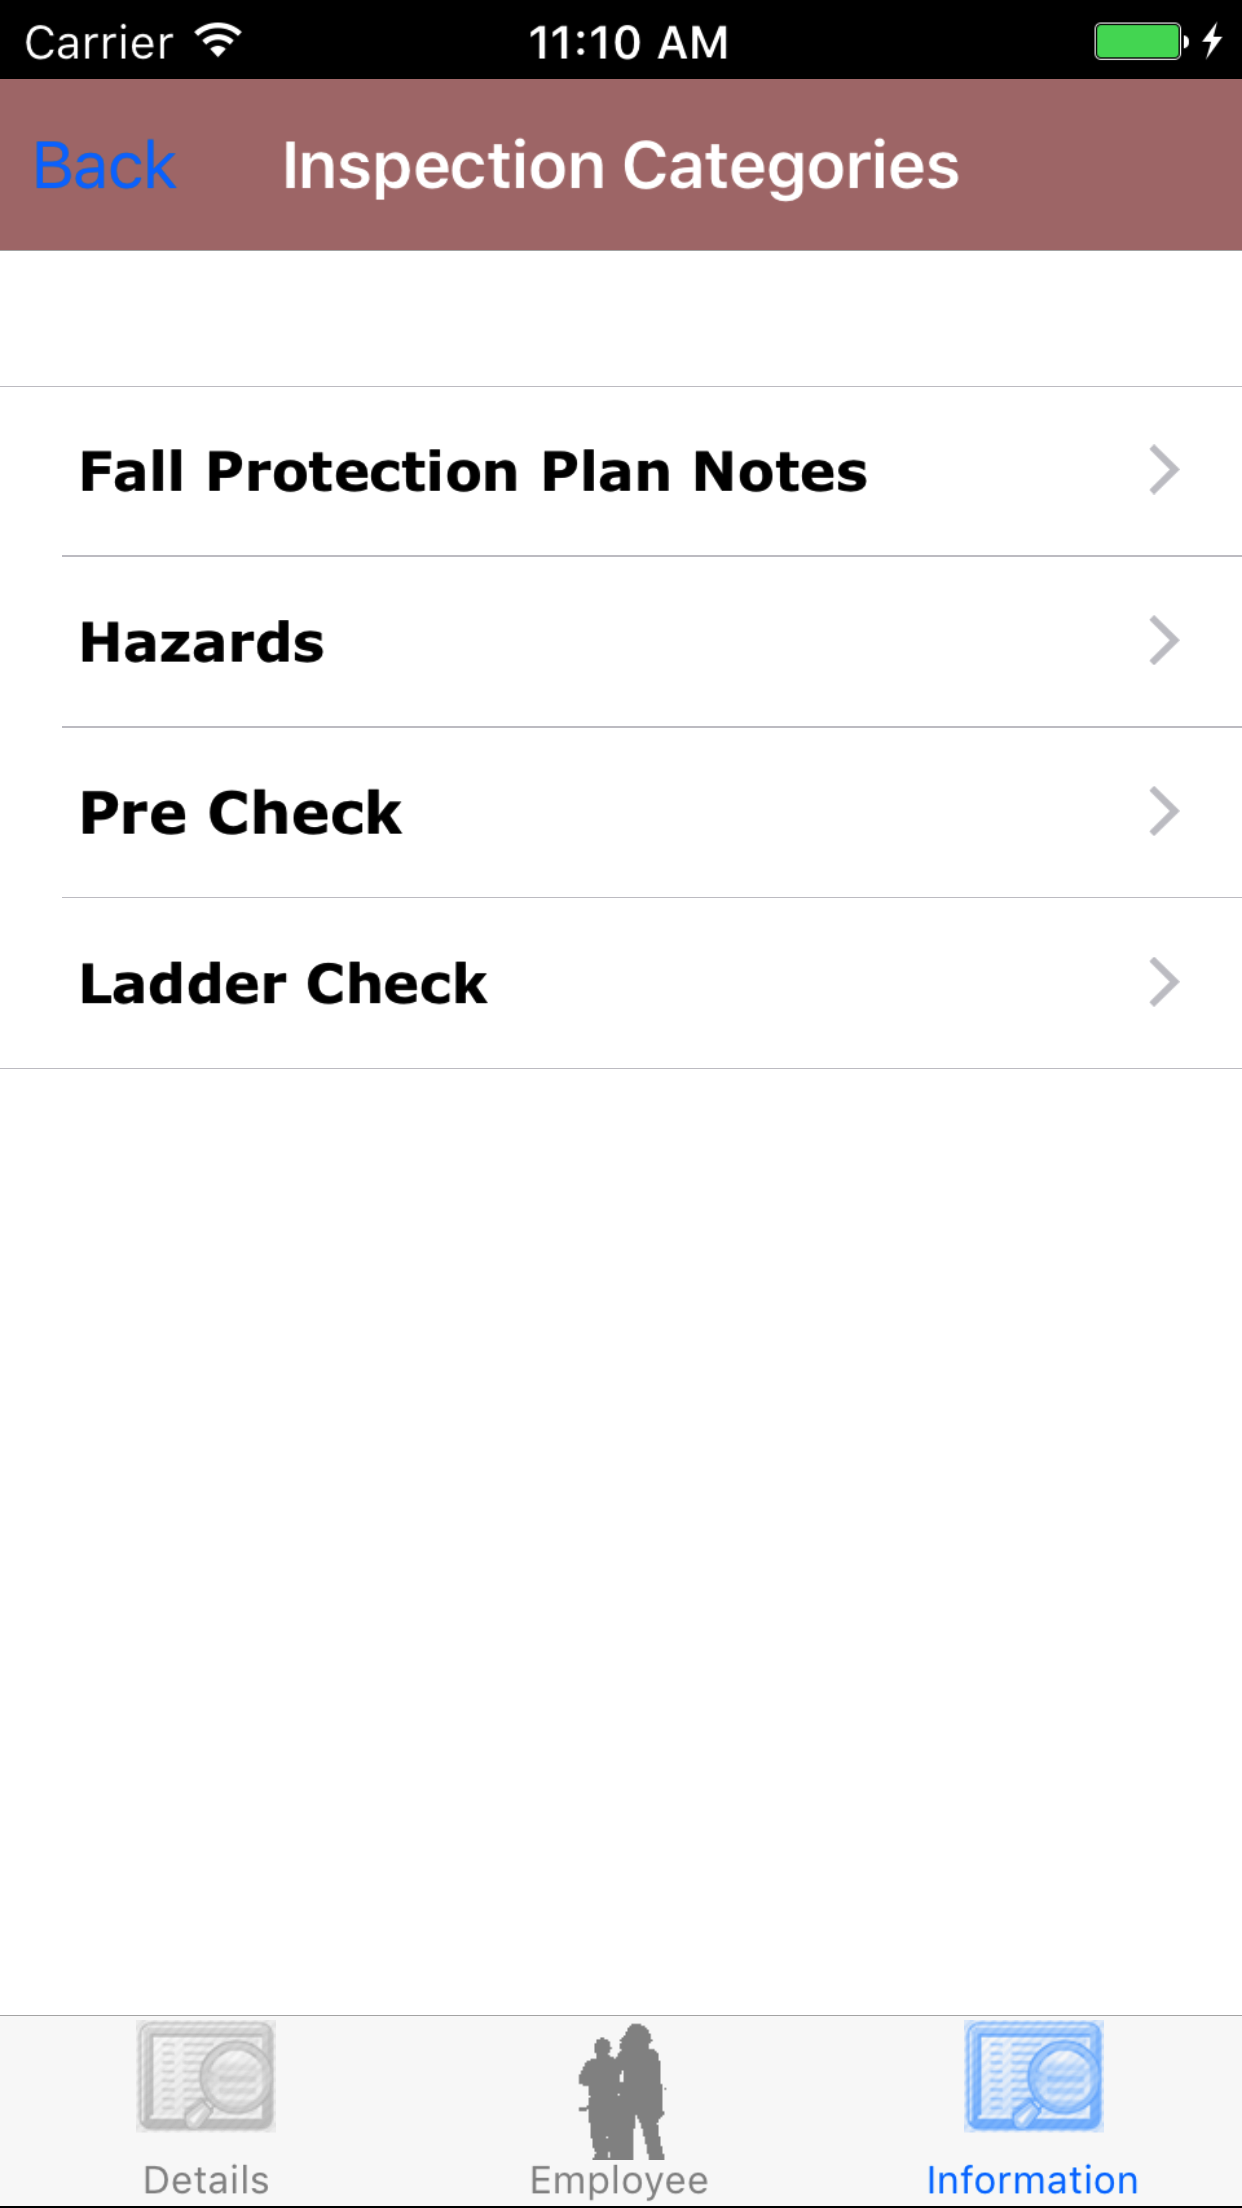
- Tap the Information icon at the bottom of the screen to open the Information screen. The screen loads
with the list of the 4 sections.
- Fall Protection Plan Notes
- Hazards
- Pre Work Check
- Ladder Check
- Tap the Fall Protection Plan Notes button which loads the fall protection plan notes.
|
|
| Step 1 |
|
|
| Step 2 |
|
|
|
8.Add Hazard |
|
Fall protection Hazards are description of the hazards present by working at height. Hazards include a description
of the hazards, methods of restraint and sketch of the hazard.
Once on the Fall Protection Plan you would like to Edit
Steps
- Tap the Information icon at the bottom of the screen to open the Information screen. The screen loads
with the list of the 4 sections.
- Fall Protection Plan Notes
- Hazards
- Pre Work Check
- Ladder Check
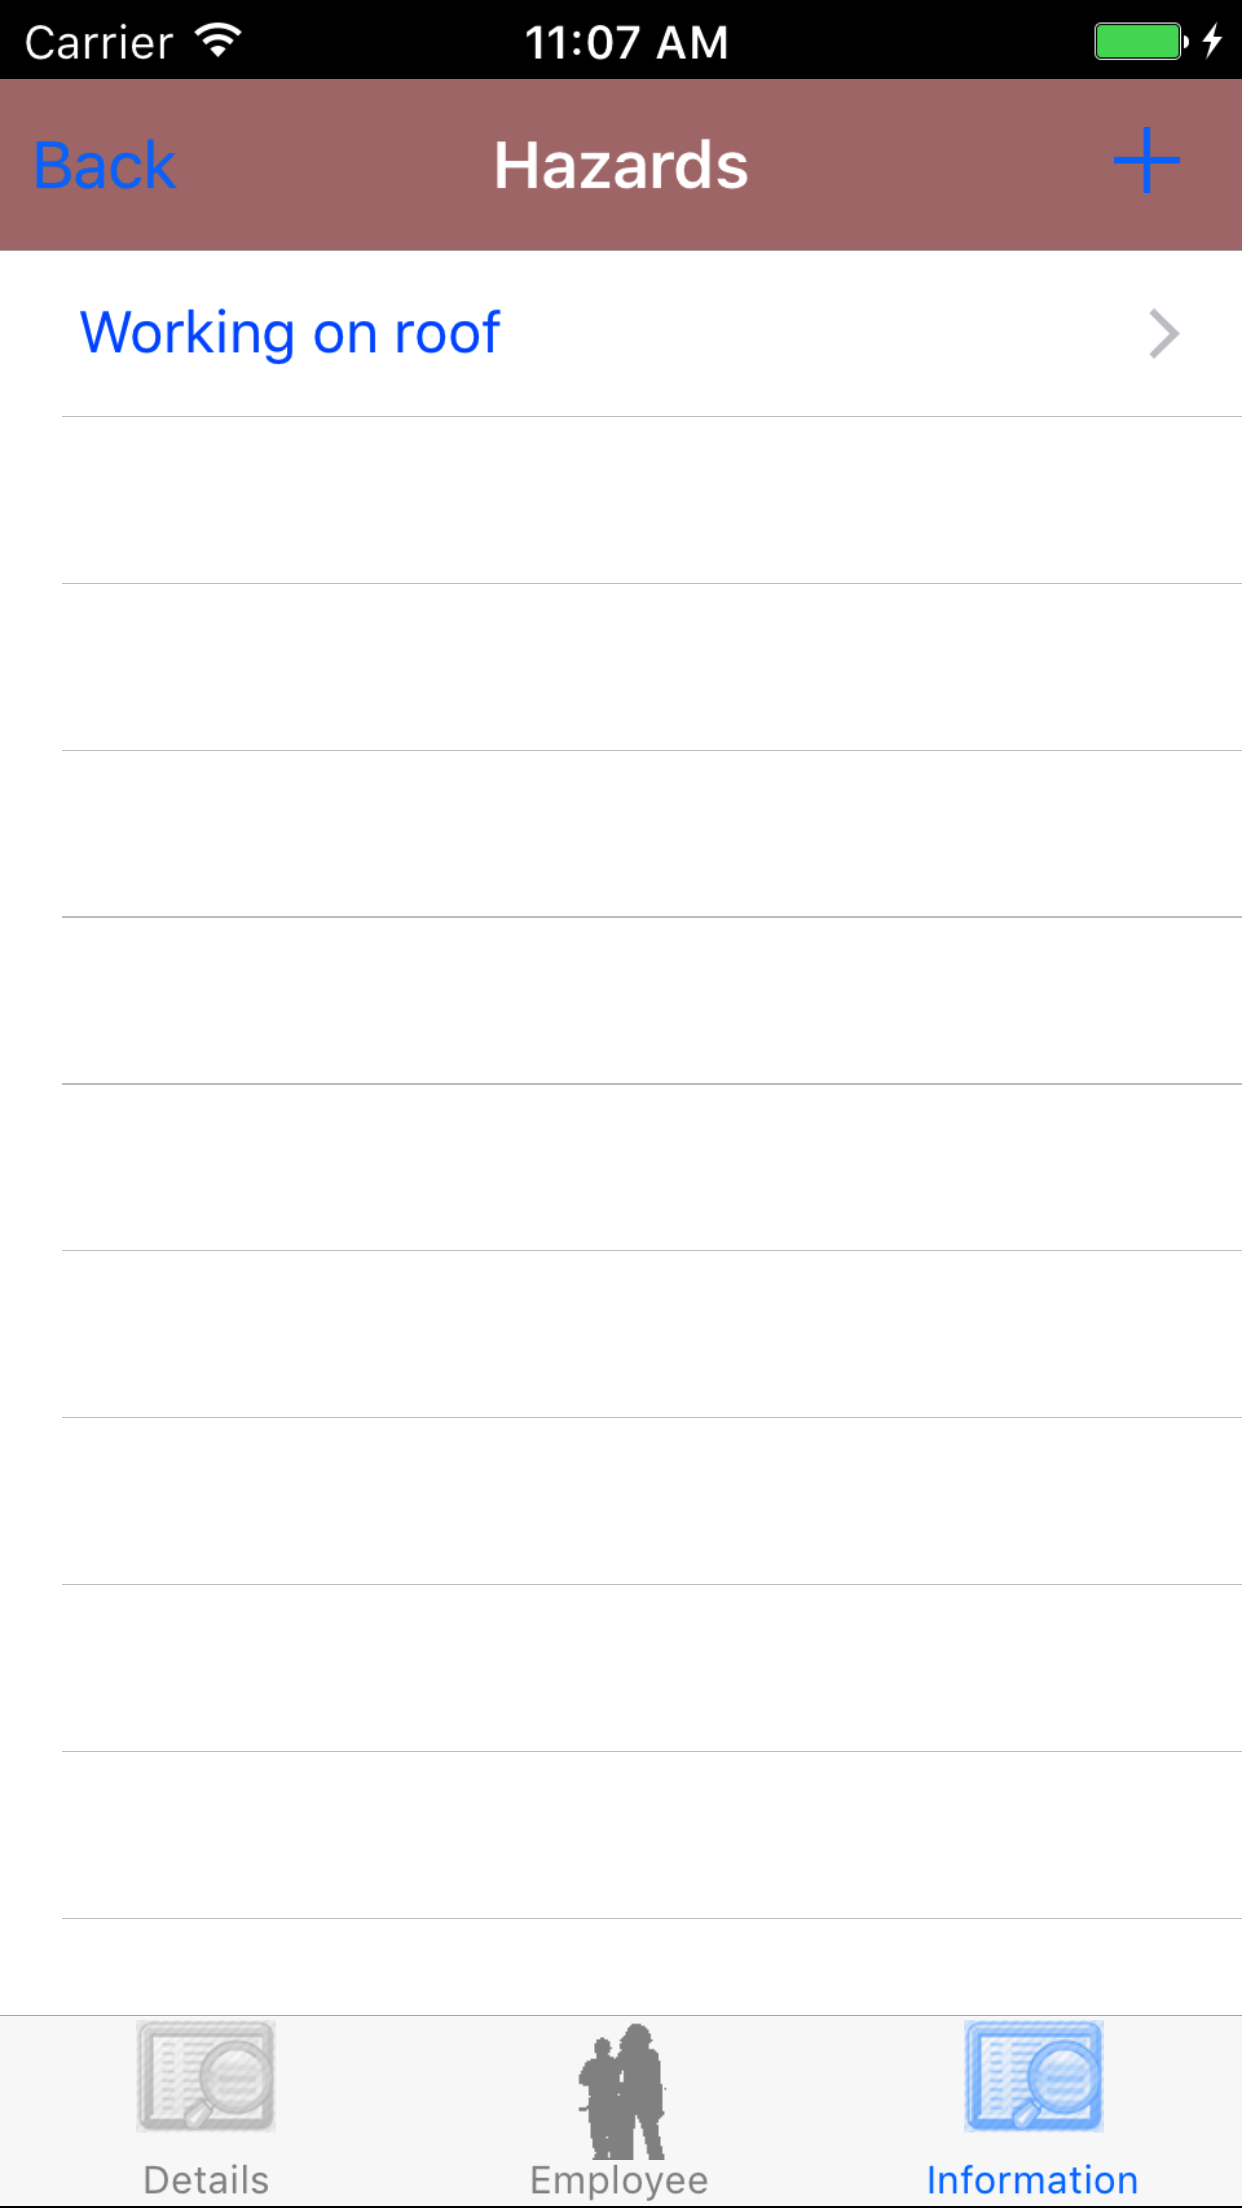
- Tap the Hazards button which loads hazards list.
- Tap on the + button in the top right corner of the screen.
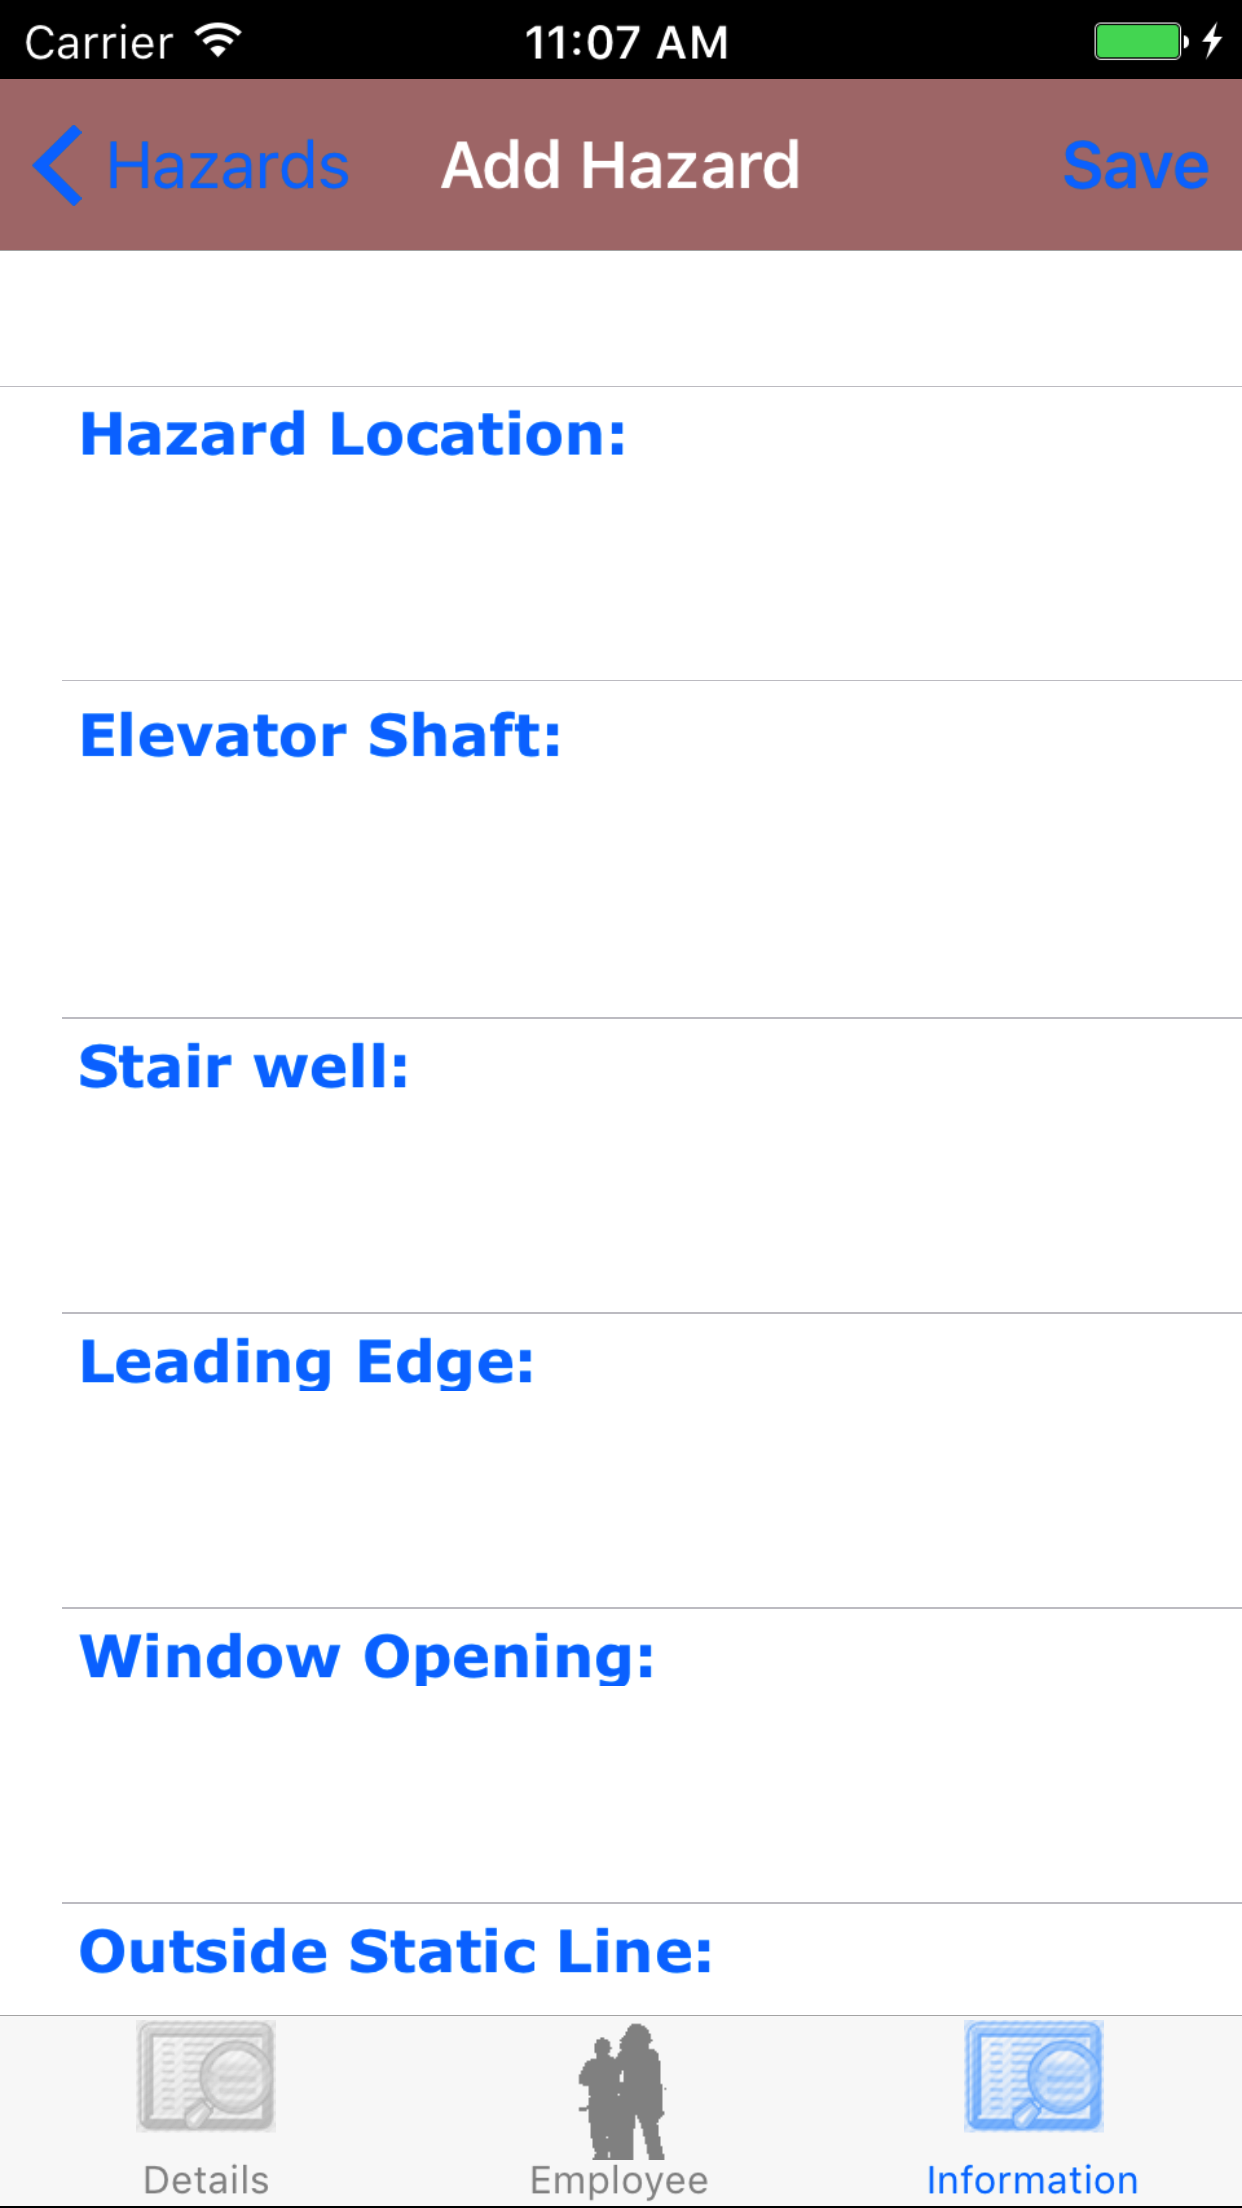
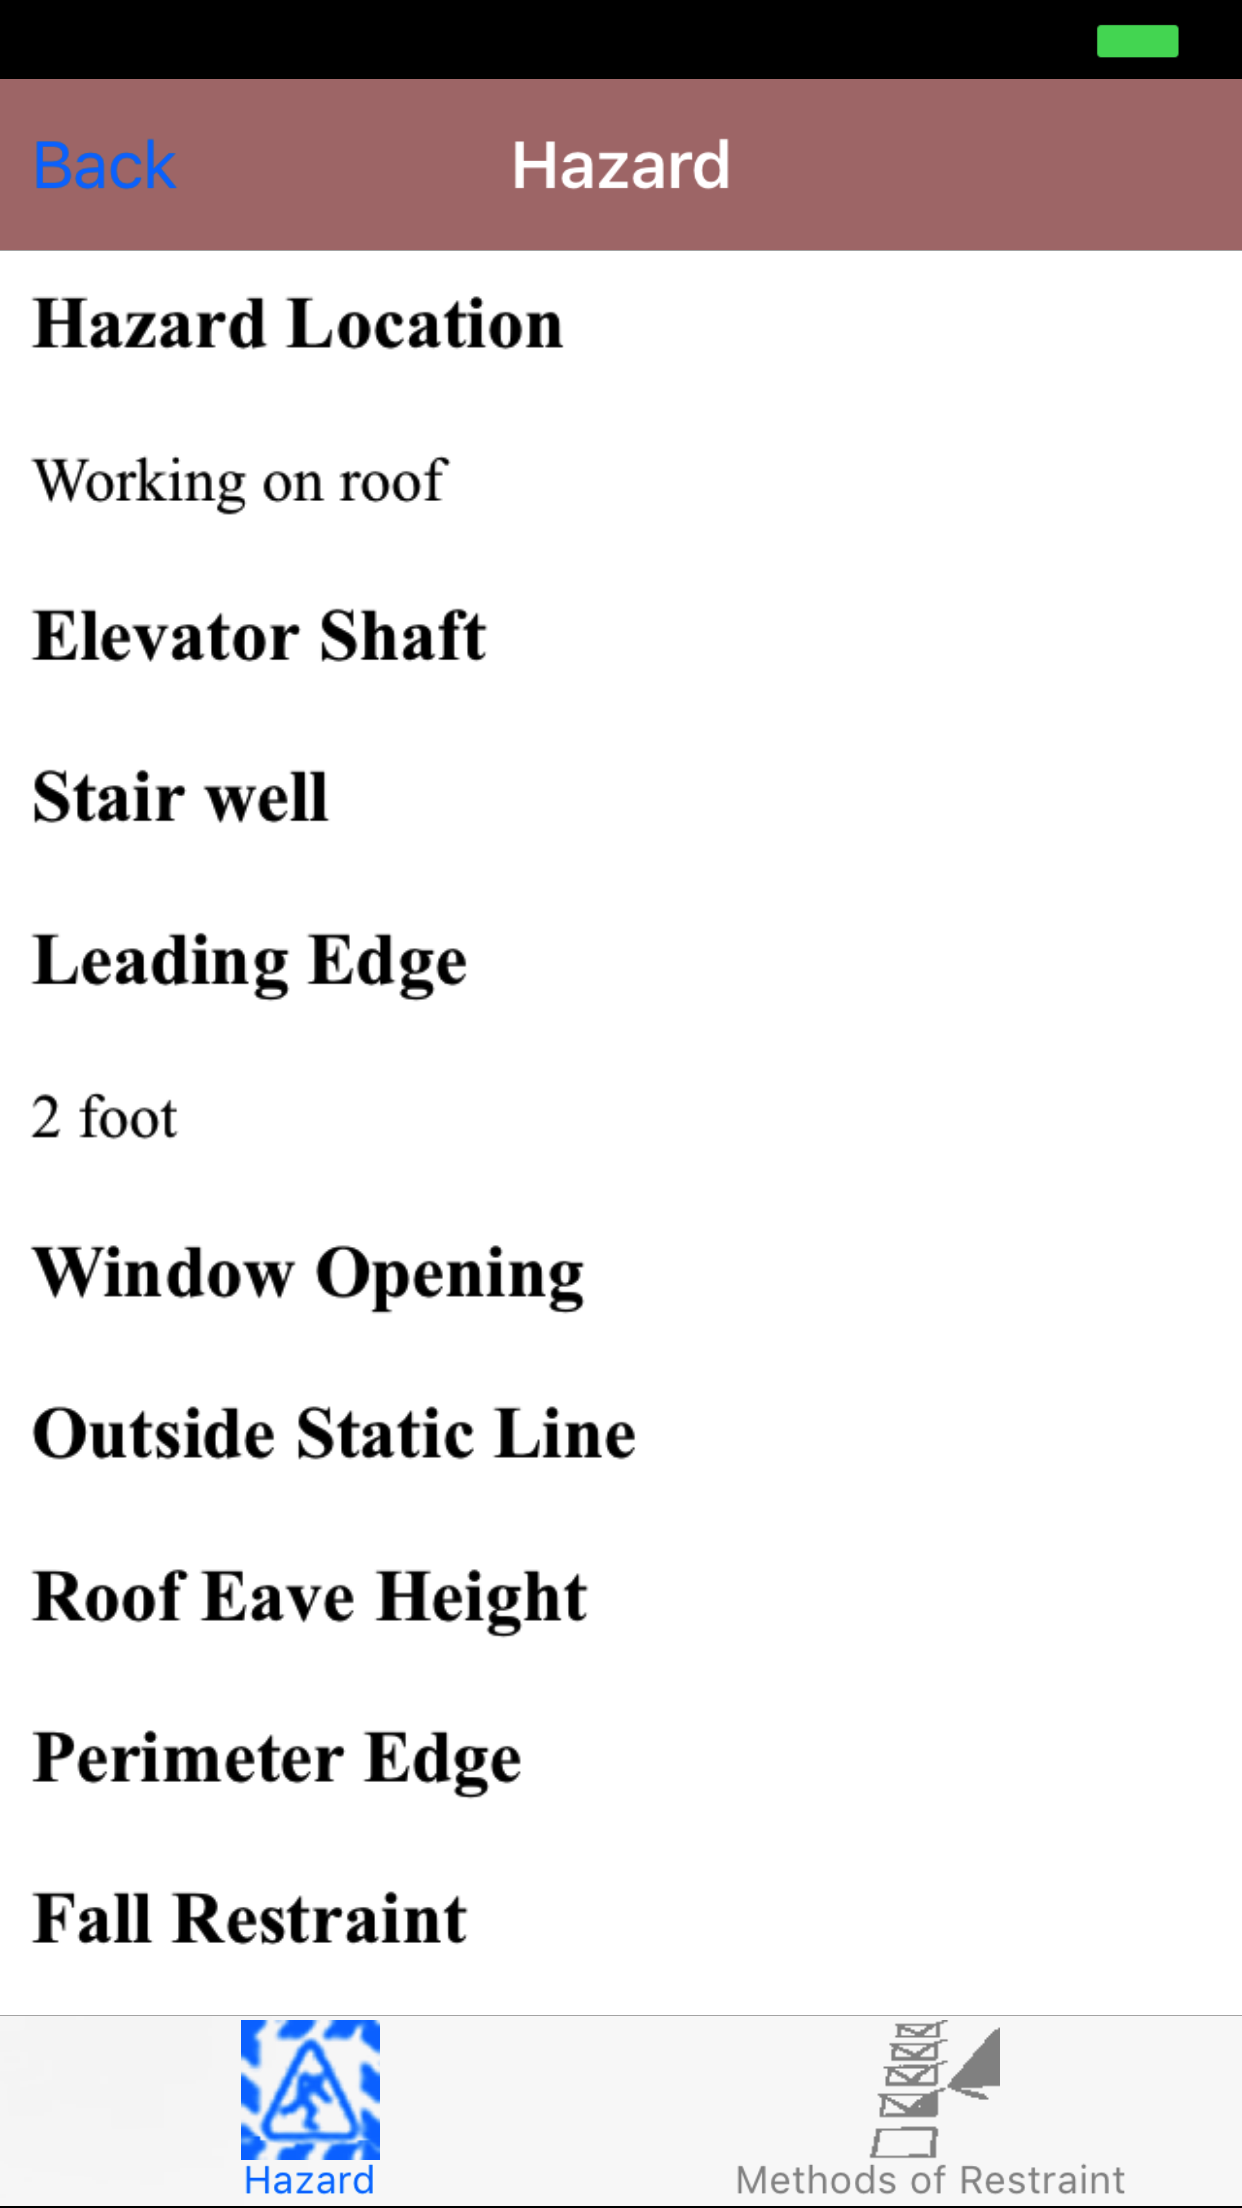
The next screen loads the Add Hazard screen.
Fields
- Hazard Location: The Hazard Location field gives the user the ability to describe the hazard location,
where the work will be performed. The character limit of this field is 50.
- Elevator Shaft: The Elevator Shaft field gives the user the ability to describe the elevator shaft the work may be performed around. The character limit of this field is 250.
- Stair well: The Stair Well field gives the user the ability to describe the stairwell the work may be performed around. The character limit of this field is 250.
- Leading Edge: The Leading Edge field gives the user the ability to describe the leading edge of the work hazard area. The character limit of this field is 250.
- Window Opening: The Window Opening field gives the user the ability to describe the window openings the work may be performed around. The character limit of this field is 250.
- Outside Static Line: The Outside Static Line field gives the user the ability to describe the outside static line the work may be performed around. The character limit of this field is 250.
- Roof Eave Height: The Roof Eave Height field gives the user the ability to describe the roof eave height the work may be performed around. The character limit of this field is 250.
- Perimeter Edge: The Perimeter Edge field gives the user the ability to describe the perimeter edge the work may be performed around. The character limit of this field is 250.
- Fall Arrest: The Fall Arrest field should be set to Checked when fall arrest harnesses is required.
- Tap Checked on the __|Checked selector to indicate that a fall arrest equipment is required.
- Fall Restraint: The Fall Restraint field should be set to Checked if fall restraint equipment is required.
- Tap Checked on the __|Checked selector to indicate that work requires fall restraint equipment.
- Temp Guard Rail System: The Temporary Guard Rail System field should be set to Checked if work requires a temporary guard system needs to be required.
- Tap Checked on the __|Checked selector to indicate that requires a temporary guard system needs to be used.
- Tap Save in the top right corner of the screen to save the hazard details
|
|
|
|
| Step 1 |
|
|
| Steps 2-13 |
|
|
|
9.Look Up Hazard |
|
Fall protection Hazards are description of the hazards present by working at height. Hazards include a description
of the hazards, methods of restraint and sketch of the hazard.
Once on the Fall Protection Plan you would like to Edit
Steps
- Tap the Information icon at the bottom of the screen to open the Information screen. The screen loads
with the list of the 4 sections.
- Fall Protection Plan Notes
- Hazards
- Pre Work Check
- Ladder Check
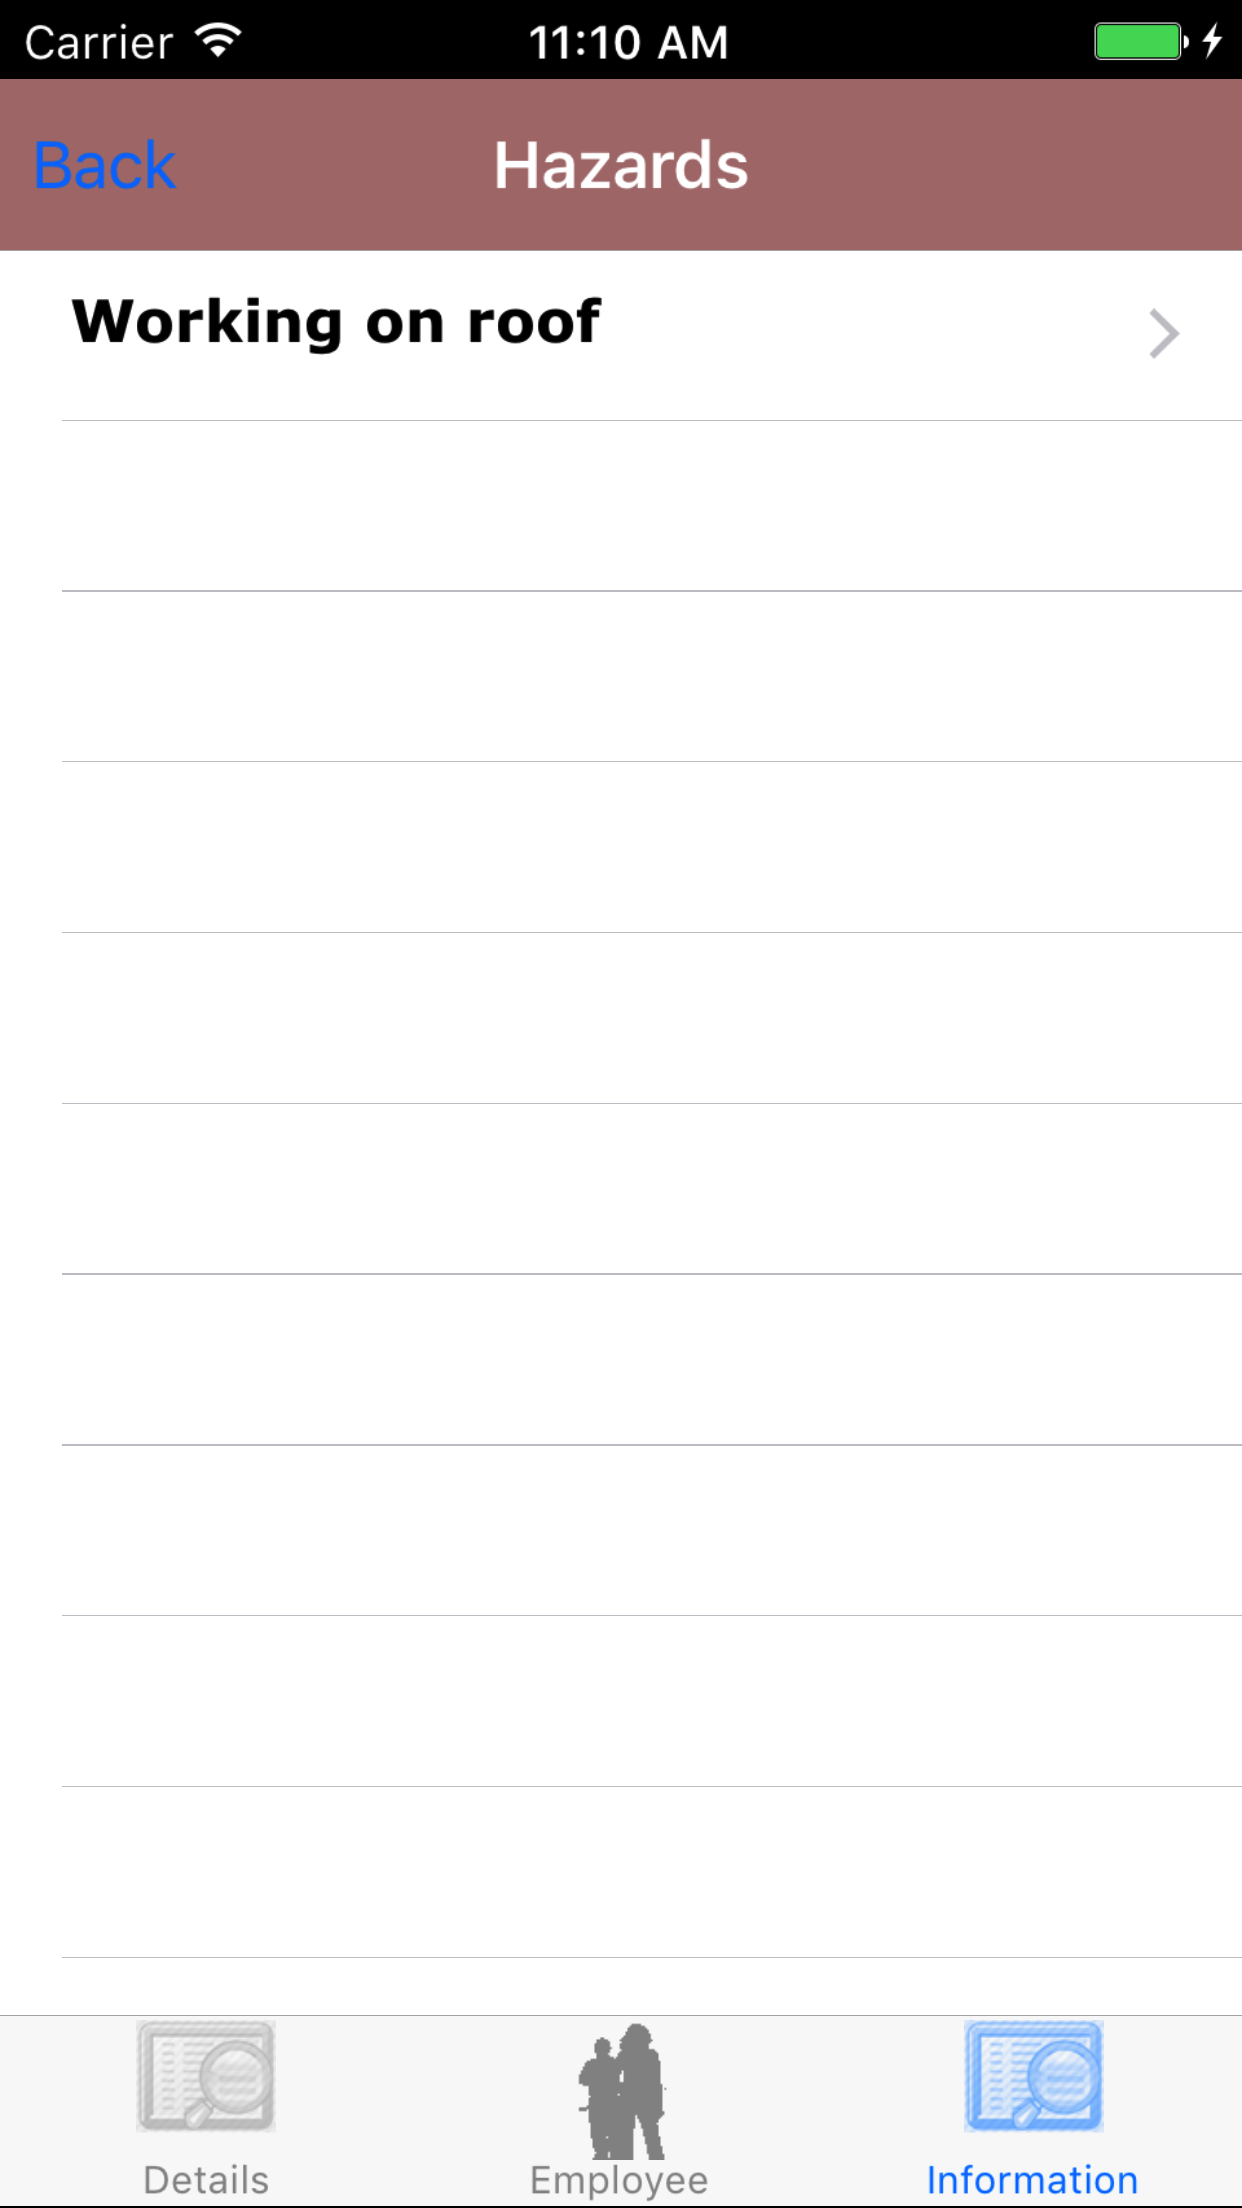
- Tap the Hazards button which loads hazards list.
- Scroll the list of hazards, with the hazard location in blue text. until the desired hazard is displayed on the screen.
- Tap the desired hazard to select it.
The Screen will load with two new tabs'
- Tab one loads with hazard details, the details of the hazard.
- Tab two loads with methods of restraint, the methods of restraint associated with the selected hazard.
|
|
|
| Steps 1-2 |
|
|
| Steps 3-4 |
|
|
10.Edit Hazard |
|
Fall protection Hazards are description of the hazards present by working at height. Hazards include a description
of the hazards, methods of restraint and sketch of the hazard.
Once on the Hazard you would like to Edit
Steps
Fields
- Hazard Location: The Hazard Location field gives the user the ability to describe the hazard location,
where the work will be performed. The character limit of this field is 50.
- Elevator Shaft: The Elevator Shaft field gives the user the ability to describe the elevator shaft the work may be performed around. The character limit of this field is 250.
- Stair well: The Stair Well field gives the user the ability to describe the stairwell the work may be performed around. The character limit of this field is 250.
- Leading Edge: The Leading Edge field gives the user the ability to describe the leading edge of the work hazard area. The character limit of this field is 250.
- Window Opening: The Window Opening field gives the user the ability to describe the window openings the work may be performed around. The character limit of this field is 250.
- Outside Static Line: The Outside Static Line field gives the user the ability to describe the outside static line the work may be performed around. The character limit of this field is 250.
- Roof Eave Height: The Roof Eave Height field gives the user the ability to describe the roof eave height the work may be performed around. The character limit of this field is 250.
- Perimeter Edge: The Perimeter Edge field gives the user the ability to describe the perimeter edge the work may be performed around. The character limit of this field is 250.
- Fall Arrest: The Fall Arrest field should be set to Checked when fall arrest harnesses is required.
- Tap Checked on the __|Checked selector to indicate that a fall arrest equipment is required.
- Fall Restraint: The Fall Restraint field should be set to Checked if fall restraint equipment is required.
- Tap Checked on the __|Checked selector to indicate that work requires fall restraint equipment.
- Temp Guard Rail System: The Temporary Guard Rail System field should be set to Checked if work requires a temporary guard system needs to be required.
- Tap Checked on the __|Checked selector to indicate that requires a temporary guard system needs to be used.
- Tap Save in the top right corner of the screen to save the hazard details
|

|
| Steps 1-12 |
|
|
|
11.Delete Hazard |
|
Fall protection Hazards are description of the hazards present by working at height. Hazards include a description
of the hazards, methods of restraint and sketch of the hazard.
Once on the Fall Protection Plan you would like to Edit
Steps
- Tap the Information icon at the bottom of the screen to open the Information screen. The screen loads
with the list of the 4 sections.
- Fall Protection Plan Notes
- Hazards
- Pre Work Check
- Ladder Check
- Tap the Hazards button which loads hazards list.
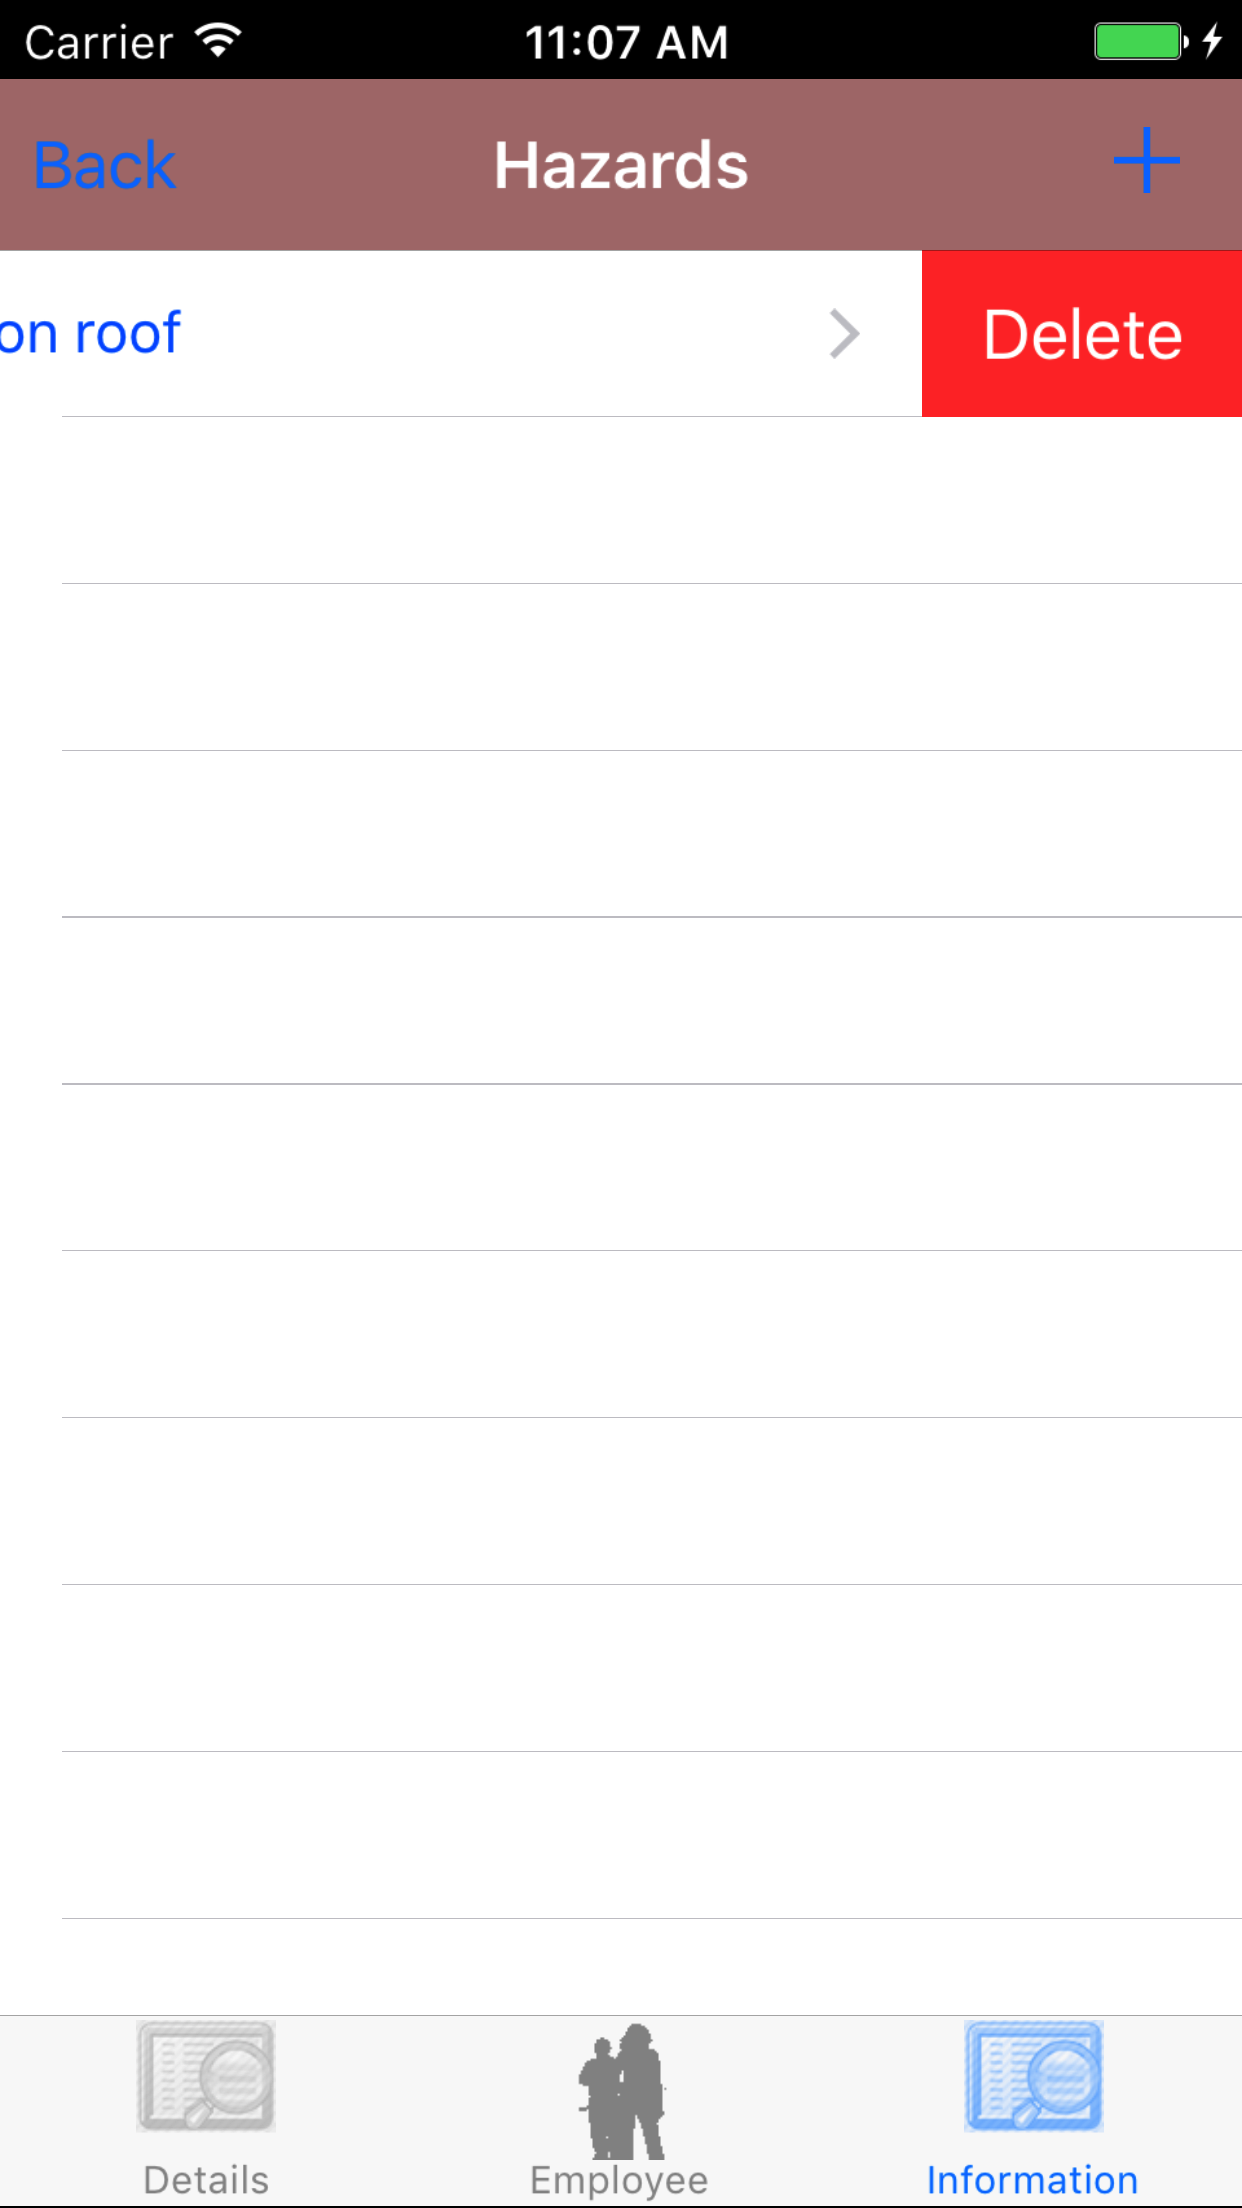
- Scroll the list of hazards, with the hazard location in blue text. until the desired hazard is displayed on the screen.
- Swipe from the right edge to the left to bring up the delete button for the hazard.
- Tap the Delete button. The hazard, method of restraints and hazard sketch will be deleted from the fall protection plan.
|
|
|
| Steps 1-2 |
|
|
|
| Steps 3-4 |
|
|
| Steps 4-6 |
|
|
|
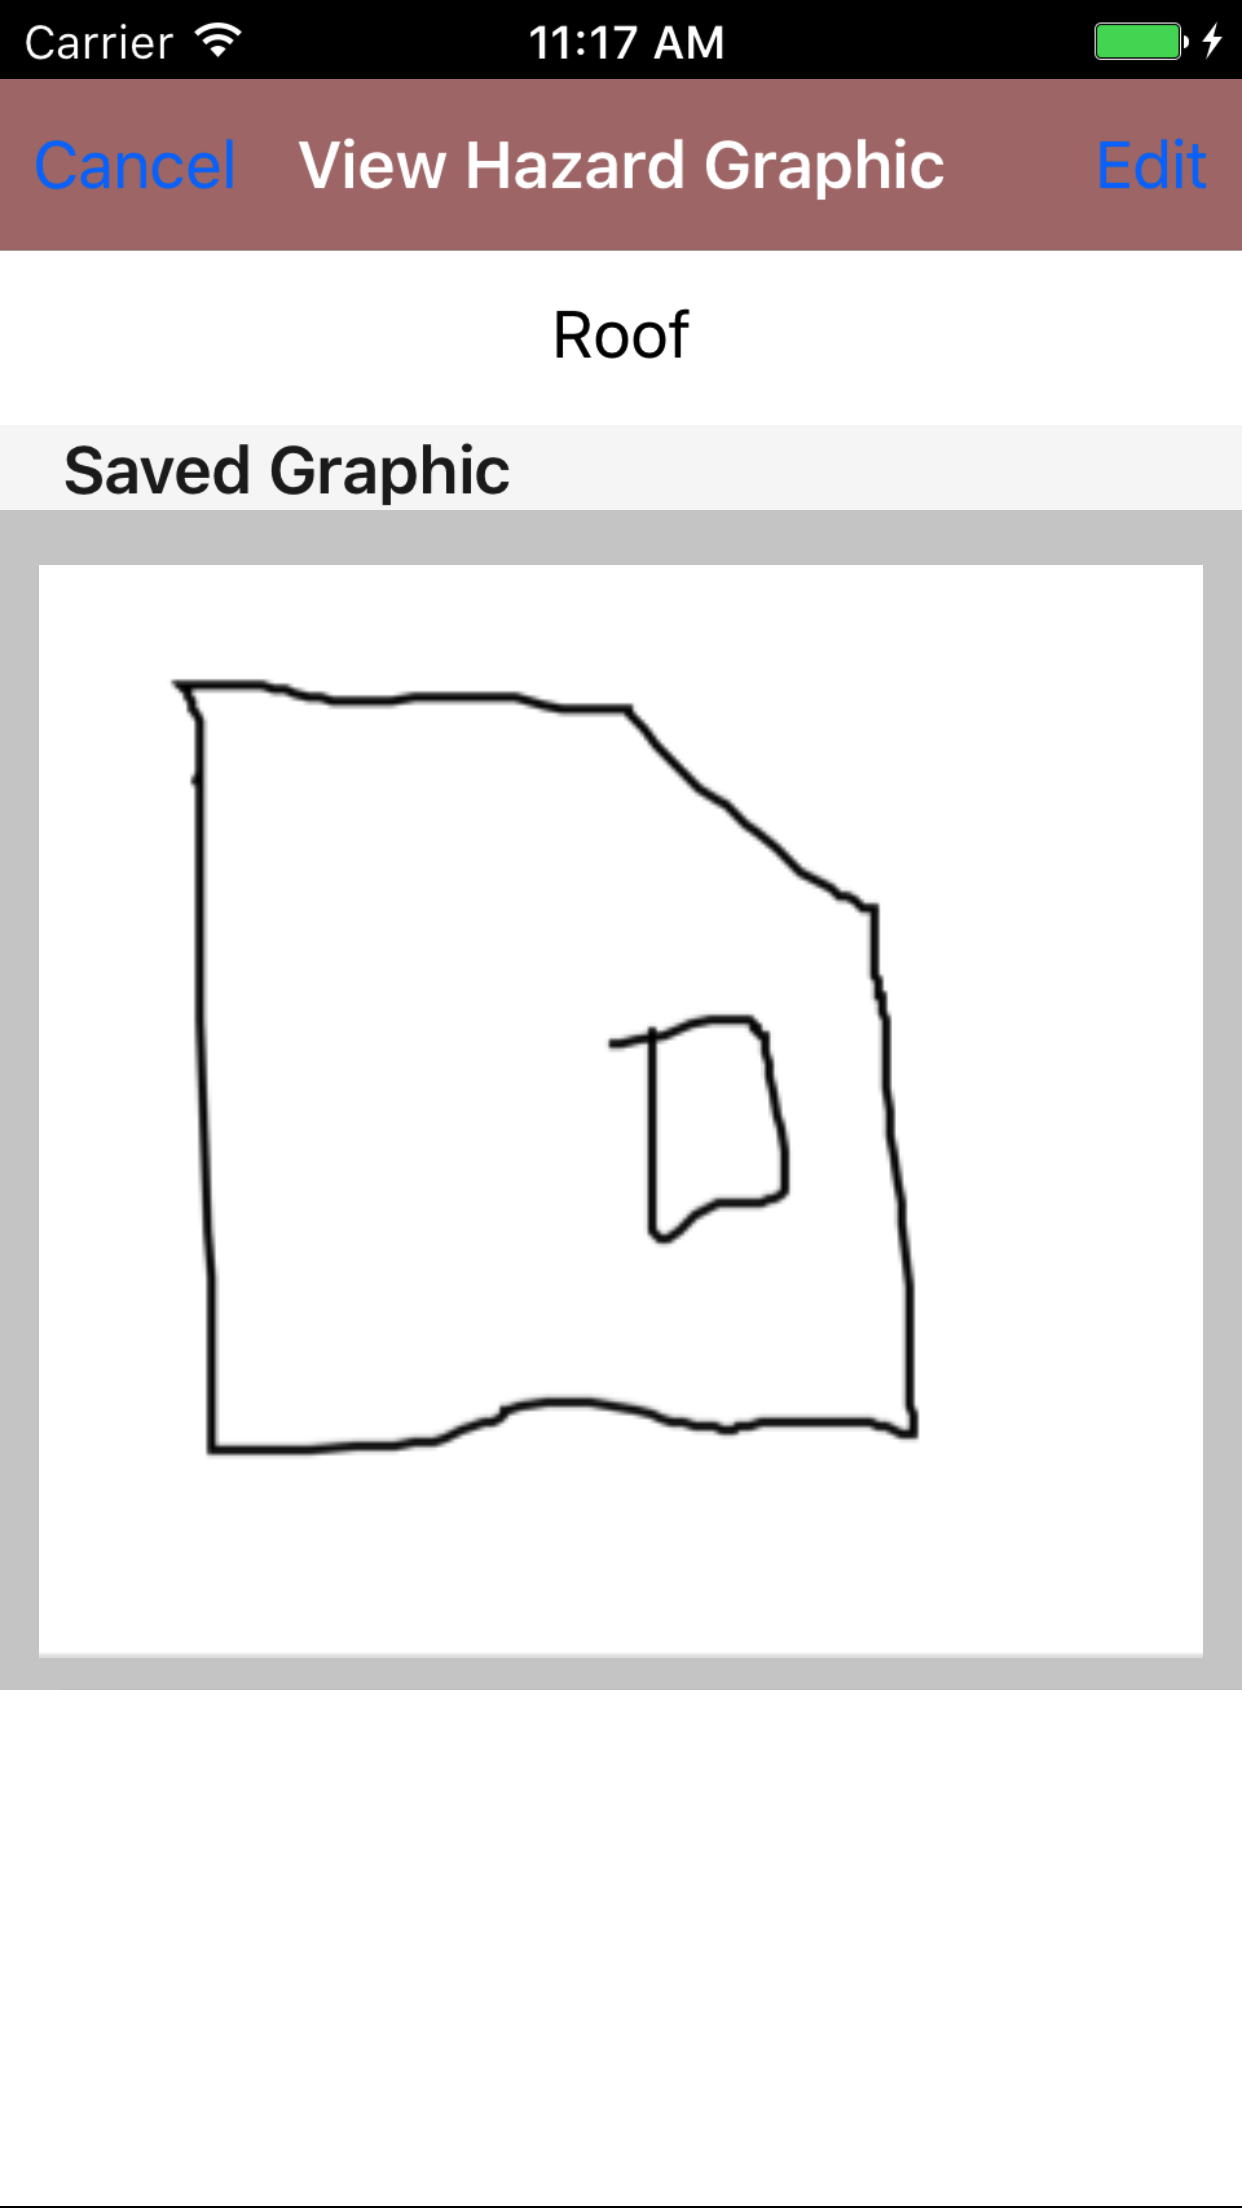
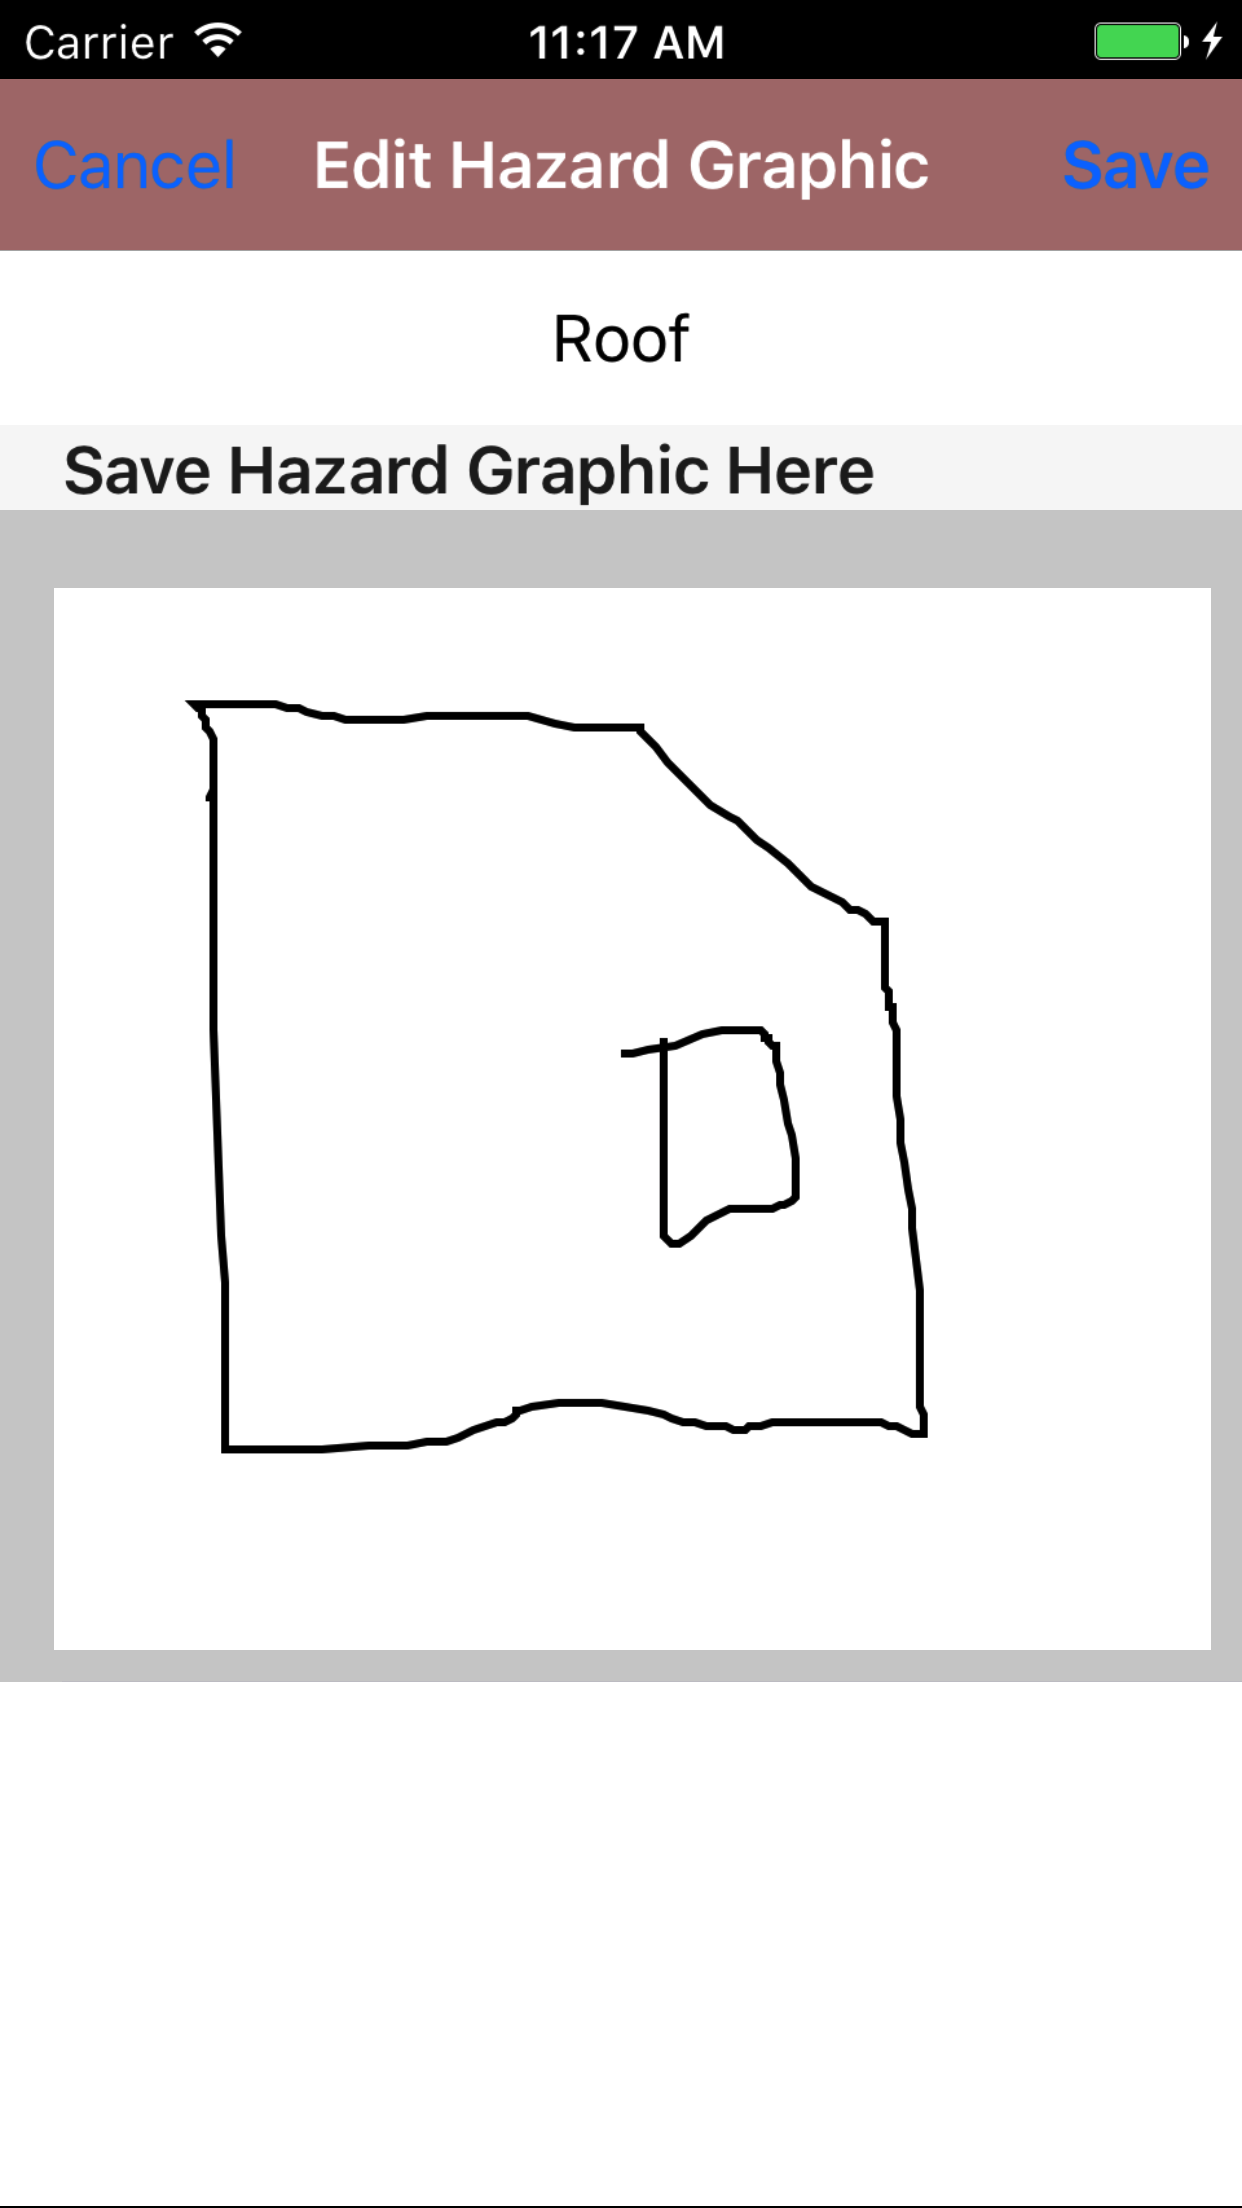
12.Save Fall Protection Hazard Sketch |
|
Fall protection Hazards are description of the hazards present by working at height. Hazards include a description
of the hazards, methods of restraint and sketch of the hazard.
Once on the Hazard you would like to Edit
Steps
- Tap the Hazard Graphic button to open the Hazard Graphic screen.
- Tap the Edit button in the top right corner of the screen to get to the open the Hazard Graphic screen.
- Use your finger to sketch the hazard sketch.
- Tap Save in the top right corner of the screen to update the Hazard Graphic field.
|
|
|
| Step 1 |
|
|
| Steps 4-6 |
|
|
| Steps 4-6 |
|
|
|
13.Edit Method of Restraint |
|
Once on the Hazard you would like to edit.
Steps
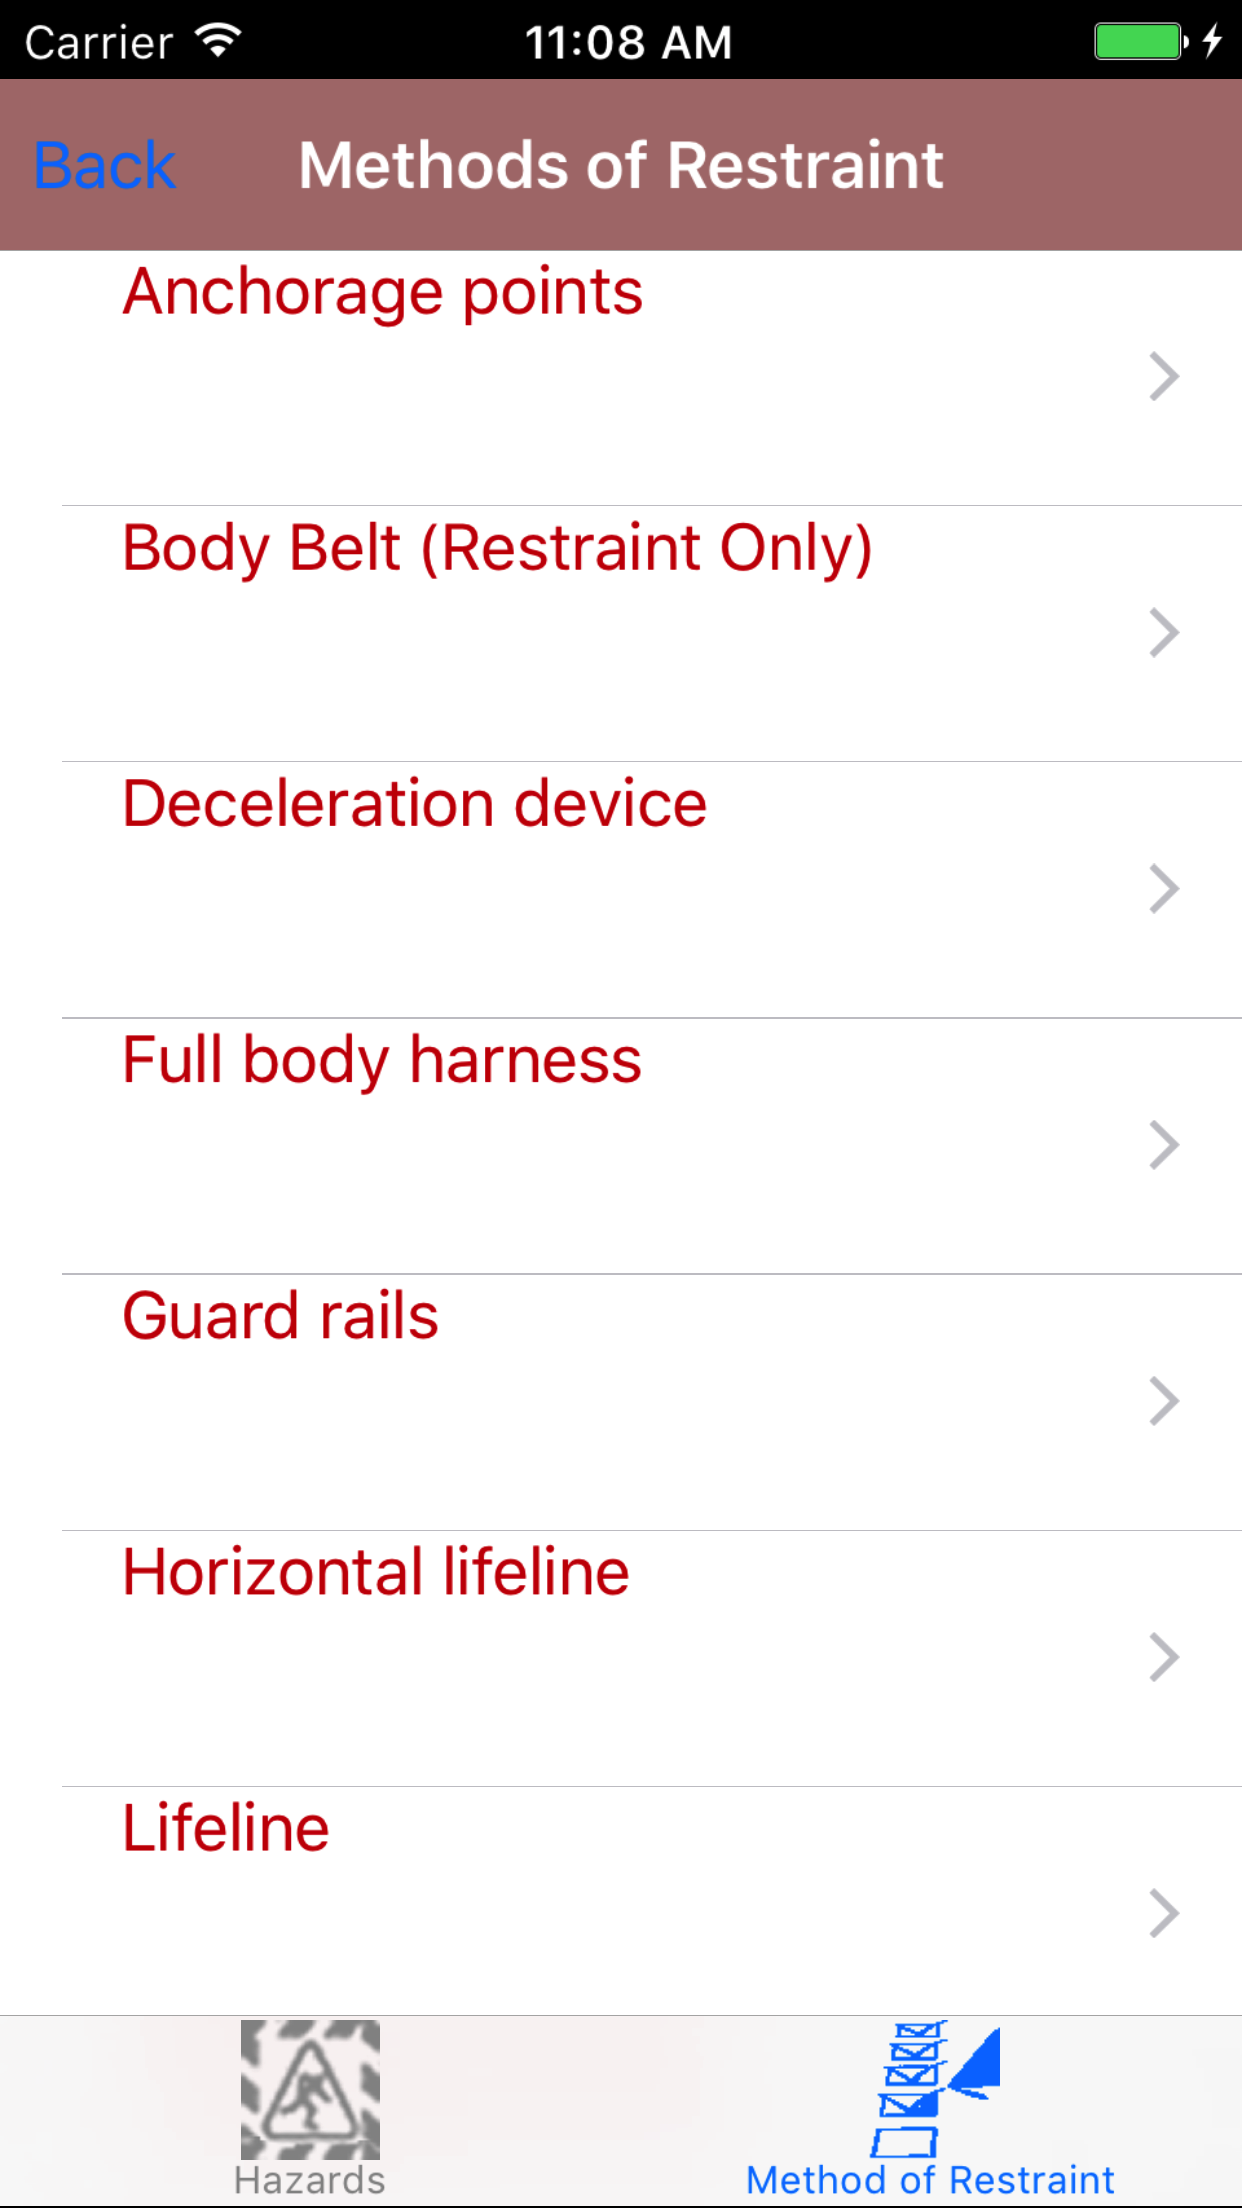
- Tap the Method of Restraint icon, the second tab. This opens the list of methods of restraint in red text, and comments in black text.
- Tap the method of restraint to view the details
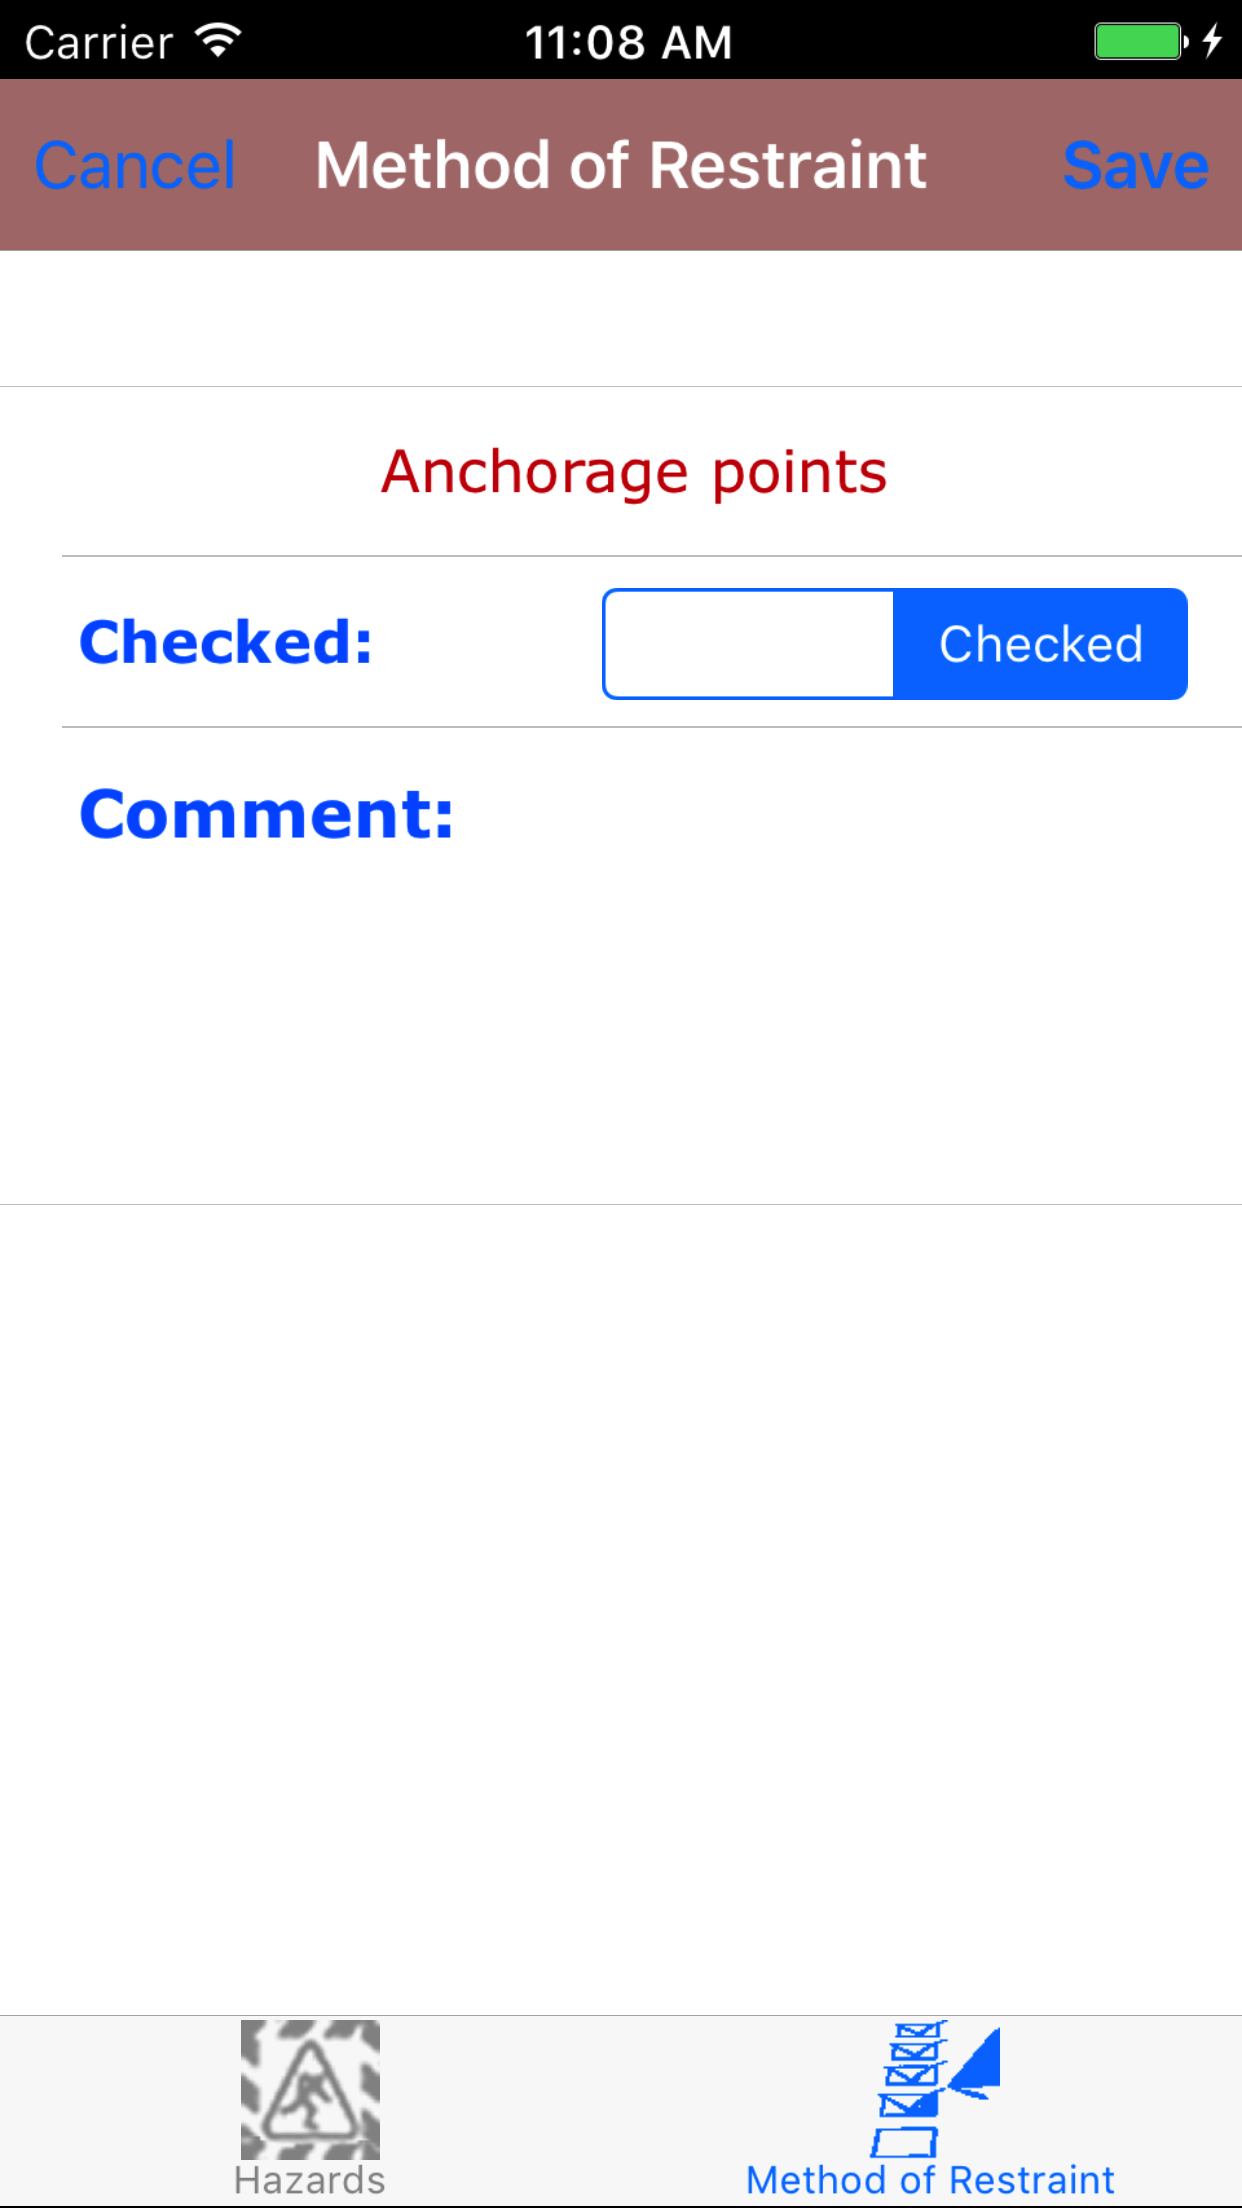
Fields
- Checked: The Check field should be set to Checked when the method of restraint will be used.
- Tap Checked on the __|Checked selector to indicate that he method of restraint will be used.
- Comment: The Comment field gives the user the ability to describe how the method of restraint will be used in this situation. The character limit of this field is 250.
- Tap Save in the top right corner of the screen to save the method of restraint
|
|
|
|
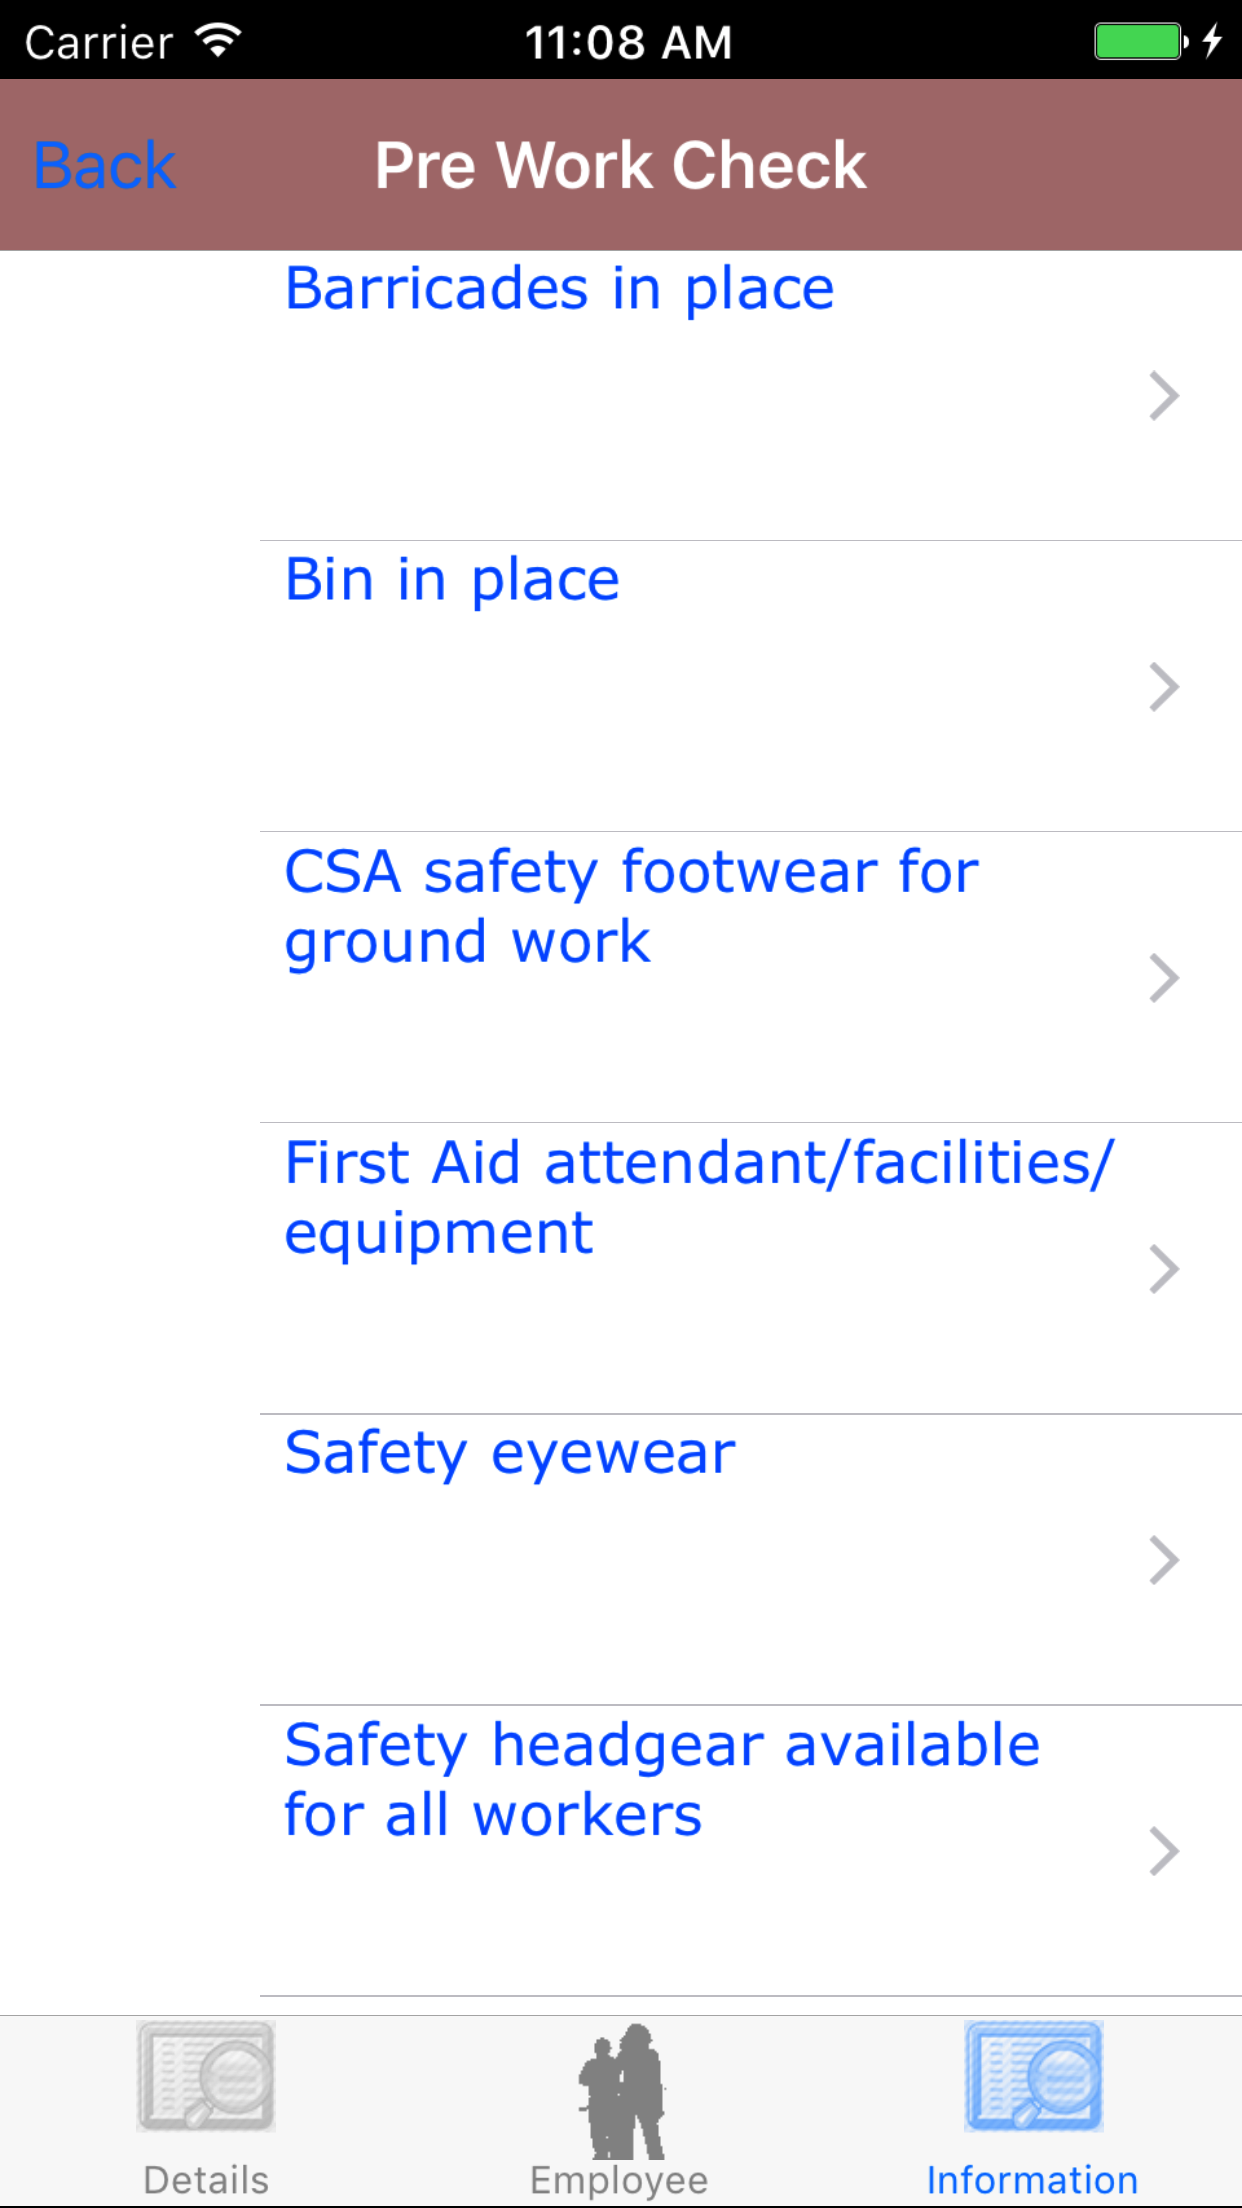
14.Edit Pre Work Checklist |
|
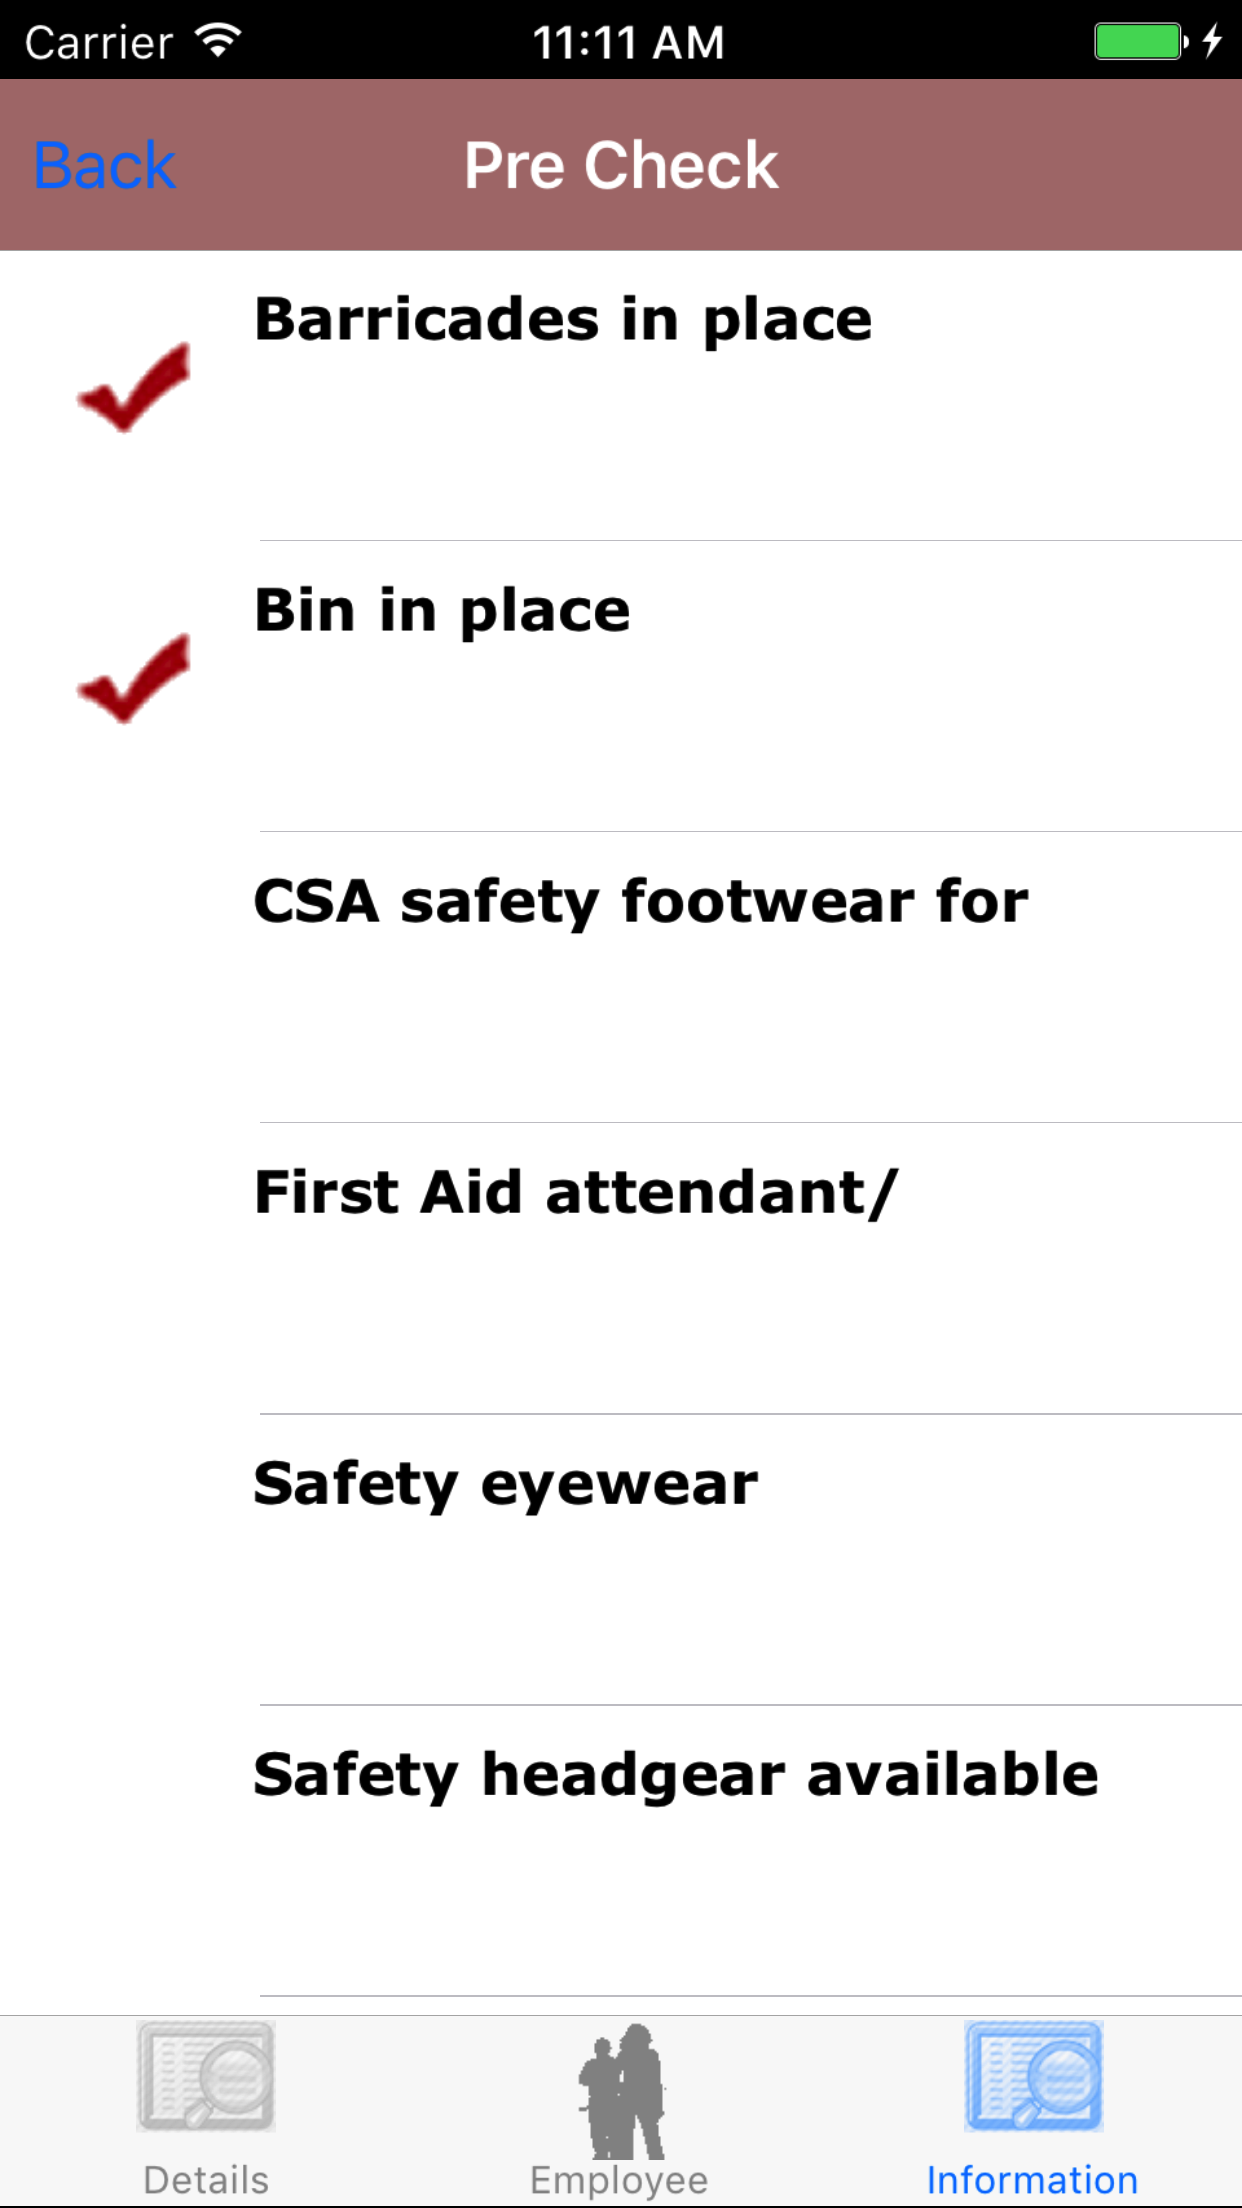
Fall protection Pre Work Checks are a checklist of things that should be checked before work is started when working at height.
Once on the Fall Protection Plan you would like to Edit
Steps
- Tap the Information icon at the bottom of the screen to open the Information screen. The screen loads
with the list of the 4 sections.
- Fall Protection Plan Notes
- Hazards
- Pre Work Check
- Ladder Check
- Tap the Pre Work Check button which loads pre work check list.
- Scroll the list of pre work check details, with the pre work check in
blue text. until the desired pre check is displayed on the screen.
- Tap the pre work check list detail you would like to edit
Fields
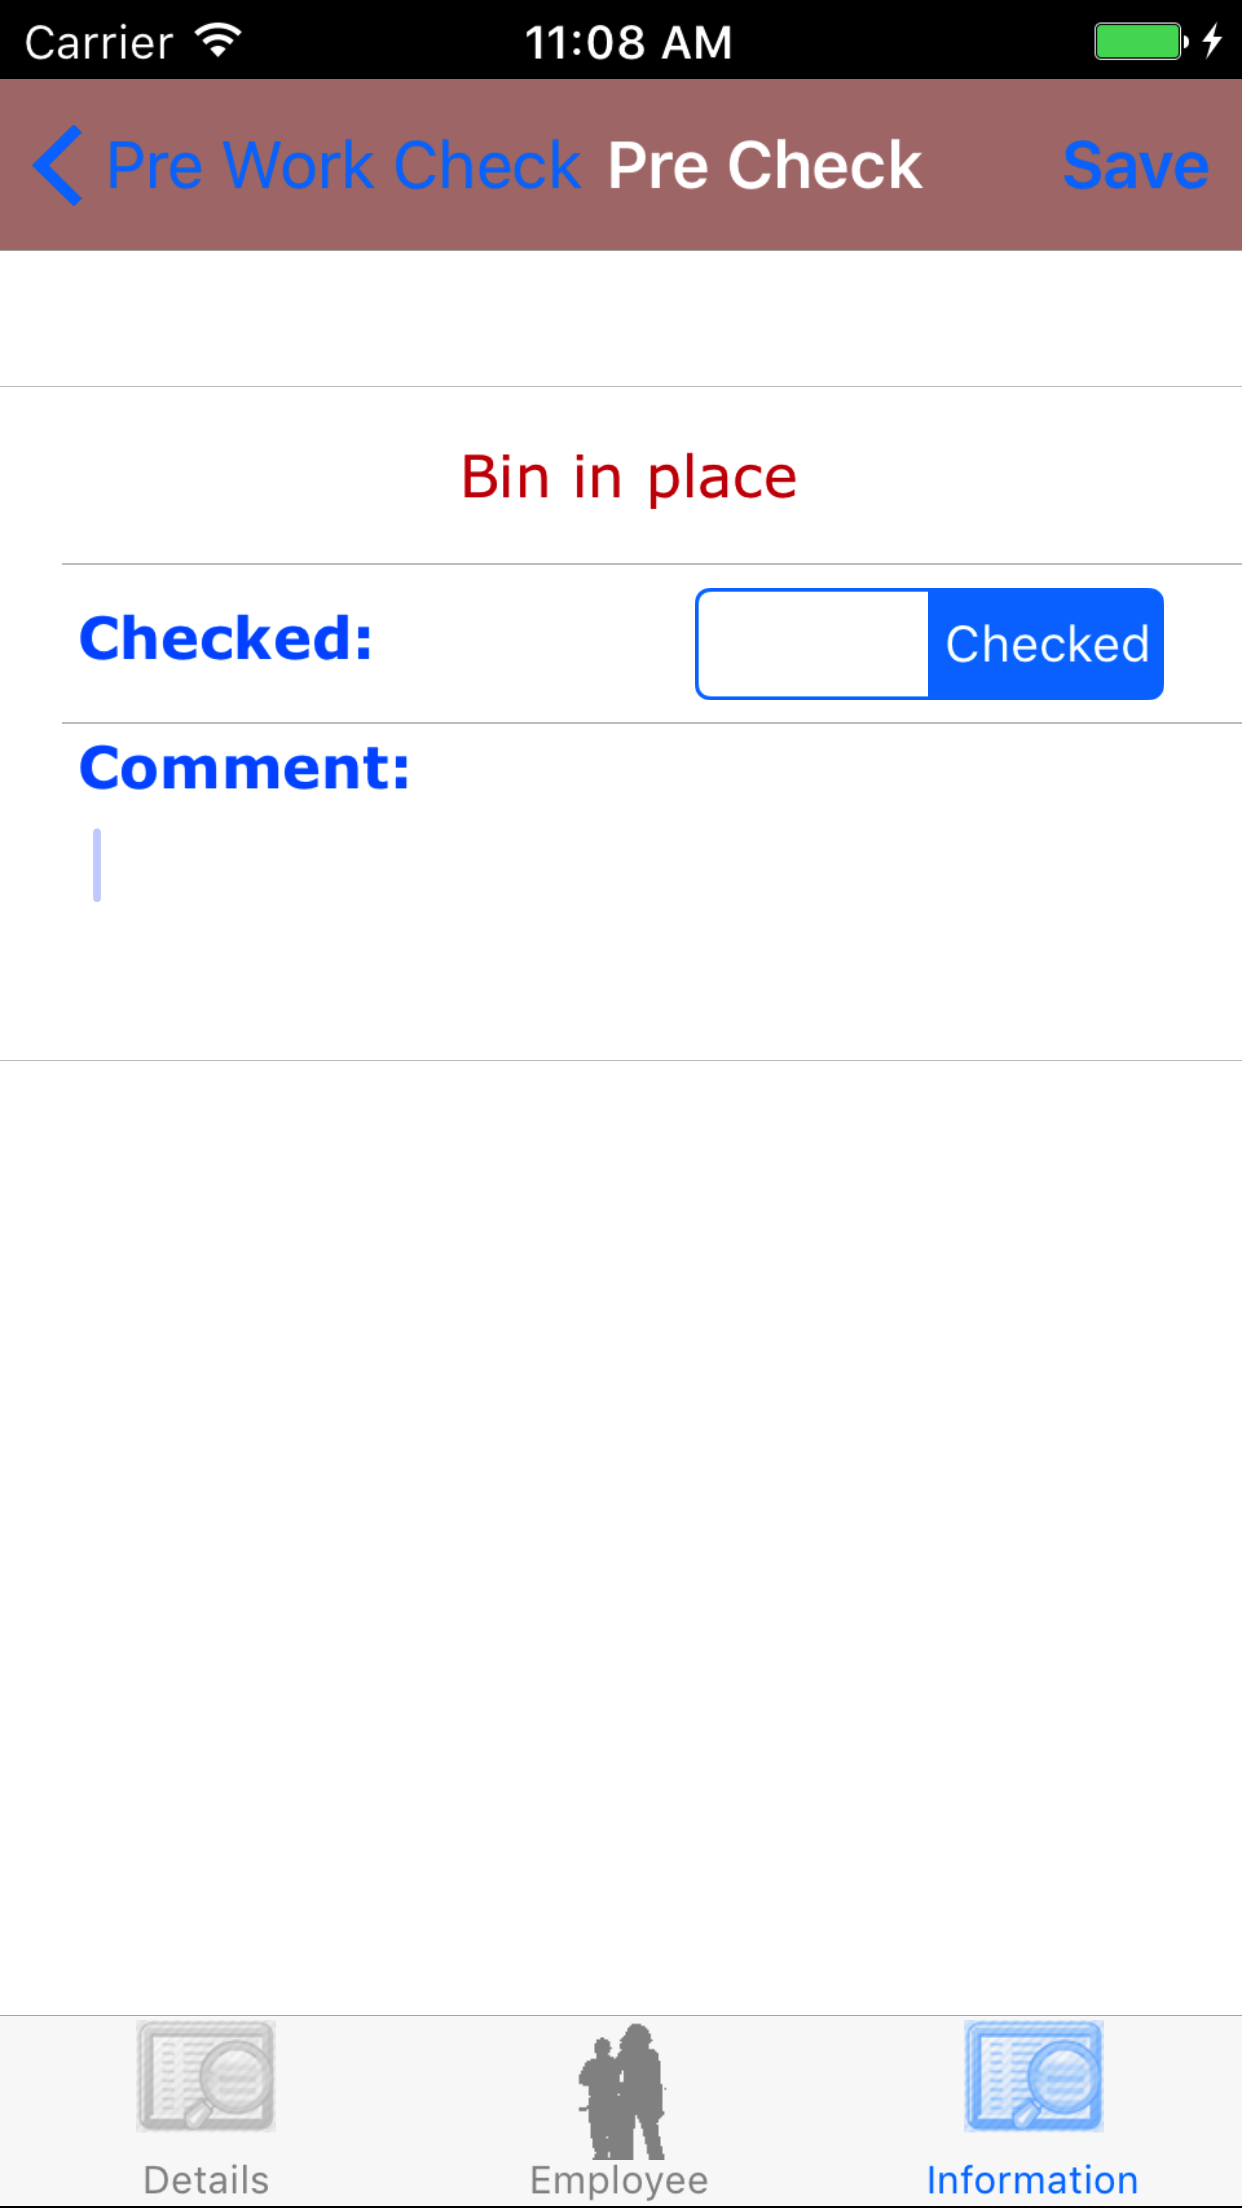
- Checked: The Check field should be set to Checked when the pre check detail has been reviewed.
- Tap Checked on the __|Checked selector to indicate the pre check detail has been reviewed.
- Comment: The Comment field gives the user the ability to describe how the pre check detail applies. The character limit of this field is 250.
- Tap Save in the top right corner of the screen to save the pre work.
|
|
|
|
| Steps 1-2 |
|
|
| Steps 3-4 |
|
|
| Steps 5-7 |
|
|
15.Edit Ladder Checklist |
|
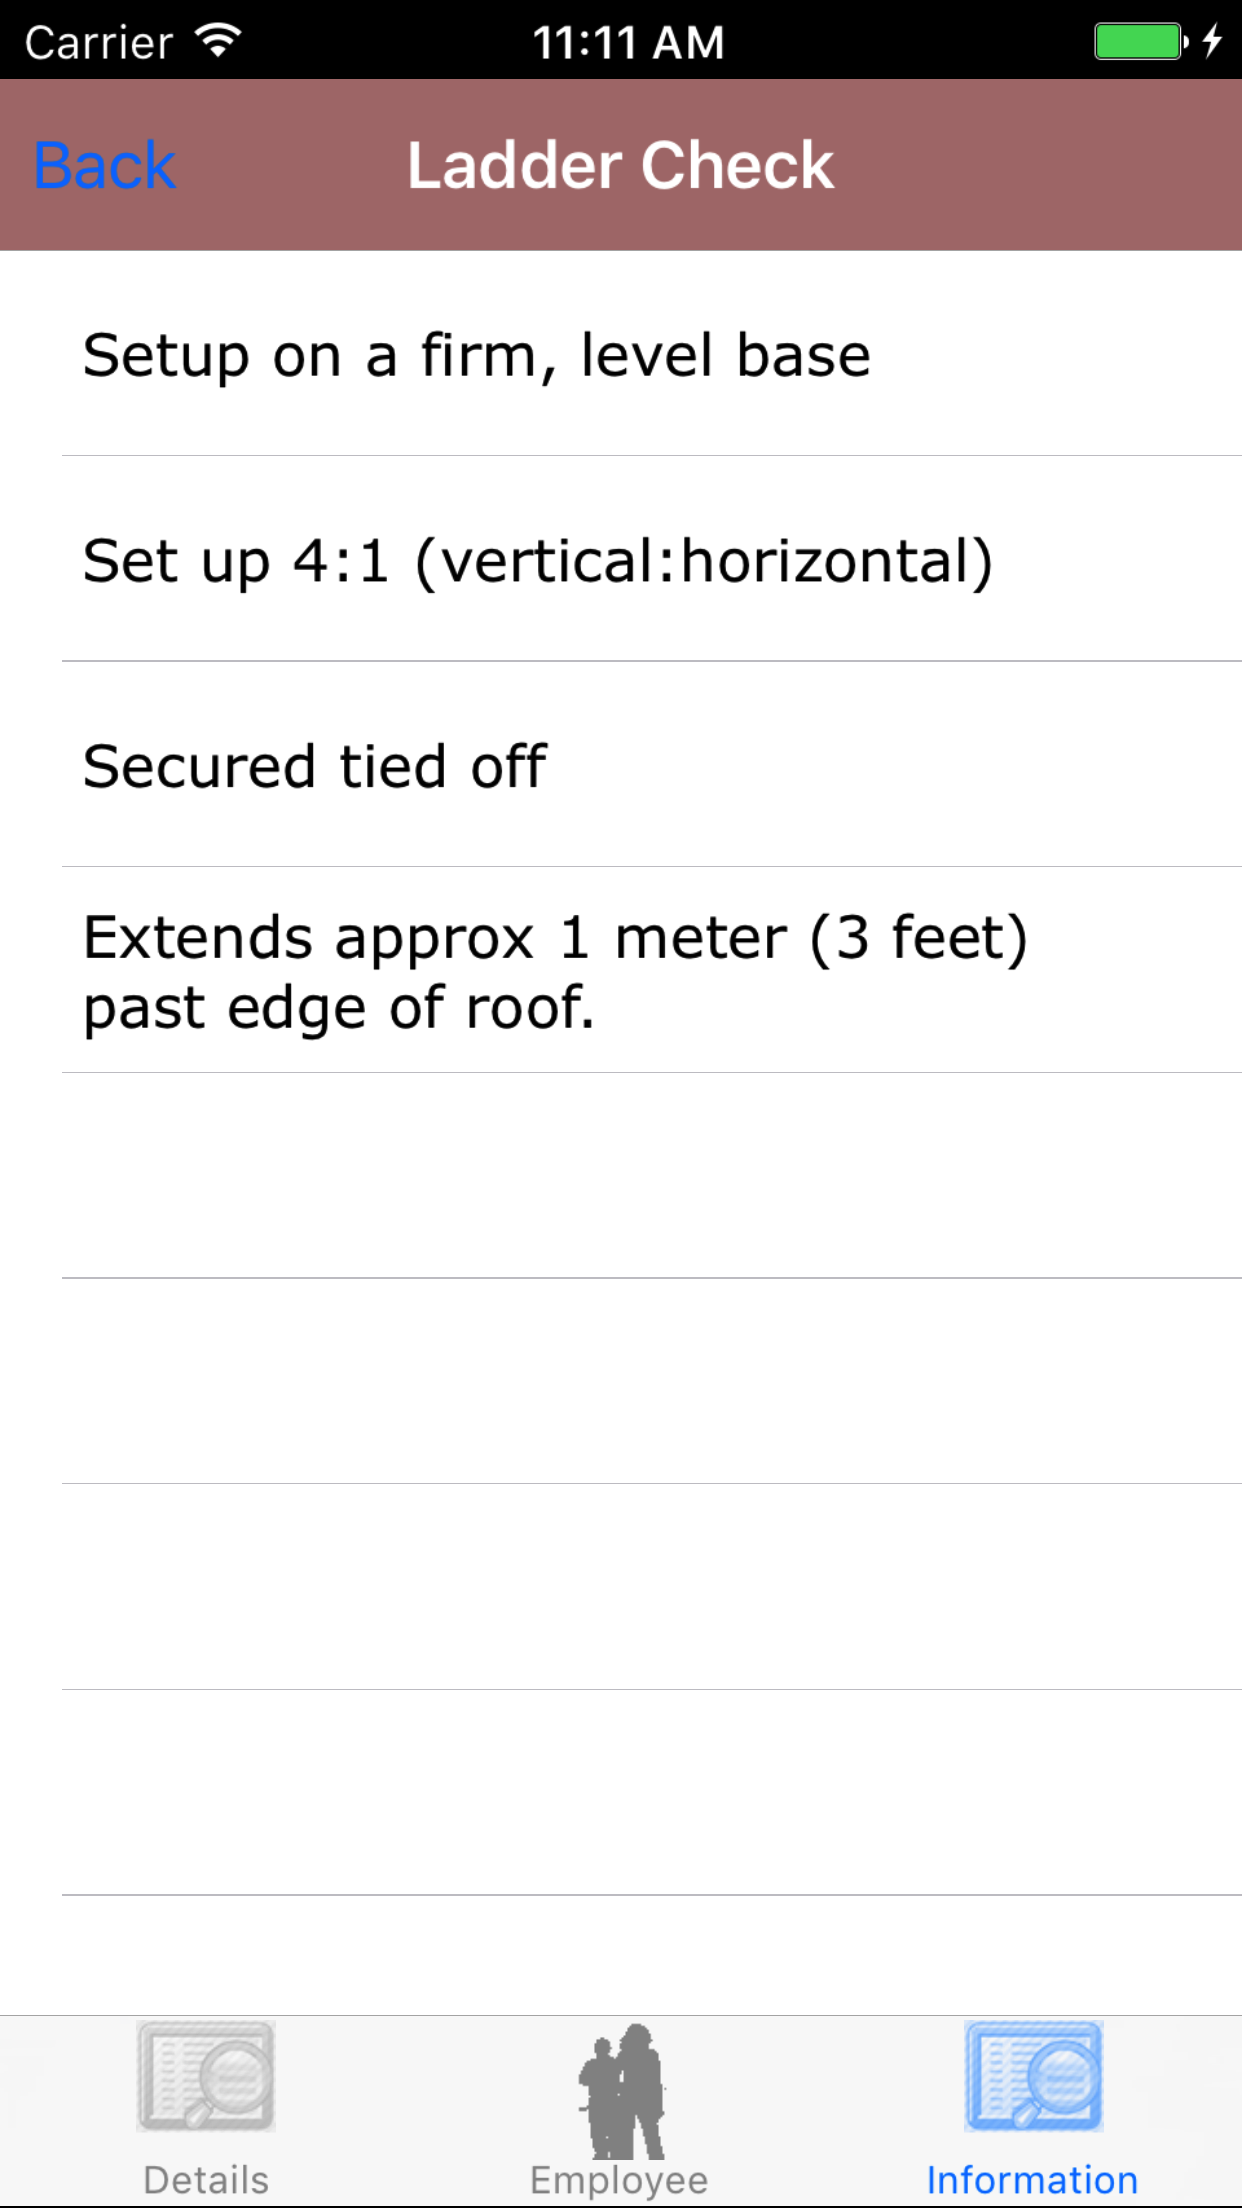
Fall protection Pre Work Checks are a checklist of things that should be checked before work is started when working at height.
Once on the Fall Protection Plan you would like to Edit
Steps
- Tap the Information icon at the bottom of the screen to open the Information screen. The screen loads
with the list of the 4 sections.
- Fall Protection Plan Notes
- Hazards
- Pre Work Check
- Ladder Check
- Tap the Ladder Check button which loads ladder check list.
- Scroll the list of ladder check details, with the ladder check in black
text. until the desired ladder check is displayed on the screen.
- Tap the ladder check list detail you would mark as being checked
|
|
|
|
| Steps 1-2 |
|

|
| Steps 3-4 |
|
|
16.Submit Fall Protection Plan |
|
Once the Fall Protection Plan details have been entered, the employees added, the list of hazards and method of restraints edited
, and check lists reviewed the Fall Protection Plan should be submitted.On the details tab.
Steps
- Tap the Submit Report button.
|
|
| Step 1 |
|
|
|
17.Close Out Fall Protection Plan |
|
Once on the Fall Protection Plan you would like to Close Out, on the details tab.
Steps
- Tap the Close Out Report button.
|
|
|
| Step 1 |
|
|
|
18.Delete Fall Protection Plan |
|
Once in the Fall Protection Plan section
Steps
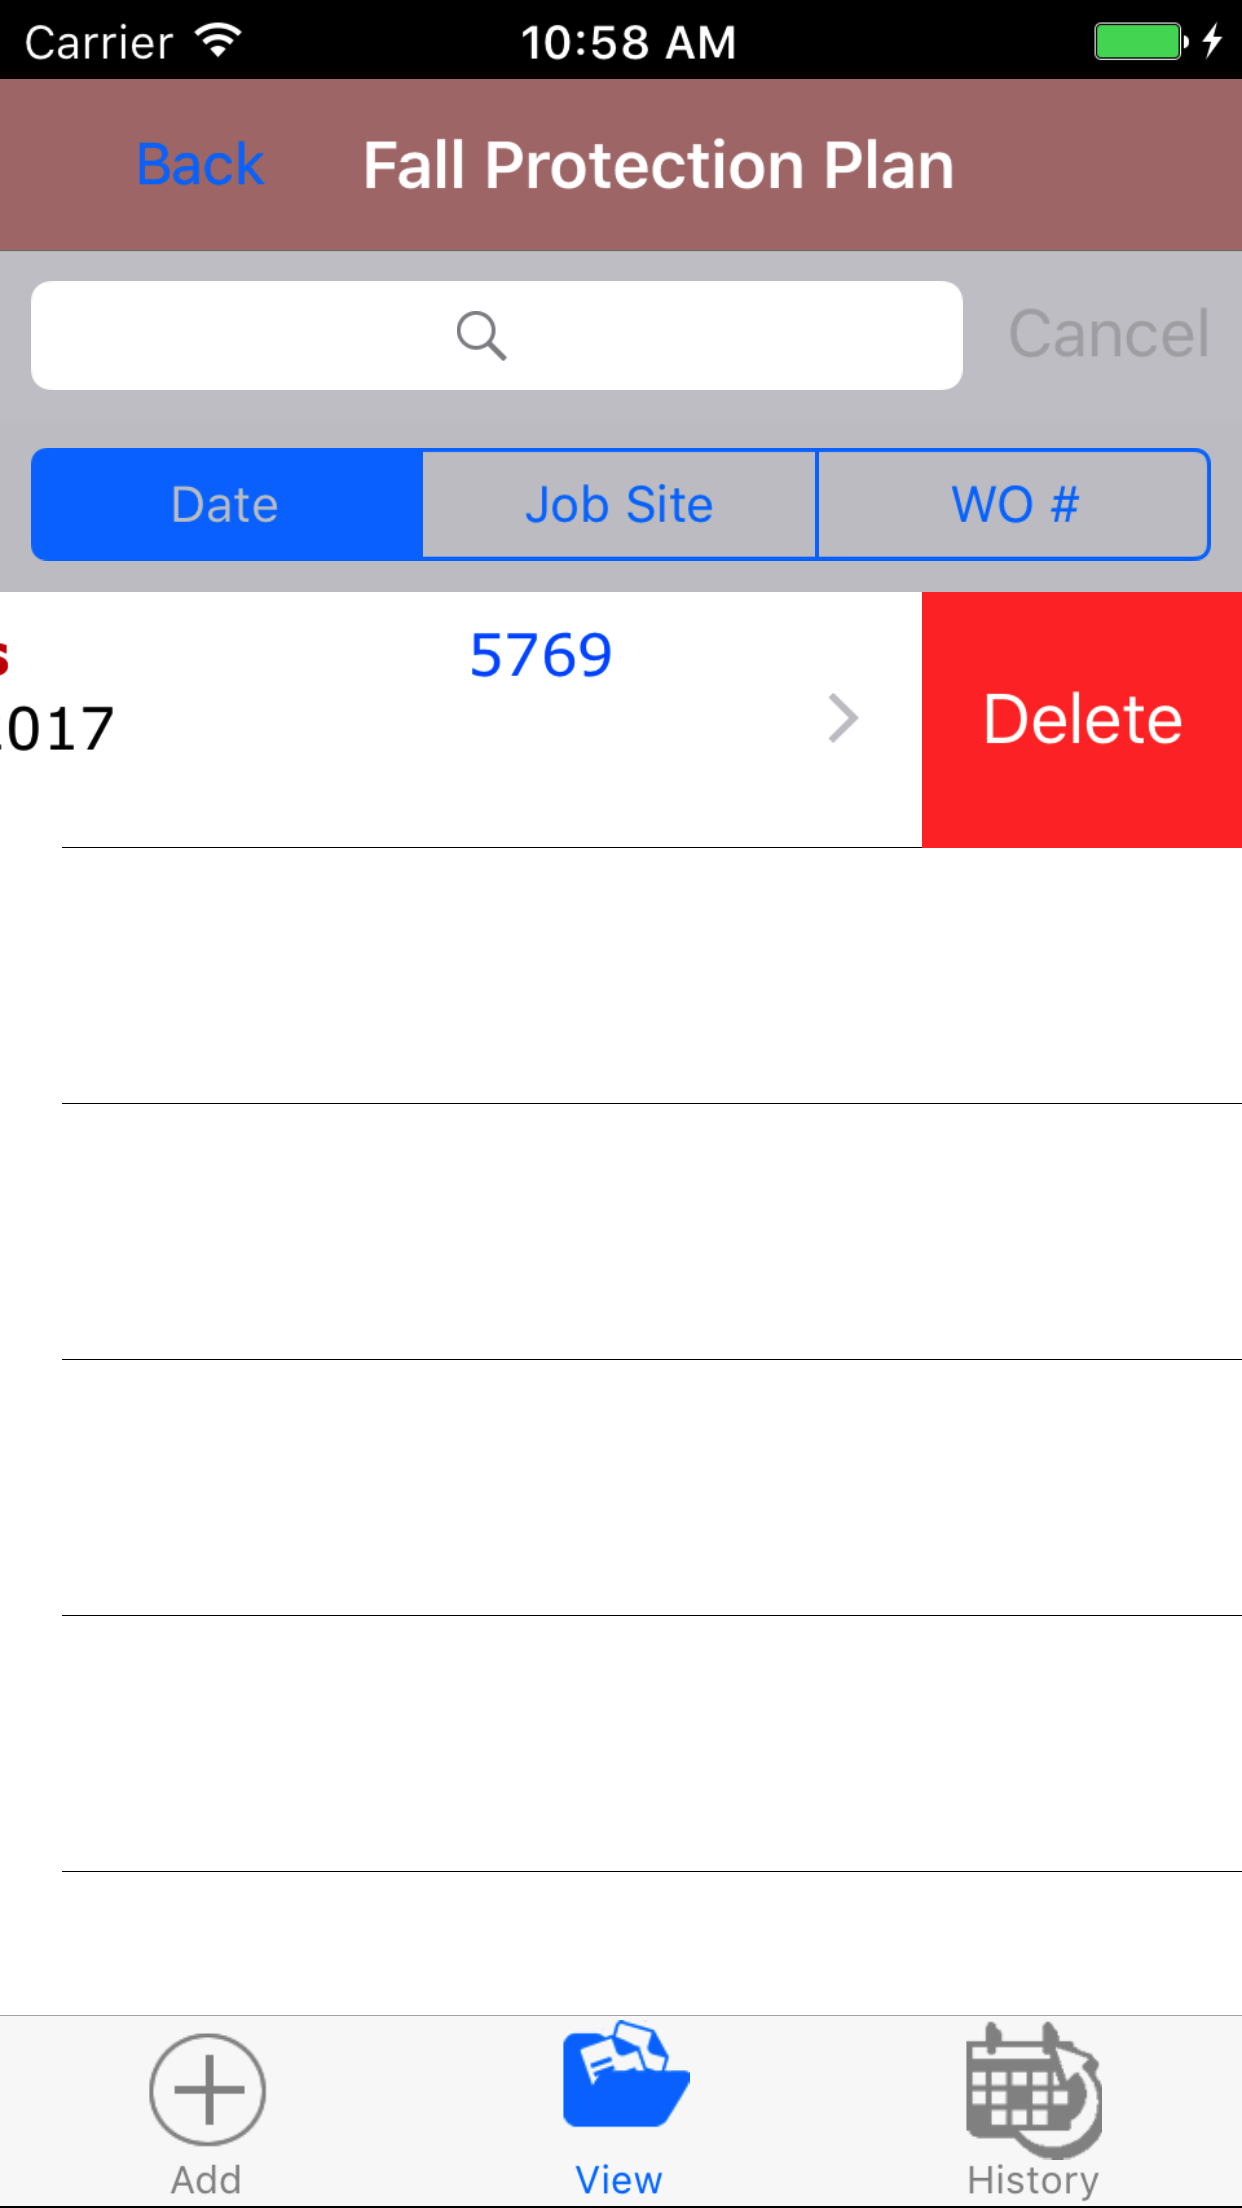
- Tap the second tab on the menu, the Fall Protection Plan view.
To Search Fall Protection Plans: Pull down on the list view, the search is defaulted to search by date enter the date in following
format YYYY-MM-DD. The other options for the Fall Protection Plan search are by job site and work order number. Enter your search
criteria and click the Search button.
- Scroll the list of Fall Protection Plans until the desired Fall Protection Plan is displayed on the screen.
Listing the fall protection plan date in red text, the work order number in blue text
and the the customer name and job site in black text.
- Swipe from the right edge to the left to bring up the delete button for the fall protection plan.
- Tap the Delete button. The fall protection plan will be deleted.
|
|
| Steps 1-4 |
|
|
19.View Closed Fall Protection Plan |
|
After Fall Protection Plans have been closed out, they will be available to look at through the History view on the iPhone Application.
Once on the Fall Protection Plan section
Steps
|
|
|
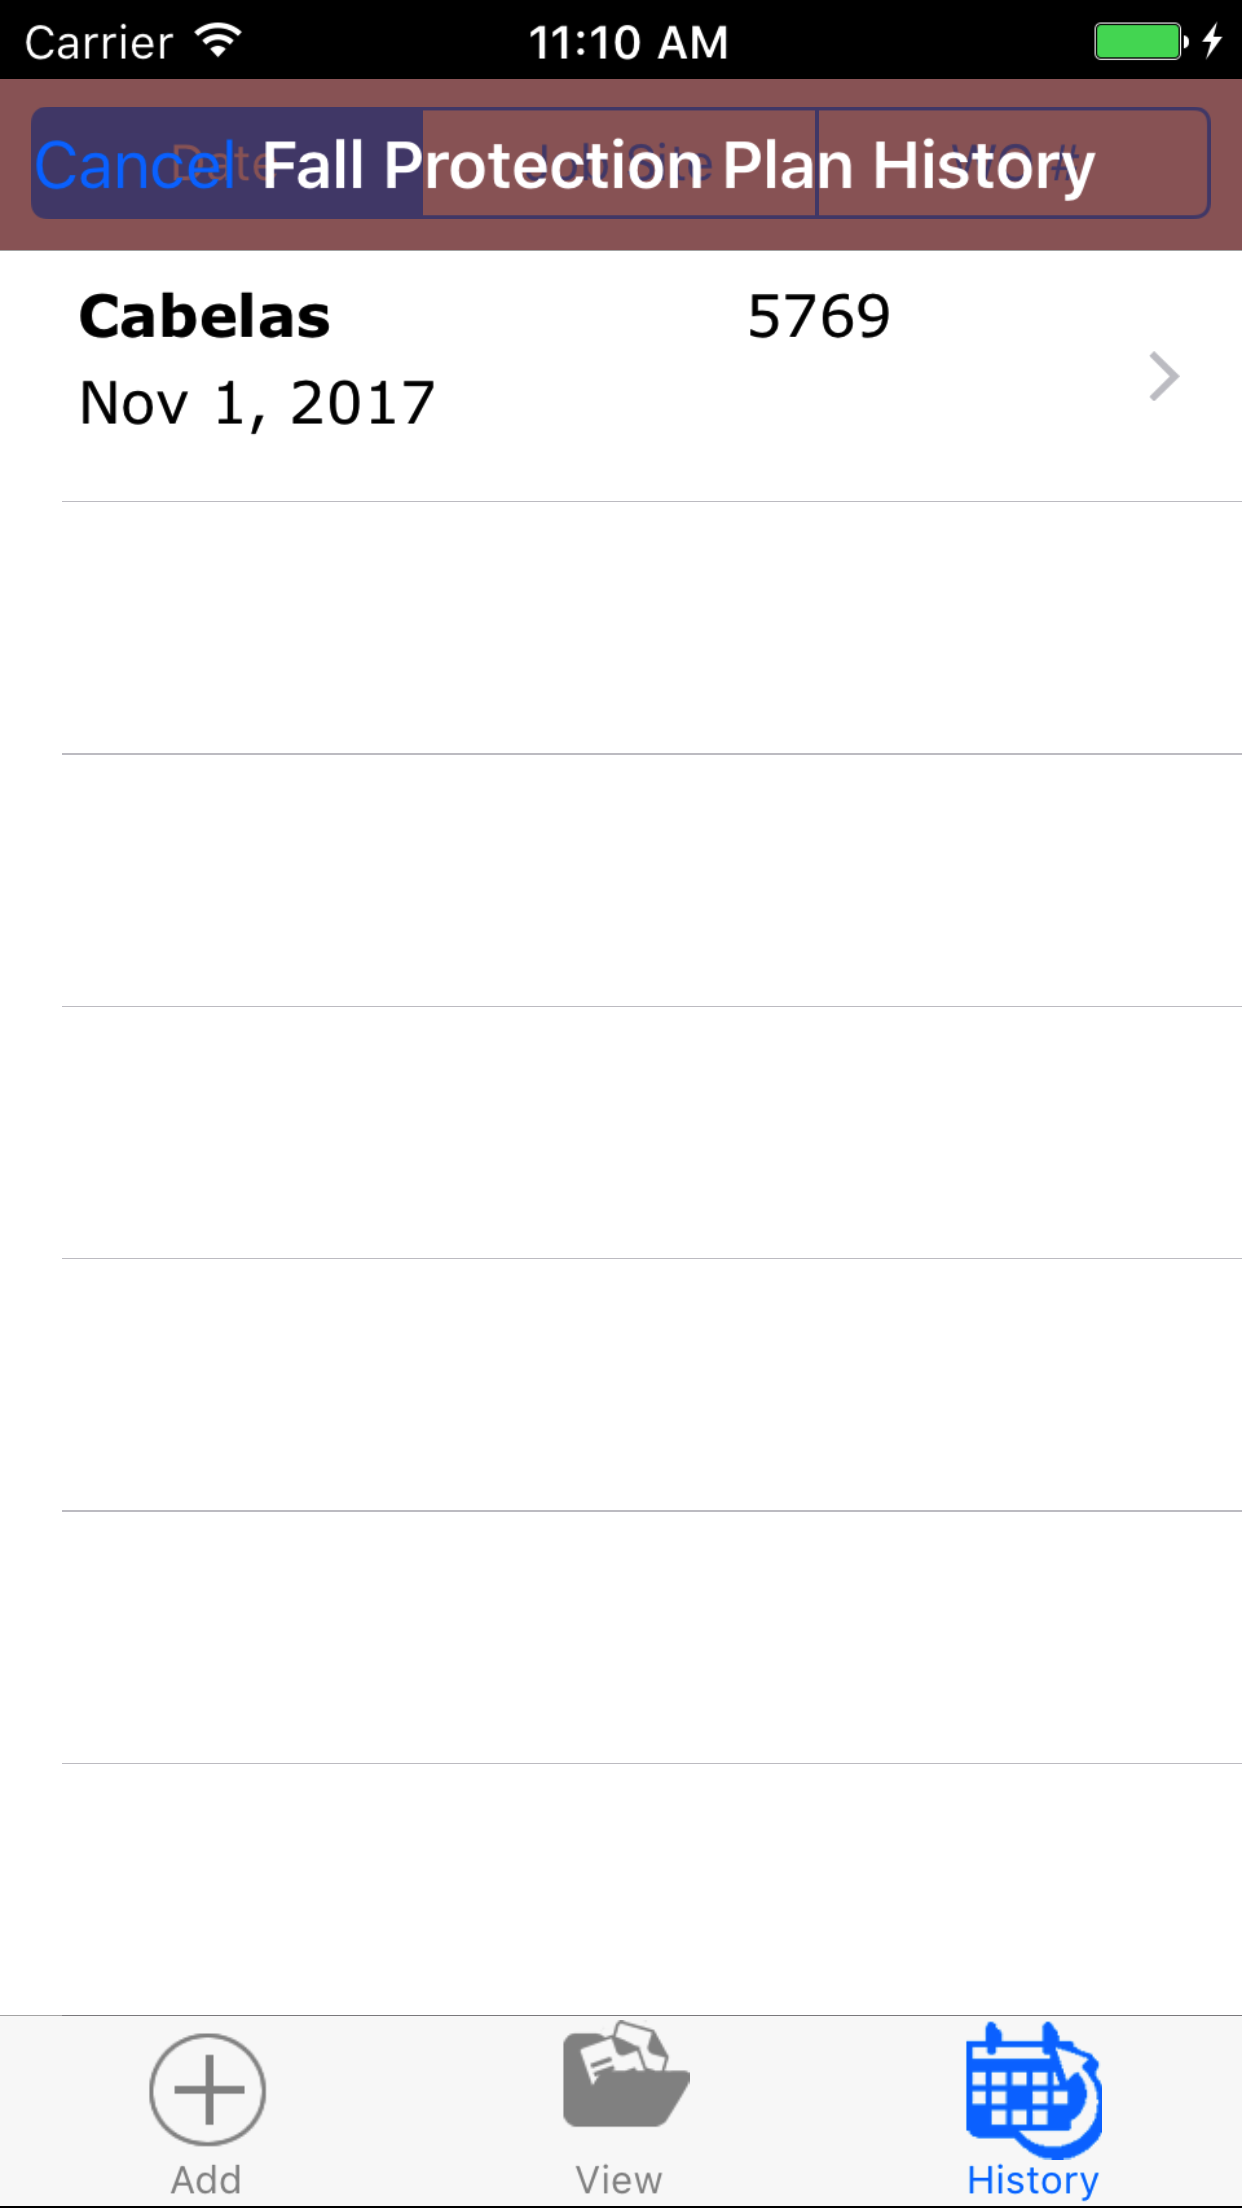
- Tap the third tab on the menu, the History tab of the main menu view. This loads with a list of the closed out
Fall Protection Plans listing the the date, work order number, customer of the Fall Protection Plan in black.
To Search Fall Protection Plans: Pull down on the list view, the search is defaulted to search by date enter the date in following
format YYYY-MM-DD. The other options for the Fall Protection Plan search are by job site and work order number. Enter your search
criteria and click the Search button.
- Scroll the list of Fall Protection Plans until the desired Fall Protection Plan is displayed on the screen.
- Tap on the Fall Protection Plan you would like to view. This loads the first tab, the Fall Protection Plan details tab of the History view.
It loads the following details including date, customer name, scope of work, notes, signature.
- Tap the second tab, the Employee’s tab of the History view. This loads with the employee’s names and their signatures
of the employees assigned to the Fall Protection Plan.
- Tap the third tab, the Information tab of the History view.The screen loads
with the list of the 4 categories of the fall protection plan. Tap on each to view details on each section
- Fall Protection Plan Notes
- Hazards
- Pre Work Check
- Ladder Check
|
|
| Steps 1-2 |
|
|
|
|
| Step 3 |
|
|
|
| Step 4 |
|
|
|
| Step 5 |
|
|
|
| Step 6 |
|
|
|
| Step 7 |
|
|
|
| Step 7.a |
|
|
|
|
|
20.Update Fall Protection Plans |
|
To ensure field staff have the most up to date copy of the inspection tasks a company is
using make sure to update your phone on a regular basis. For more information about updating your phone.
Steps
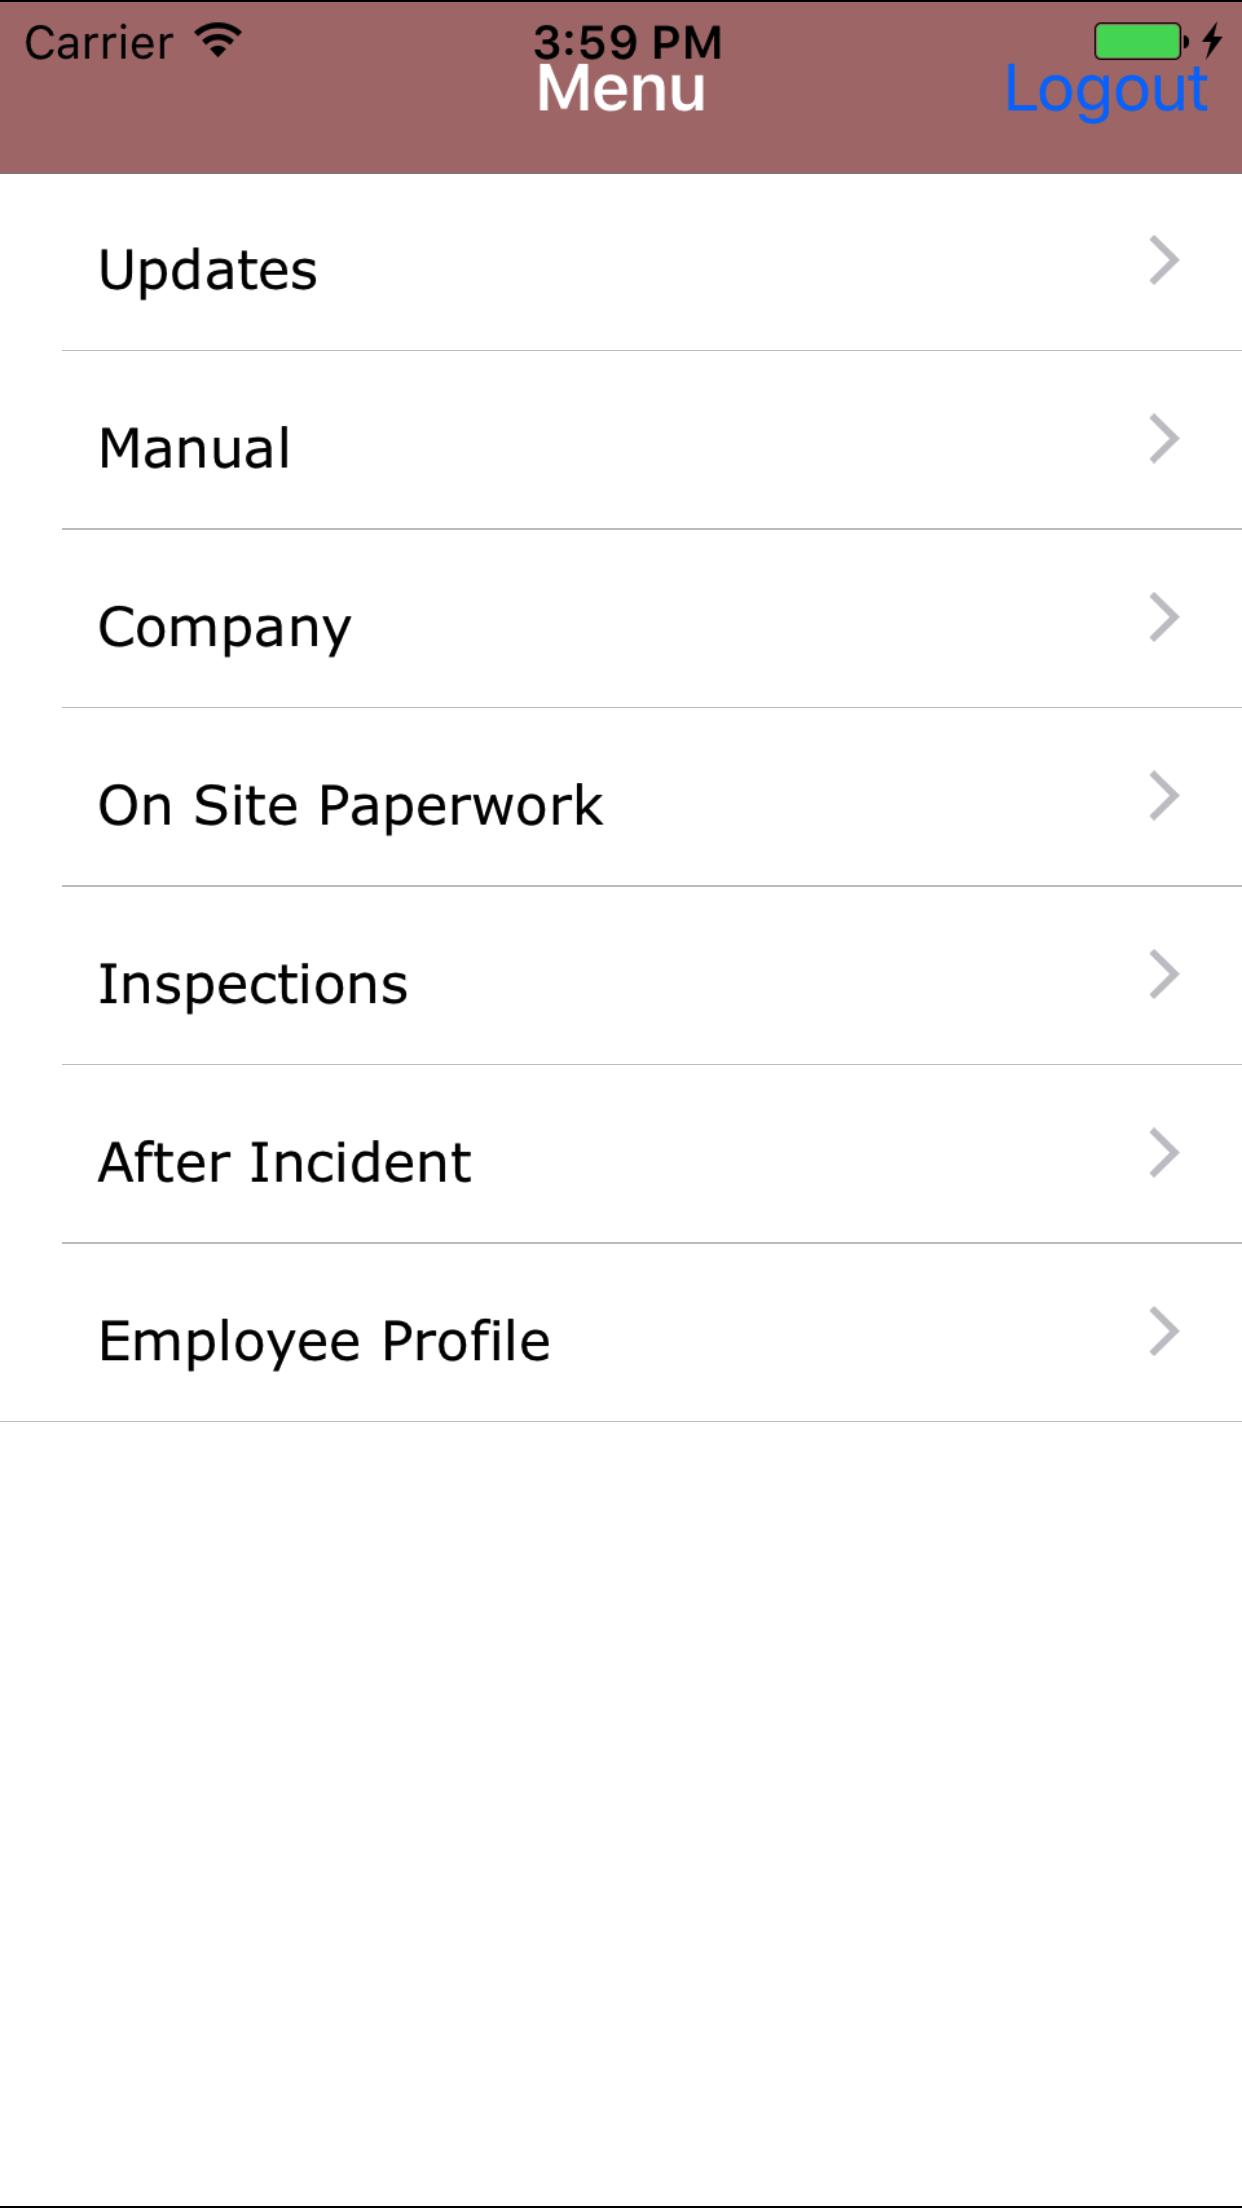
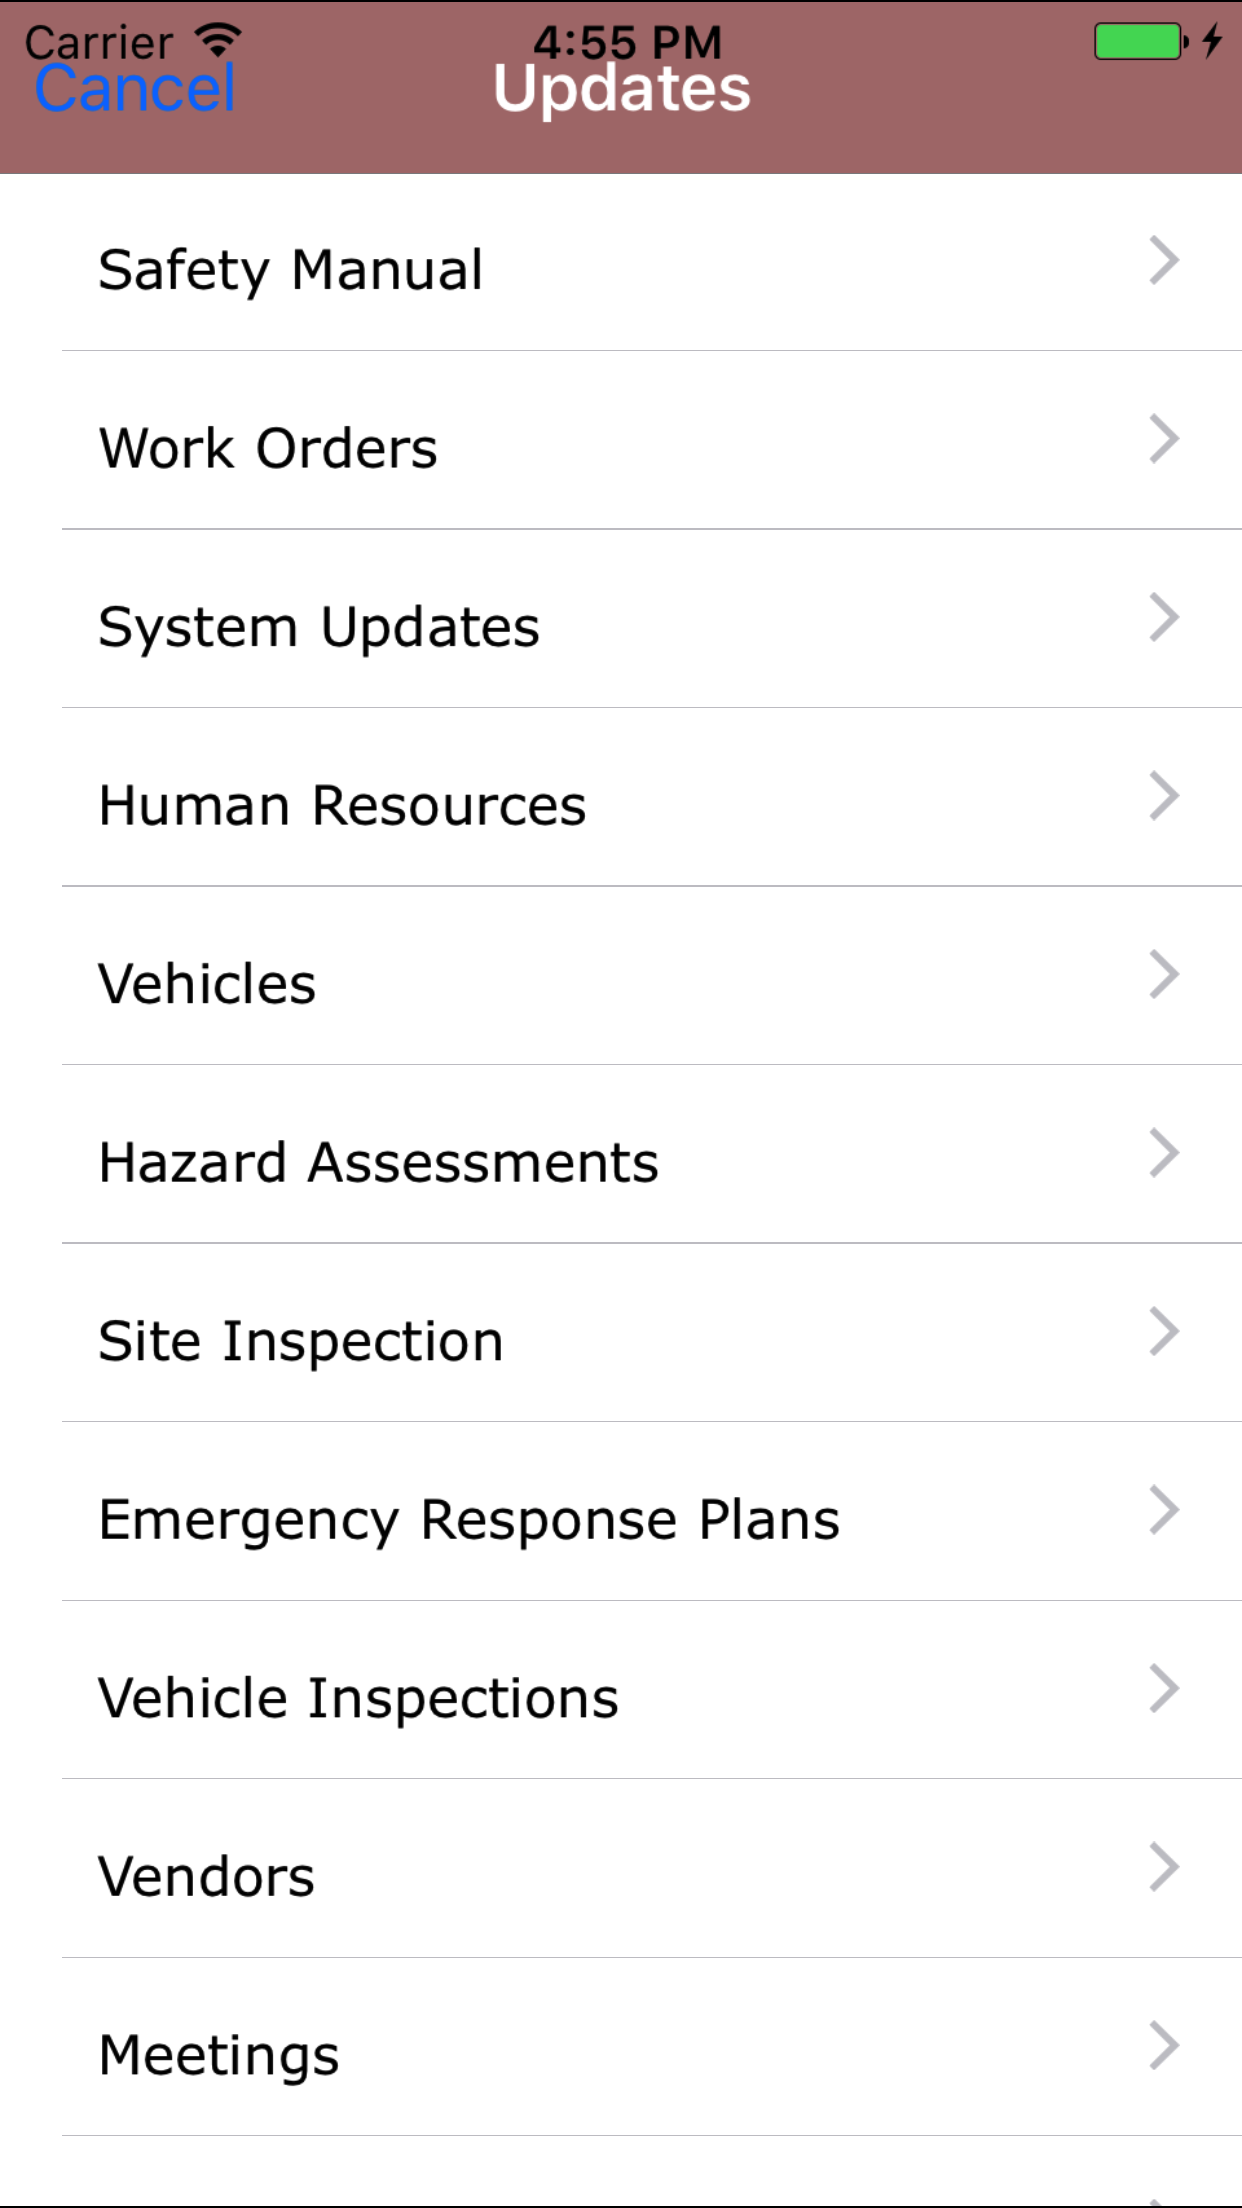
- From the Menu screen, tap the Updates button.
- Scroll the list of sections until you find the Fall Protection Plan button.
- Tap on the Fall Protection Plan button.
|
|
|
|
| Step 1 |
|
|
| Steps 2-3 |
|
|