|
The site inspection section allows field staff to create site inspection for job sites.
Site inspections are examinations of jobs sites before work is started on the job site. They look
at the unsafe acts and conditions present on the site. Allow field staff the opprotunity to come
up with solutions to theses acts and conditions before work is start.
Site Inspections take into consideration the location of site of the work, the scope of work, and the time of day.
Configuring Safety Net for how often a Site Inspections should be updated
R & T Electric Pro can be configured to match your companies safety policy regarding how often site inspections must be conducted and/or updated. This can be configured in the Company Safety Settings section for more information in this
manual click here.
|
|
|
1.Add Site Inspection By Work Order |
Steps
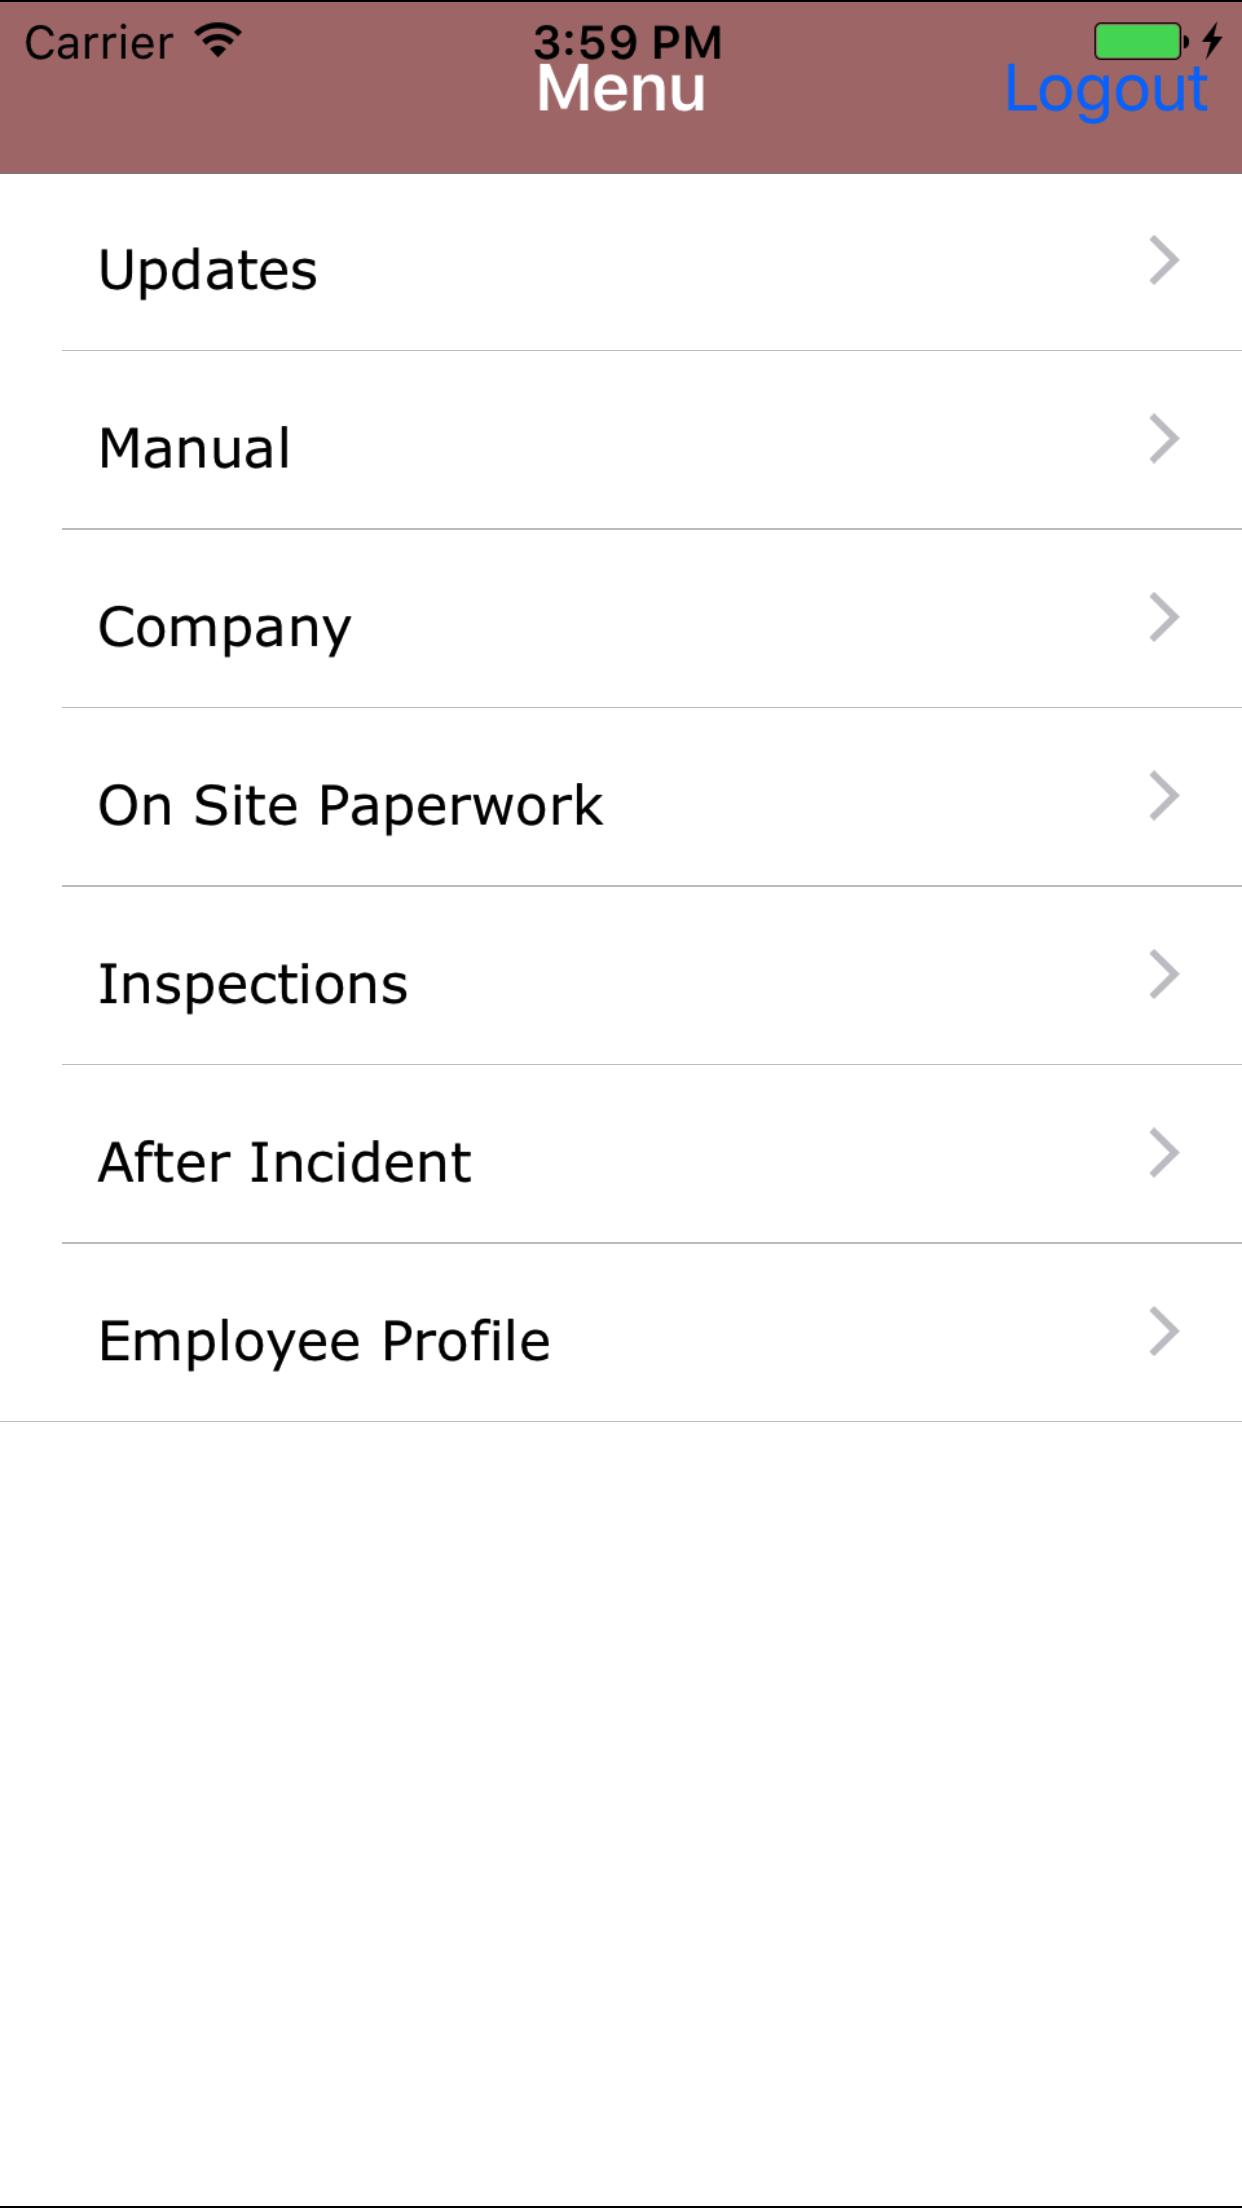
- From the Main Menu screen, tap the Inspection button.
- Then tap on the Site Inspection button.
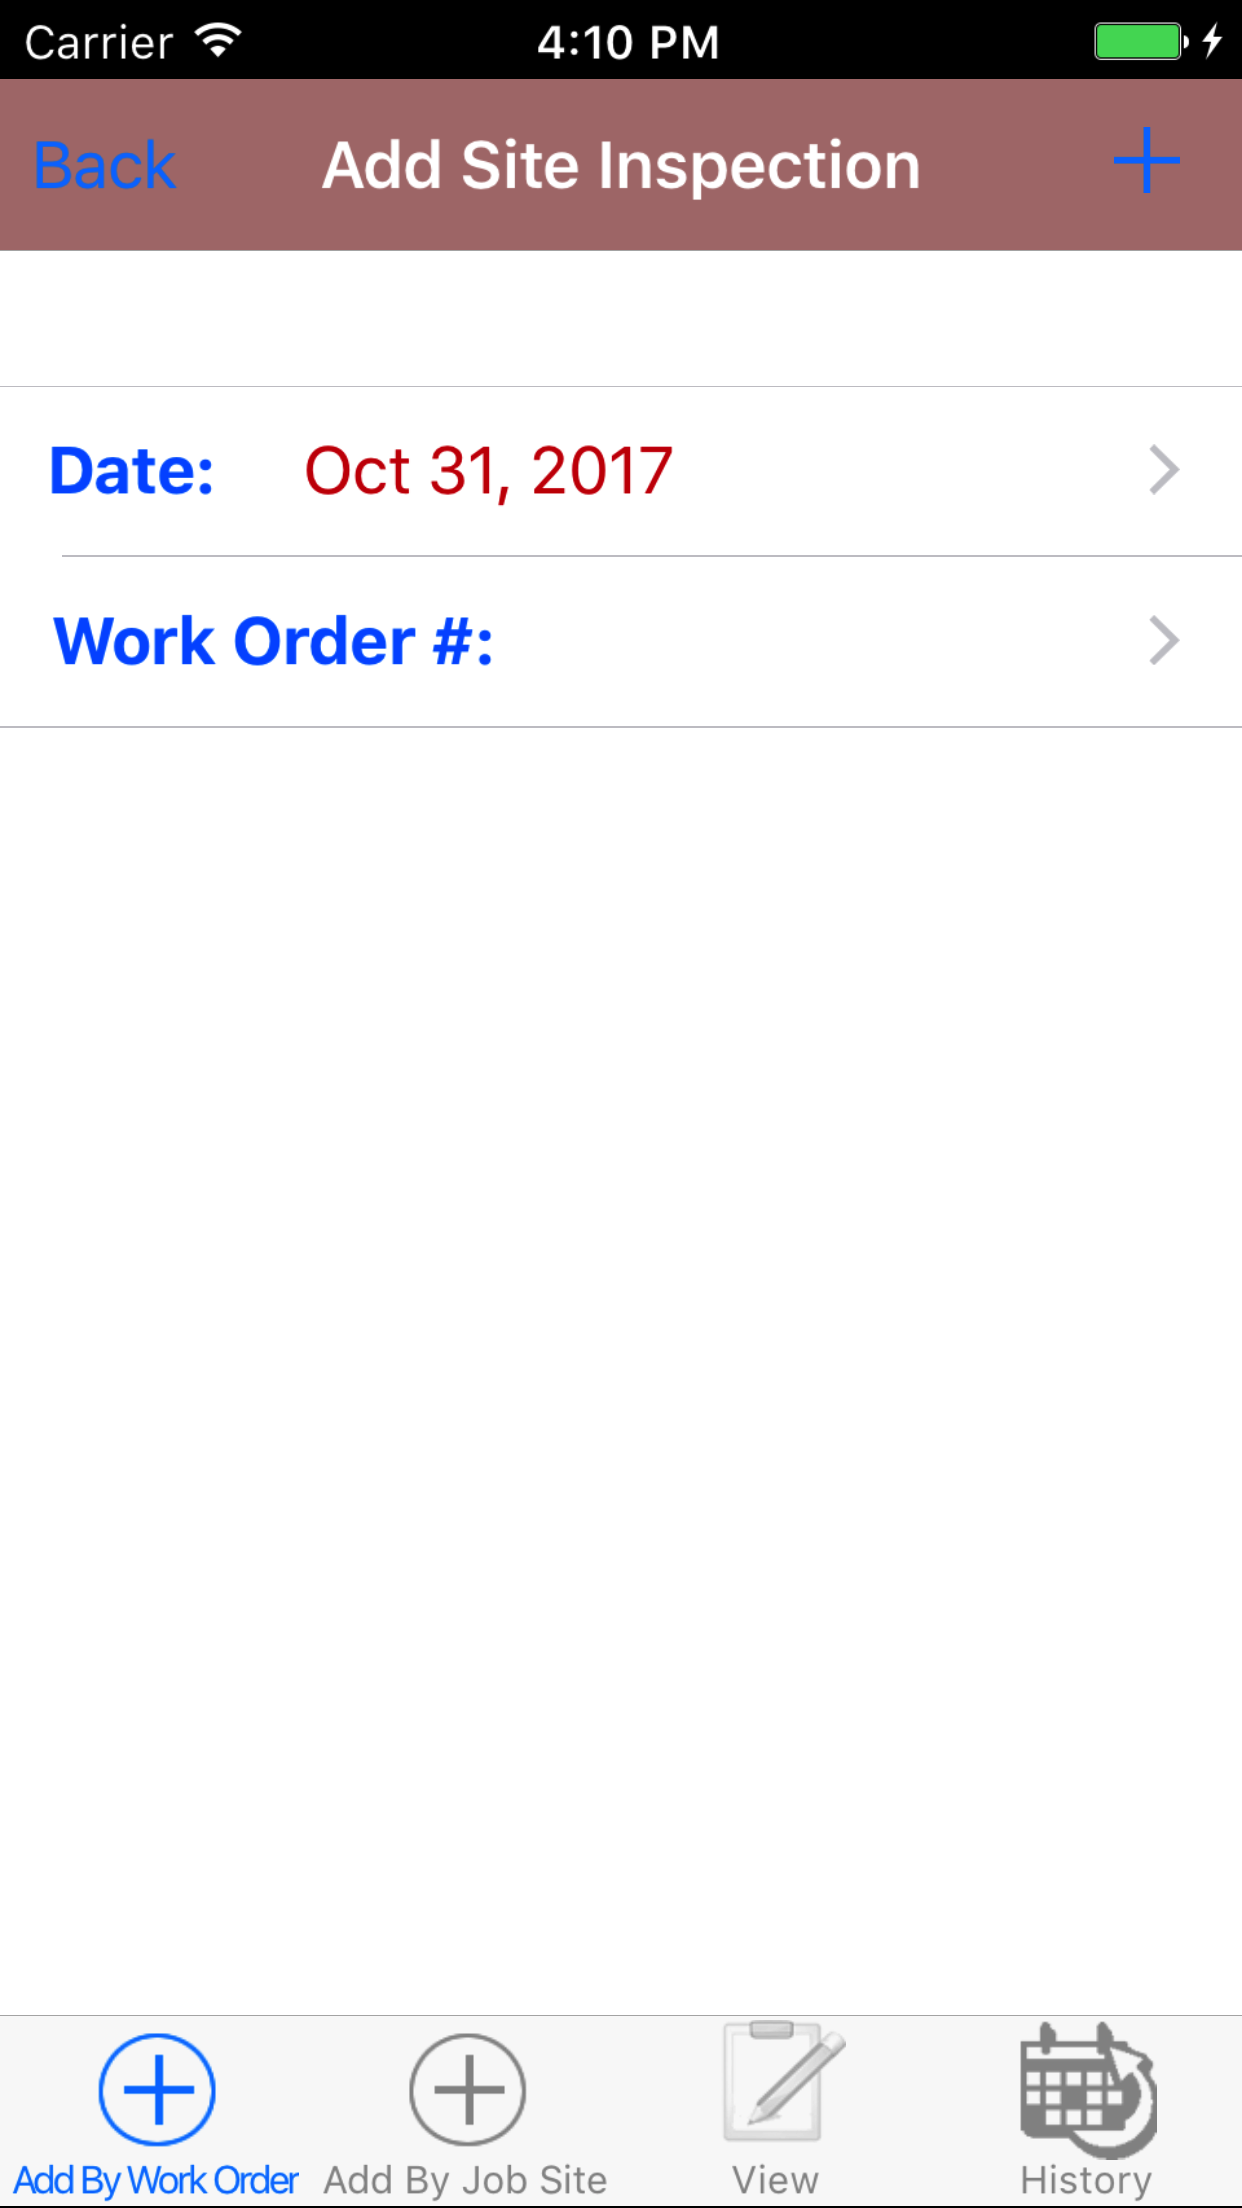
- This opens Add Site Inspection By Work Order entry screen.
- Date: The date field allow field staff to choose the date the site inspection occurs.
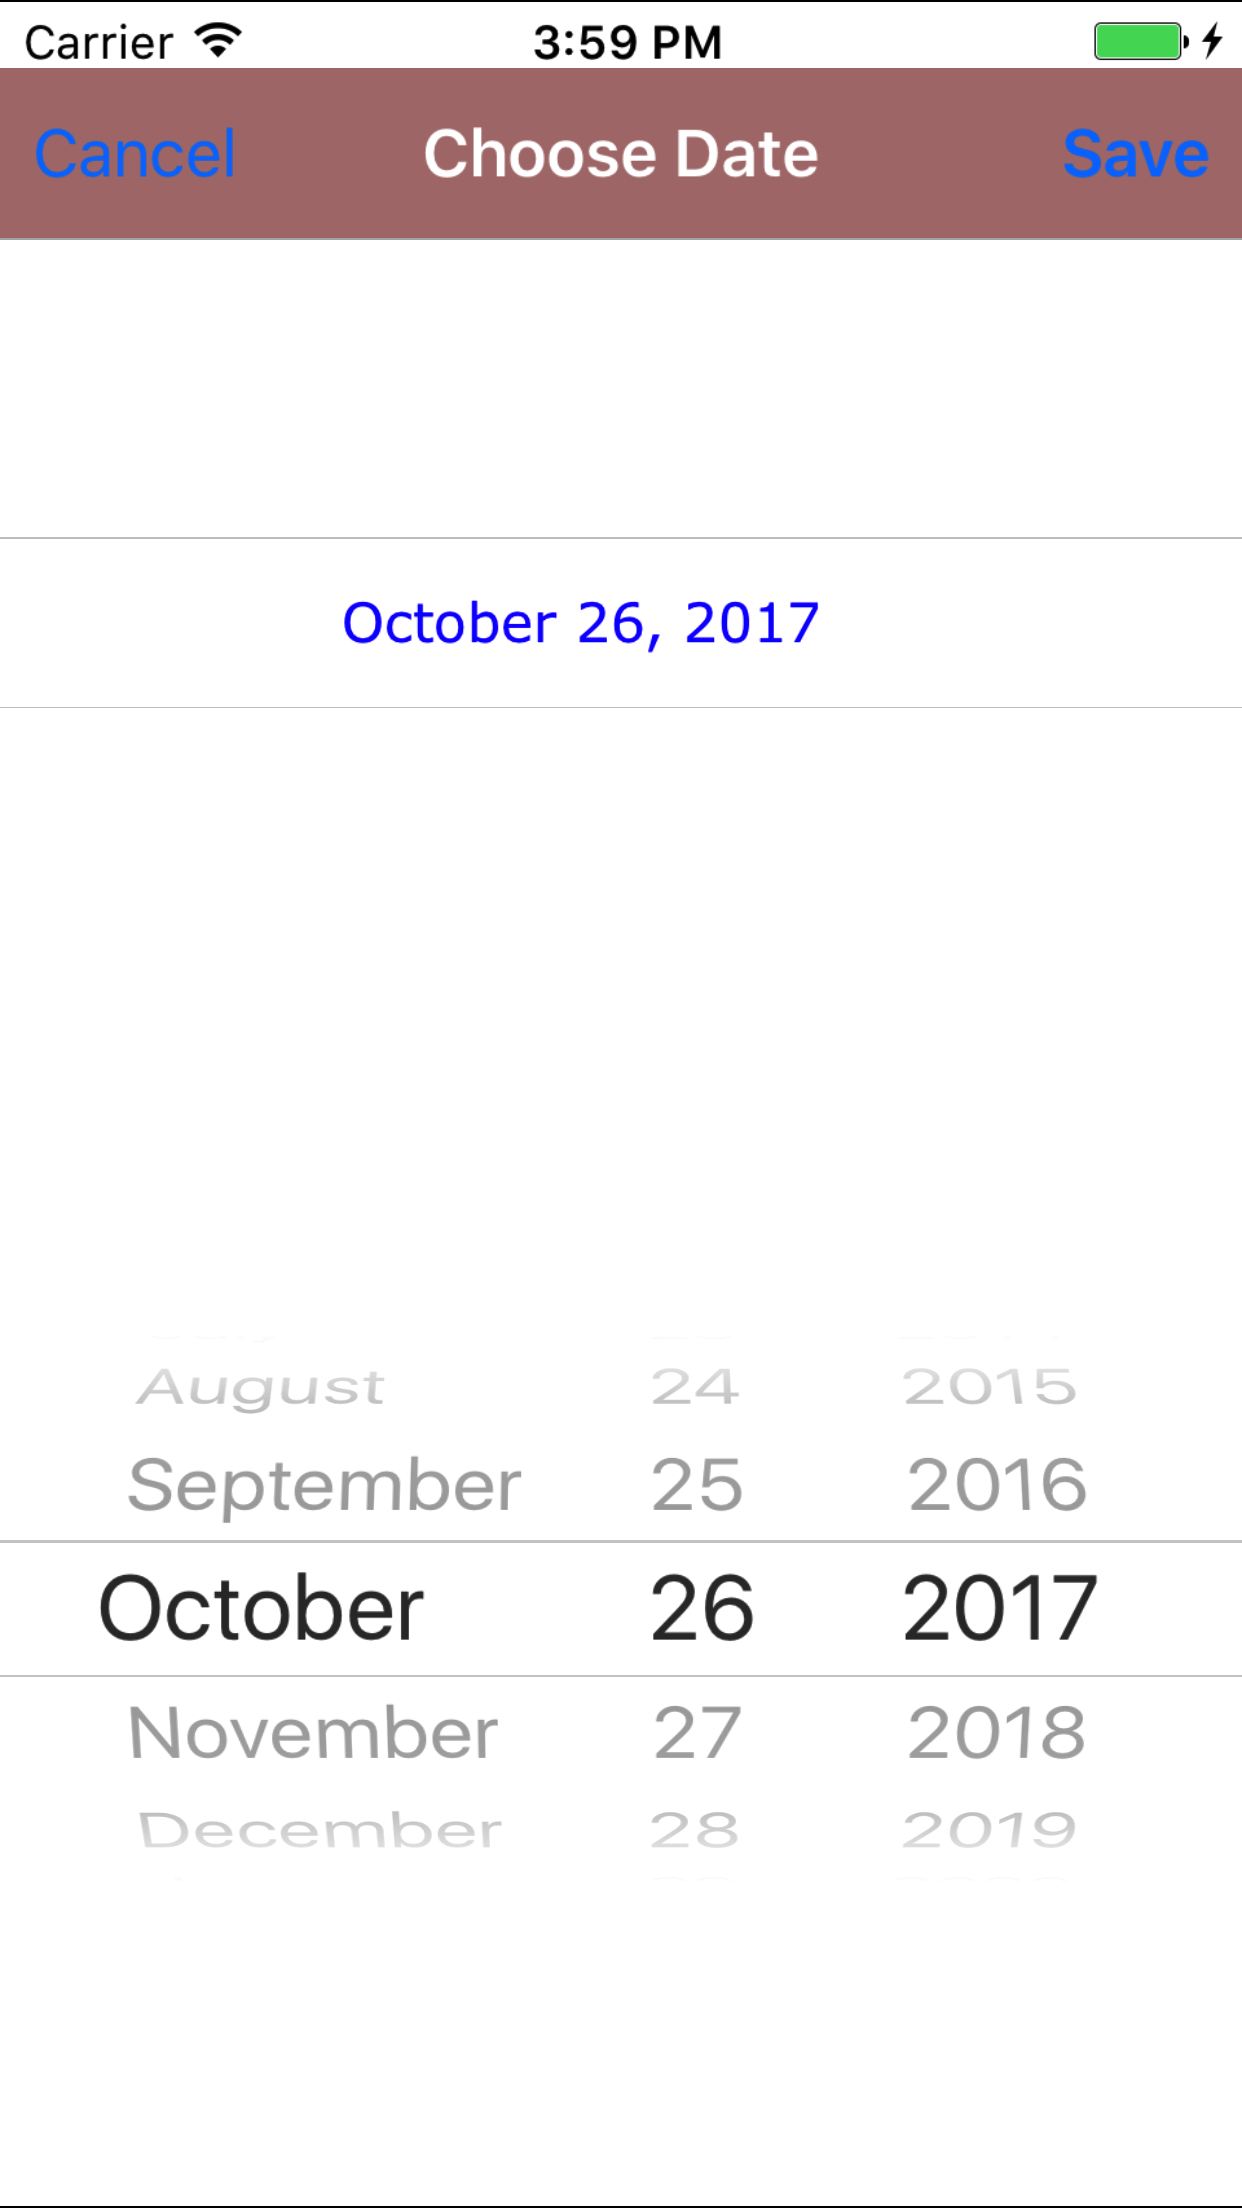
- Tap the Date field to open the Choose Date screen.
- Scroll the date wheel on the far left of the screen until the desired date is highlighted.
- Return to the Add Site Inspection screen by either tapping Save in the top right corner to select the highlighted date or tapping Cancel in the top left corner to leave the Date: field unchanged.
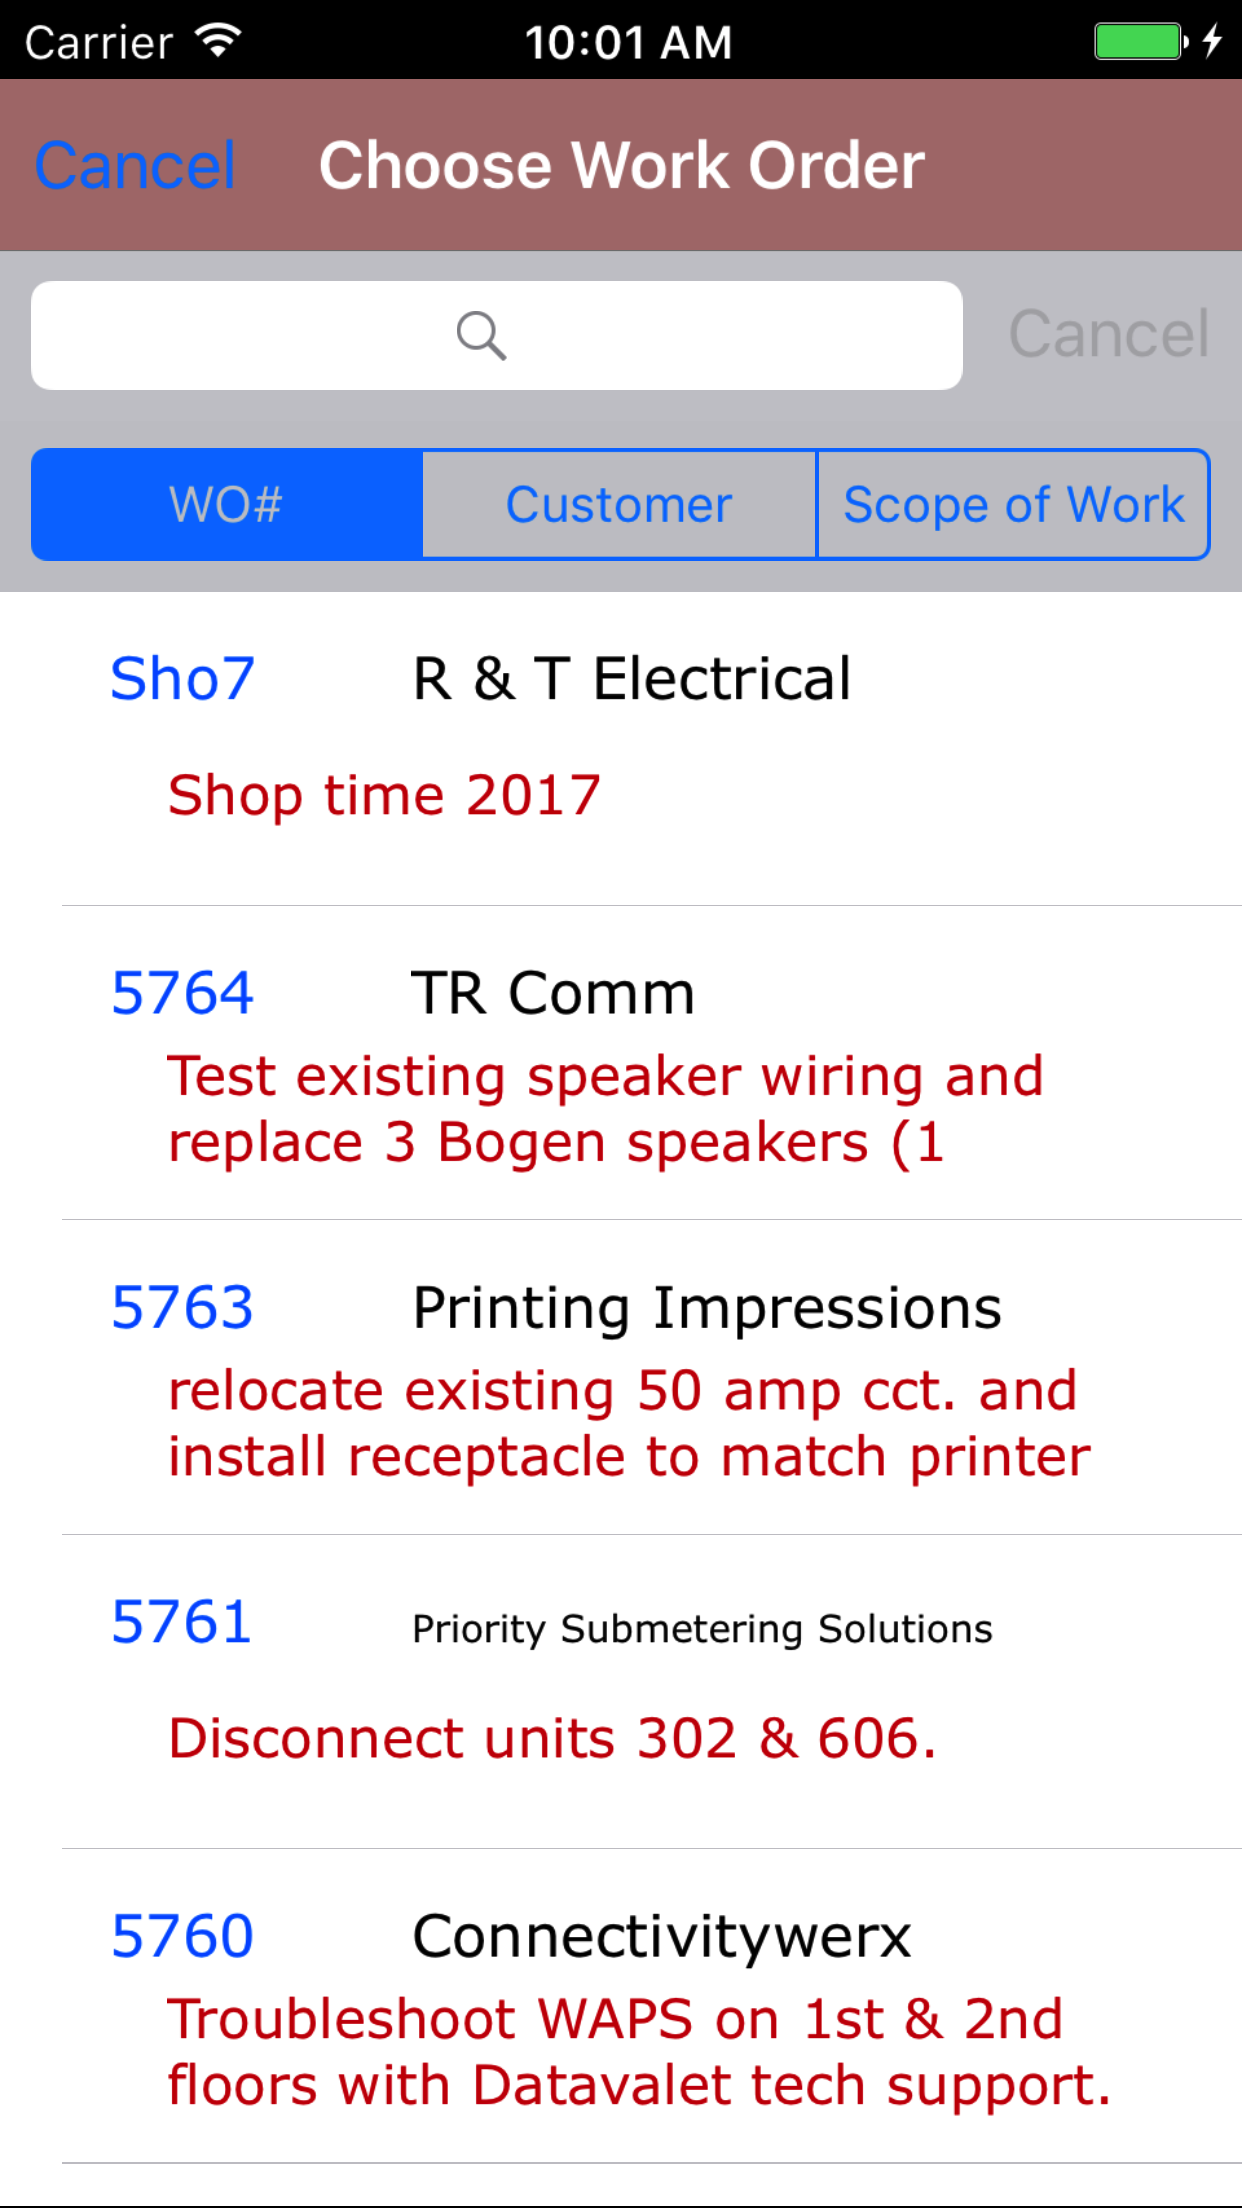
- Tap the Work Order # field to open the Choose Work Order screen.
Work orders are listed in descending order with the work order number in blue text,
the customer name in black text, and the scope of work in red text.
Note: New work orders are not automatically added to the list when they are created, so it may be necessary to update the list click here to view information about updating for the desired work order to be included in the list.
To Search Work Orders: Pull down on the list view, the search is defaulted to search by date enter the date in following
format YYYY-MM-DD. The other options for the Work Order search are by work order number and customer. Enter your search
criteria and click the Search button.
- Scroll the list of work orders until the desired work order is displayed on the screen.
- Tap the desired work order to select it or tap Back in the top left corner to leave the Work Order # field unchanged and return to the Add Hazard Assessment screen.
- Return to the Add Hazard Assessment screen by either tapping Save in the top right corner to select the highlighted work order or tapping Cancel in the top left corner to leave the Work Order field unchanged.
- Tap the + icon in the top right corner to add the Site Inspection.
- A pop-up message that reads Site Inspection Added indicates that the Site Inspection is ready to have details to be entered.
|
|
| Step 1 |
|

|
| Step 2 |
|
|
|
|
2.Add Site Inspection By Job Site |
Steps
- From the Main Menu screen, tap the Inspection button.
- Then tap on the Site Inspection button.
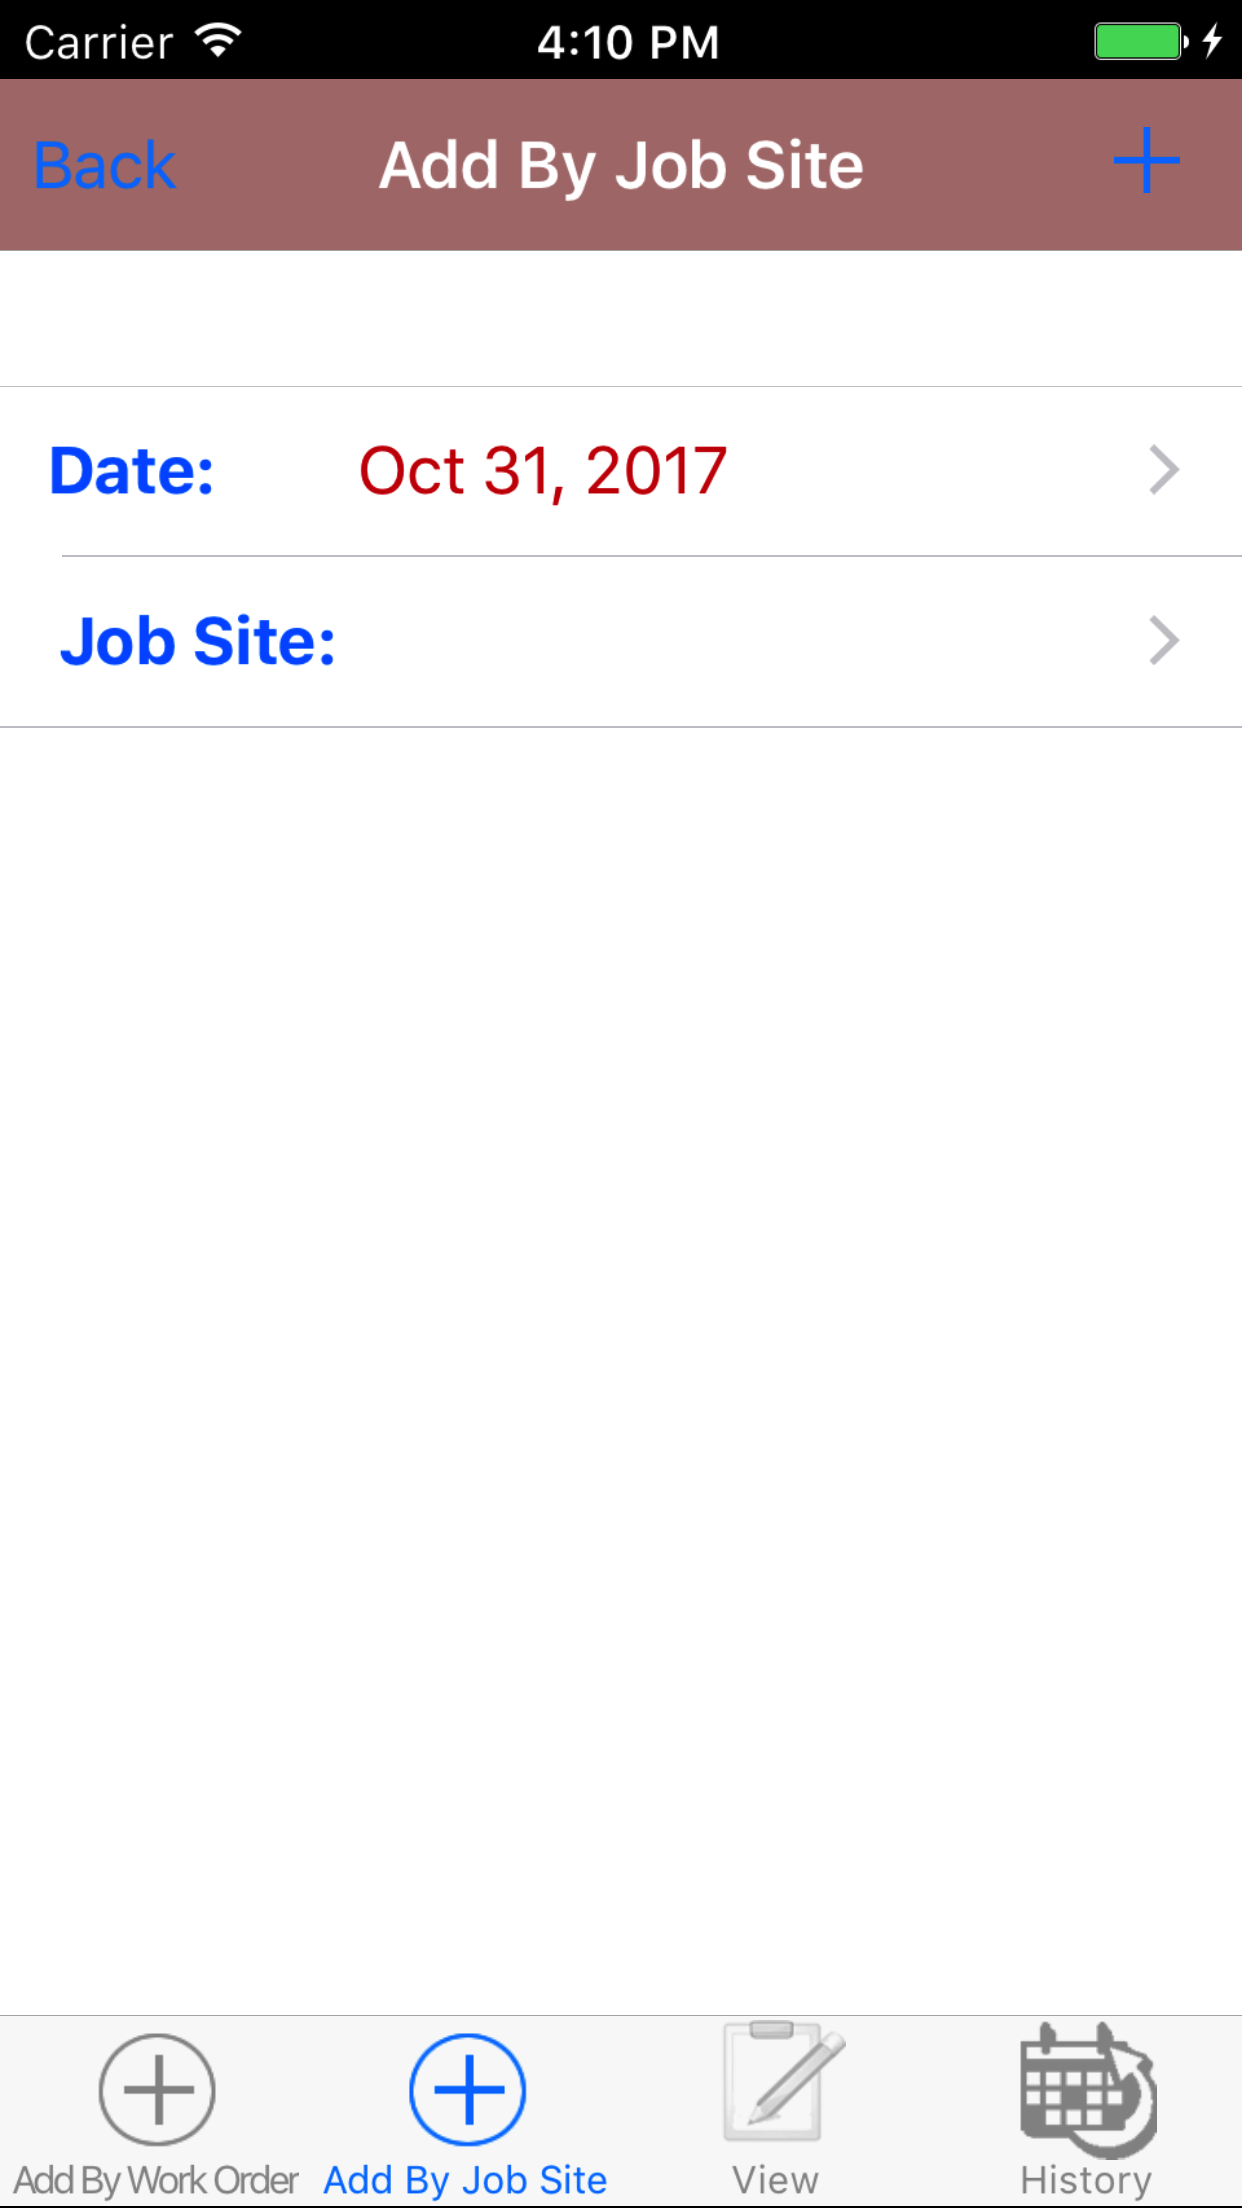
- This opens Add Site Inspection By Work Order entry screen.
- Tap the second tab on the bottom to open the Add Site Inspection By Active Plan screen
- Date: The date field allow field staff to choose the date the site inspection occurs.
- Tap the Date field to open the Choose Date screen.
- Scroll the date wheel on the far left of the screen until the desired date is highlighted.
- Return to the Add Site Inspection screen by either tapping Save in the top right corner to select the highlighted date or tapping Cancel in the top left corner to leave the Date: field unchanged.
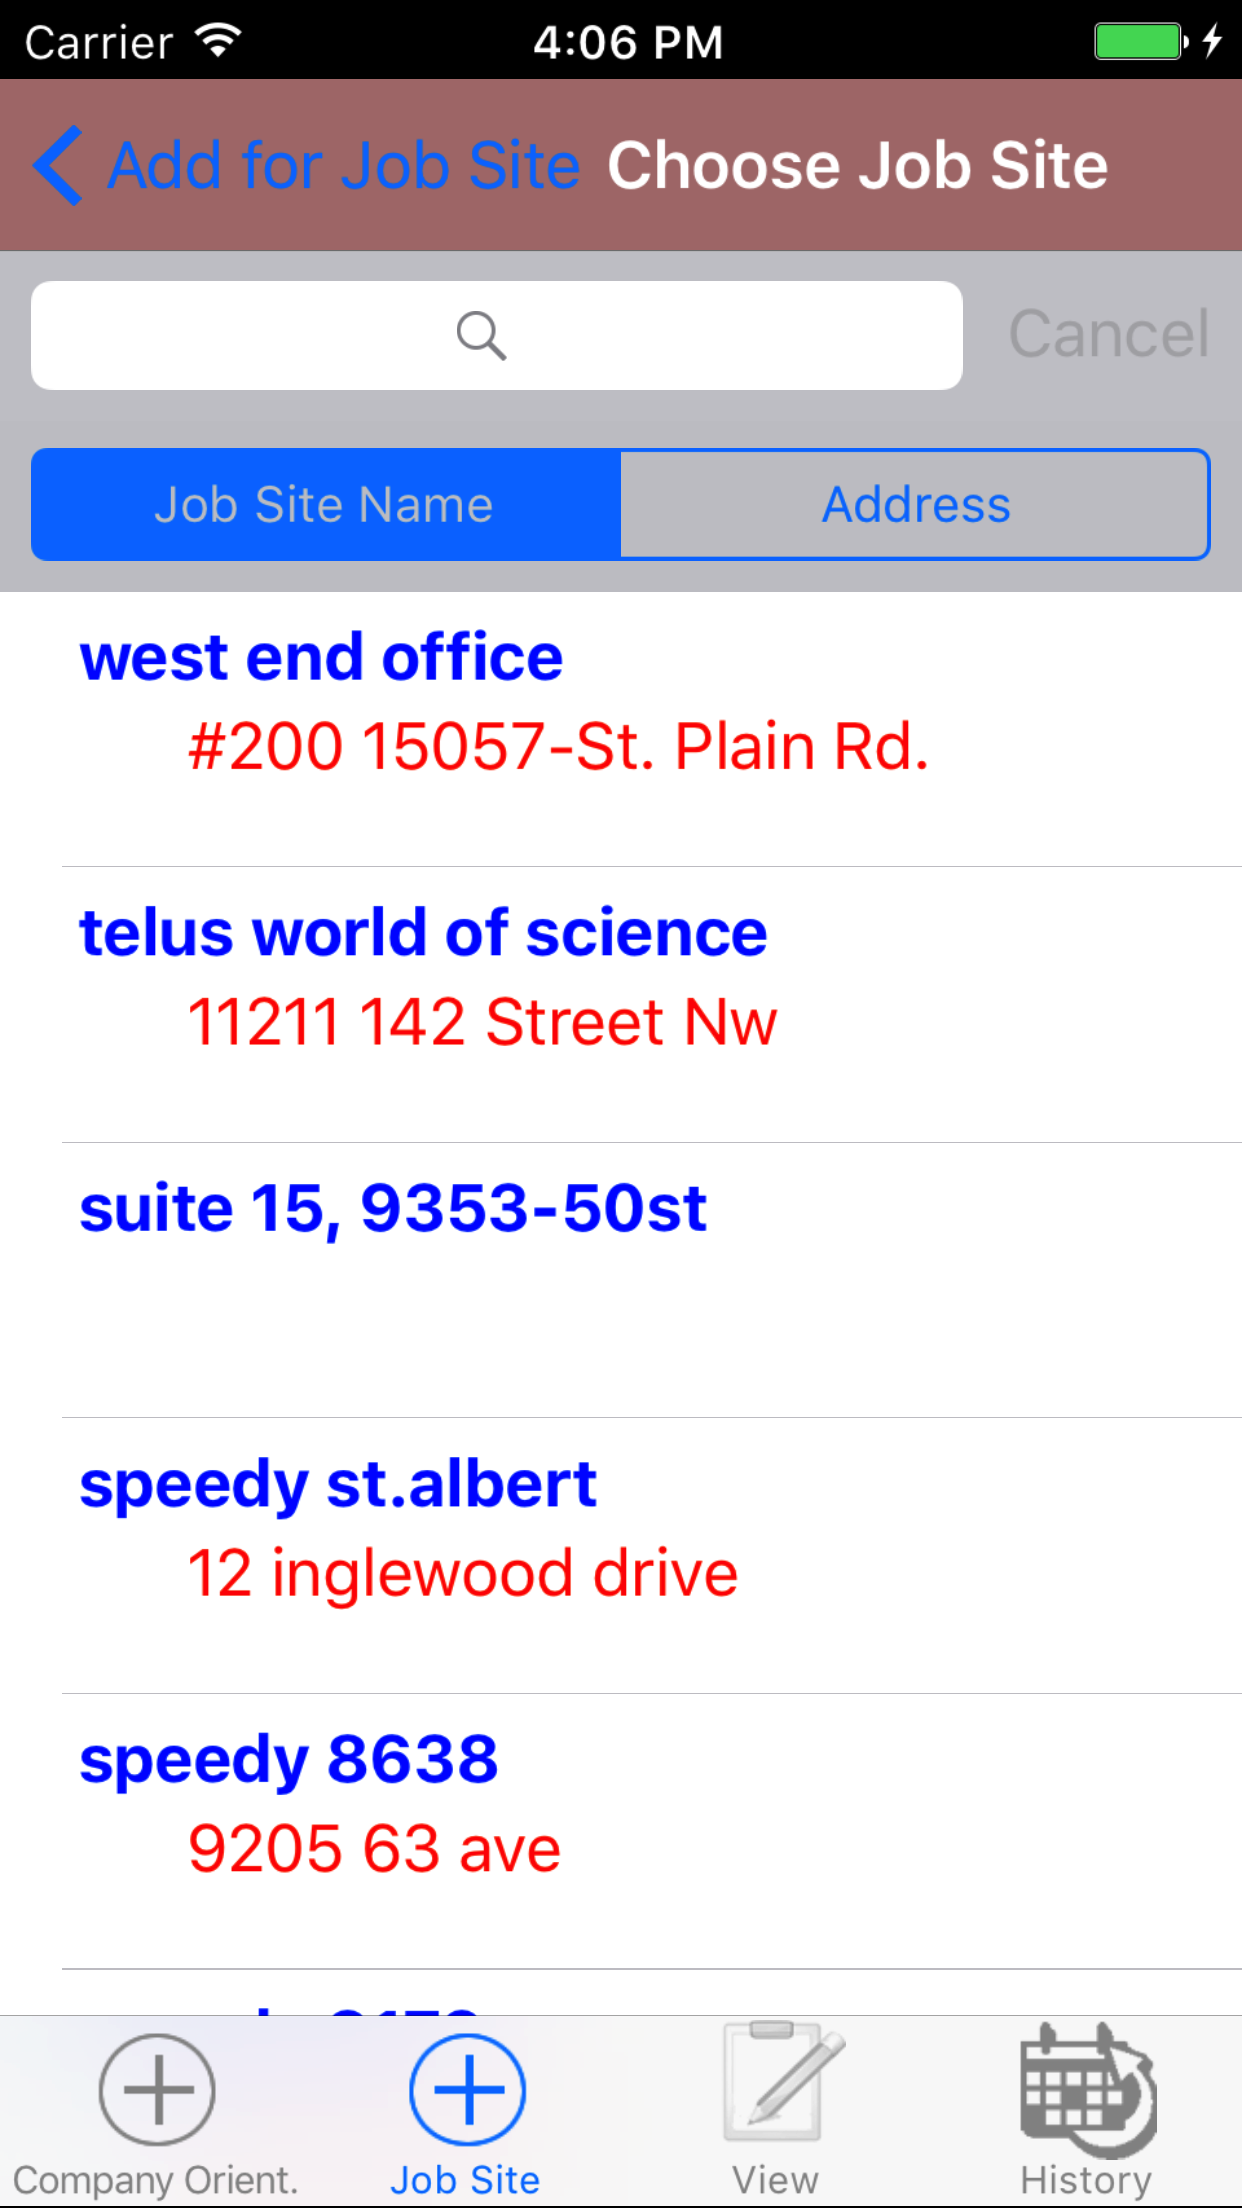
- Tap the Job Site field to open the Choose Job Site screen.
Job Site Names are listed in descending order job site name.
Note: Job Sites by nature will be updated and added to the list all the time, so it may be necessary to update the list click here.
To Search Job Sites: Pull down on the list view, the search is defaulted to search by job site name.
The other option for the Job Site search are by customer. Enter your search
criteria and click the Search button.
- Scroll the list of job sites until the desired job site is displayed on the screen.
- Tap the desired job site to select it or tap Back in the top left corner to leave the Company Site Orientation field unchanged and return to the Add Site Orientation screen.
- Return to the Add Site Orientation screen by either tapping the appropriate job site or tapping Cancel in the top left corner to leave the Site Orientation field unchanged.
- Tap the + icon in the top right corner to add the Site Inspection.
- A pop-up message that reads Site Inspection Added indicates that the Site Inspection is ready to have details to be entered.
|
|
|
| Step 1 |
|
|
|
| Step 2 |
|
|
|
|
3.Look Up Open Site Inspection |
|
Once in the Site Inspection< section
Steps
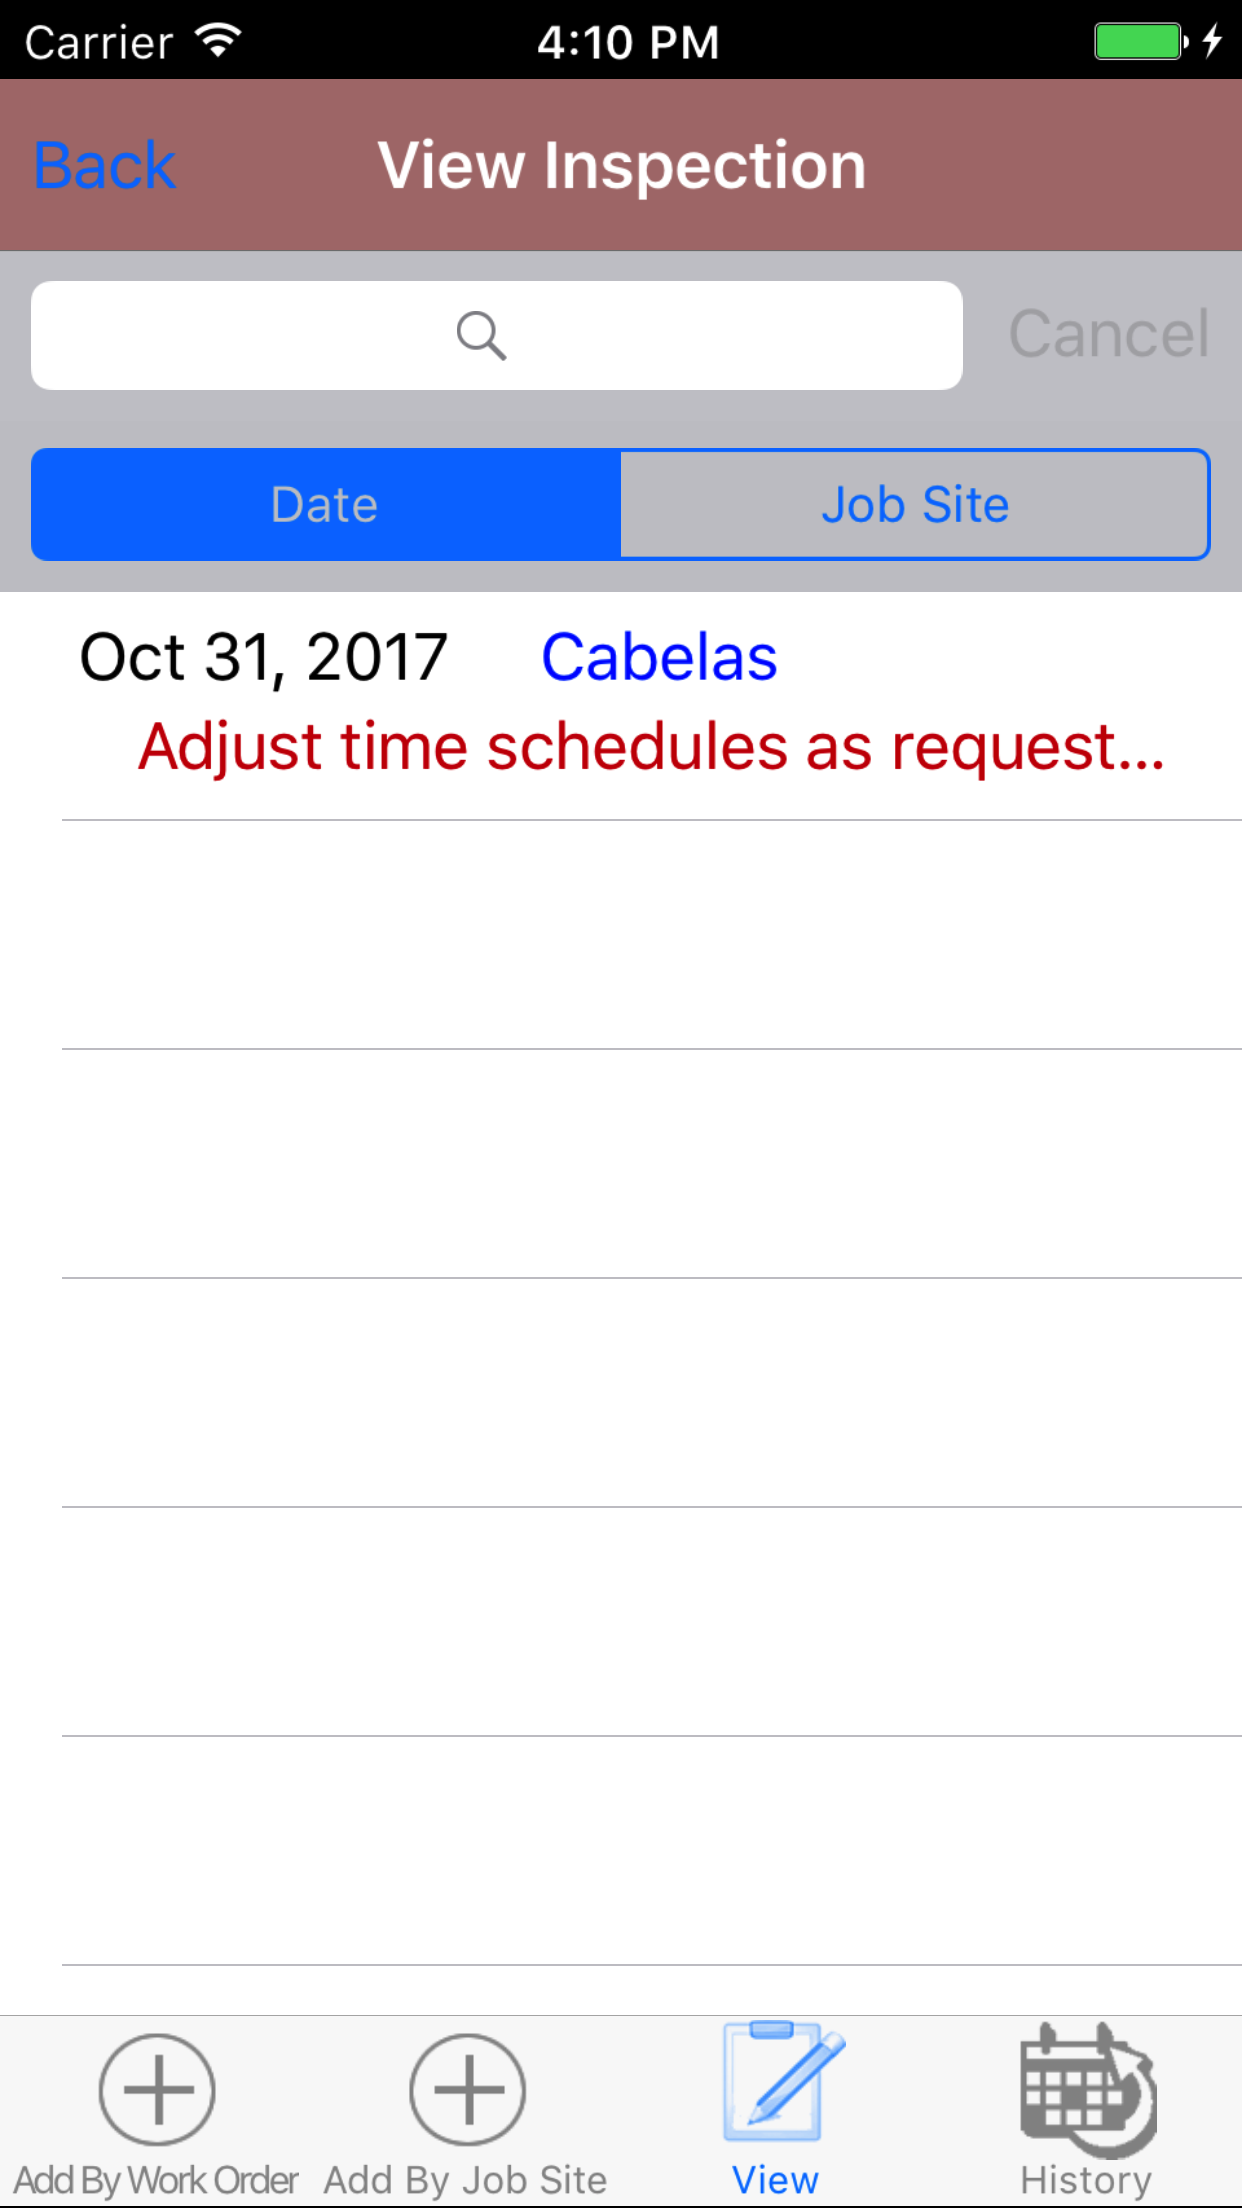
- Tap the second tab on the menu, the Site Inspection view.
To Search Site Inspections: Pull down on the list view, the search is defaulted to search by date enter the date in following
format YYYY-MM-DD. The other option for the Site Inspection search job site name. Enter your search
criteria and click the Search button.
- Scroll the list of Site Inspections until the desired Site Inspection is displayed on the screen.
Listing the site inspection date in red text, the job site in red text and
the address in black text.
- Tap on the Site Inspection you would like to view. This loads the site inspection edit screen.
|
|
| Steps 1-3 |
|
|
4.Edit Site Inspection Details |
|
The first step in completing a Site Inspection is completing the details of the plan the date, scope of work
, location of work on site, and time of day.
Once on the Site Inspection you would like to Edit, on the first details tab.
Fields
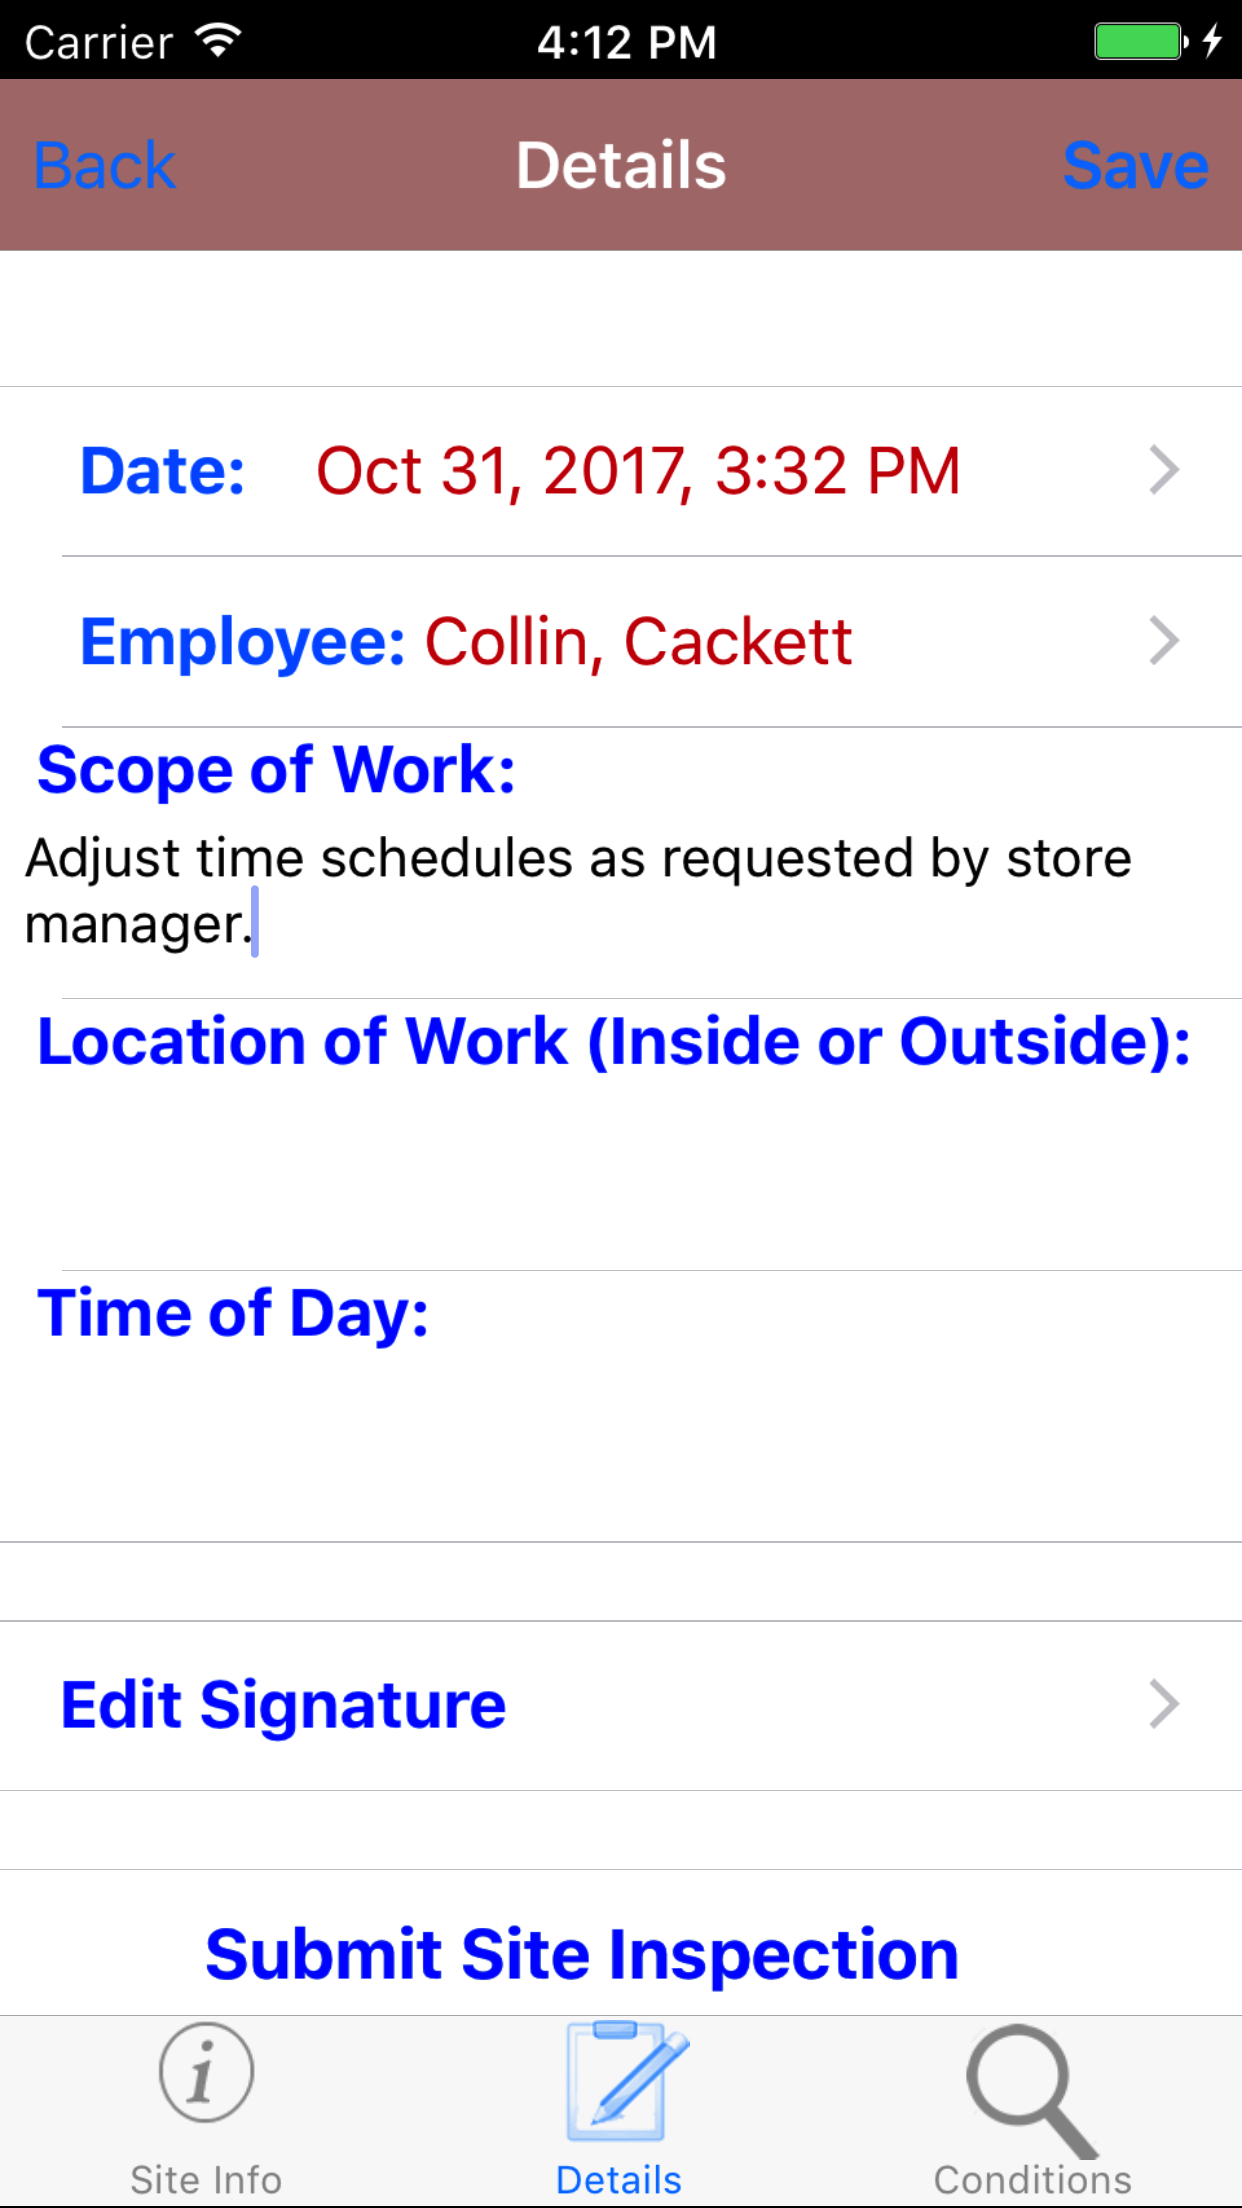
- Date: The date field allow field staff to choose the date and time the site inspection occurs.
- Tap the Date field to open the Choose Date screen.
- Scroll the date wheel on the far left of the screen until the desired date is highlighted.
- Return to the Edit Site Inspection screen by either tapping Save in the top right corner to select the highlighted date or tapping Cancel in the top left corner to leave the Date: field unchanged.
- Prepared By: The prepared by field initially displays the name of the person who added the Site Inspection and should be updated to indicate the employee on site who is responsible for site inspection.
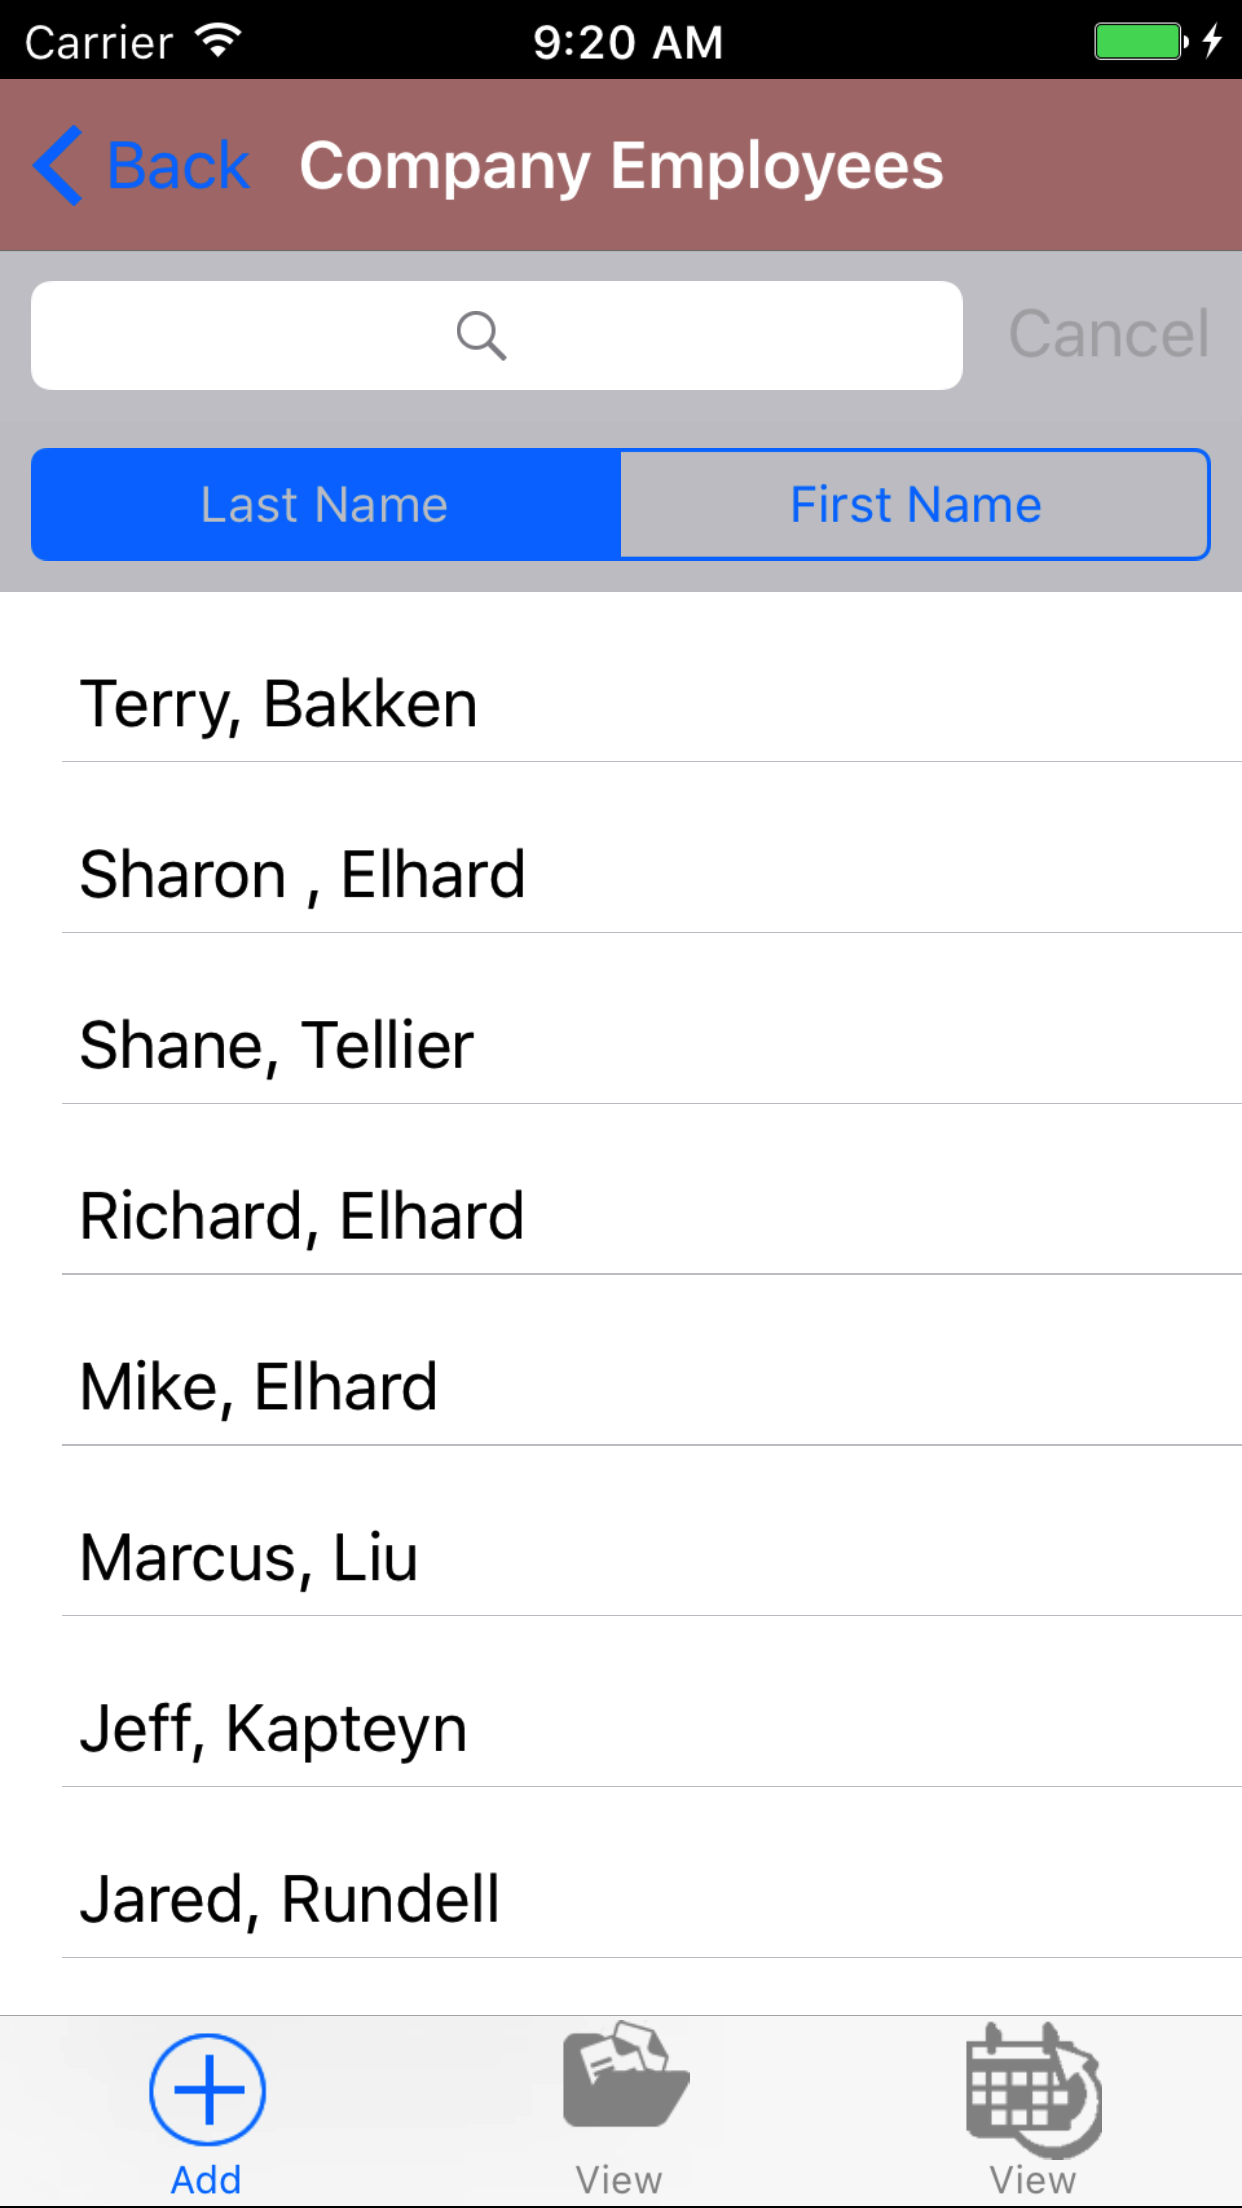
- Tap the Prepared By: field to open the Employees screen.
Employees are listed in the order they were added to the Site Inspection.
- Tap the desired employee to select it or tap Back in the top left corner to leave the Prepared By field unchanged and return to the Edit Site Inspection screen.
- Scope of Work: The Scope of Work field allows field staff to enter the scope of work being performed on the job site. The character limit of this field is 250.
- Location of Work on Site: The Location of Work on Site field allows field staff to enter description of where on the site the work will be performed. The character limit of this field is 250.
- Time of Day: The Time of Day field allows field staff to enter a description of the time of day when the work will be done. The character limit of this field is 250.
- Tap Save in the top right corner to save any changes to the Site Inspection Details.
- A pop-up message that reads Site Inspection Details have been Saved indicates that the site inspection details have been saved.
|
|
|
| Step 1 |
|
|
|
| Step 2 |
|
|
| Step 3-6 |
|
|
5.Add Employee Signature |
|
The employee creating the site inspection must provide an electronic signature to indicate that they have created the inspection.
Once on the Site Inspection you would like to Edit, on the first tab
Steps
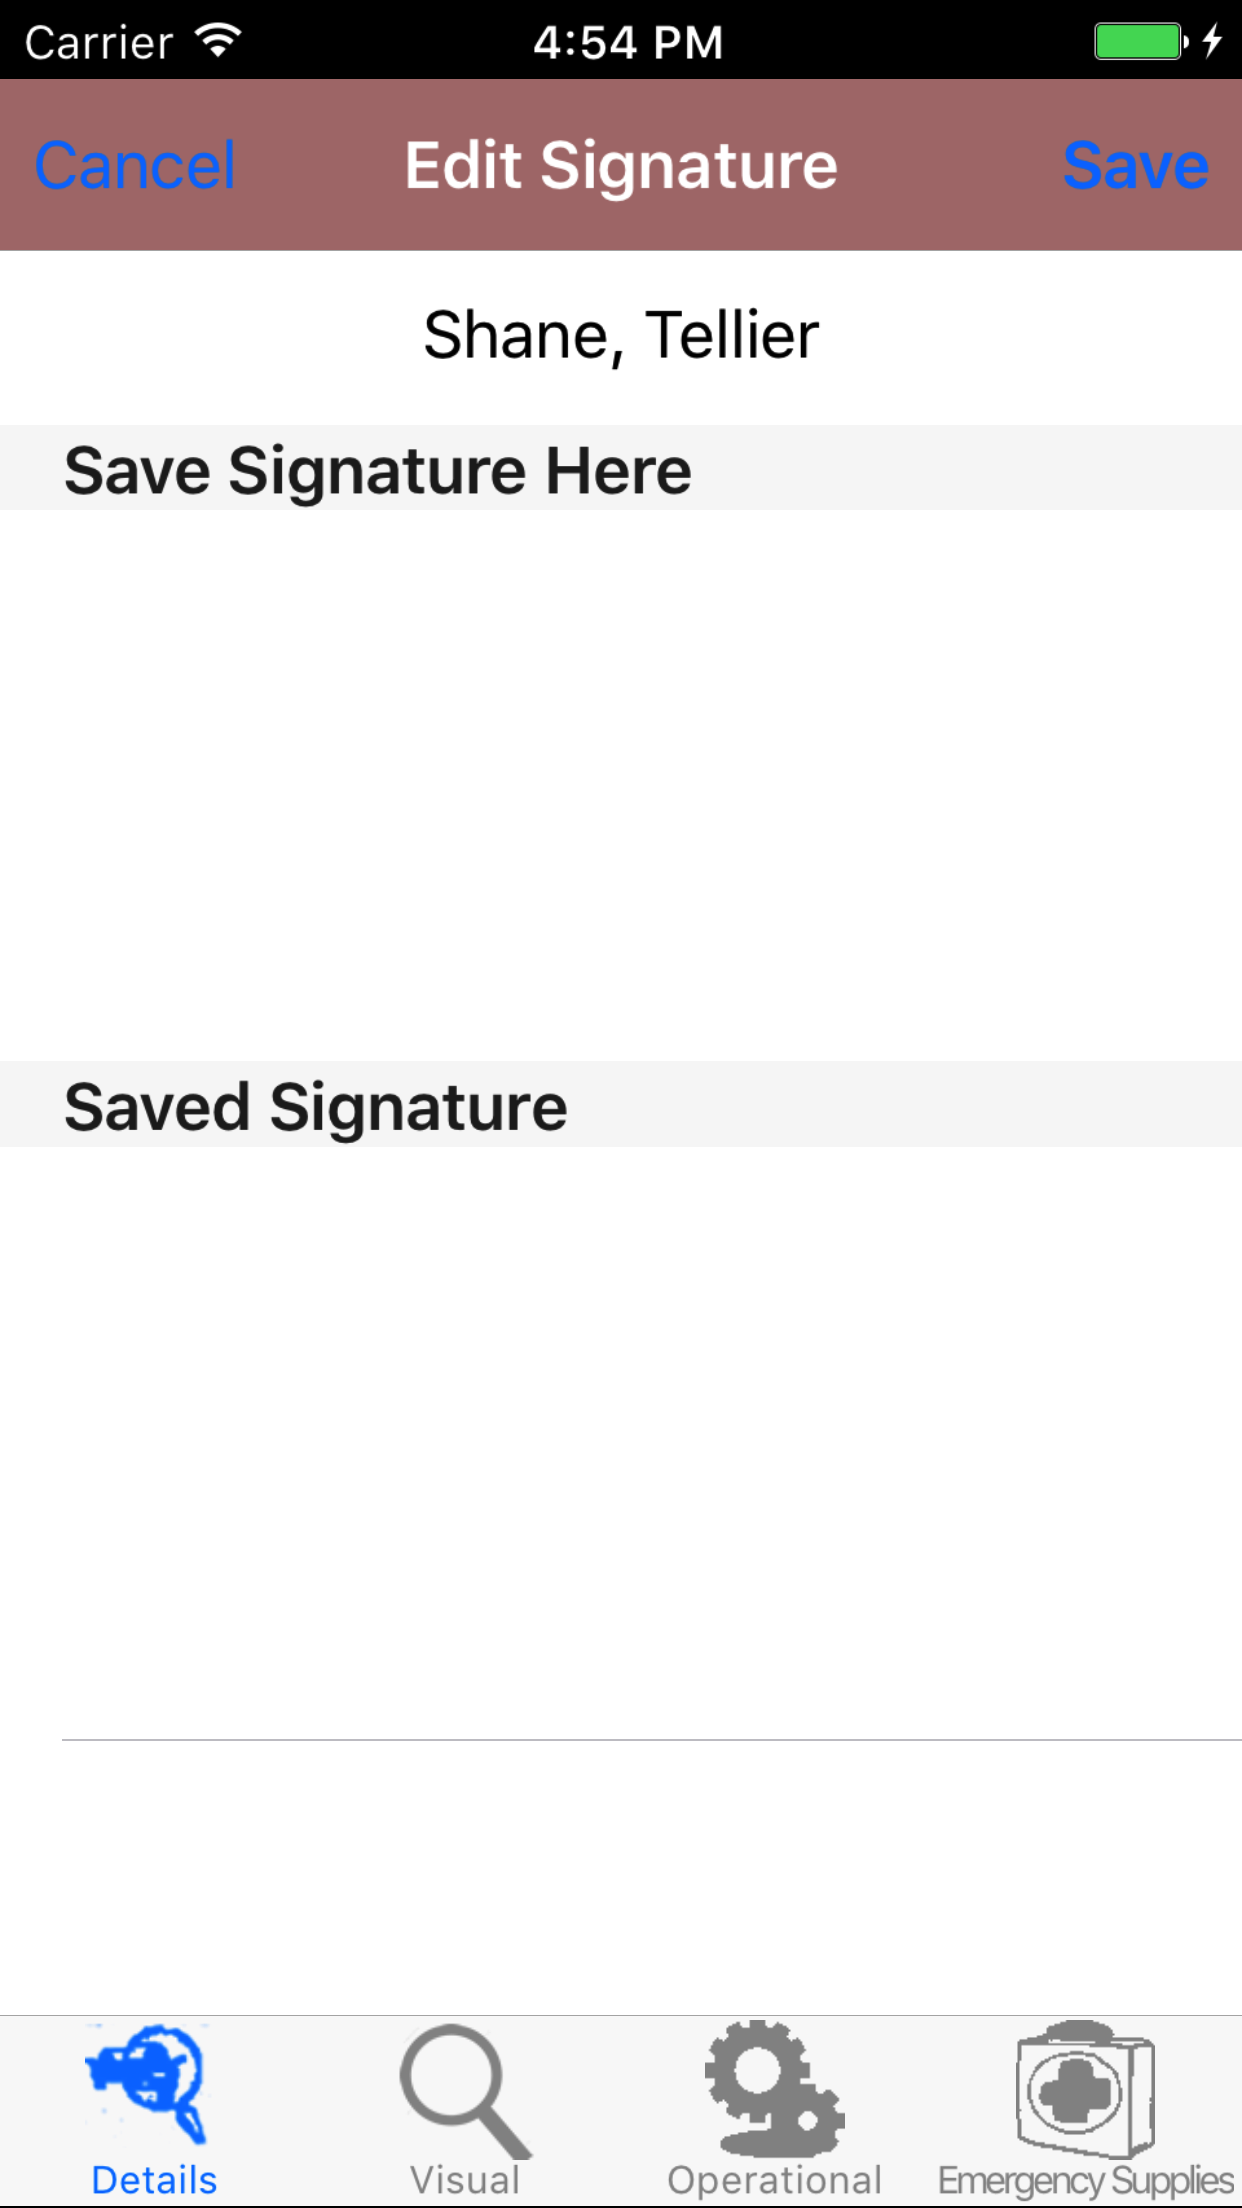
- Tap the Prepared By Signature button to open the Signature screen.
- Sign in the white space beneath the Save New Signature Here label.
- Tap Save in the top right corner of the screen to update the Saved Signature field.
The saved signature will appear below the signature entry screen.
|
|
|
| Steps 1-2 |
|
|
| Steps 3-4 |
|
|
|
6.Add Condition Found |
|
Conditions Found are the the unsafe acts or unsafe conditions that may occur on a job site. For each condition found on the site inspection, users should include
the corrective actions to correct the condition. Its important that field staff knows what the conditions are and how they are being taken care of so they can preform there
jobs properly and safely.
Once on the Site Inspection you would like to view
Steps
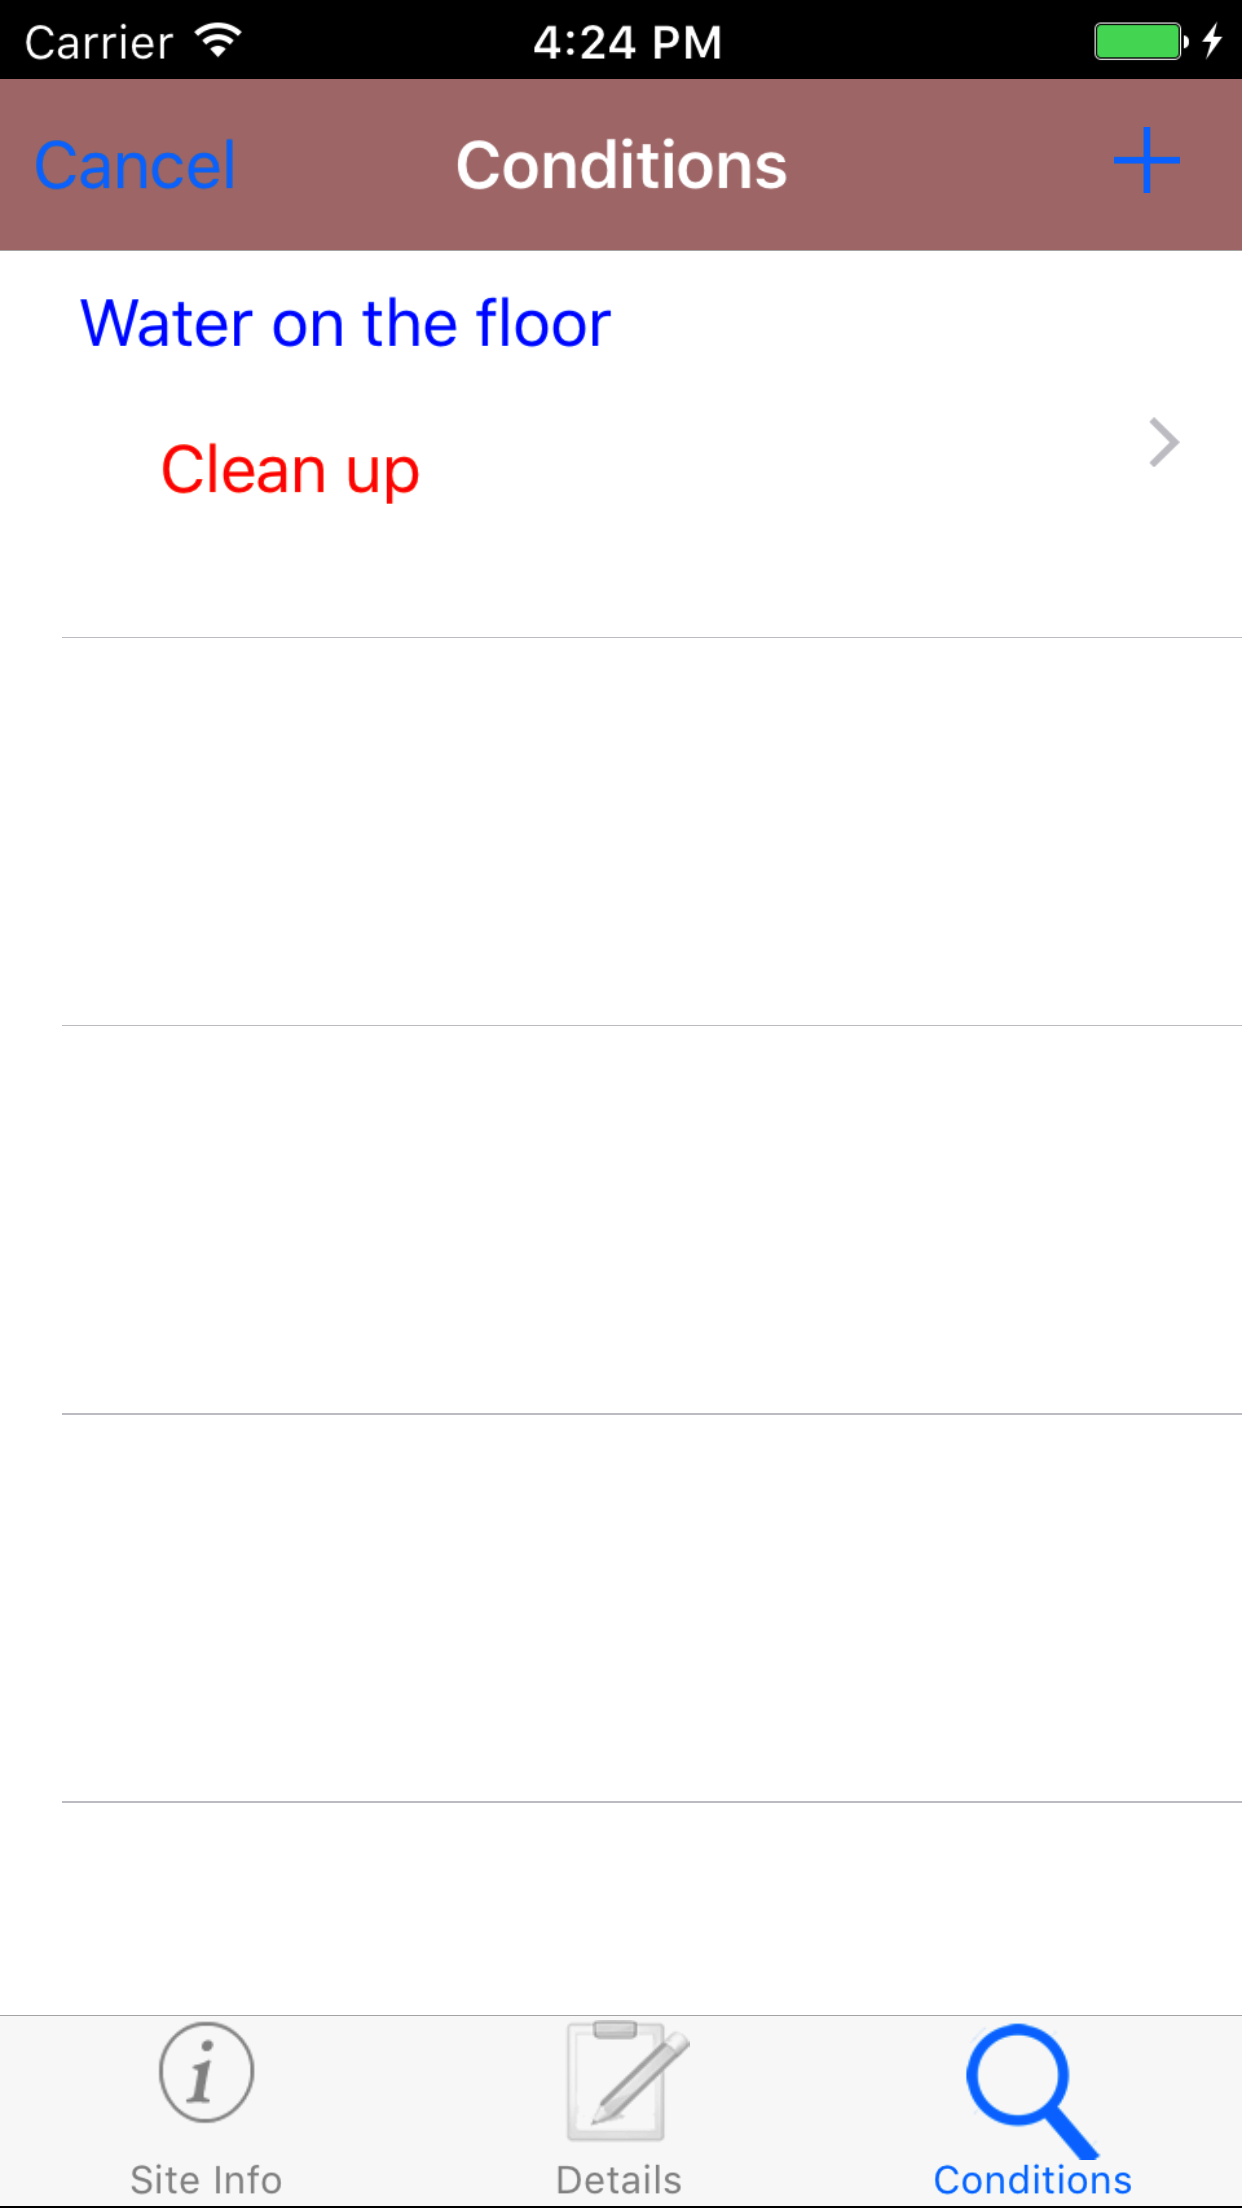
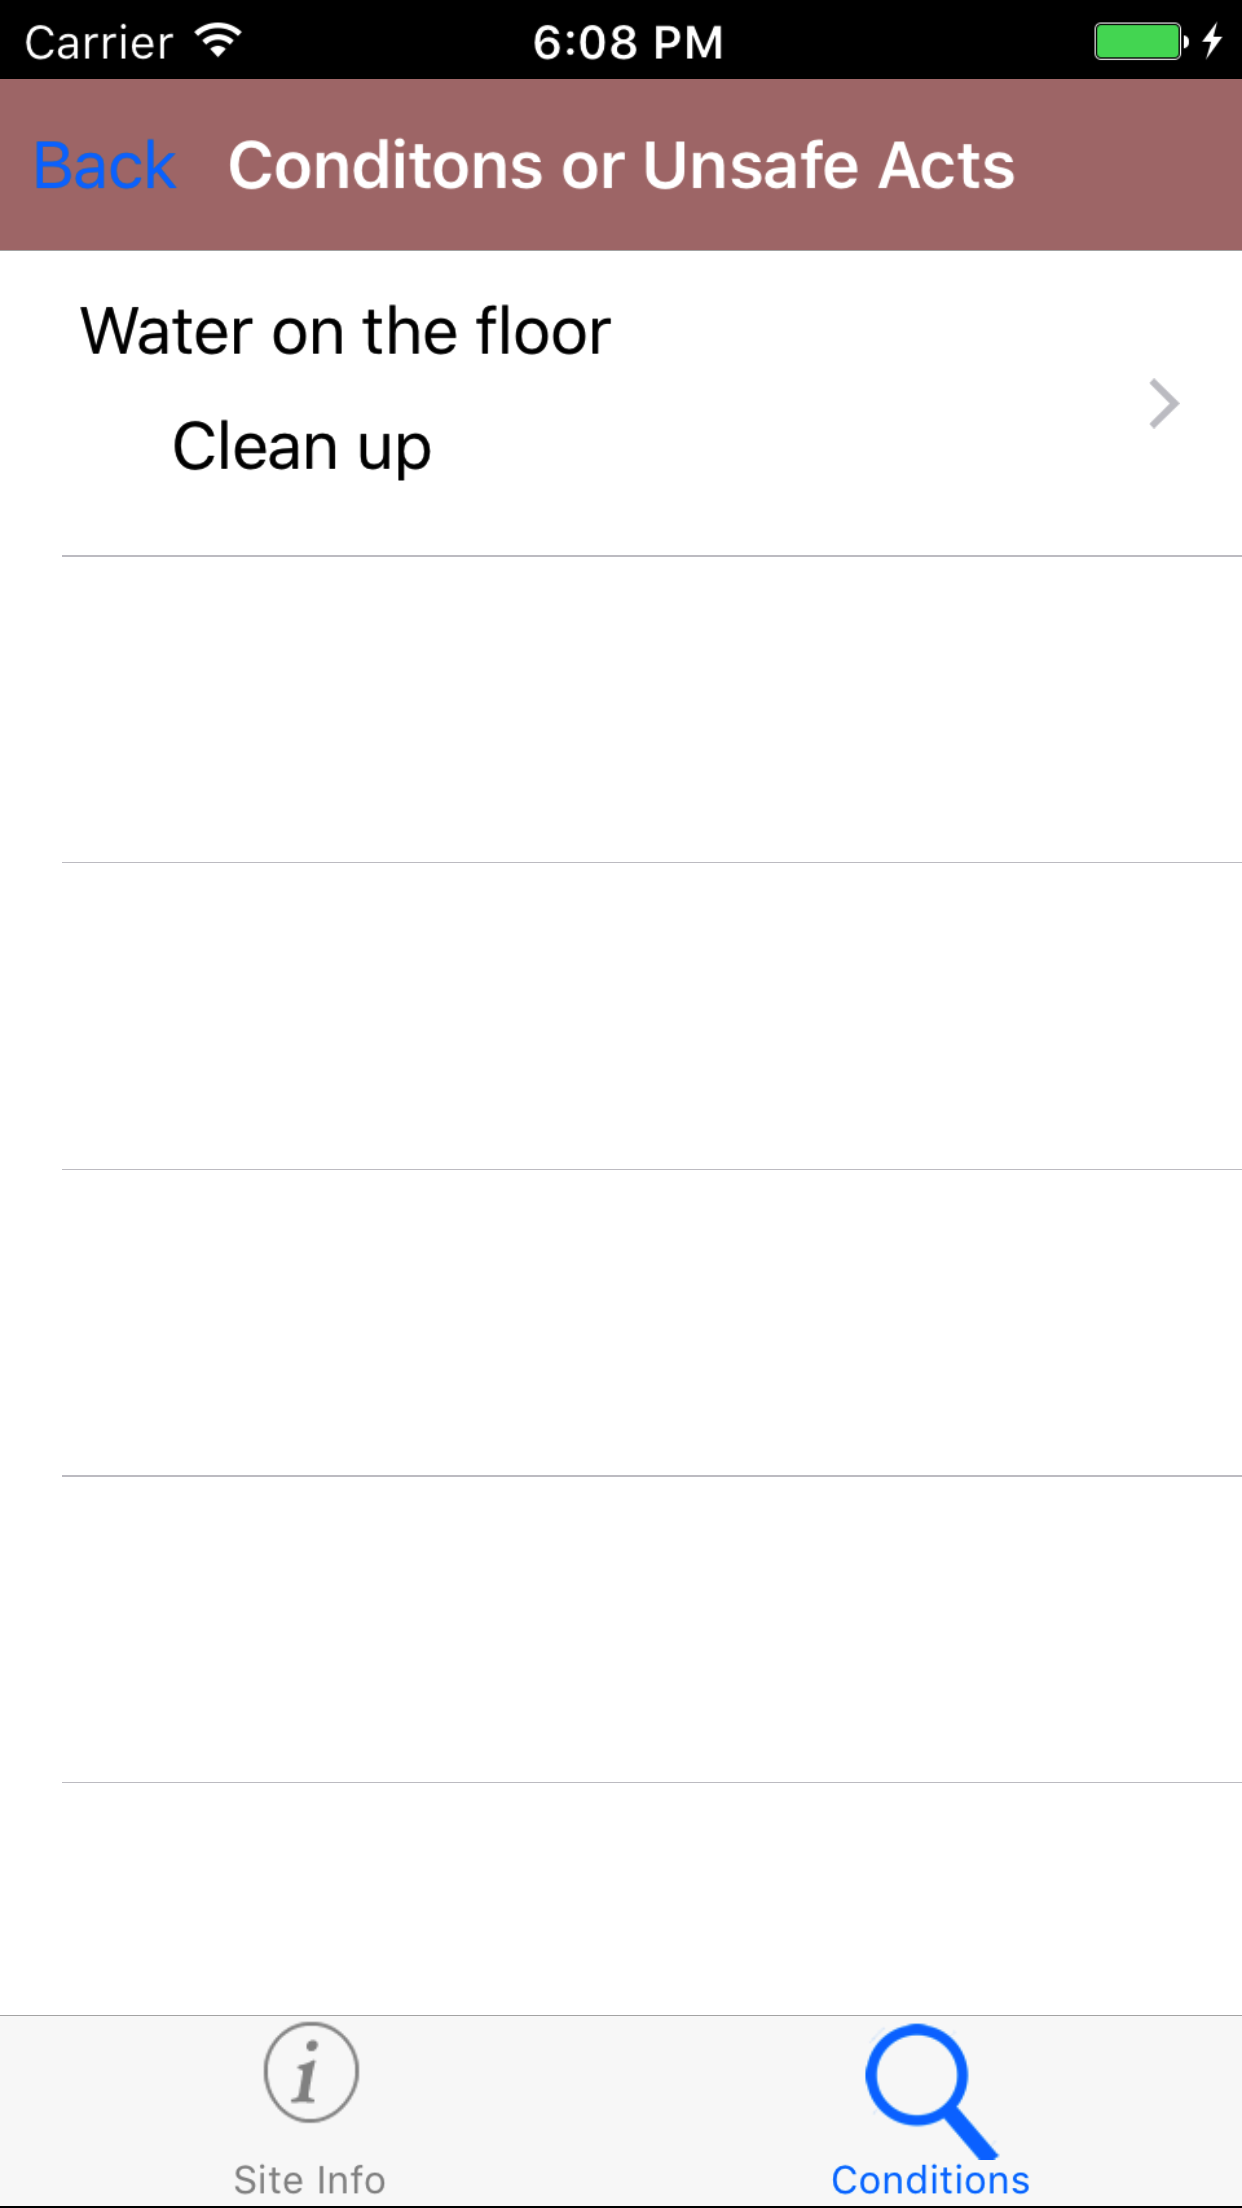
- Tap on the second tab, the Conditions Found icon at the bottom of the screen to open the Conditions Found screen. The screen loads with the list
of conditions found, Listing the unsafe act or condition in blue text and the correction action in red text.
- Tap the + icon in the top right corner to open the Add Condition Found screen.
Fields
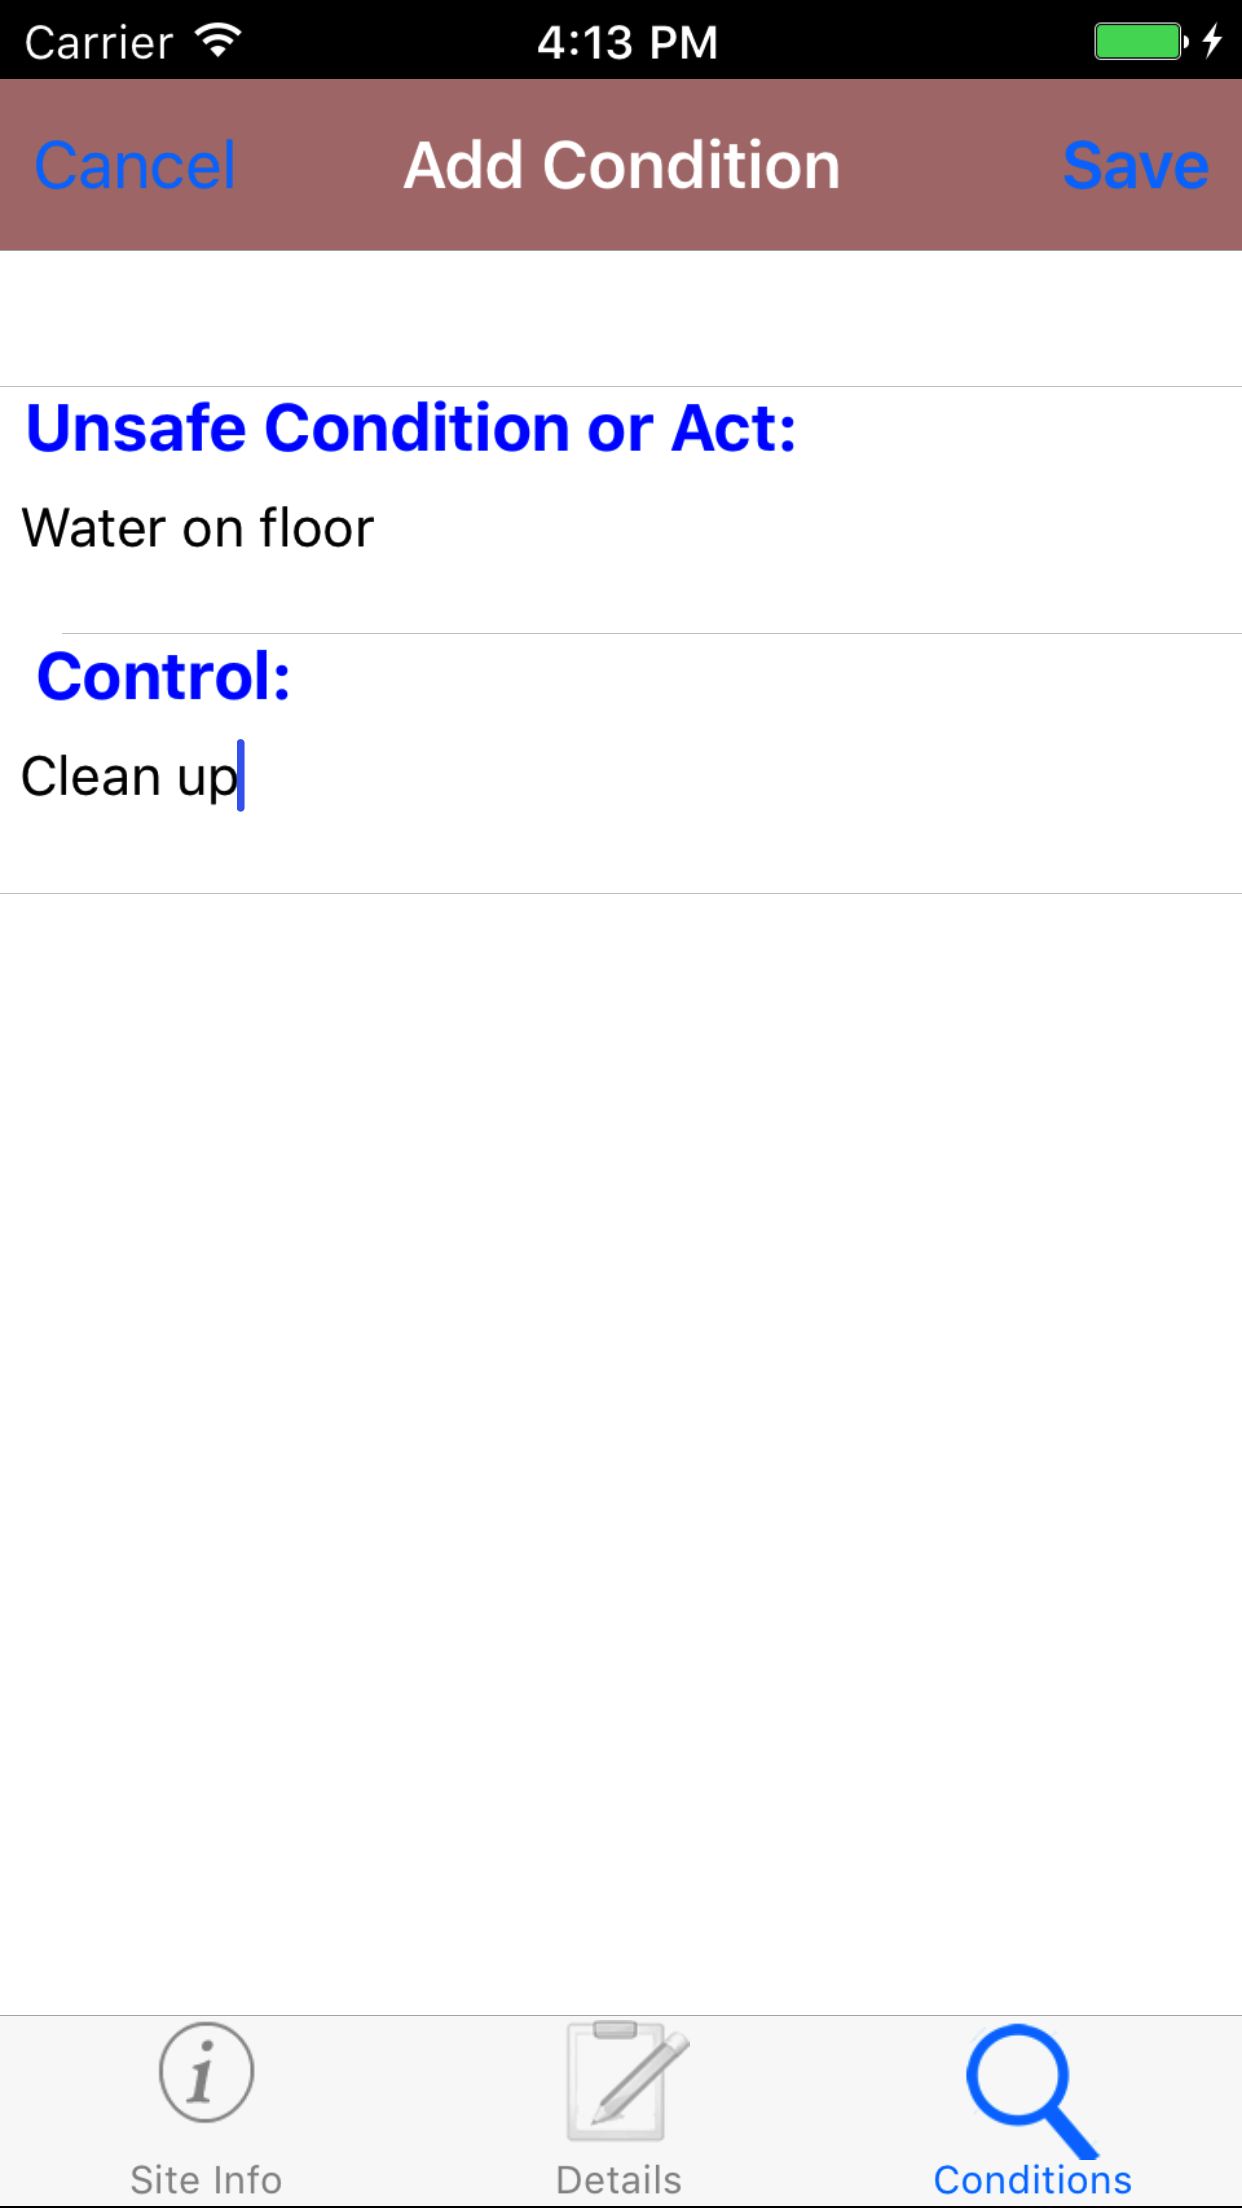
- Unsafe Condition or Act: The Unsafe Condition or Act field allows field staff to enter unsafe condition or act found on a job site. The character limit of this field is 250.
- Corrective Action: The Corrective Action field allows field staff to enter corrective action for the given unsafe condition or act. The character limit of this field is 250.
- Tap + icon in the top right corner to save the possible emergency.
|
|
| Steps 1-2 |
|
|
| Steps 4-5 |
|
|
|
7.Look Up Condition Found |
|
Once on the Site Inspection you would like to view
Steps
- Tap on the second tab, the Conditions Found icon at the bottom of the screen to open the Conditions Found screen. The screen loads with the list
of conditions found, Listing the unsafe act or condition in blue text and the correction action in red text.
- Scroll the list of Conditions Found until the desired condition is displayed on the screen.
- Tap on the desire conditions found. This loads the edit Conditions Found screen.
|
|
|
| Steps 1-3 |
|
|
8.Edit Condition Found |
|
Once on the Condition Found you would like to edit.
Fields
- Unsafe Condition or Act: The Unsafe Condition or Act field allows field staff to enter unsafe condition or act found on a job site. The character limit of this field is 250.
- Corrective Action: The Corrective Action field allows field staff to enter corrective action for the given unsafe condition or act. The character limit of this field is 250.
- Tap Save button in the top right corner to save the condition found.
|
|
|
| Steps 1-3 |
|
|
9.Delete Condition Found |
|
Once in the Emergency Response Plan section
Steps
- Tap on the second tab, the Conditions Found icon at the bottom of the screen to open the Conditions Found screen. The screen loads with the list
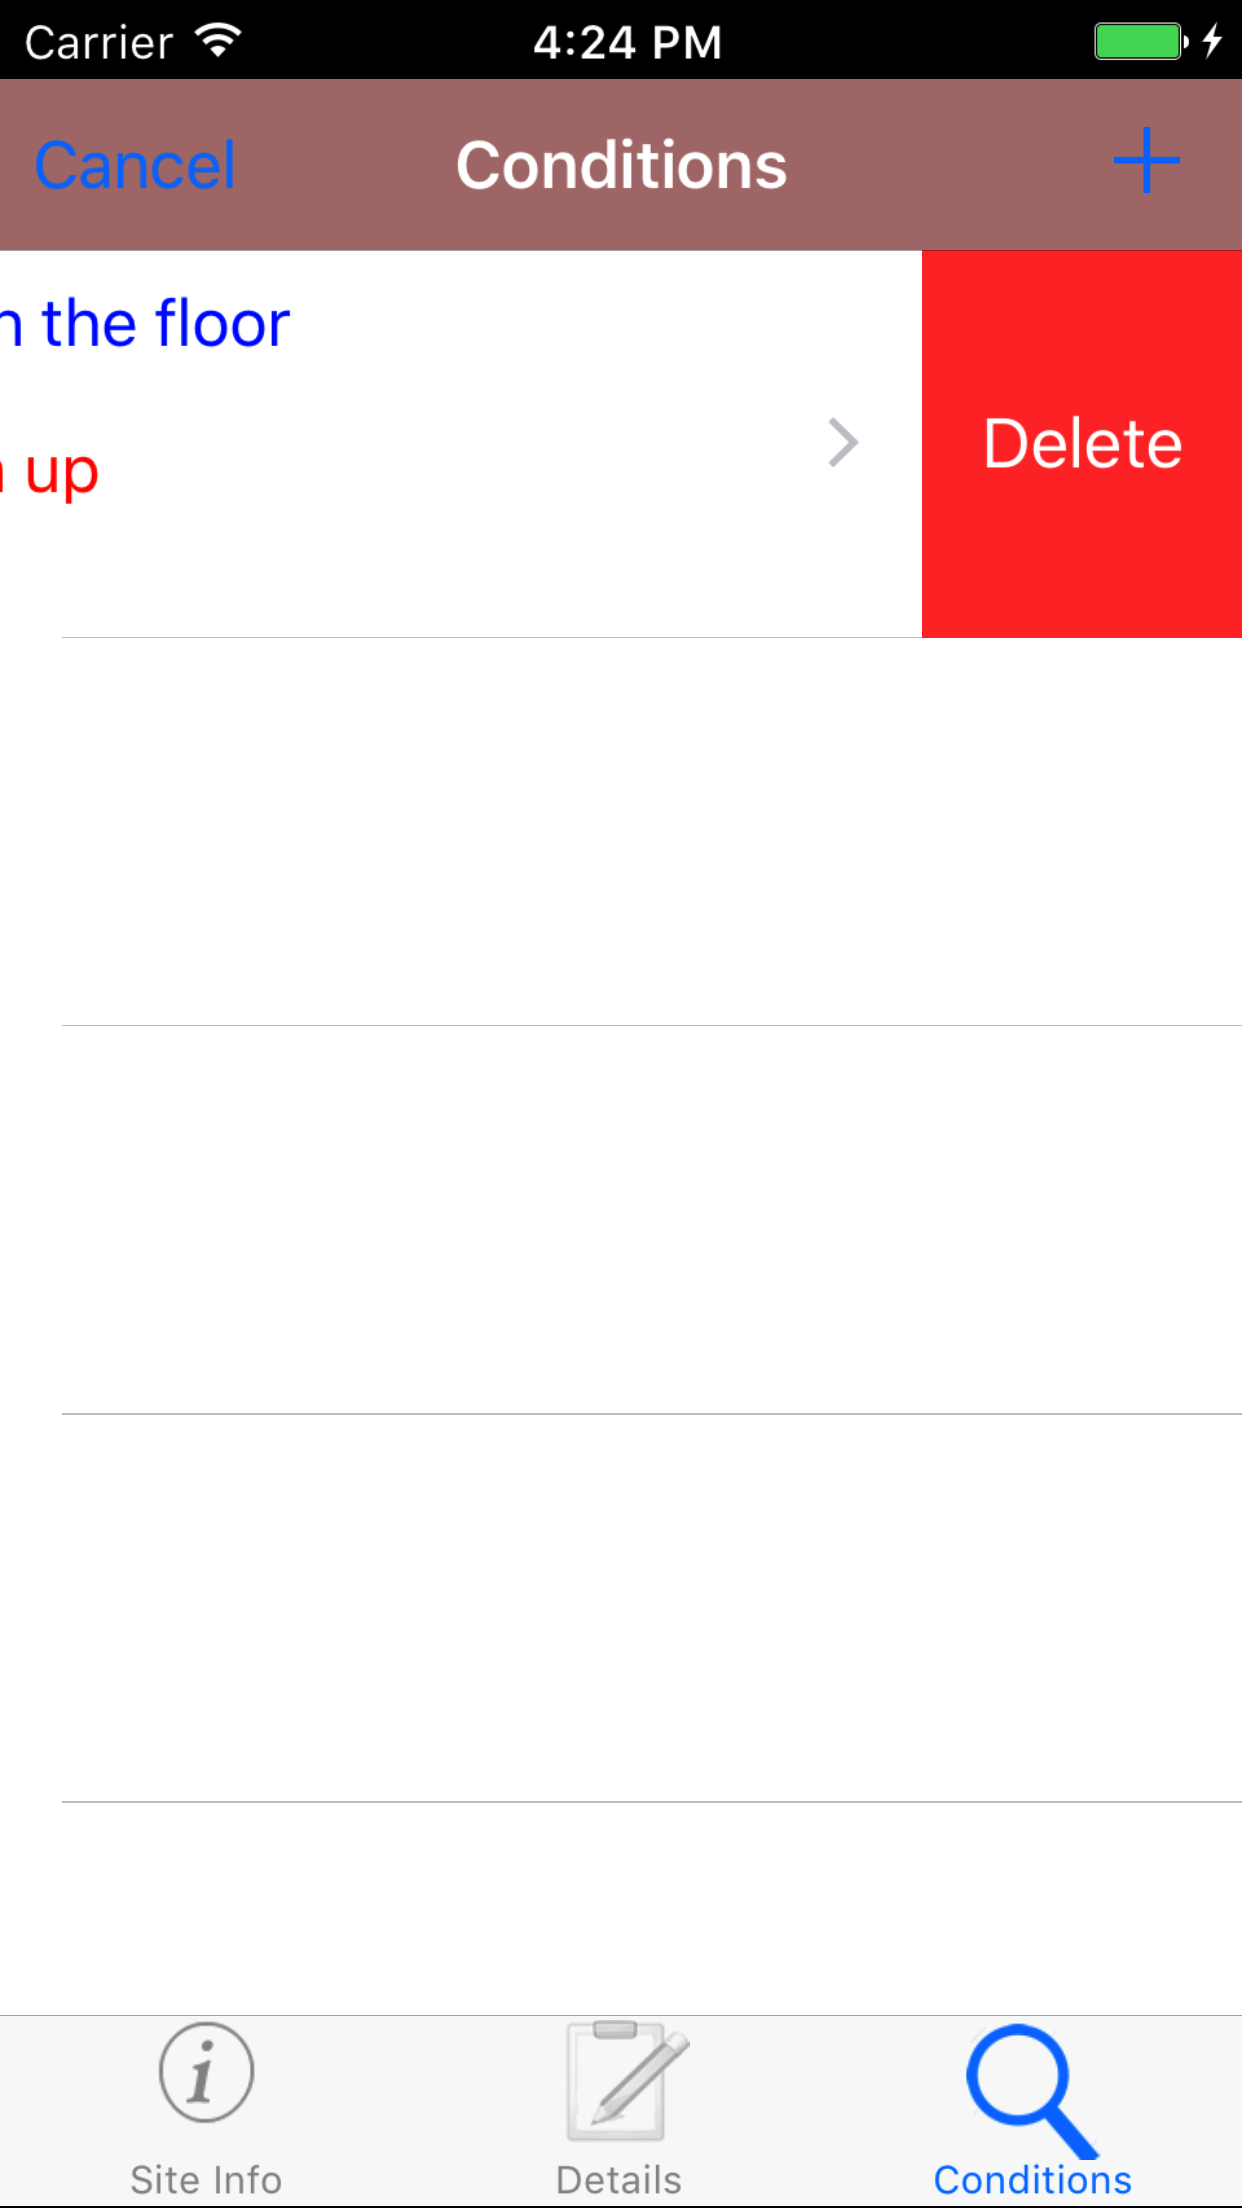
of conditions found, Listing the unsafe act or condition in blue text and the correction action in red text.
- Scroll the list of Conditions Found until the desired condition is displayed on the screen.
- Swipe from the right edge to the left to bring up the delete button for the condition found.
- Tap the Delete button. The condition found will be deleted.
|
|
| Steps 1-4 |
|
|
10.Submit Site Inspection |
|
Once on the Site Inspection you would like to Edit, on the first tab
Steps
- Tap Submit Site Inspection button to submit the site inspection.
|
|
|
| Step 1 |
|
|
|
11.Delete Site Inspection |
|
Once in the Site Inspection section
Steps
- Tap the second tab on the menu, the Site Inspection view.
To Search Site Inspections: Pull down on the list view, the search is defaulted to search by date enter the date in following
format YYYY-MM-DD. The other option for the Site Inspection search job site name. Enter your search
criteria and click the Search button.
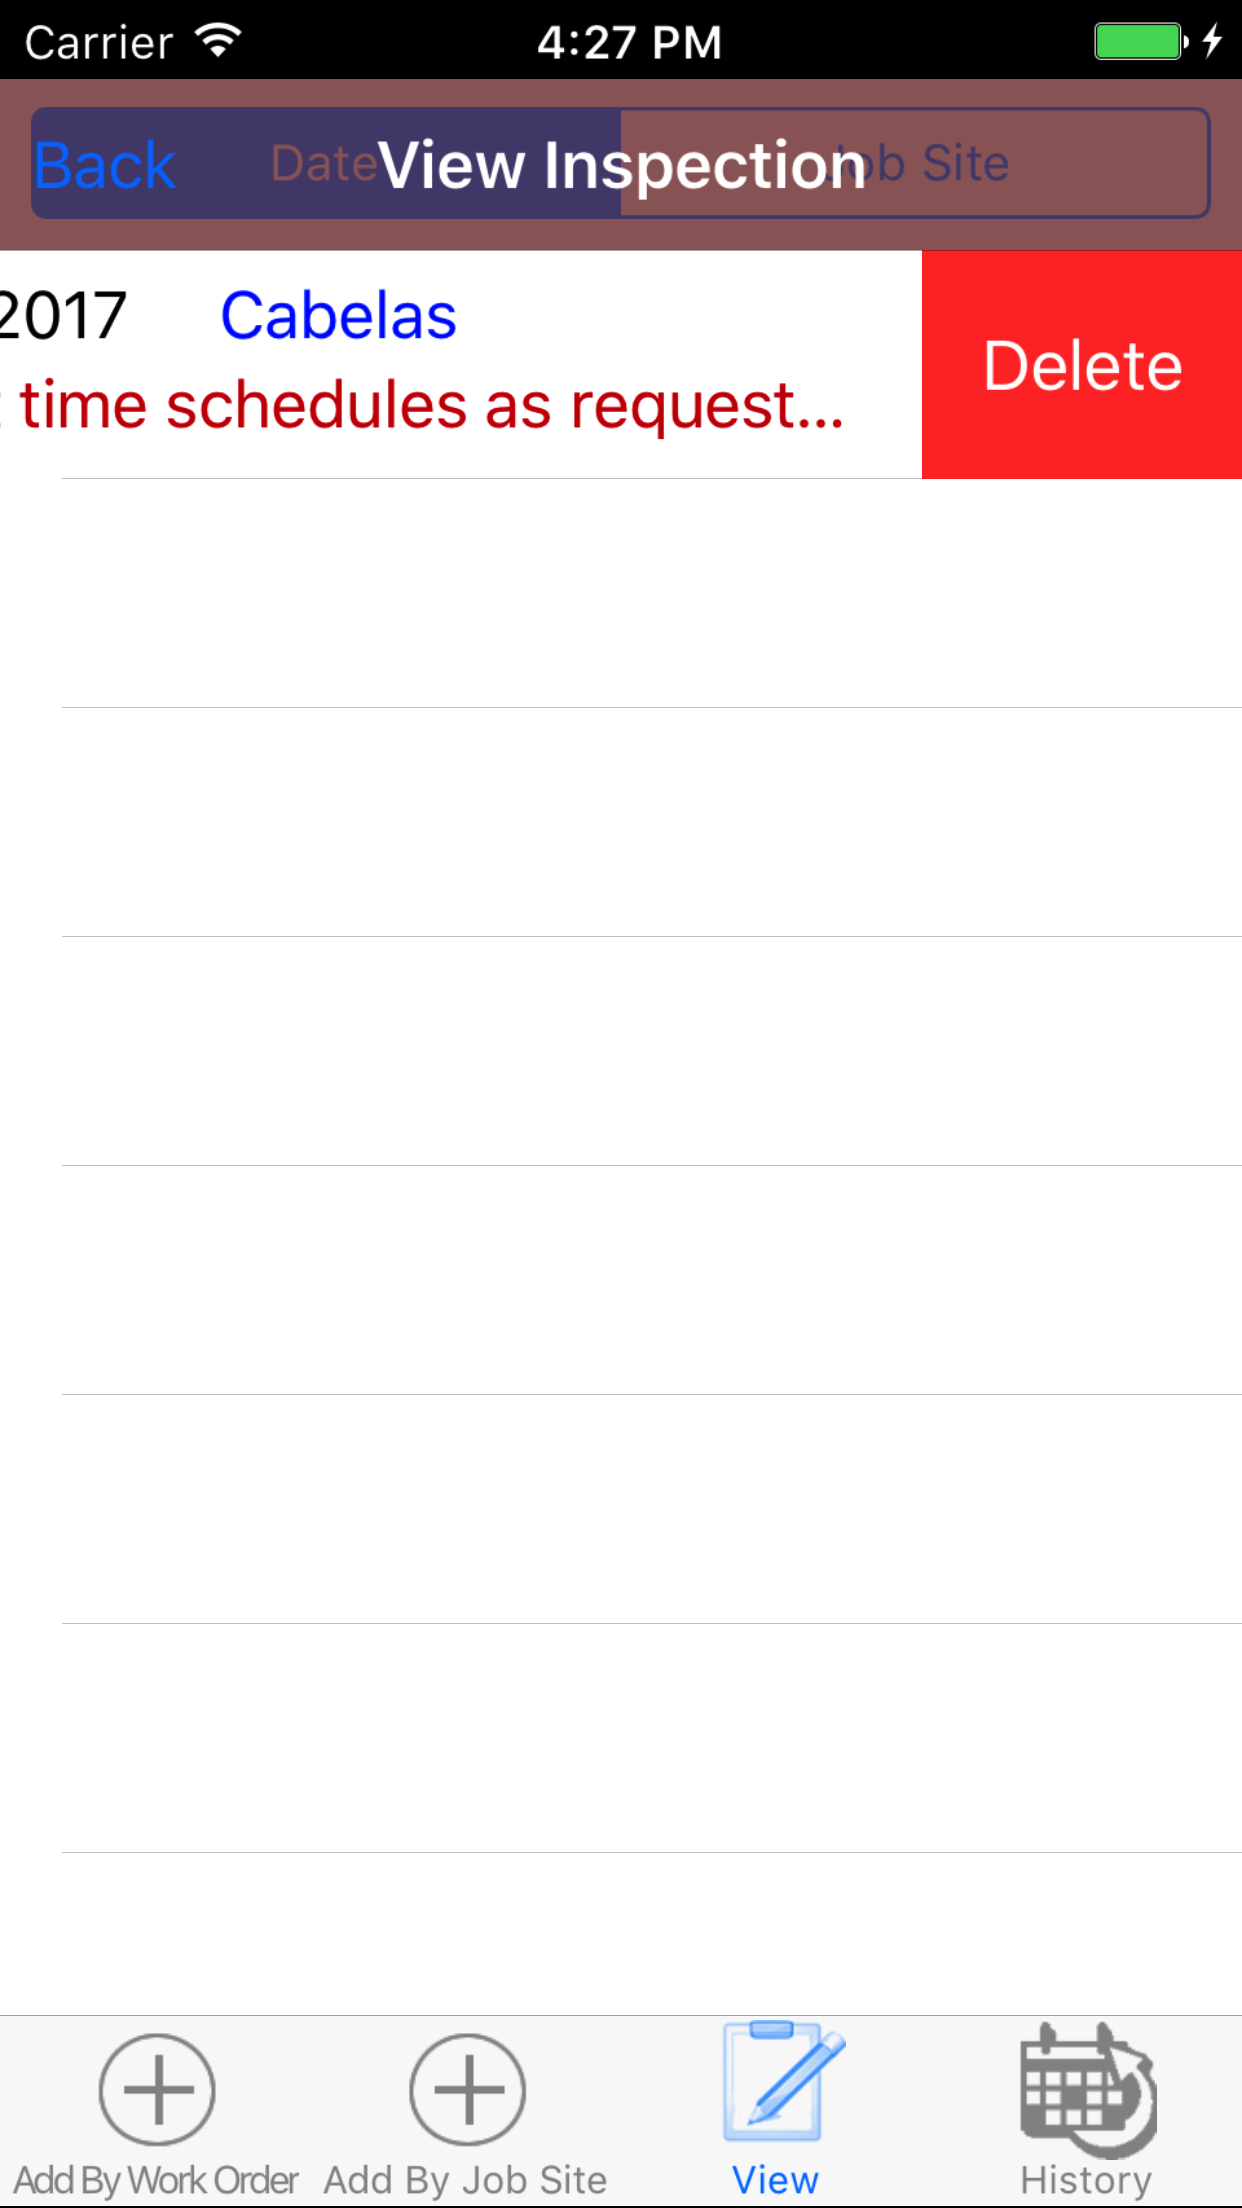
- Scroll the list of Site Inspections until the desired Site Inspection is displayed on the screen.
Listing the site inspection date in red text, the job site in red text and
the address in black text.
- Swipe from the right edge to the left to bring up the delete button for the site inspection.
- Tap the Delete button. The site inspection will be deleted.
|
|
|
| Steps 1-2 |
|
|
| Steps 3-4 |
|
|
12.View Closed Site Inspection |
|
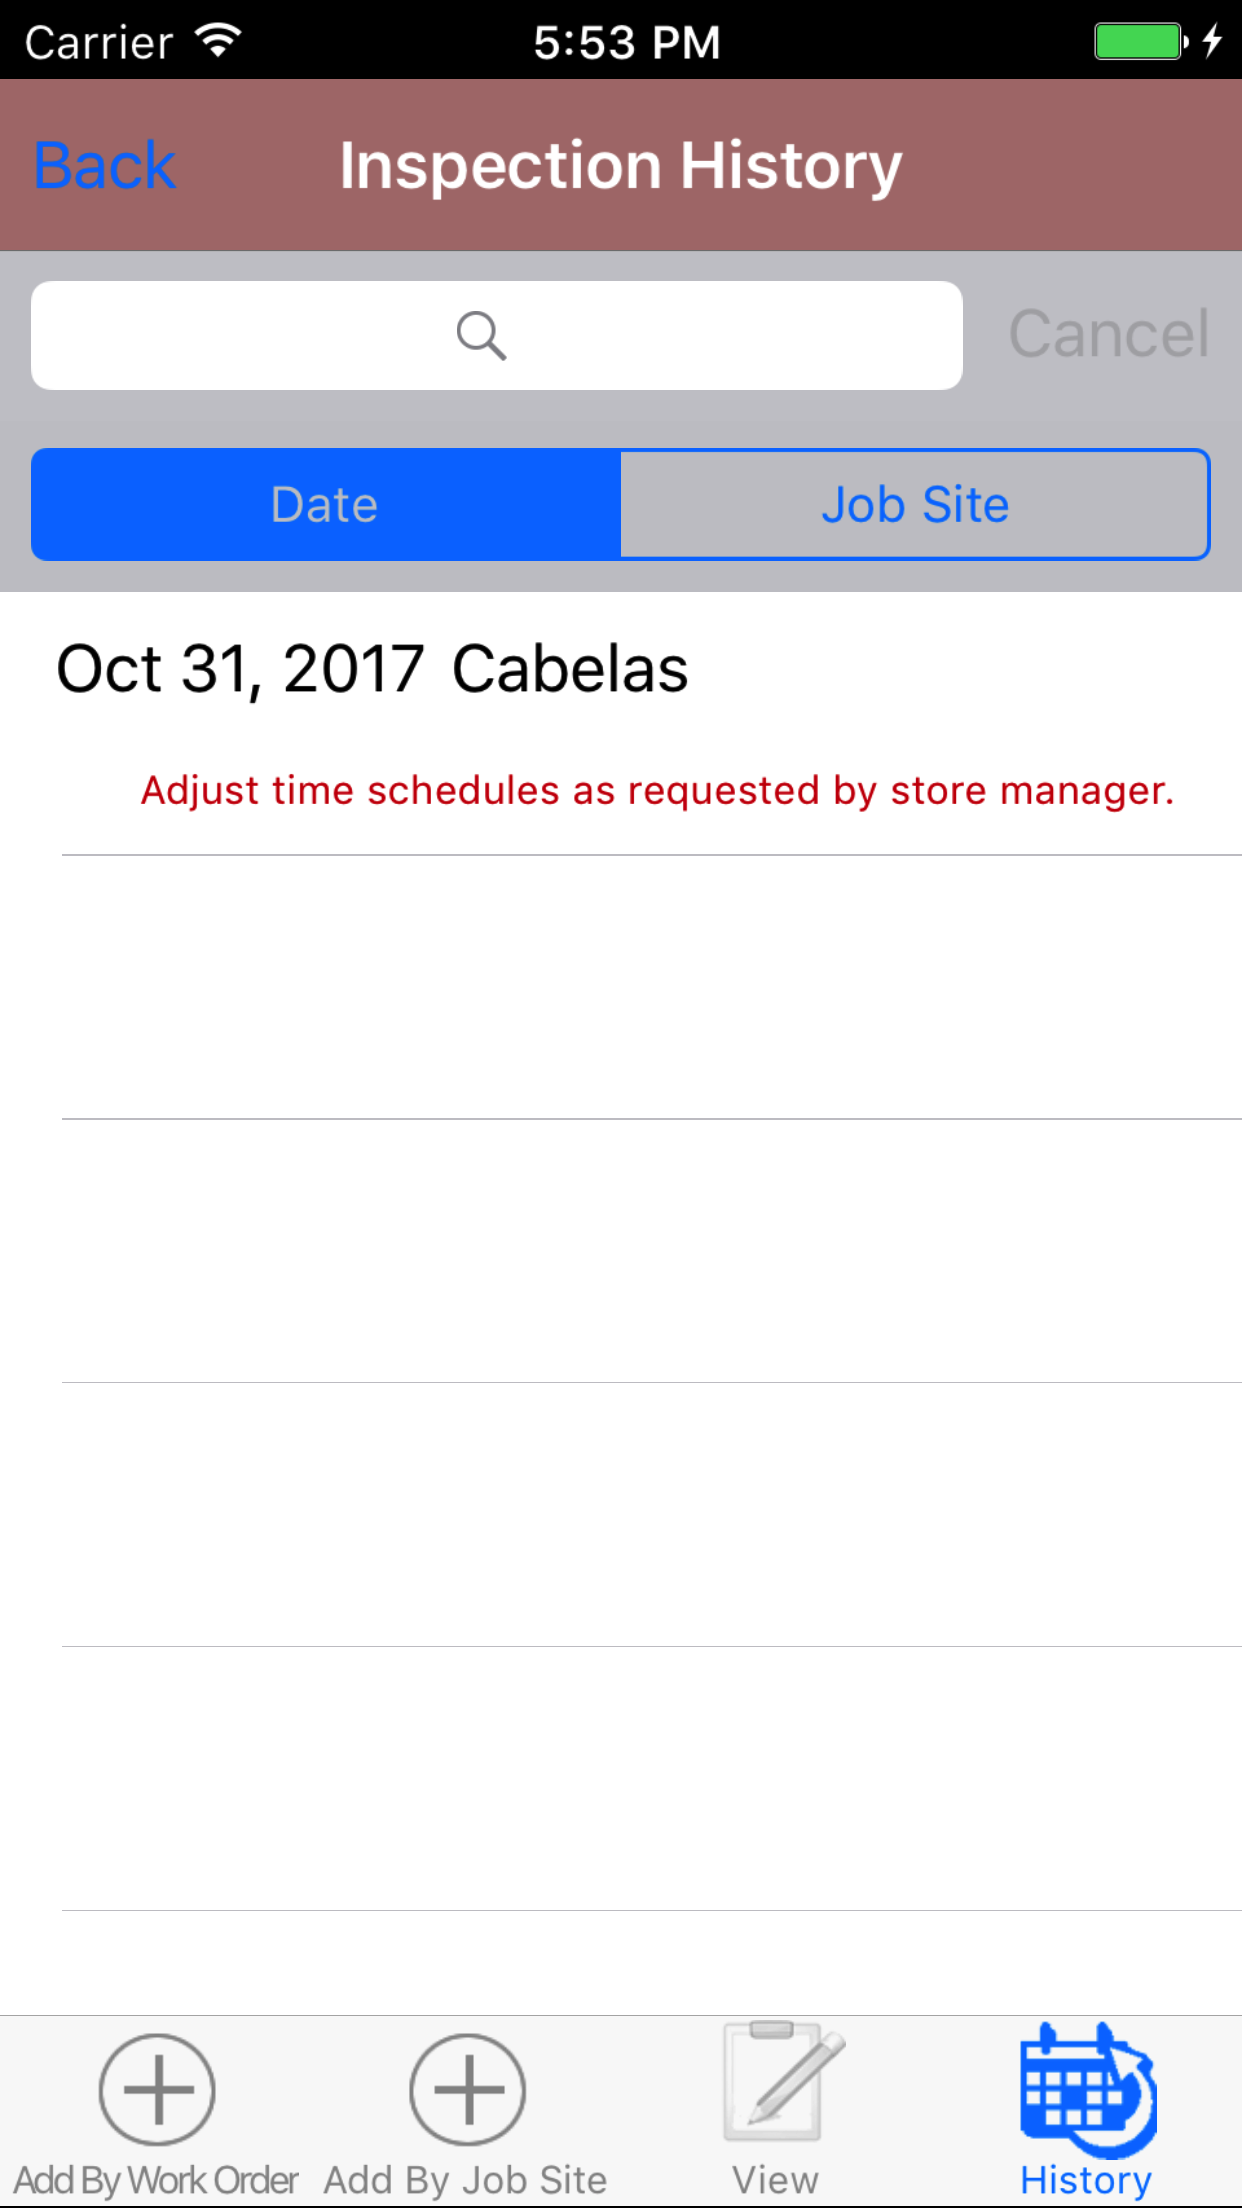
After Site Inspections have been closed out, they will be available to look at through the History view on the iPhone Application.
- Then tap on the third tab on the bottom of the screen, this opens the Site Inspection History screen.
The screen loads with emergency response plan date and job site name in black with the scope of work in red.
To Search Site Inspections: Pull down on the list view, the search is defaulted to search by date enter the date in following
format YYYY-MM-DD. The other option for the Site Inspection search job site name. Enter your search
criteria and click the Search button.
- Scroll the list of Site Inspections until the desired Site Inspection is displayed on the screen.
Listing the site inspection date in red text, the job site in red text and
the address in black text.
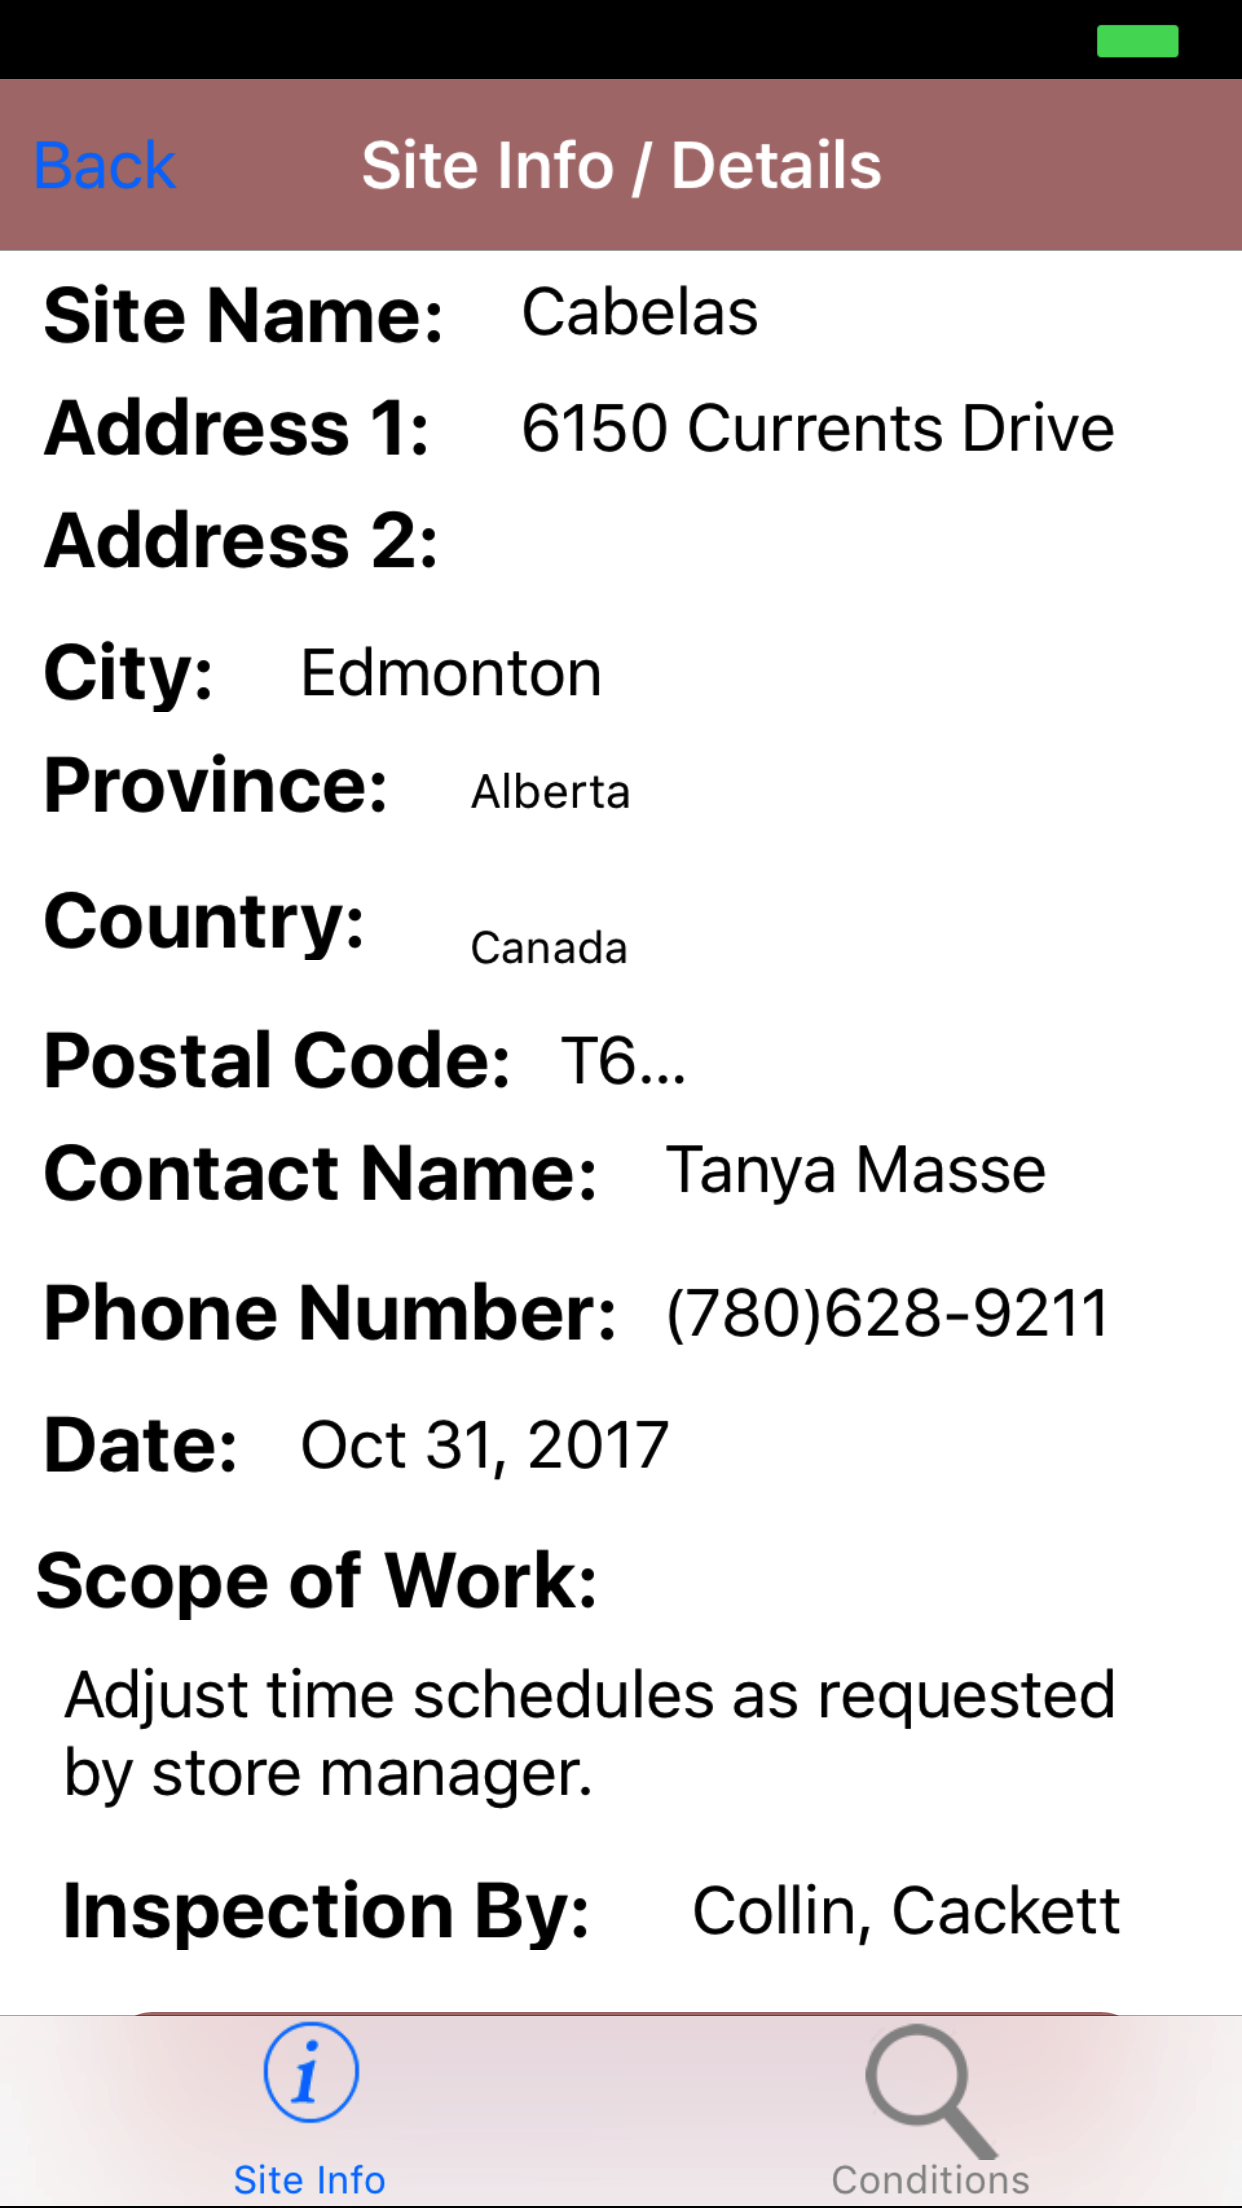
- Tap the site inspection you would like to view, this loads the site inspection detail page of the history section.
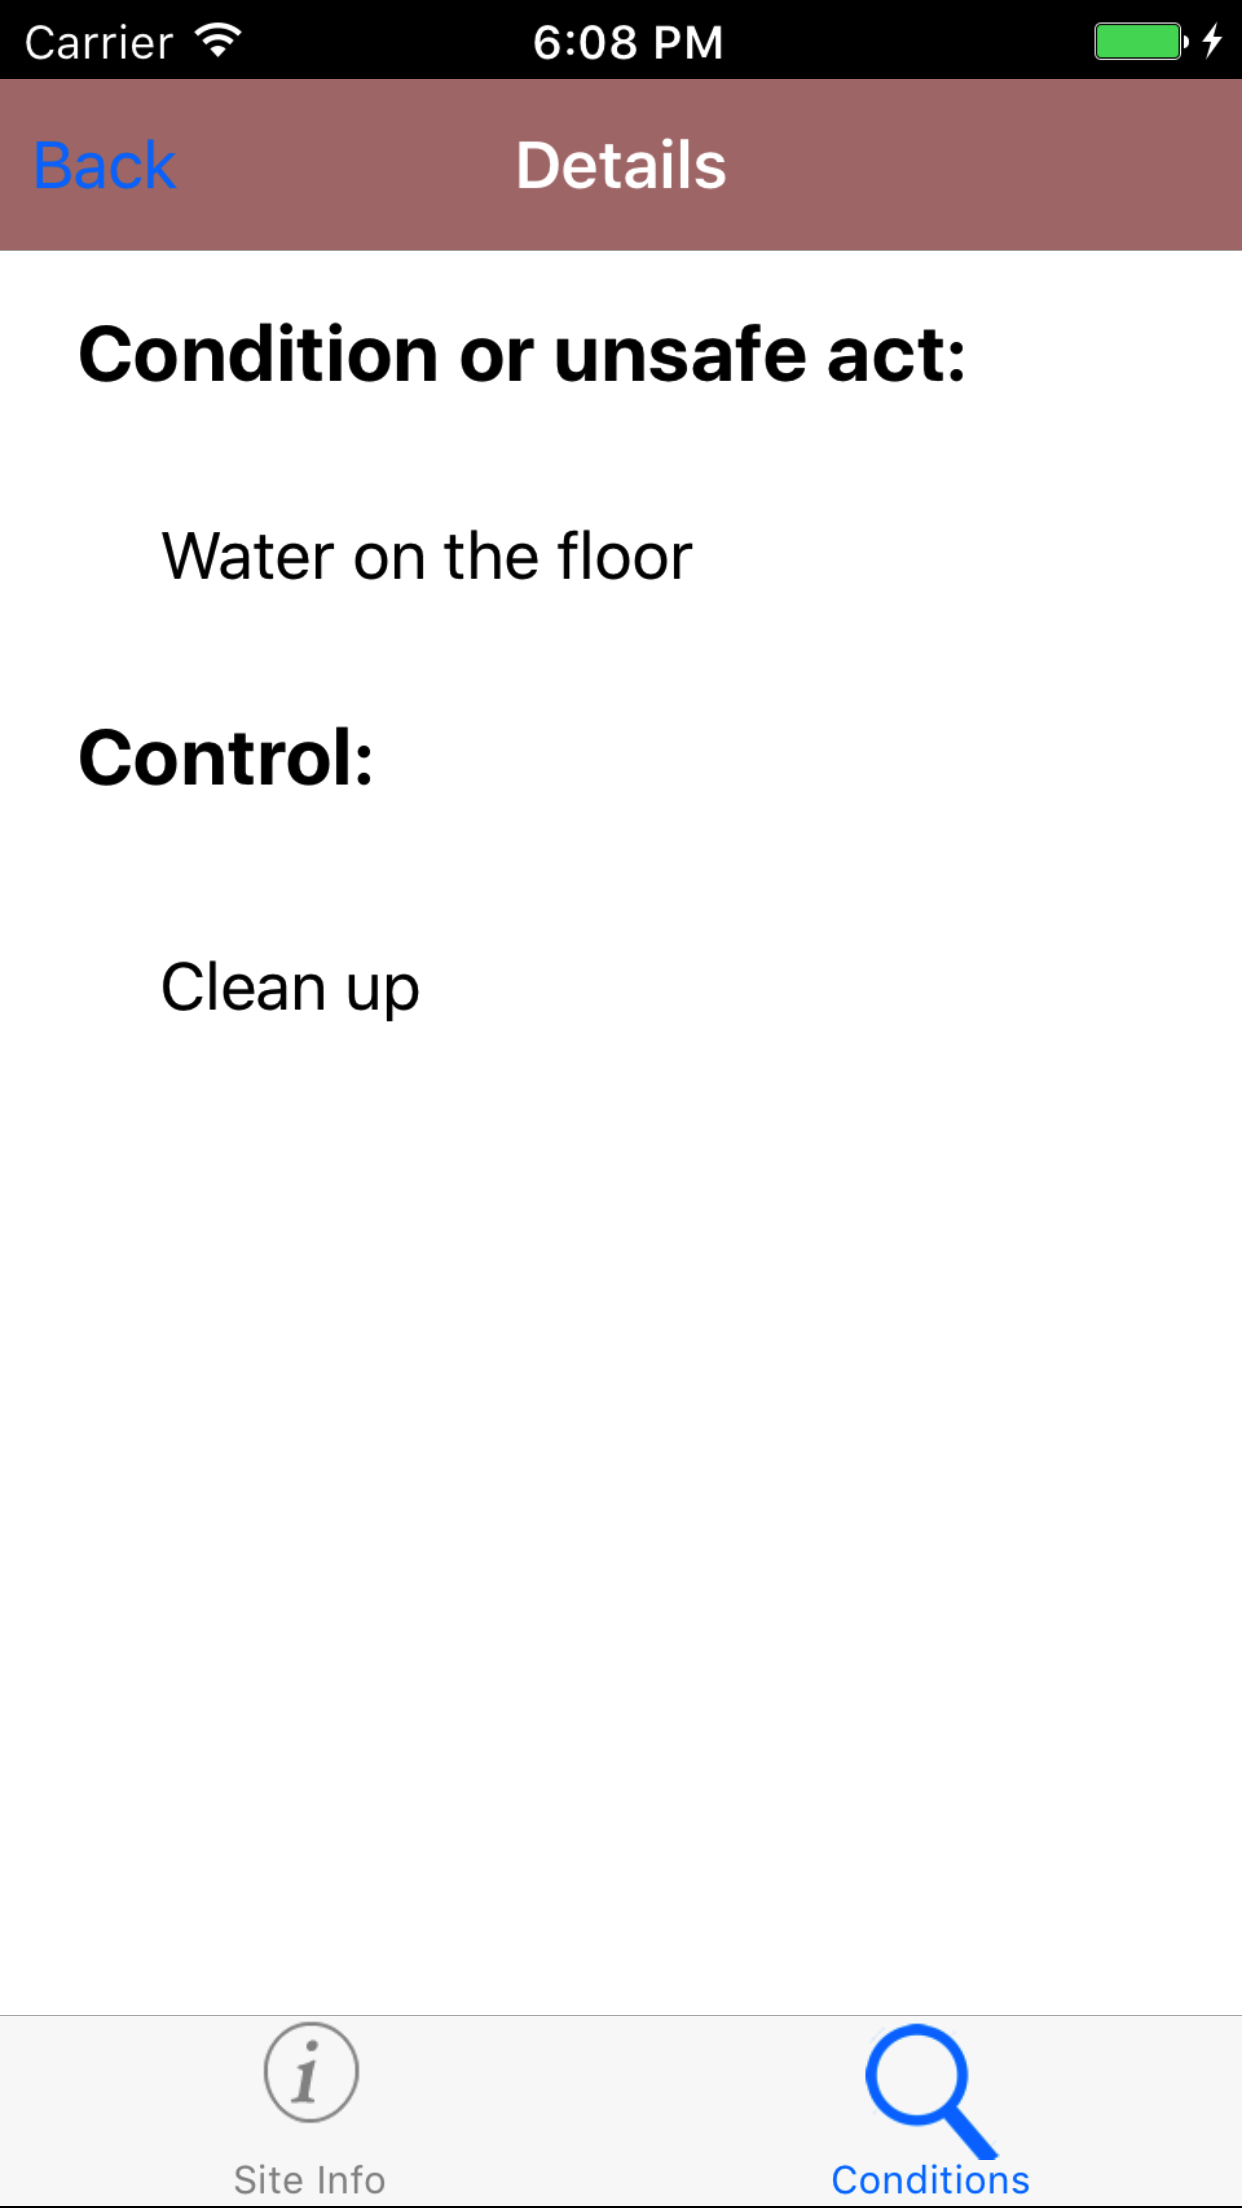
- Tap the second tab, the conditions found tab of the History view. This loads with the conditions found of the Site Inspection.
- Tap on the Conditions Found to view the details of the condition found.
|
|
|
|
| Steps 1-2 |
|
|
| Step 3 |
|
|
| Steps 4 |
|
|
| Steps 5 |
|
|
|
13.Update Site Inspections |
|
As other field staff and employee's perform site inspection the library of
existing site inspections for field staff to use will grow, there will be a need for field staff to update their IPhone application.
Steps
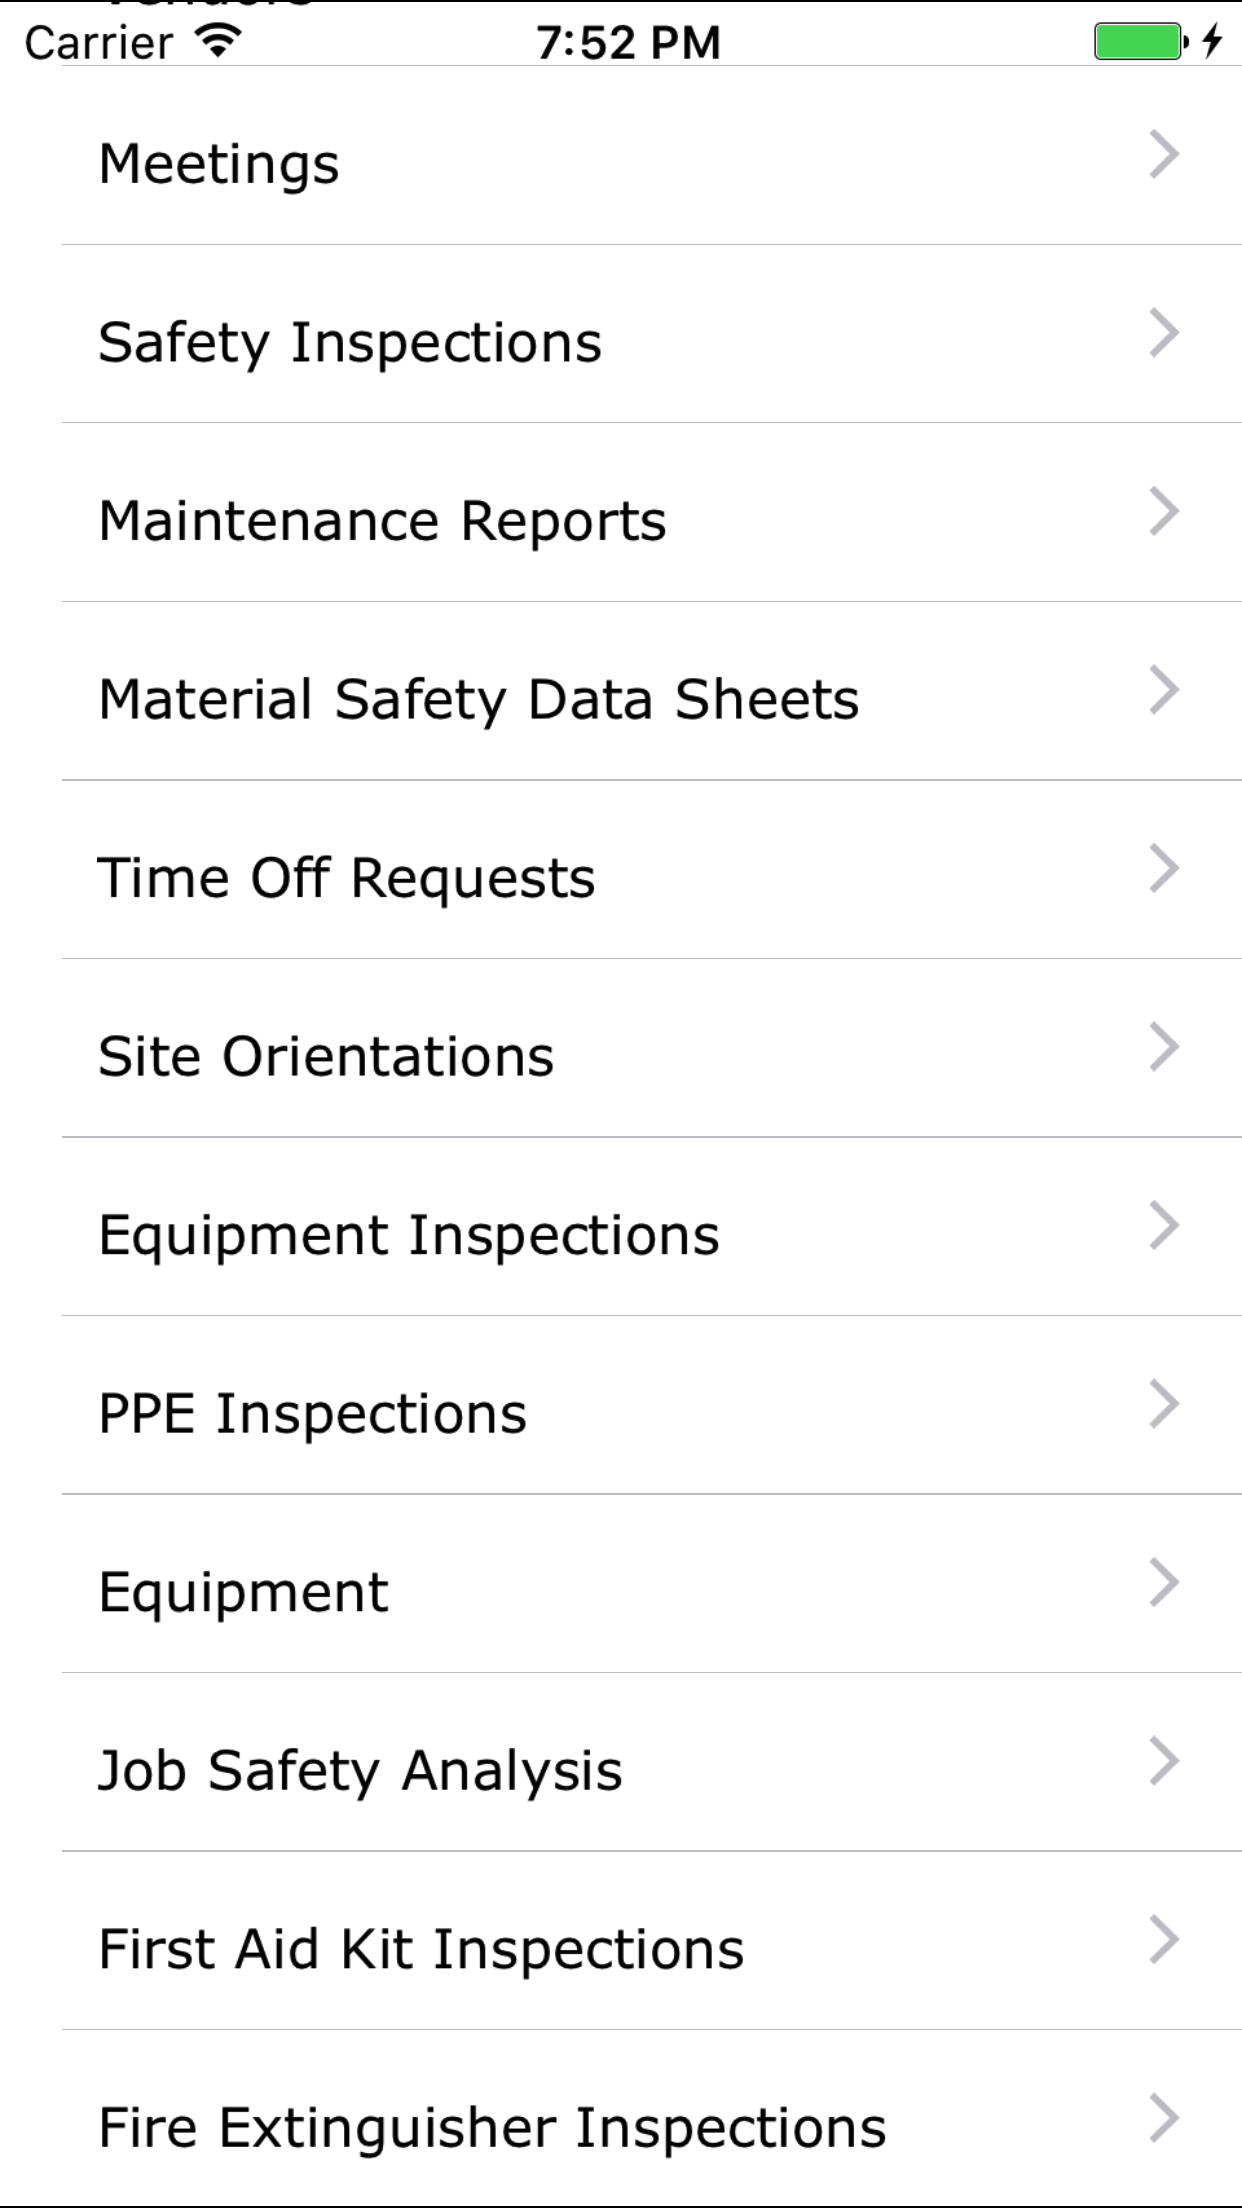
- From the Menu screen, tap the Updates button.
- Scroll the list of sections until you find the Site Inspection button.
- Tap on the Site Inspection button.
|
|
|
|
| Step 1 |
|
|
| Steps 2-3 |
|
|