|
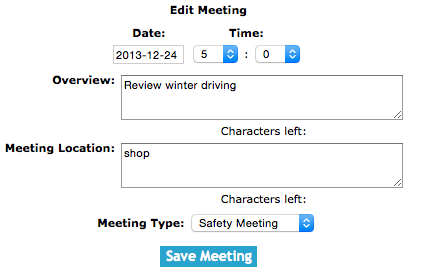
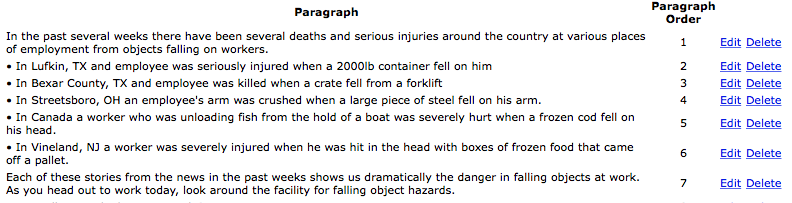
The meeting section is set up to allow company staff to create a meeting and specify
the meeting date, meeting time, location, and the agenda. Staff can write out an
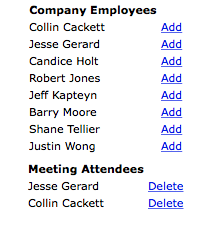
outline of what will be discussed in the meeting, add the employee’s they would like
to attend and send an email notification to those employee$s so they can view the
meetings agenda and meeting notes prior to attending the meeting.
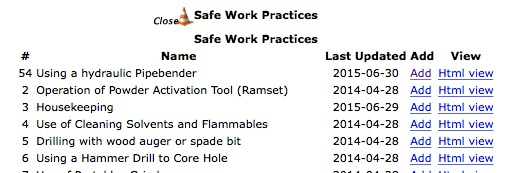
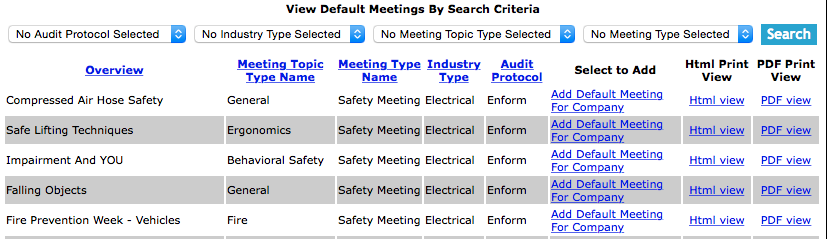
Staff can choose from default meetings, Safety Net has provided a library of meetings
to choose from staff can choose a default meeting and add the meetings content to
their company meeting. The default meetings have been organized into 20 meeting topic
types with hundreds of meetings to choose from.
Meetings can be created before the meeting or Staff can have a attendee can take notes
during the meeting. Staff will sign that they attended and participated in the meeting
on the Safety Net smart phone application and the meetings minutes and all attendees
signatures will be sent and saved on Safety Nets server when the meeting is submitted.
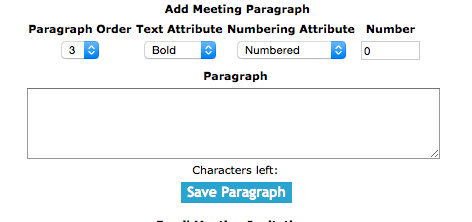
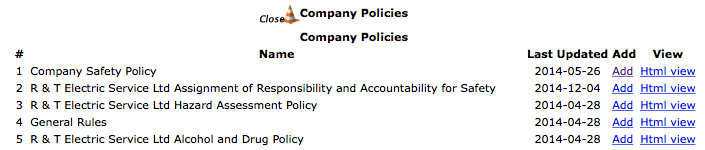
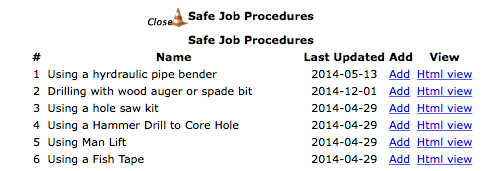
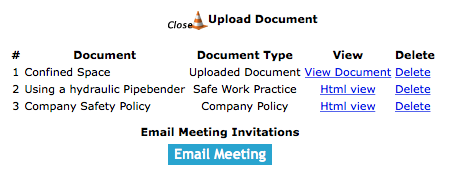
A new feature on SafetyNet Meeting section, is the inclusion of Meeting Documents on every meeting.
Staff can include either company policies, safe work practices, and safe job procedures, to be reviewed
in the course of a meeting. These reviews when meetings are closed out will update employees
review status on the safety manual documents that have been reviewed during the meeting.
Some Safety Programs require that staff complete reviews of safety manual documents on some form of annual
basis, including these reviews in the course of meetings helps get this procedure completed as part of regular
meetings. Another advantage of reviewing safety manual documents in meetings is younger field staff can learn
from the older field staffs experience when documents are discussed in a open environment.
Along with Safety Manual Documents staff can include uploaded PDF documents that can be added to the safety meeting.
This is a excellent way of including important information in a meeting.
The one requirement that SafetyNet requires is that in order for field staff to get credit of a safety document
review they must complete the safety meeting and Sign in the Smartphone Application and the meeting must be closed
for the document review records to be added for the employees involved in the meeting.
SafetyNets Smartphone application allows field staff to complete safety meetings
in the field and submit them to the system. For information about completing a safety
meetings through the Smartphone click here.
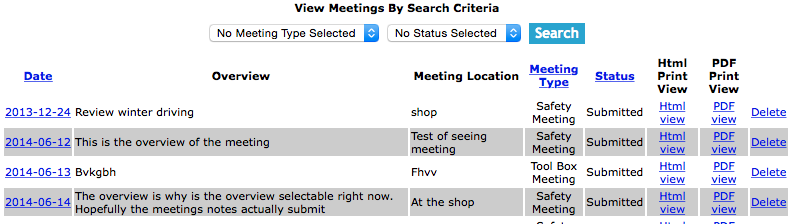
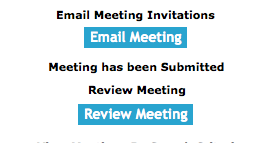
Once a Meeting is submitted:
- 1. An Email can be sent to the employee to review the meetings. (For more information
about email alerts check the email alerts section of the manual).
- 2. Safety Net Statistics are updated for the number of meetings completed for companies and employees.
Configuring in Safety Net Meeting Start Time
You might notice that when on the Add meeting screen the meeting time is set to your companies regular start time.
To configure your companies start time in Safety Net users can be configure this setting in the company safety settings.
Management, Office Staff and Safety Officers can edit how often meetings should occur in the Company section when they edit the Company Safety settings.
(For more information about company safety setting check out the Edit Company Safety Settings in the Company section of the manual.)
Configuring Safety Net for how often a Meeting should occur
Safety Net can be configured to for how often a safety meeting and tool box meetings should occur. Its important to remember that
important part of setting rules as part of a safety program is, that your company can meet those goals. Setting too high of a
standard and not reaching it, is as bad as setting to low of a standard.
Setting up how often safety and tool box meetings should occur
How often meetings must occur is a function of your companies policy regarding meetings. To configure Safety Net for how often meetings
should occur can be configured in the company safety settings.
Management, Office Staff and Safety Officers can edit how often meetings should occur in the Company section when they edit the Company Safety settings.
(For more information about company safety setting check out the Edit Company Safety Settings in the Company section of the manual.)
The meeting section is only available to users that have the meeting section turned on for their users group.
To change users access to meetings, management and office staff
can change access in Application Section to view the information about the Application Section Click Here
|