|
The personal protective equipment inspections section allows a user to create and record a personal protective equipment inspection. Personal Protective Equipment Inspections can be created from a company personal protective equipment inspection.
Safetynet allows a your companies staff to setup a specific personal protective equipment inspection for personal protective equipment your company use, personal protective equipment inspections can be created from default personal protective equipment inspections.
Once a equipment inspection is submitted:
- An email can be sent to the person in charge of the personal protective equipment inspections. (For more information about email alerts check the email alerts section of the manual)
- Tasks that are marked as requiring attention are added to a maintenance report, once the inspection is submitted.
- R & T Electric Pro Statistics are updated for number of personal protective equipment inspections completed for companies, and employees.
Maintenance Report Creation
Maintenance Reports are created for tasks that require attention, once a personal protective equipment inspection
is submitted to R & T Electric Pro. The following reports also create maintenance reports when submitted:
- Vehicle Inspections
- Personal Protective Equipment Inspections
- Equipment Inspections
- First Aid Kit Inspections
- Fire Extinguisher Inspections
For more information about Maintenance Reports in this manual click here to view the maintenance section.
Configuring how often Personal Protective Equipment Inspections are to Occur
How often personal protective equipment inspections must occur is a function of your companies policy regarding personal protective equipment inspections. To configure R & T Electric Pro for how often personal protective equipment inspections
should occur can be configured in the company safety settings.
Management, Office Staff and Safety Officers can edit how often personal protective equipment inspections should occur in the Company section when they edit the Company Safety settings. For more information about configuring your
company safety settings in this manual click here to view the company section.
Creating Company Equipment Inspection
The Company Personal Protective Equipment Inspections section allows companies to develop the personal protective equipment inspections documents for personal protective equipment the company uses on a regular basis, without having to carry out a personal protective equipment inspection. For more information about managing
company personal protective equipment inspections in this manual click here to view the Company Personal Protective Equipment Inspection section.
|
|
|
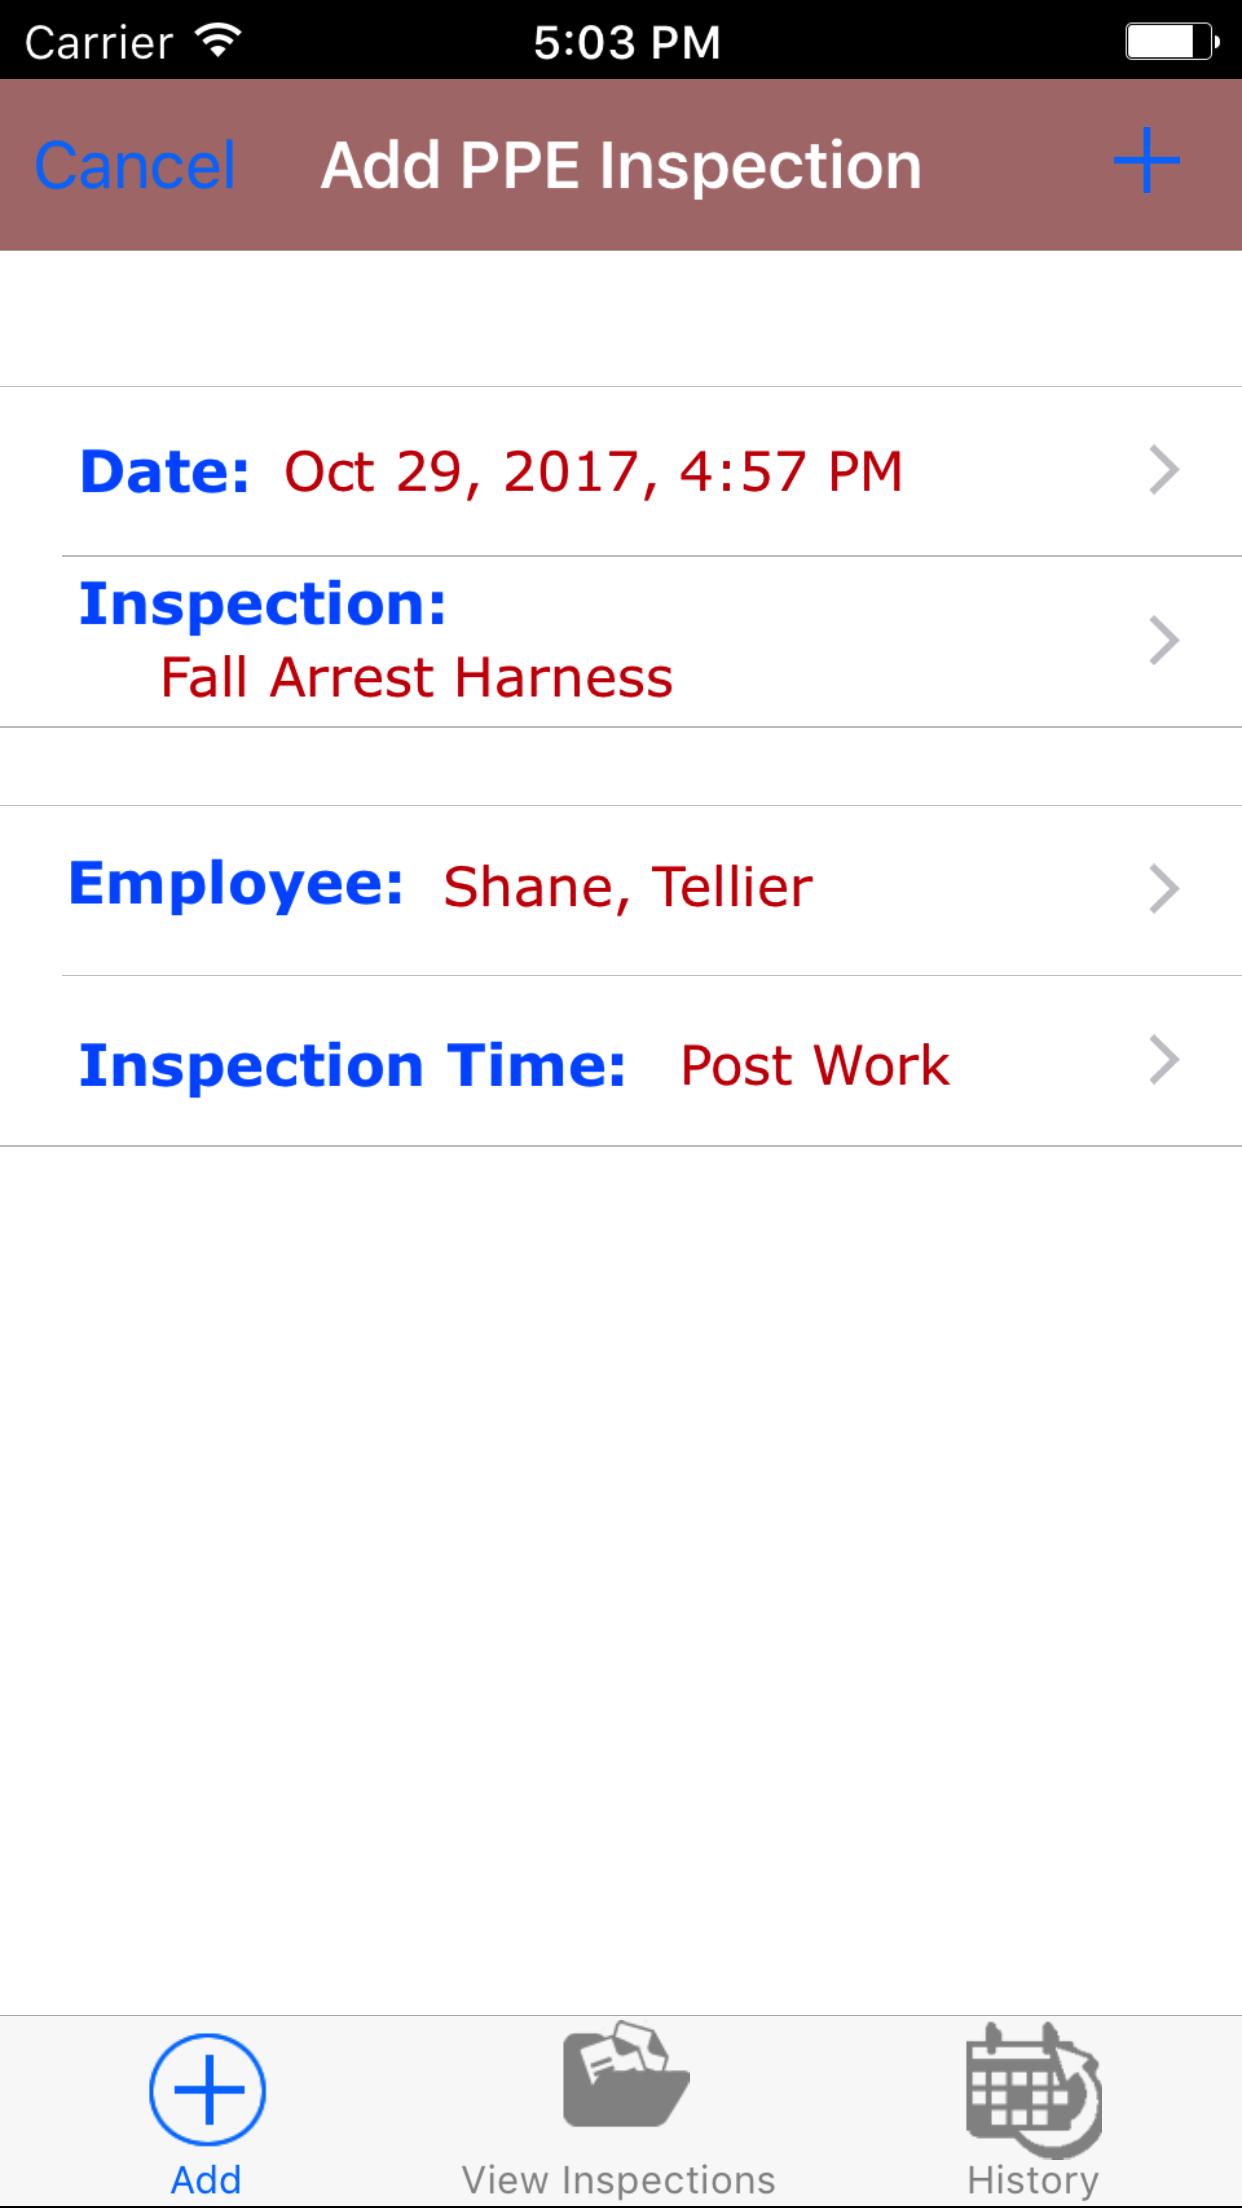
1.Add Personal Protective Equipment Inspection From Company Personal Protective Equipment Inspection |
Steps
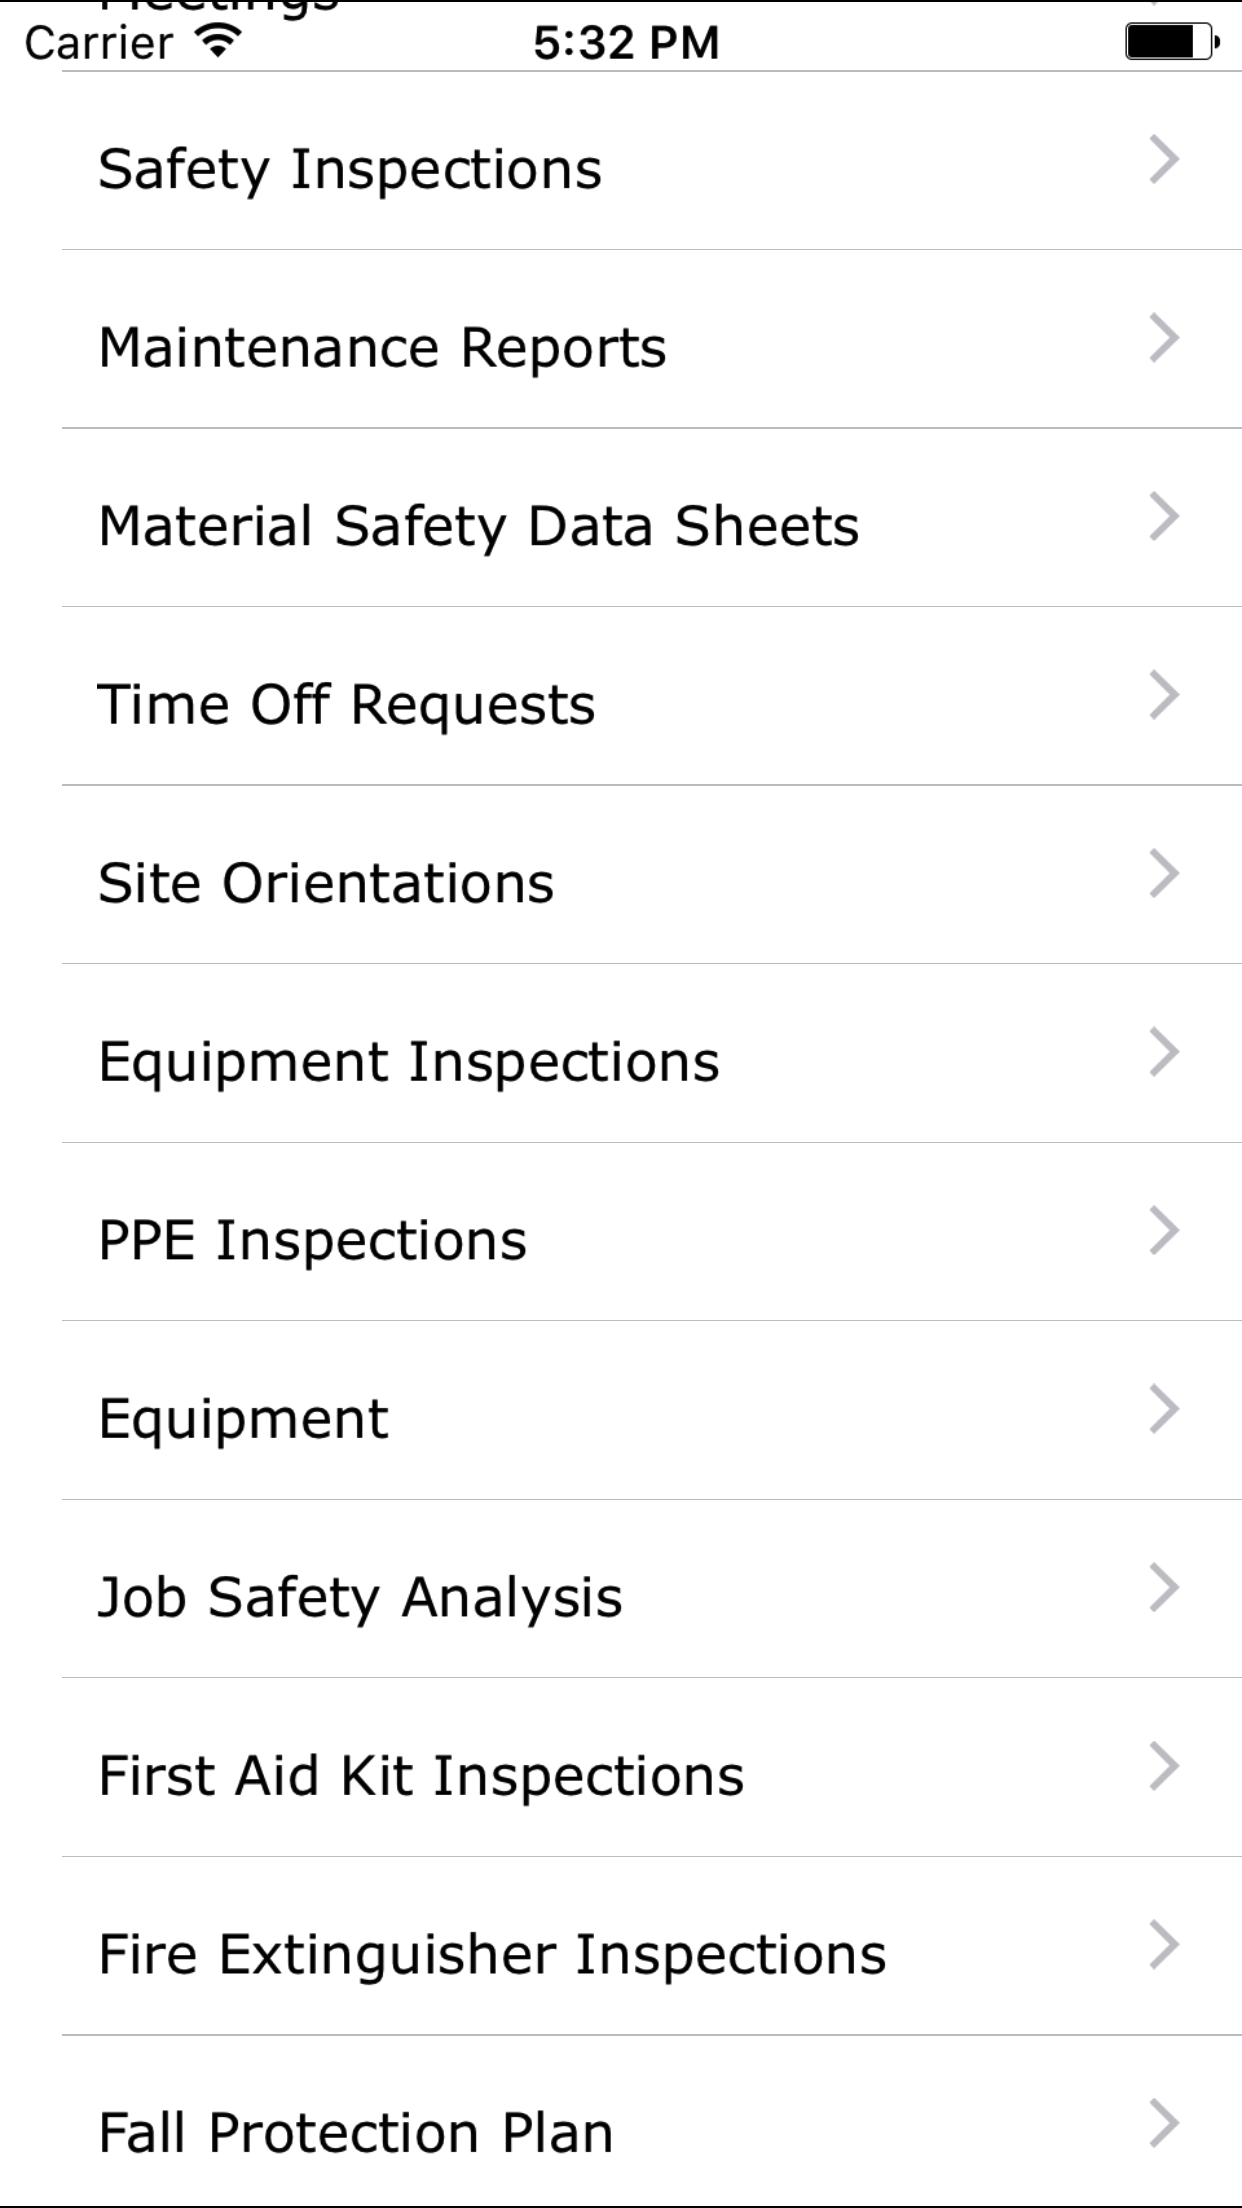
- From the Main Menu screen, tap the On Inspection button.
- Then tap on the PPE Inspection button.
- This opens the Add Personal Protective Equipment Inspection From Company Personal Protective Equipment Inspection entry screen.
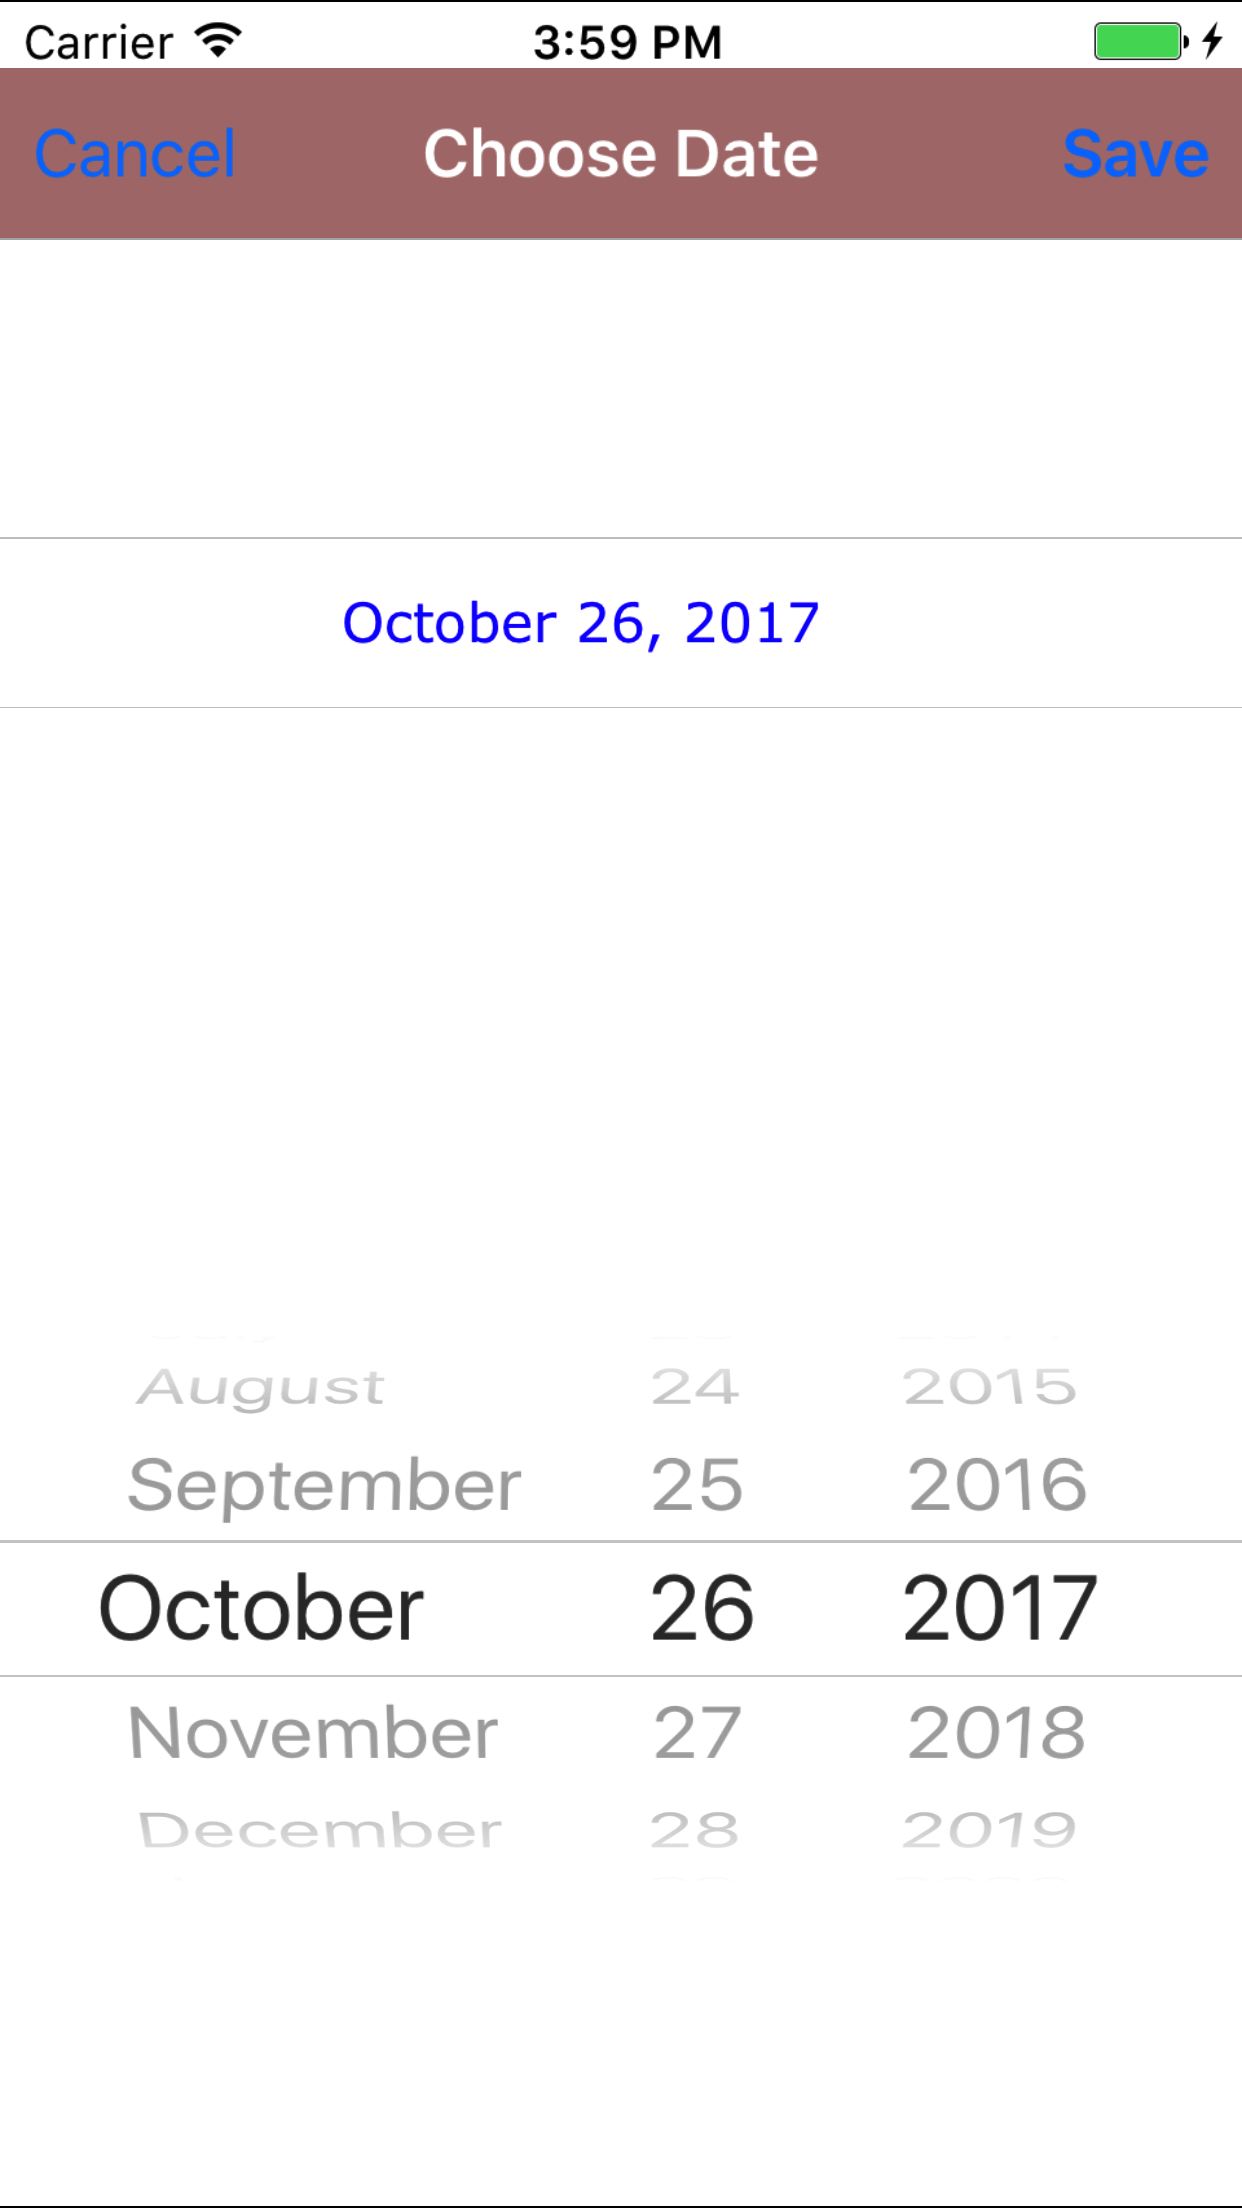
- Date: The date field allow field staff to choose the date the personal protective equipment inspection occurs.
- Tap the Date field to open the Choose Date screen.
- Scroll the date wheel on the far left of the screen until the desired date is highlighted.
- Return to the Add Personal Protective Equipment Inspection screen by either tapping Save in the top right corner to select the highlighted date or tapping Cancel in the top left corner to leave the Date: field unchanged.
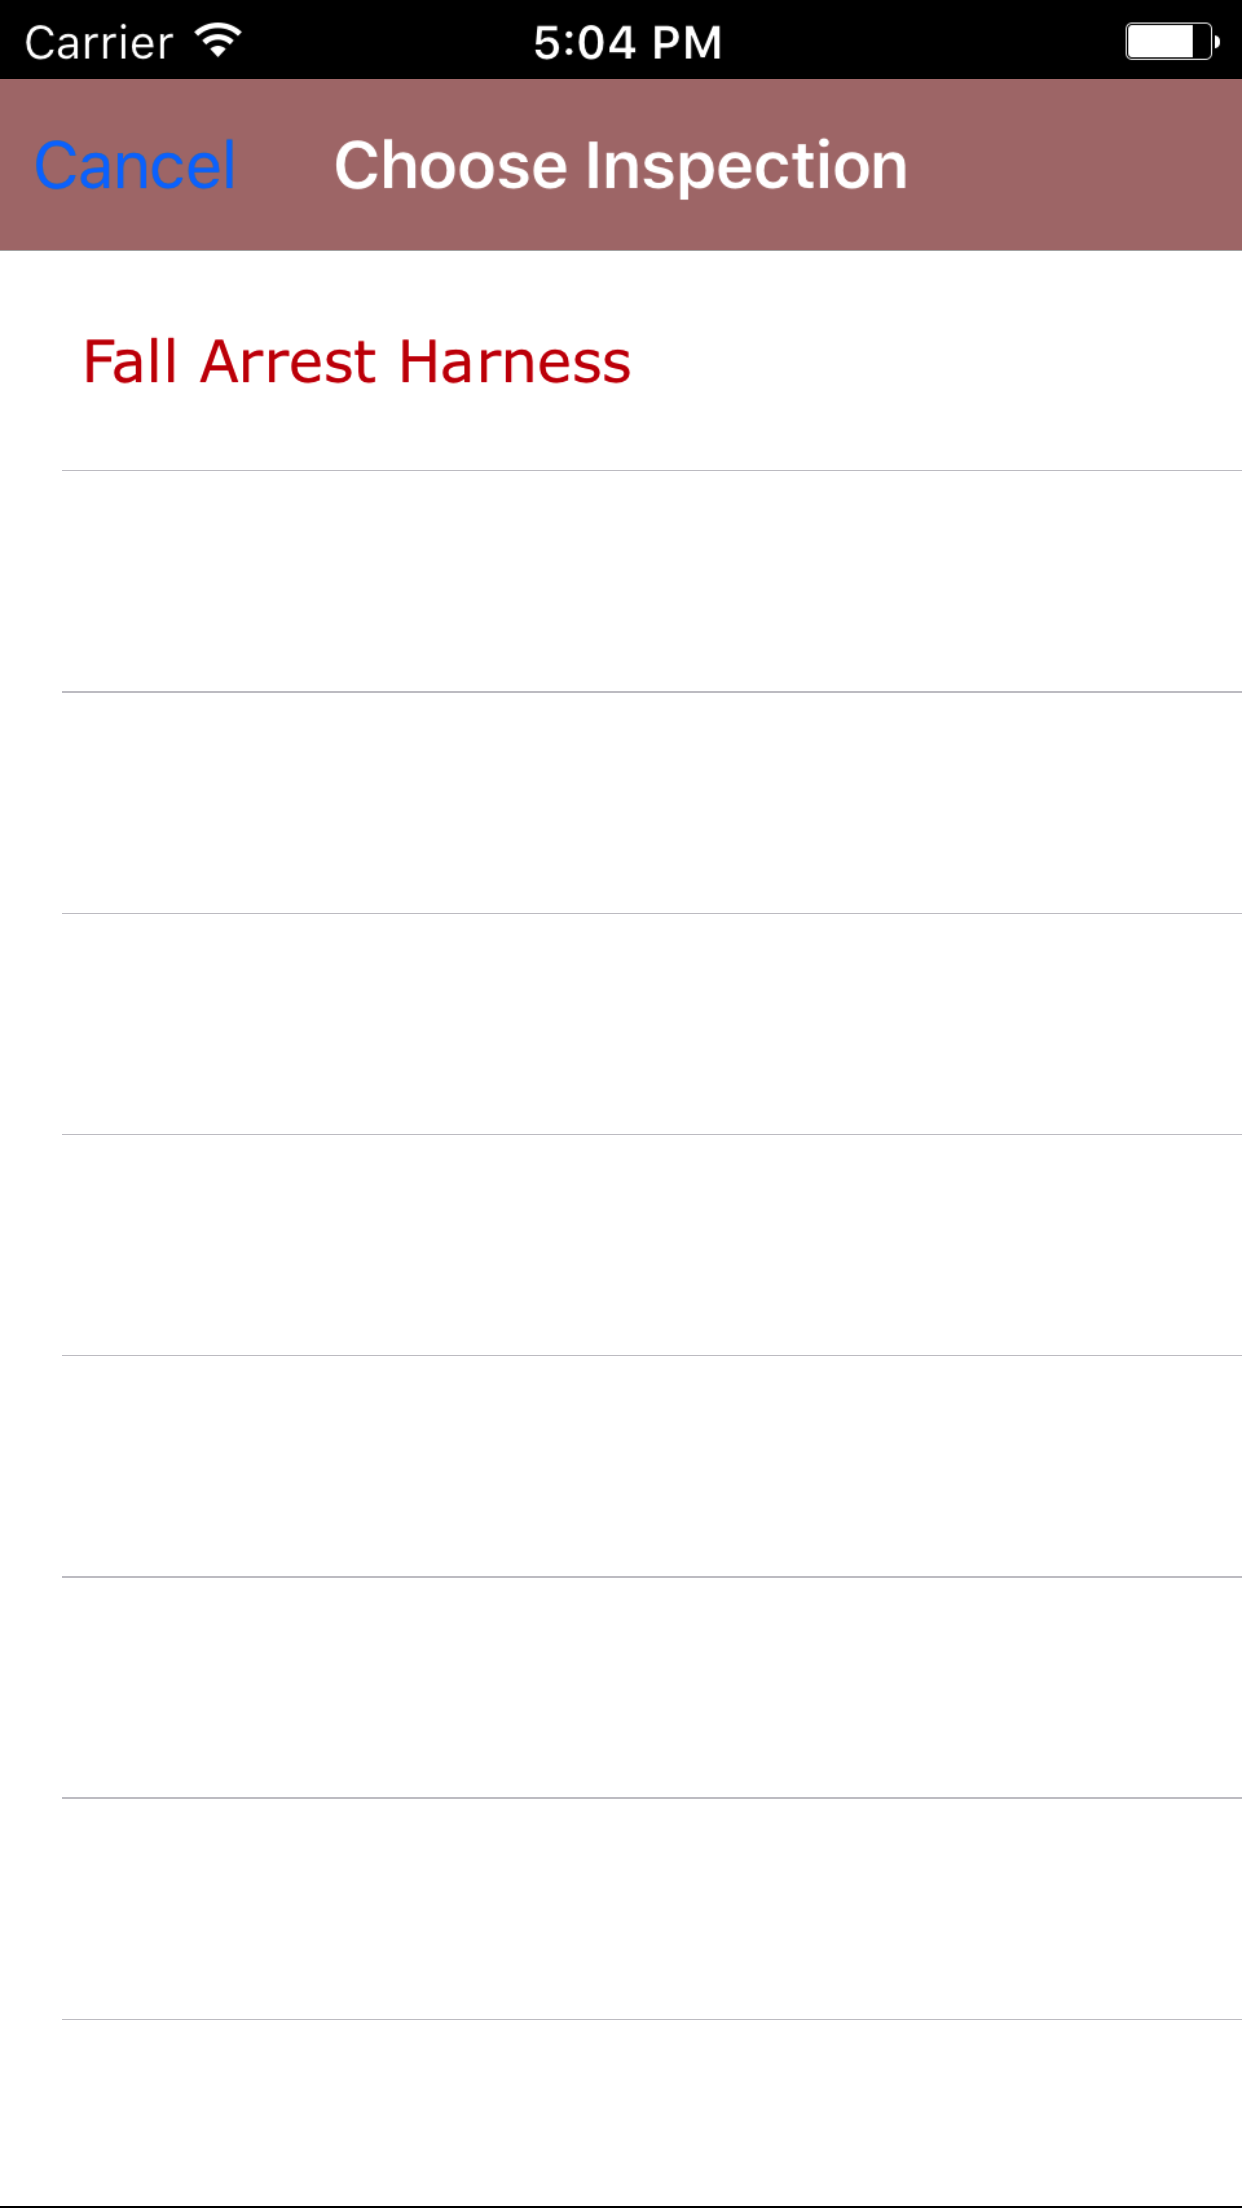
- Tap the Company Personal Protective Equipment Inspection field to open the Choose Company Personal Protective Equipment Inspection screen.
Company Personal Protective Equipment Inspection are listed in descending order personal protective equipment inspection names.
Note: Company Personal Protective Equipment Inspections by nature will be updated and added to the list all the time, so it may be necessary to update the list click here.
- Scroll the list of personal protective equipment inspection names until the desired personal protective equipment inspection name is displayed on the screen.
- Tap the desired personal protective equipment inspection to select it or tap Back in the top left corner to leave the Company Personal Protective Equipment Inspection field unchanged and return to the Add Personal Protective Equipment Inspection screen.
- Return to the Add Personal Protective Equipment Inspection screen by either tapping the appropriate equipment inspection or tapping Cancel in the top left corner to leave the Company Personal Protective Equipment Inspection field unchanged.
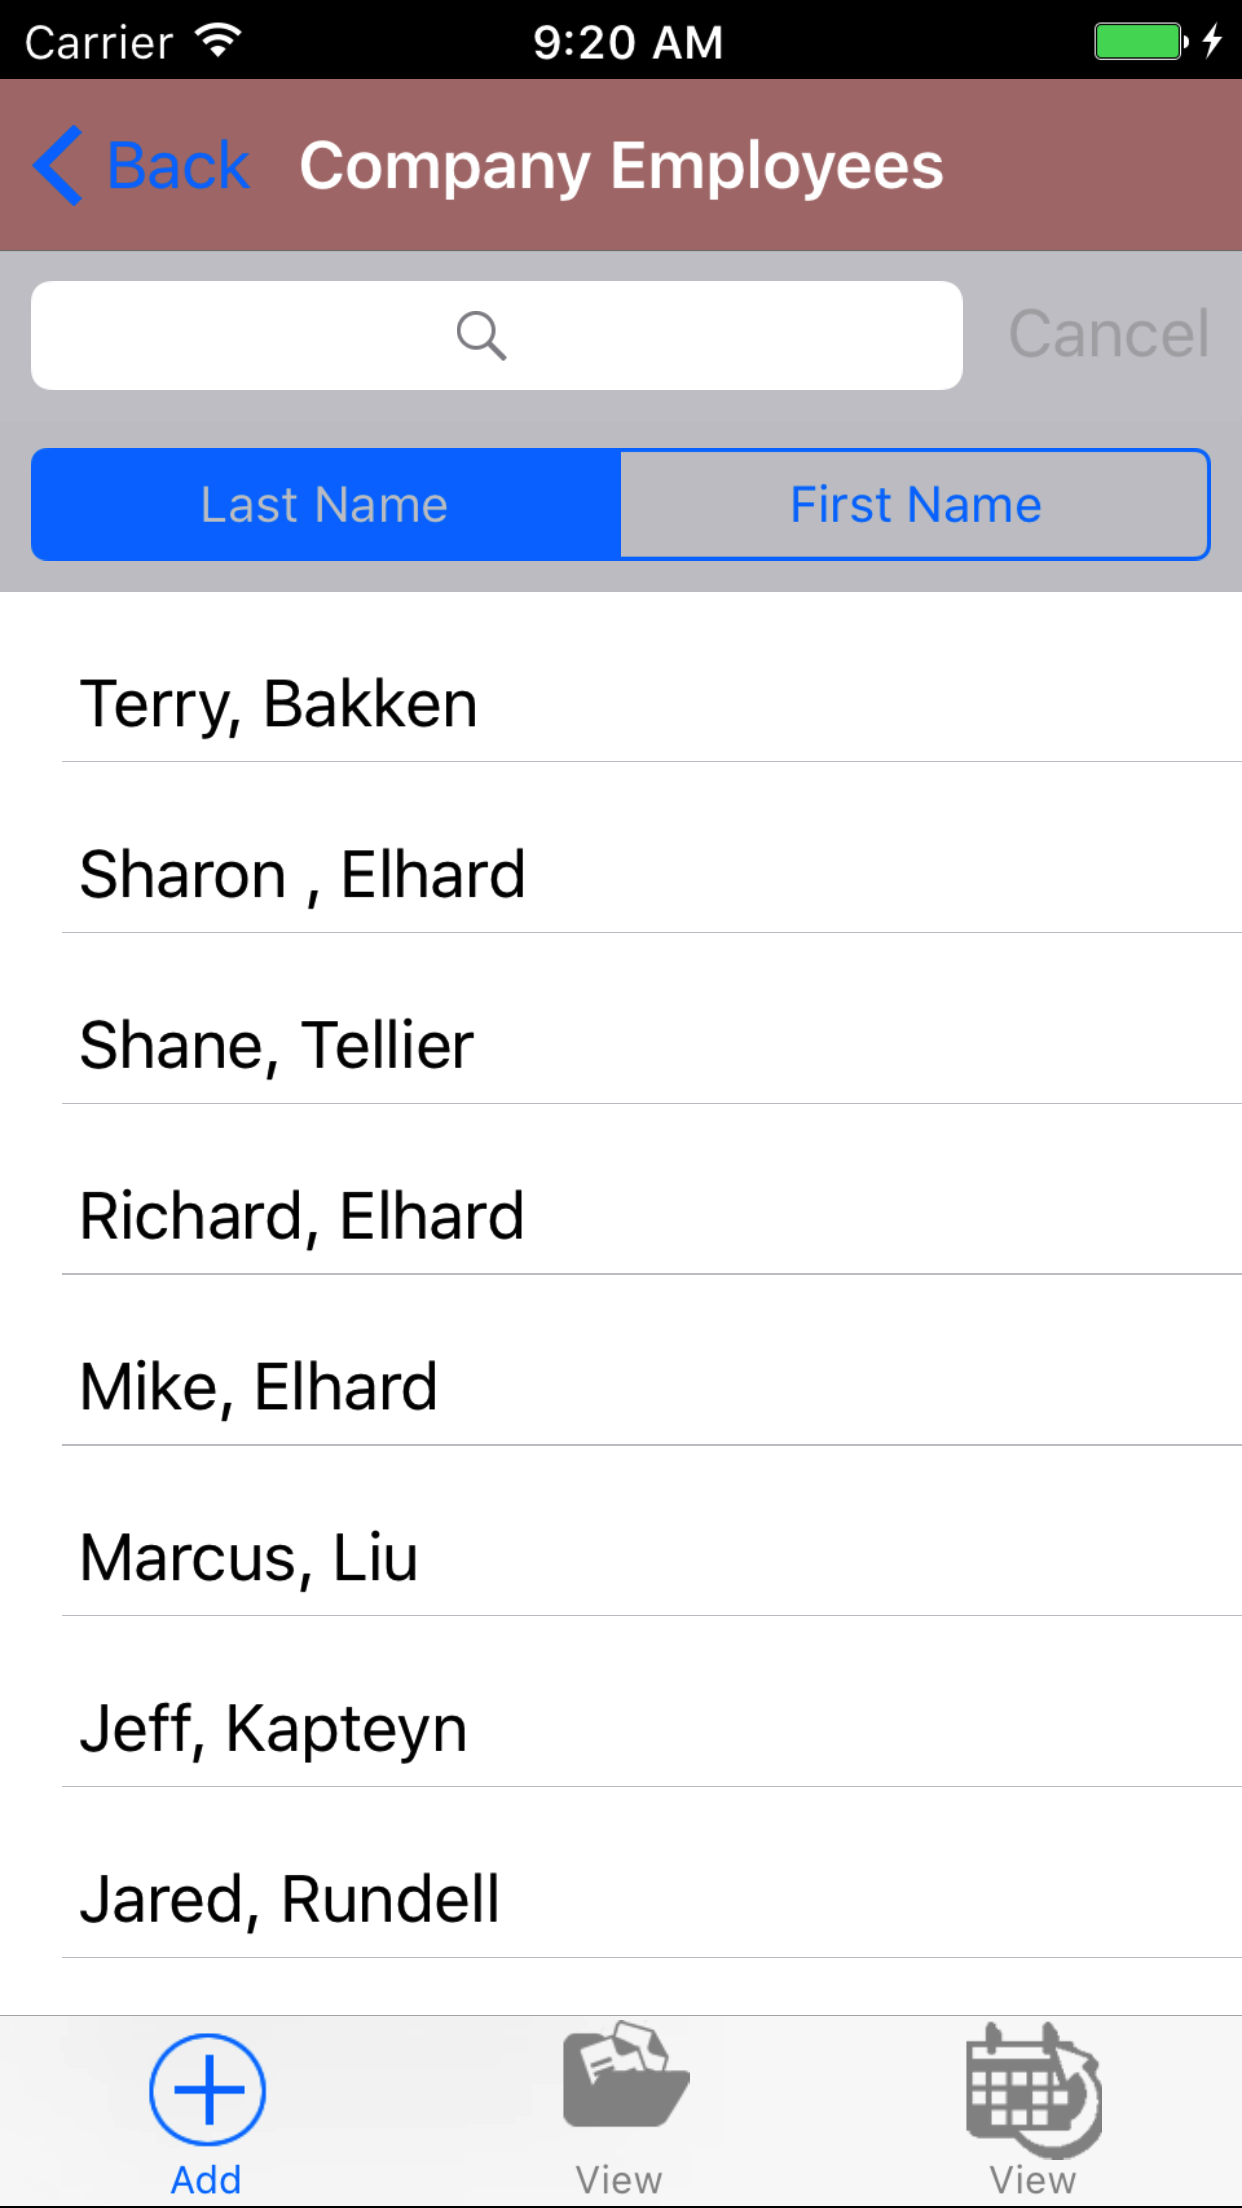
- Tap the Employee field to open the Choose Employee screen.
Employee are listed in descending order employee names.
- Scroll the list of employee names until the desired employee name is displayed on the screen.
- Tap the desired employee to select it or tap Back in the top left corner to leave the Employee field unchanged and return to the Add Personal Protective Equipment Inspection screen.
- Return to the Add Personal Protective Equipment Inspection screen by either tapping the appropriate employee or tapping Cancel in the top left corner to leave the Employee field unchanged.
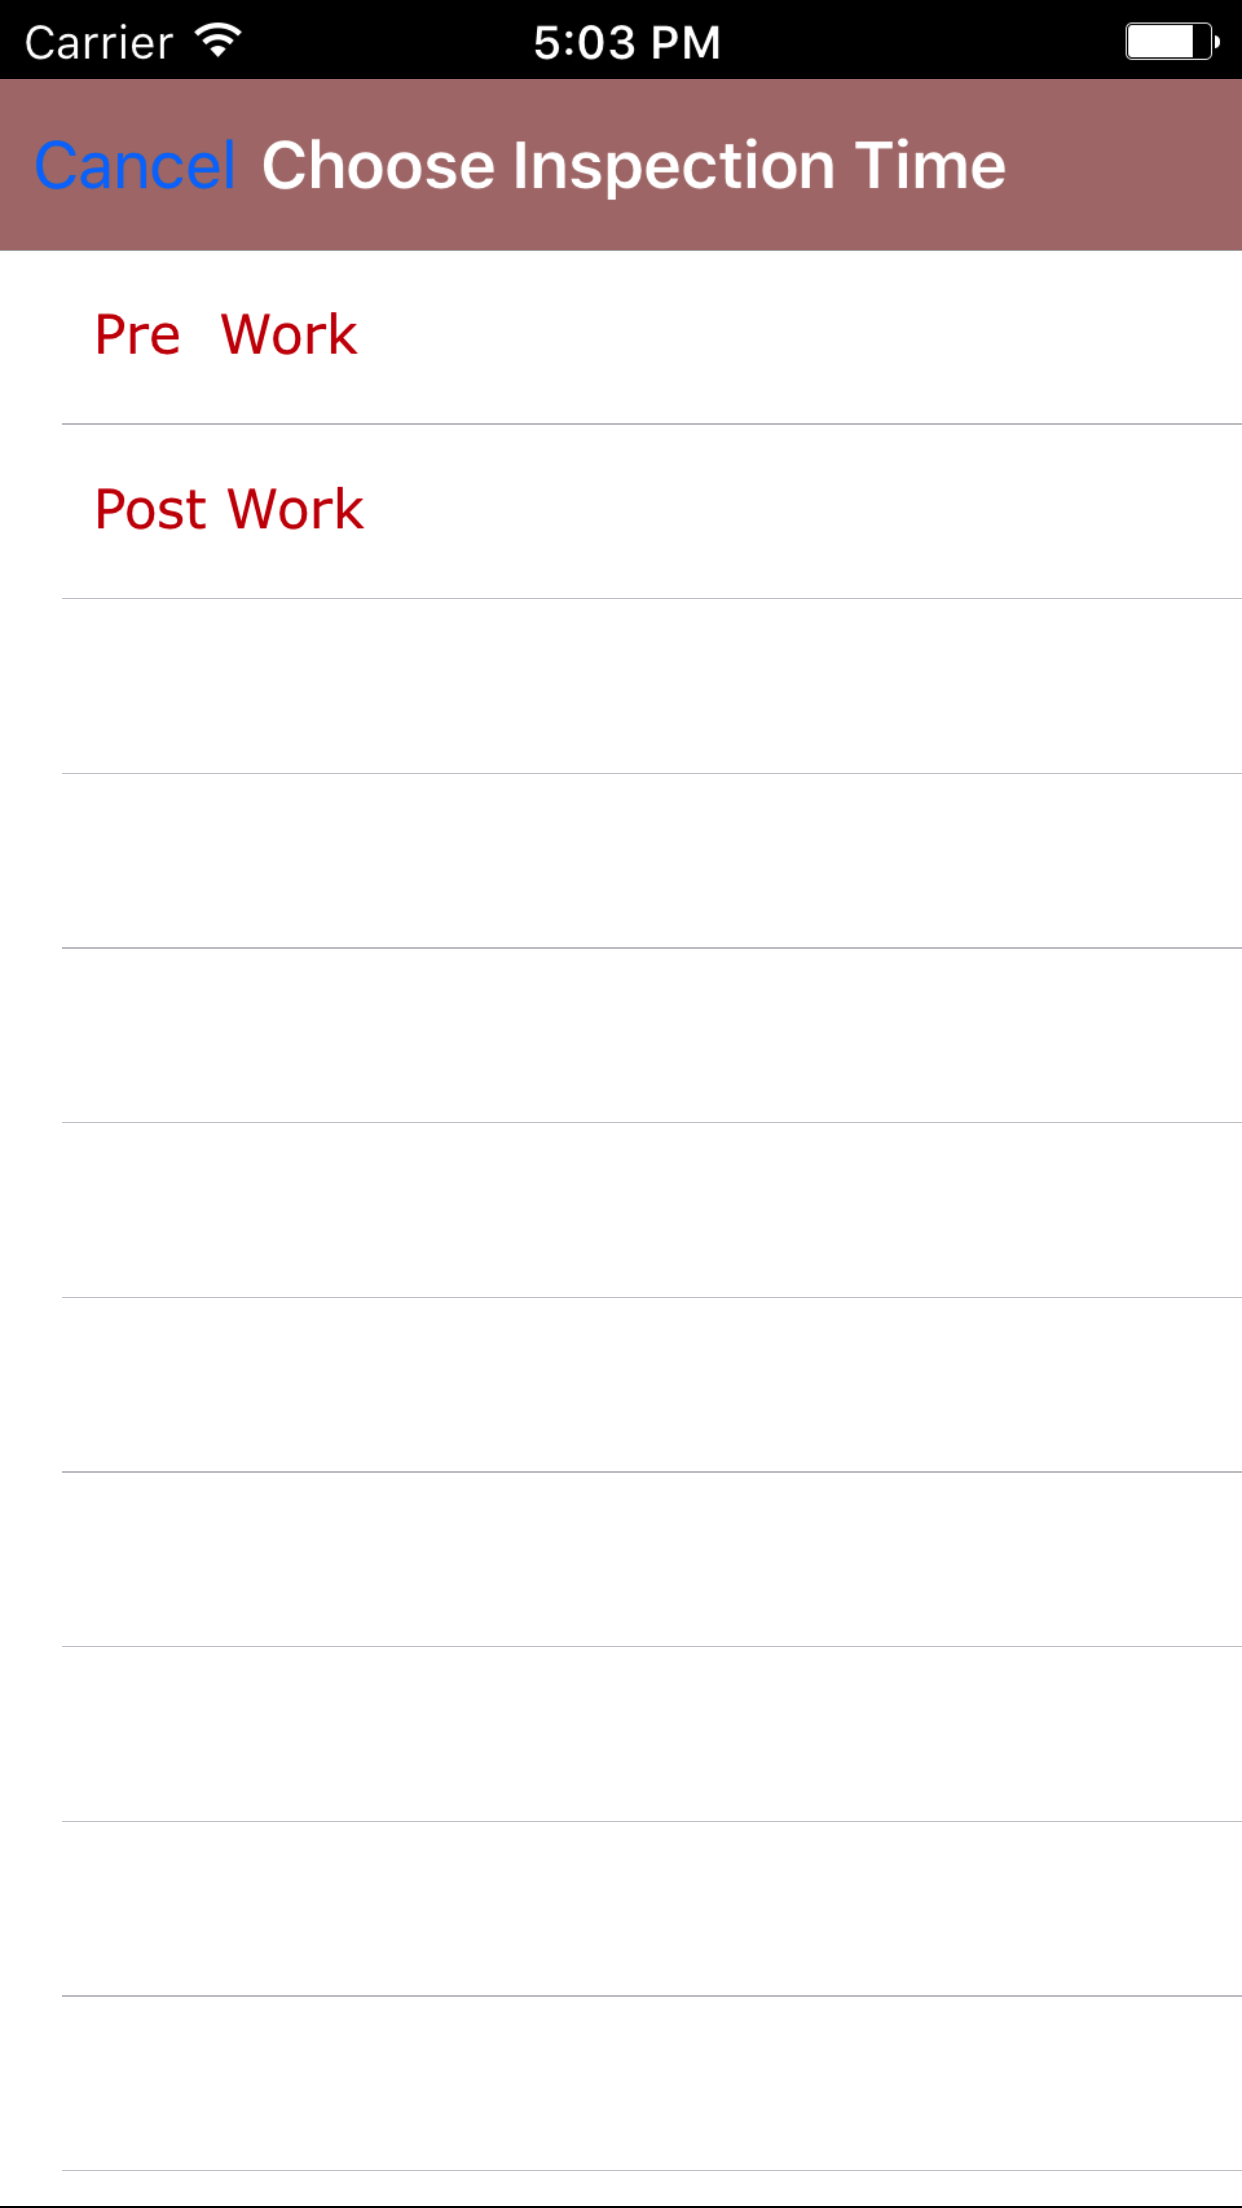
- Tap the Inspection Time field to open the Choose Inspection Time screen.
Inspection Time are listed in descending order inspection names.
- Scroll the list of inspection times until the desired inspection name is displayed on the screen.
- Tap the desired inspection time to select it or tap Back in the top left corner to leave the Inspection Time field unchanged and return to the Add Personal Protective Equipment Inspection screen.
- Return to the Add Personal Protective Equipment Inspection screen by either tapping the appropriate inspection time or tapping Cancel in the top left corner to leave the Inspection Time field unchanged.
- Tap the + icon in the top right corner to add the Personal Protective Equipment Inspection.
- A pop-up message that reads Personal Protective Equipment Inspection Added indicates that the Personal Protective Equipment Inspection is ready to have details to be entered and equipment details to be inspected.
|
|
|
|
| Step 4 |
|
|
| Step 5 |
|
|
| Step 6 |
|
|
| Step 7 |
|
|
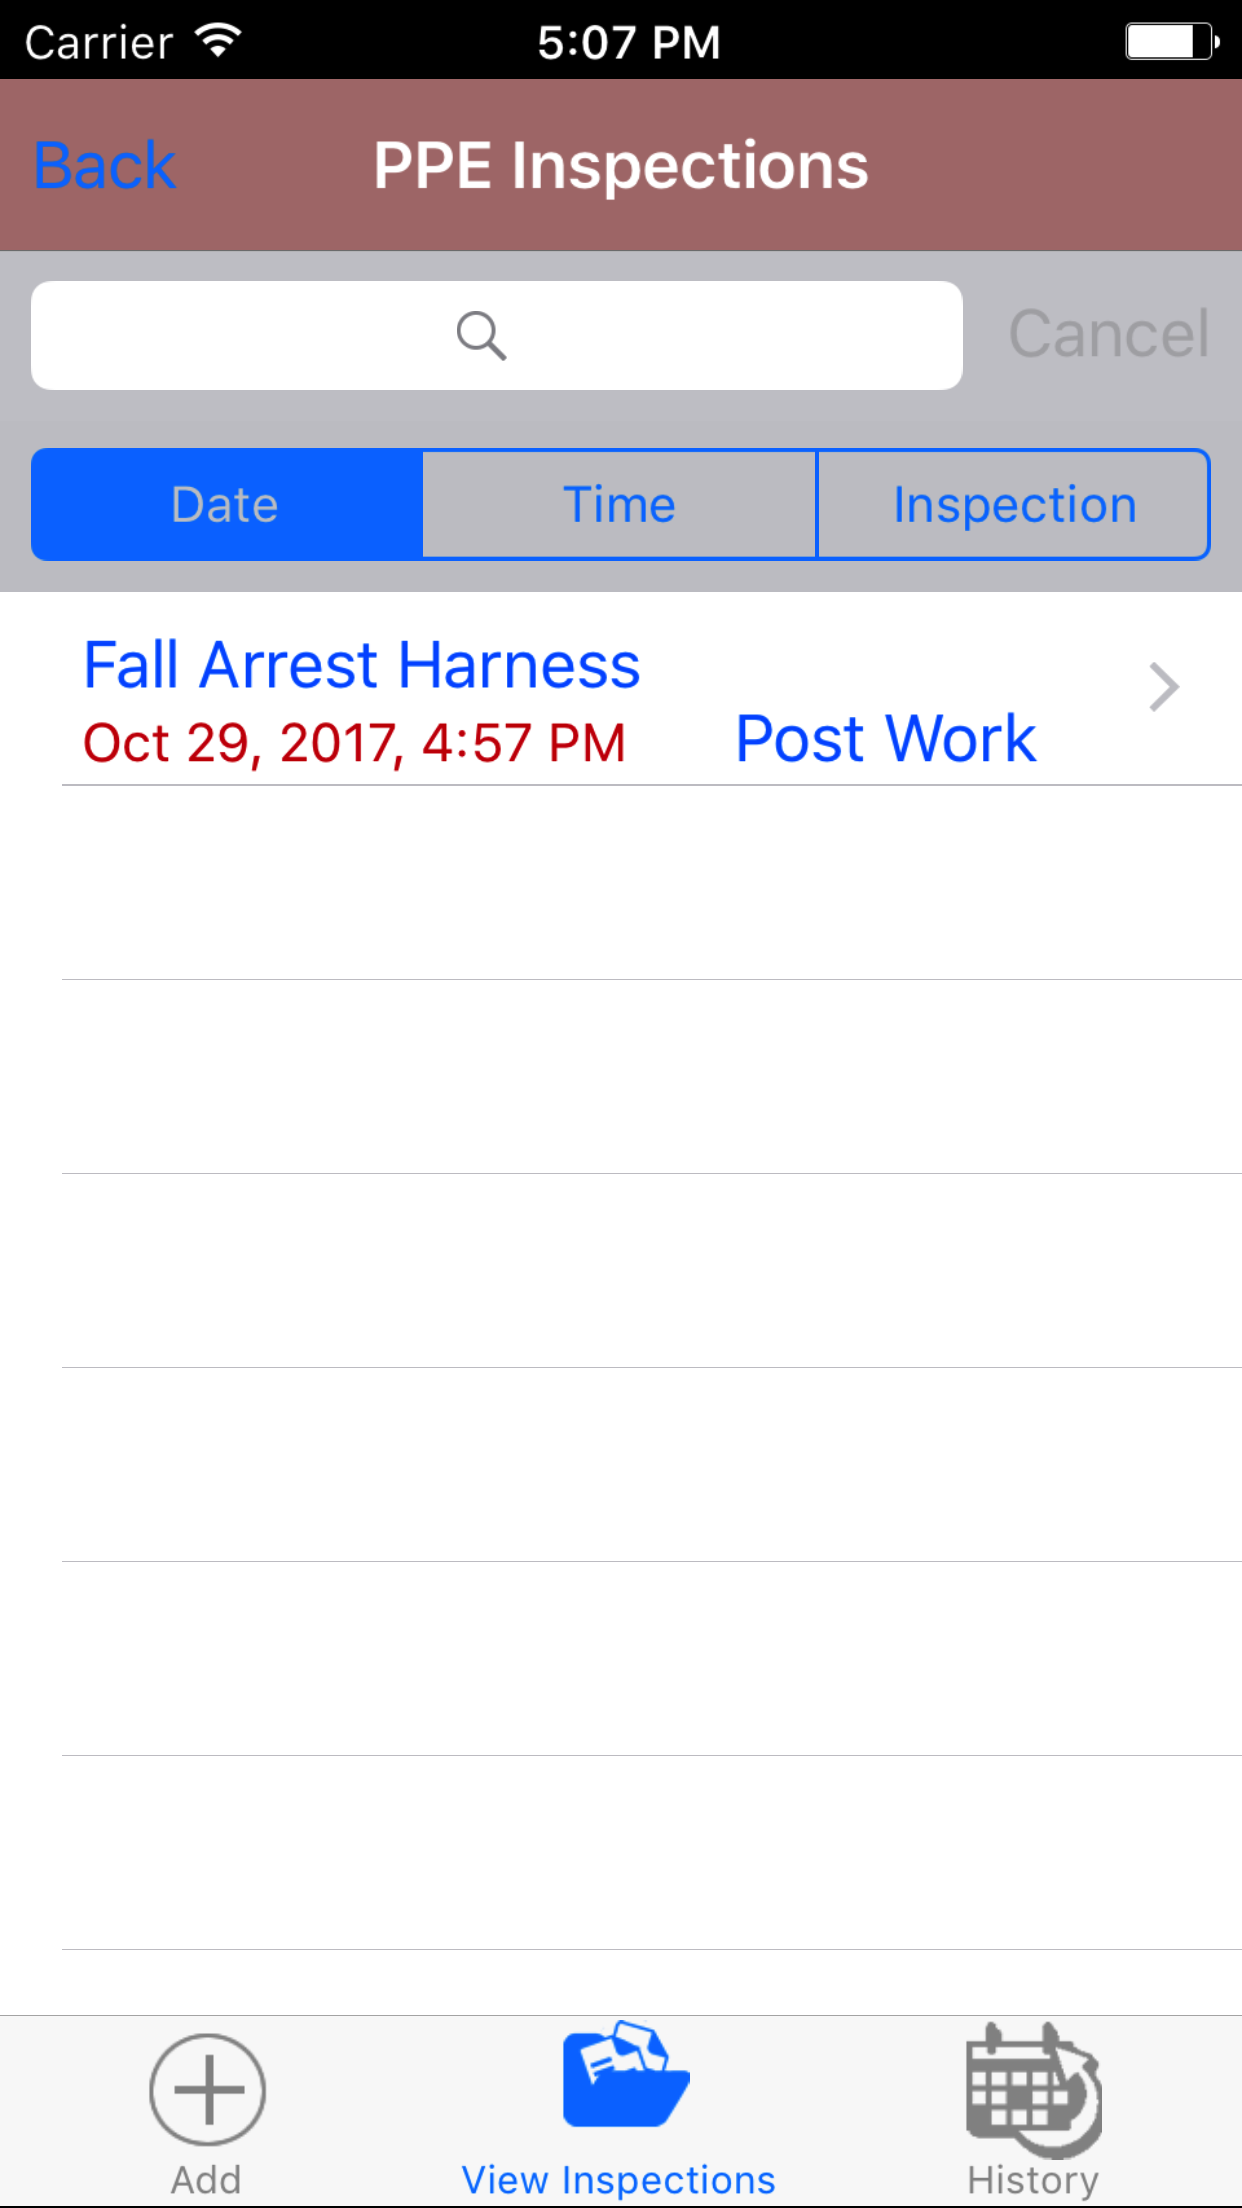
2.Look Up Open Personal Protective Equipment Inspection |
|
Once in the Personal Protective Equipment Inspection section
Steps
- Tap the second tab on the menu, the Personal Protective Equipment Inspection view.
To Search Personal Protective Equipment Inspections: Pull down on the list view, the search is defaulted to search by date enter the date in following
format YYYY-MM-DD. The other options for the Personal Protective Equipment Inspection are search by inspection time and description. Enter your search
criteria and click the Search button.
- Scroll the list of Personal Protective Equipment Inspections until the desired Equipment Inspection is displayed on the screen.
Listing the personal protective equipment inspection date and inspection time in blue text, the personal protective equipment inspection name in red text.
- Tap on the Personal Protective Equipment Inspection you would like to view. This loads the personal protective equipment inspection edit screen.
|
|
| Steps 1-3 |
|
|
3.Edit Personal Protective Equipment Inspection |
|
Once on the Personal Protective Equipment Inspection you would like to Edit, on the details tab.
Steps
- Date: The date field allow field staff to choose the date the personal protective equipment inspection occurs.
- Tap the Date field to open the Choose Date screen.
- Scroll the date wheel on the far left of the screen until the desired date is highlighted.
- Return to the Edit Personal Protective Equipment Inspection screen by either tapping Save in the top right corner to select the highlighted date or tapping Cancel in the top left corner to leave the Date: field unchanged.
- Tap the Employee field to open the Choose Employee screen.
Employee are listed in descending order employee names.
- Scroll the list of employee names until the desired employee name is displayed on the screen.
- Tap the desired employee to select it or tap Back in the top left corner to leave the Employee field unchanged and return to the Edit Personal Protective Equipment Inspection screen.
- Return to the Edit Personal Protective Equipment Inspection screen by either tapping the appropriate employee or tapping Cancel in the top left corner to leave the Employee field unchanged.
- Tap the Inspection Time field to open the Choose Inspection Time screen.
Inspection Time are listed in descending order inspection names.
- Scroll the list of inspection times until the desired inspection name is displayed on the screen.
- Tap the desired inspection time to select it or tap Back in the top left corner to leave the Inspection Time field unchanged and return to the Edit Personal Protective Equipment Inspection screen.
- Return to the Edit Personal Protective Equipment Inspection screen by either tapping the appropriate inspection time or tapping Cancel in the top left corner to leave the Inspection Time field unchanged.
- Tap Save in the top right corner to save any changes to the Personal Protective Equipment Inspection Details.
- A pop-up message that reads Personal Protective Equipment Inspection Details have been Saved indicates that the personal protective equipment inspection details have been saved.
|
|
|
|

|
| Step 4 |
|
|
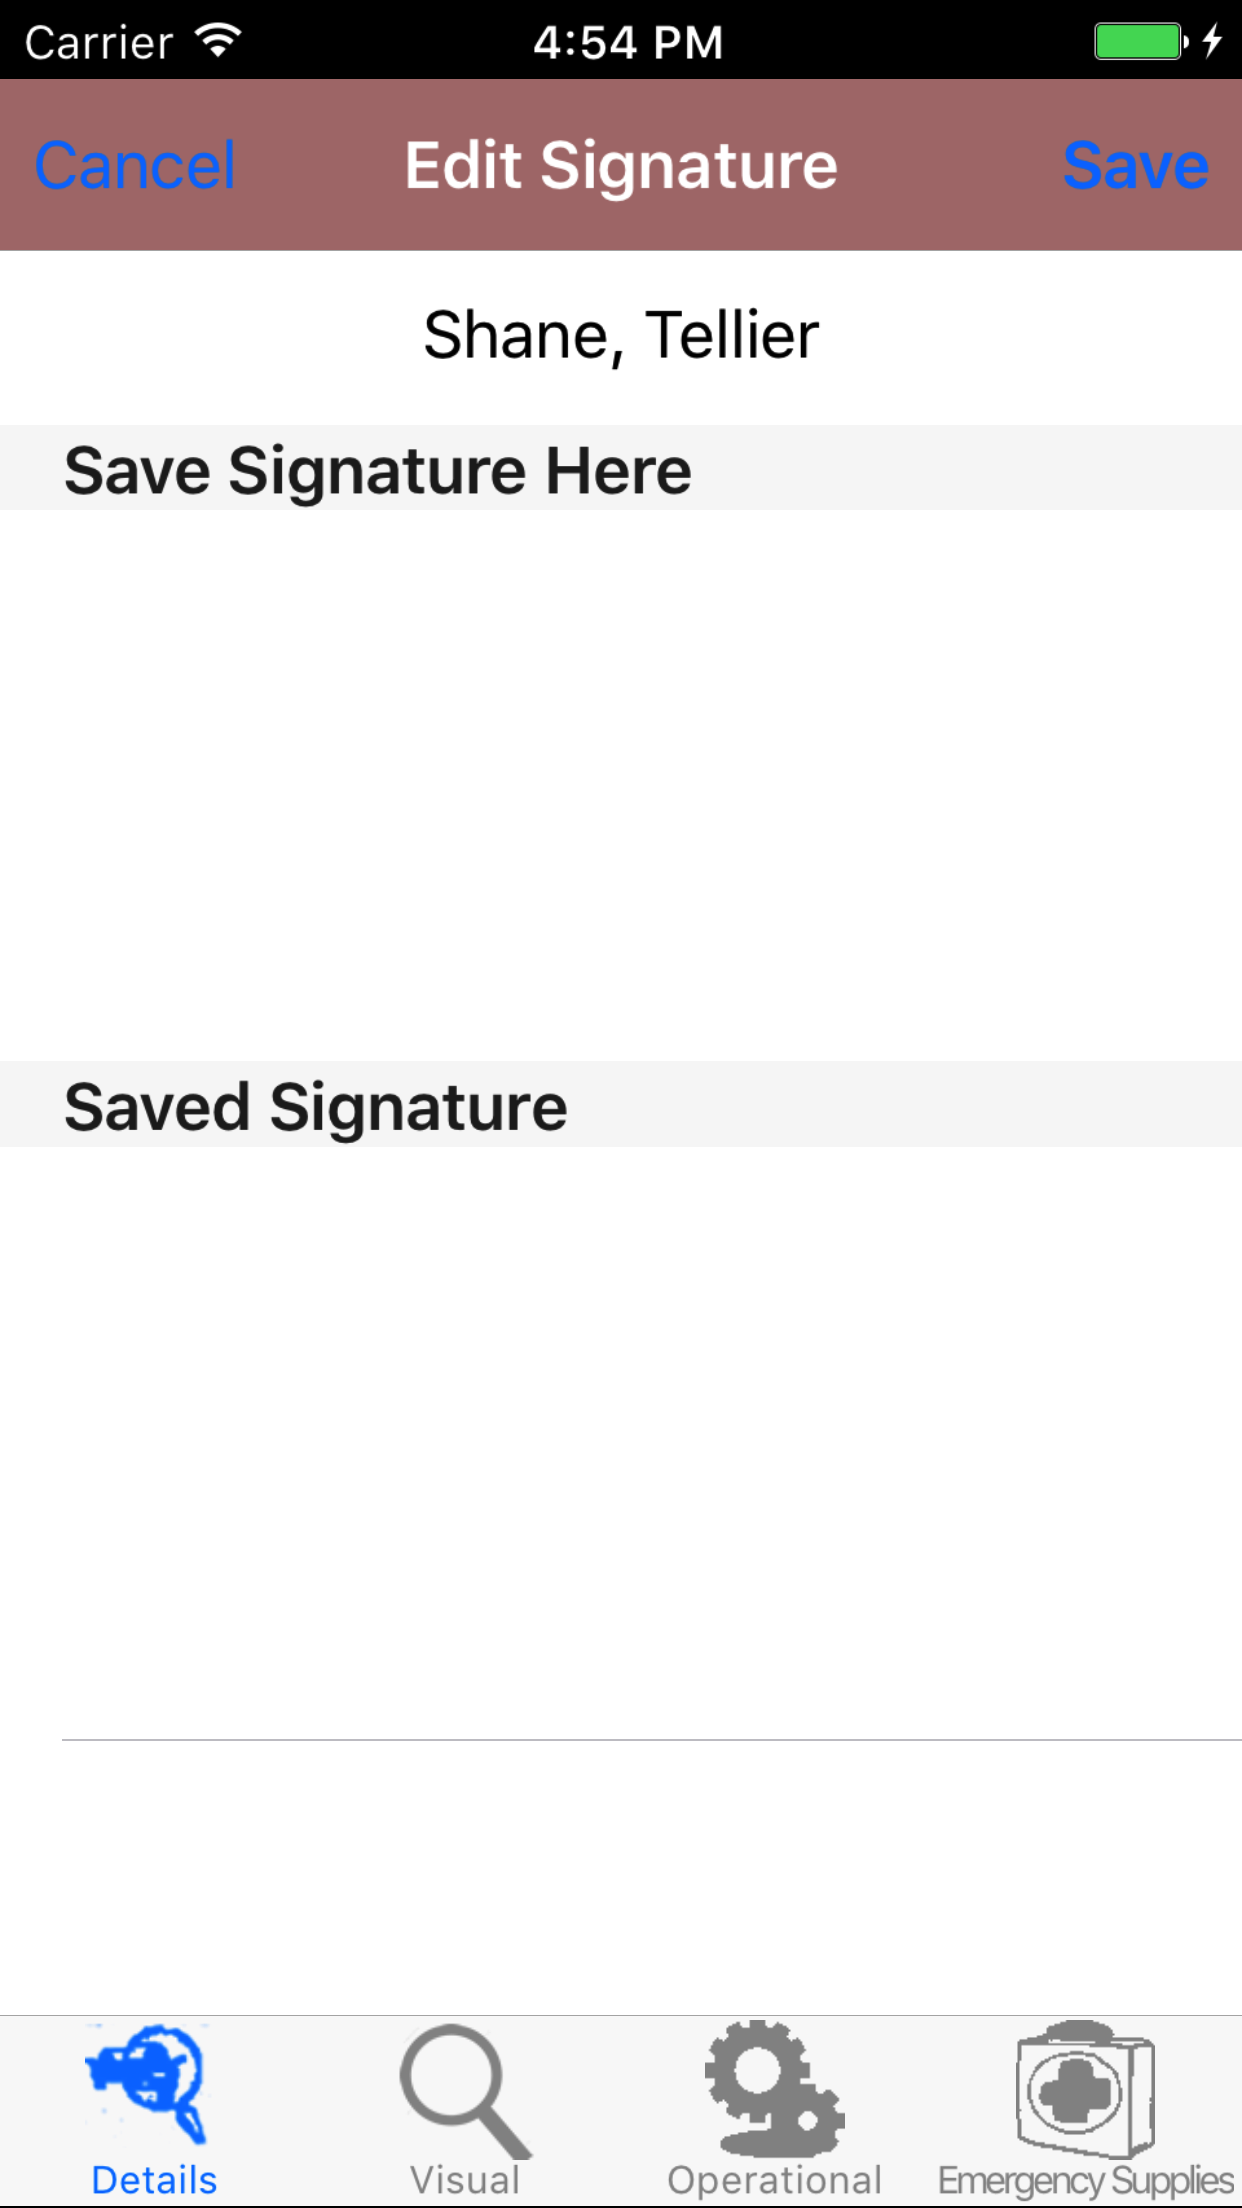
4.Add Employee Signature |
|
The employee who conducts the Personal Protective Equipment Inspection must provide an electronic signature to indicate that they took part in the personal protective equipment inspection.
Once on the Personal Protective Equipment Inspection you would like to Edit
Steps
- Tap the first tab, the details tab.
- Tap the employee signature button.
- Sign in the white space beneath the Save New Signature Here label.
- Tap Save in the top right corner of the screen to update the Saved Signature field.
The saved signature will appear below the signature entry screen.
|
|
| Steps 1-4 |
|
|
|
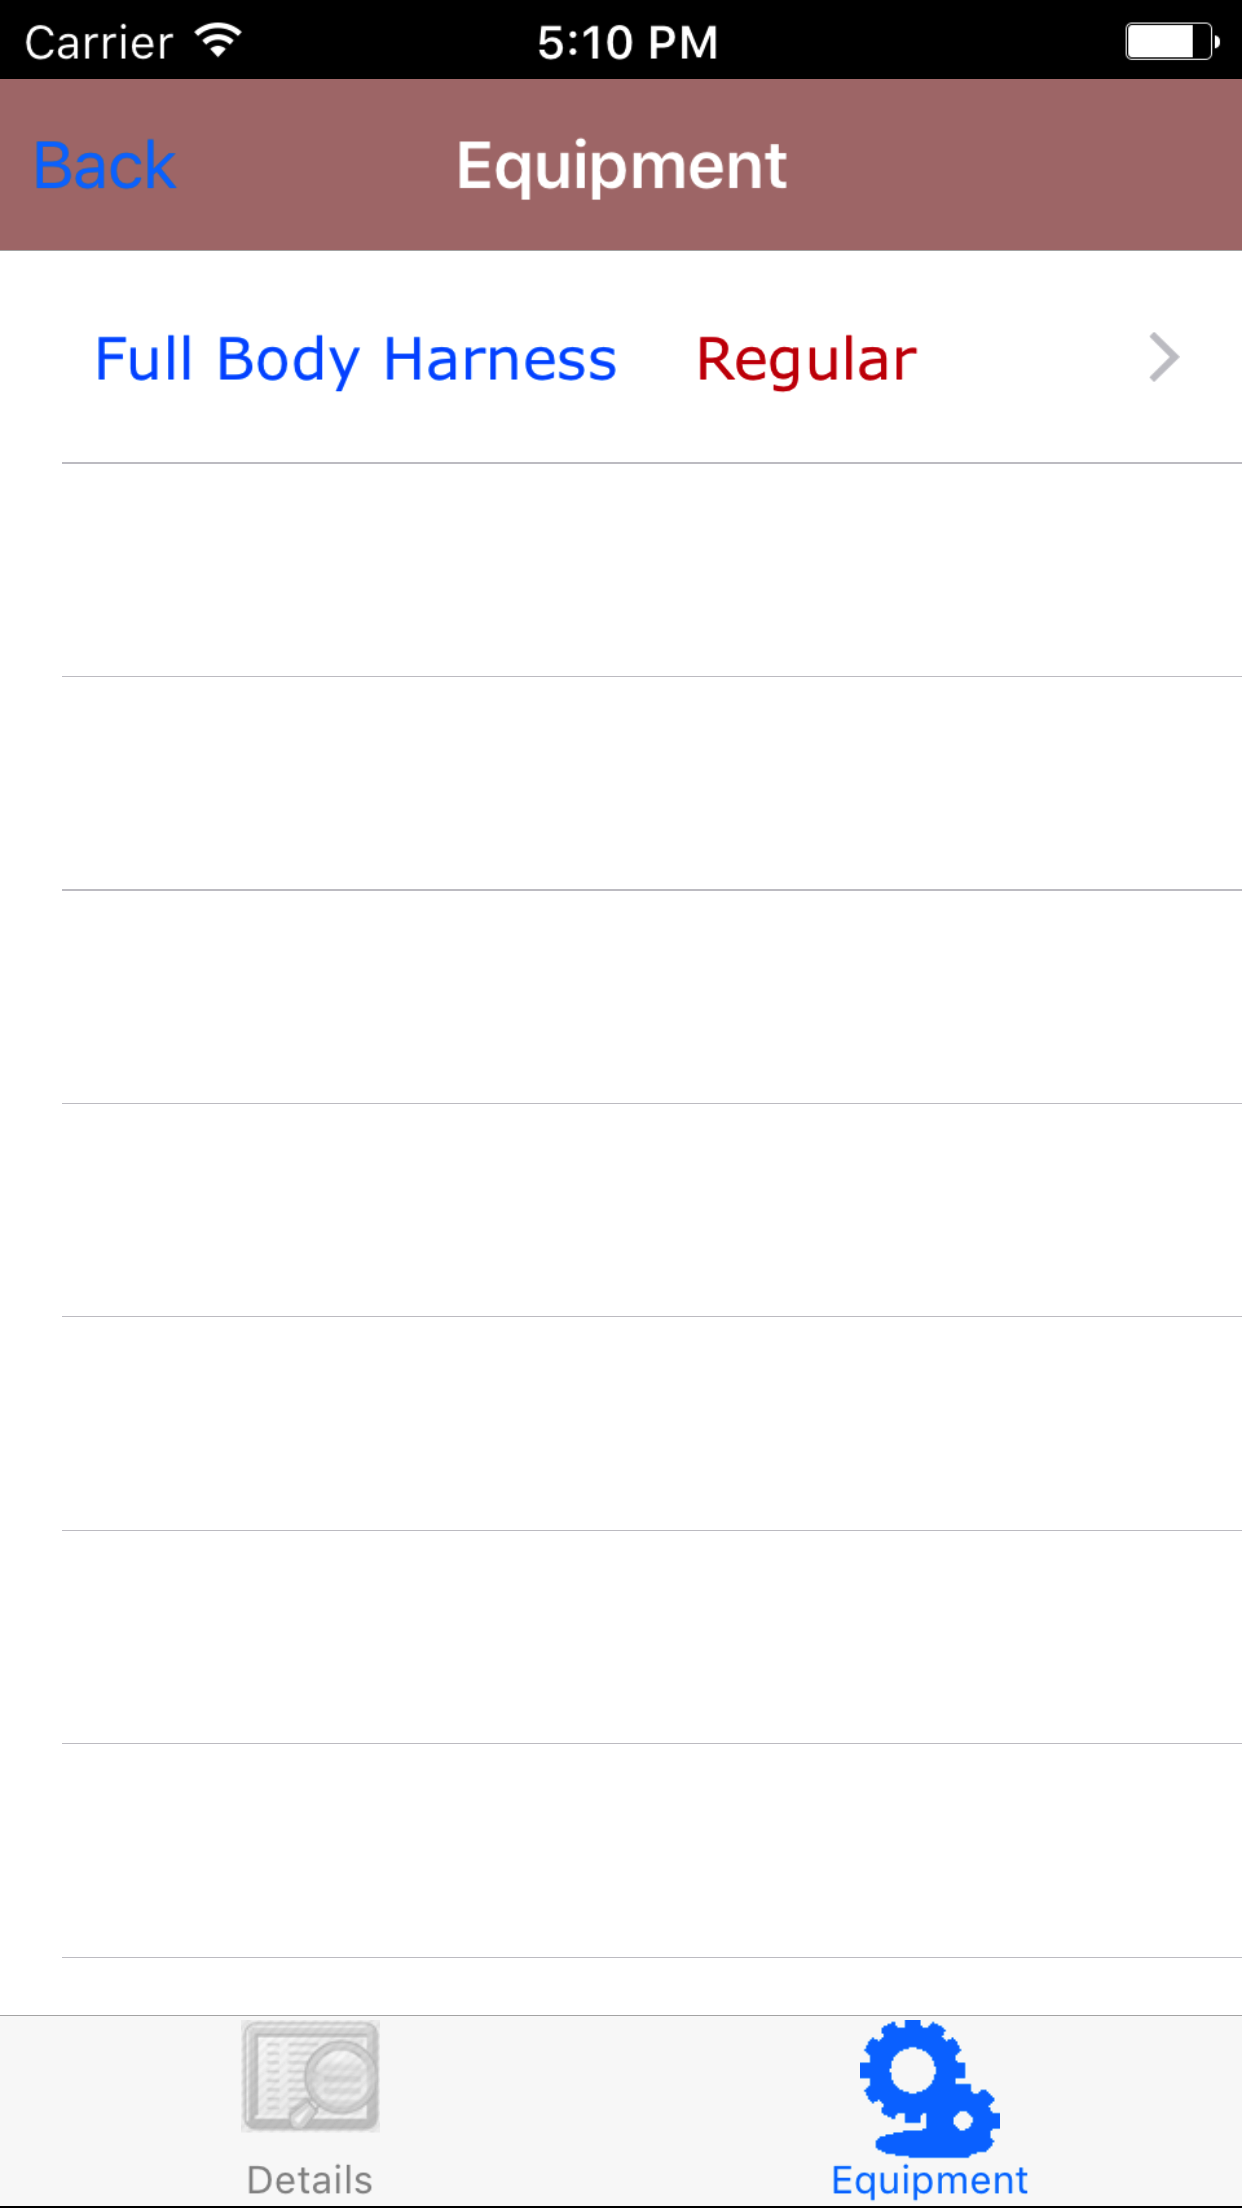
5.Edit Personal Protective Equipment Inspection Detail |
|
Once on the Personal Protective Equipment Inspection you would like to view
Steps
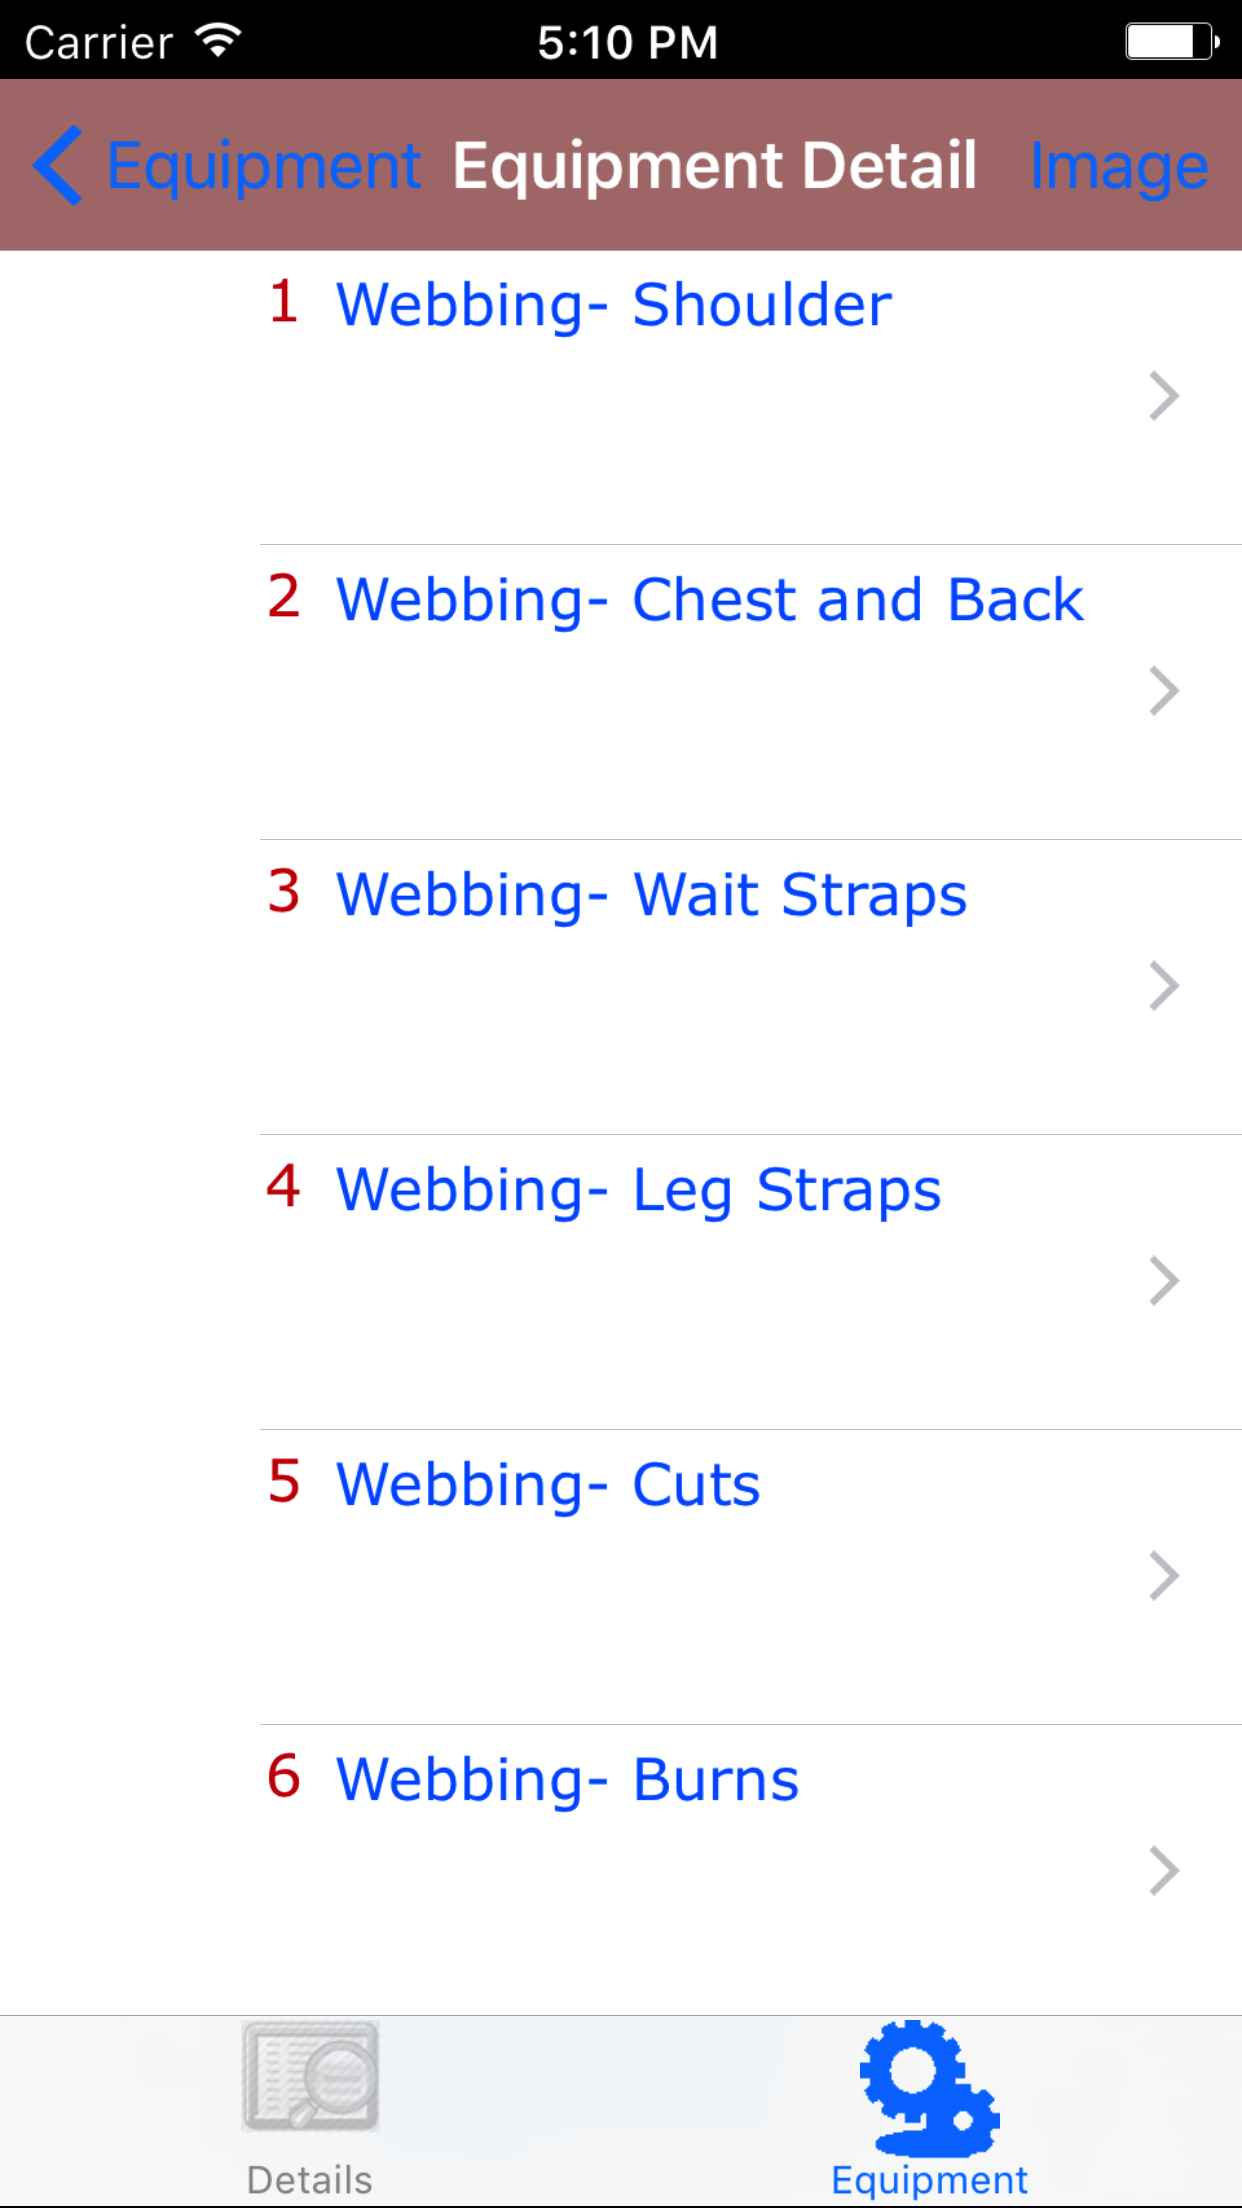
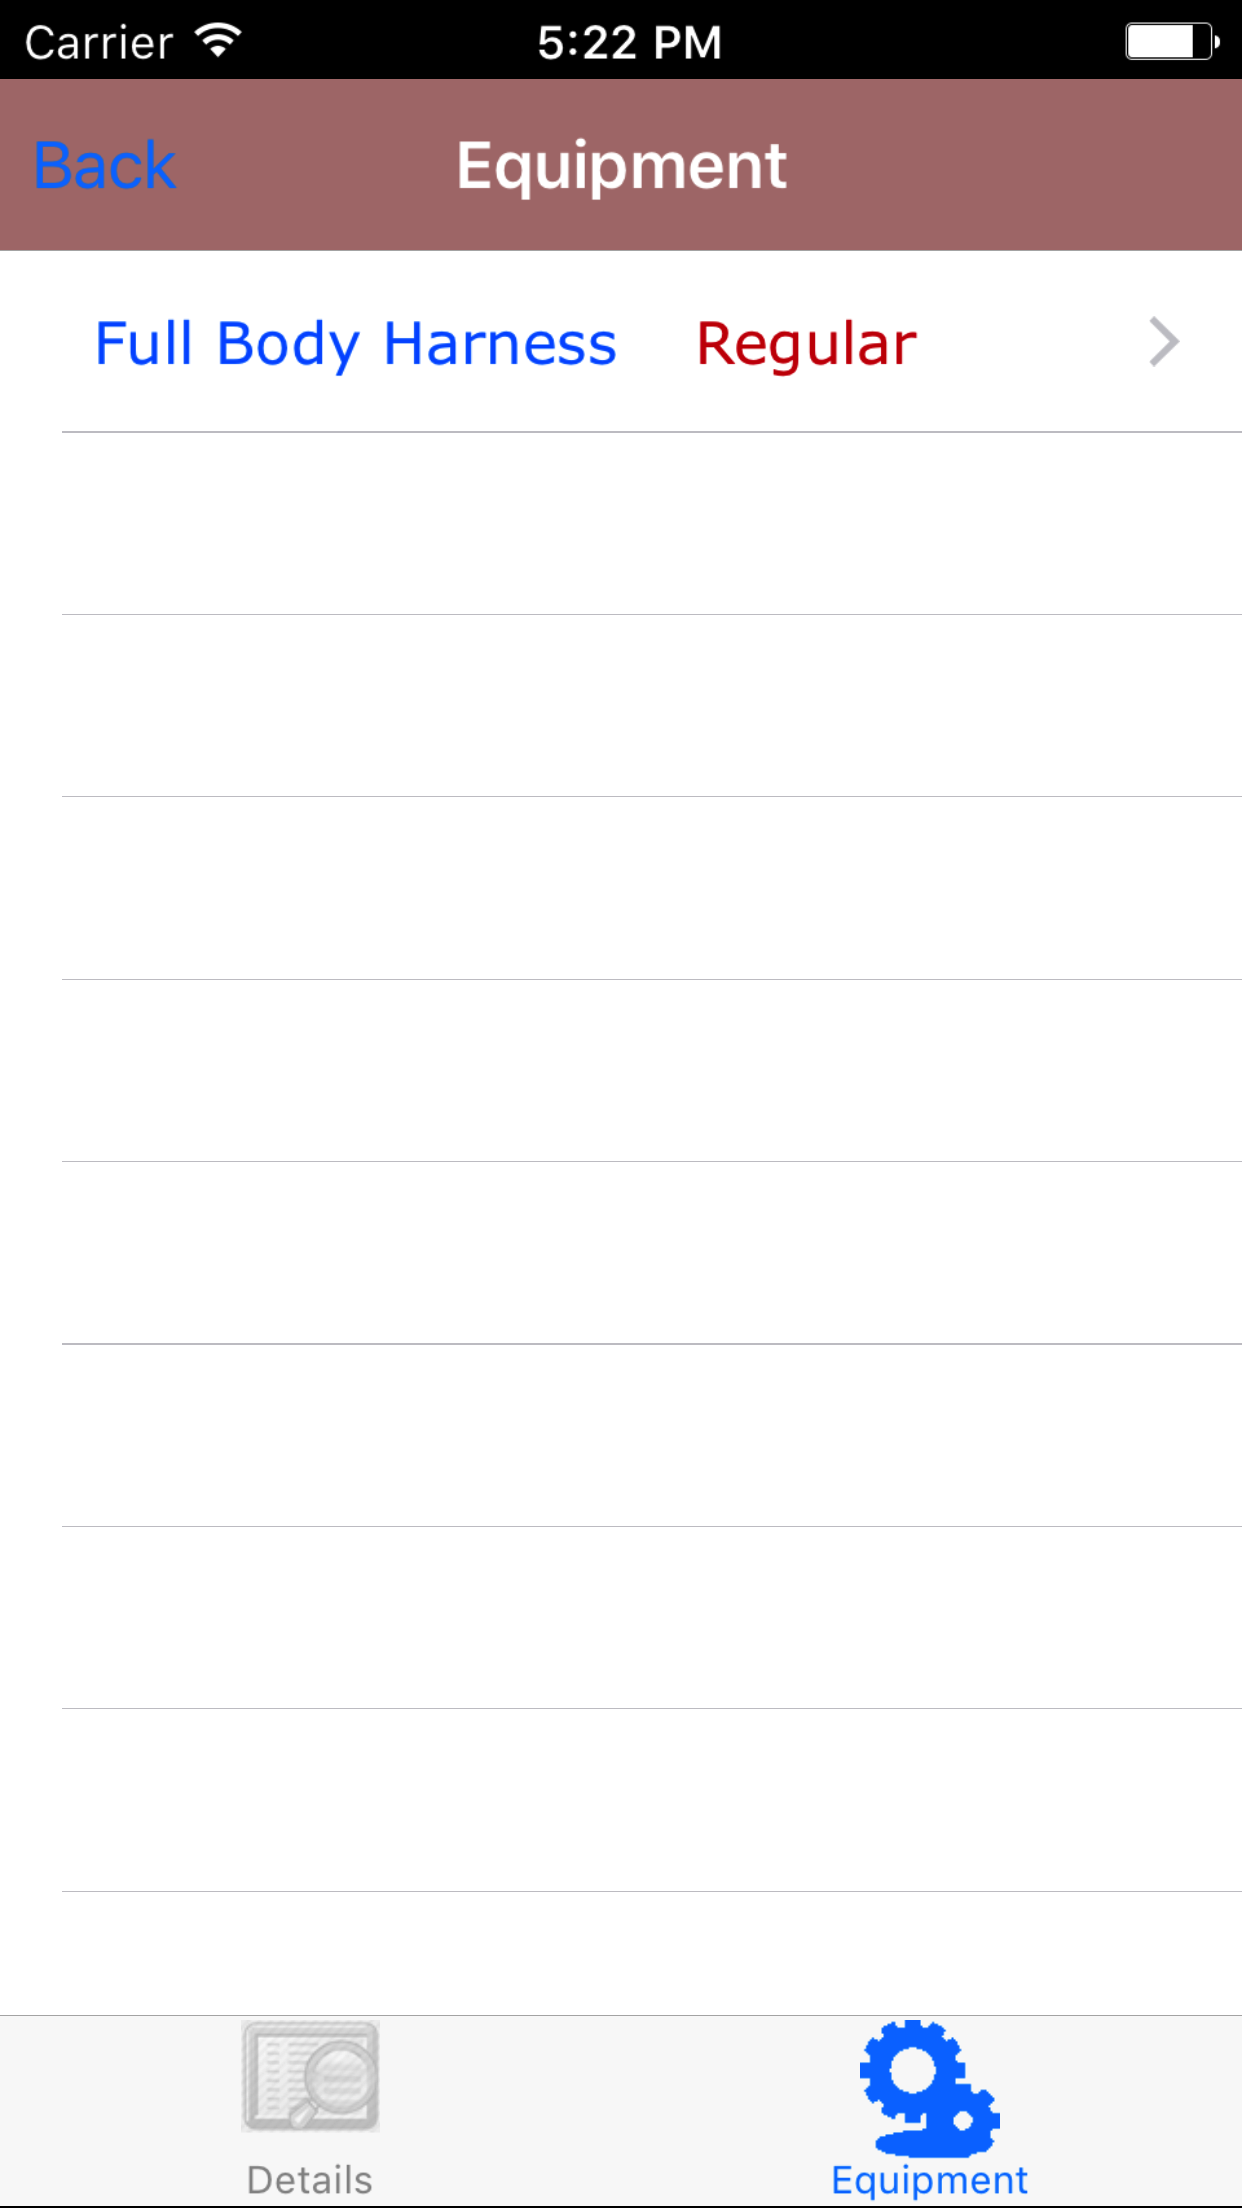
- Tap on the second tab, the Personal Protective Equipment icon at the bottom of the screen to open the Personal Protective Equipment screen. The screen loads
opens with a list of personal protective equipment, with the equipment name in blue text and the , the equipment type name in
red text.
- Scroll the list of equipment until the desired equipment is displayed on the screen.
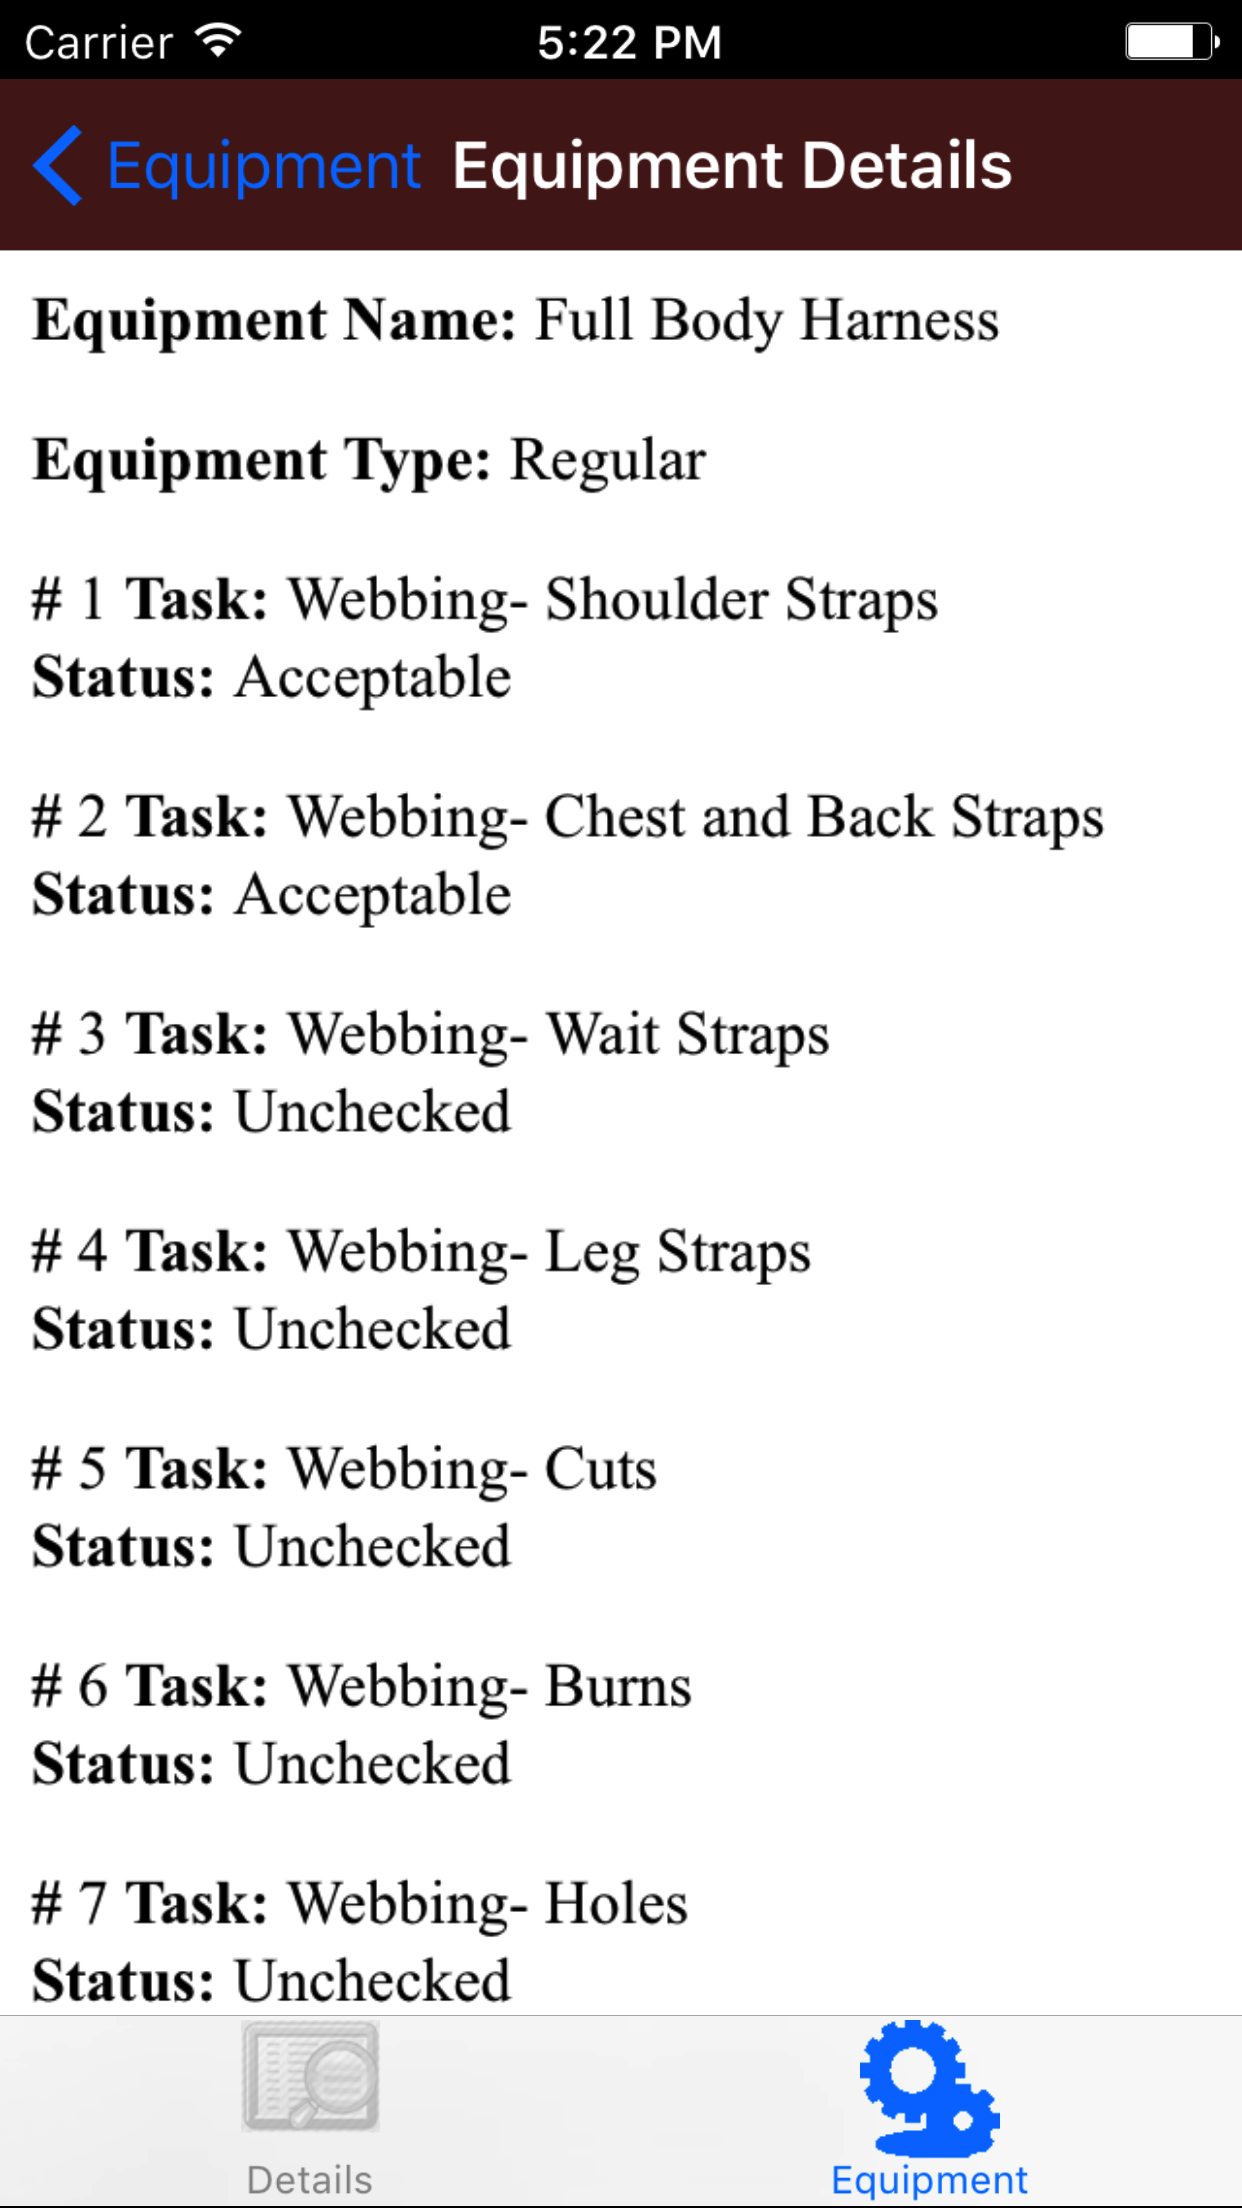
- Tap the desired equipment to load the equipment details list screen. The screen loads
opens with a list of equipment details, with the number in red text, the inspection task in
blue text and the deficiency description in red text.
- Scroll the list of equipment detail until the desired equipment detail is displayed on the screen.
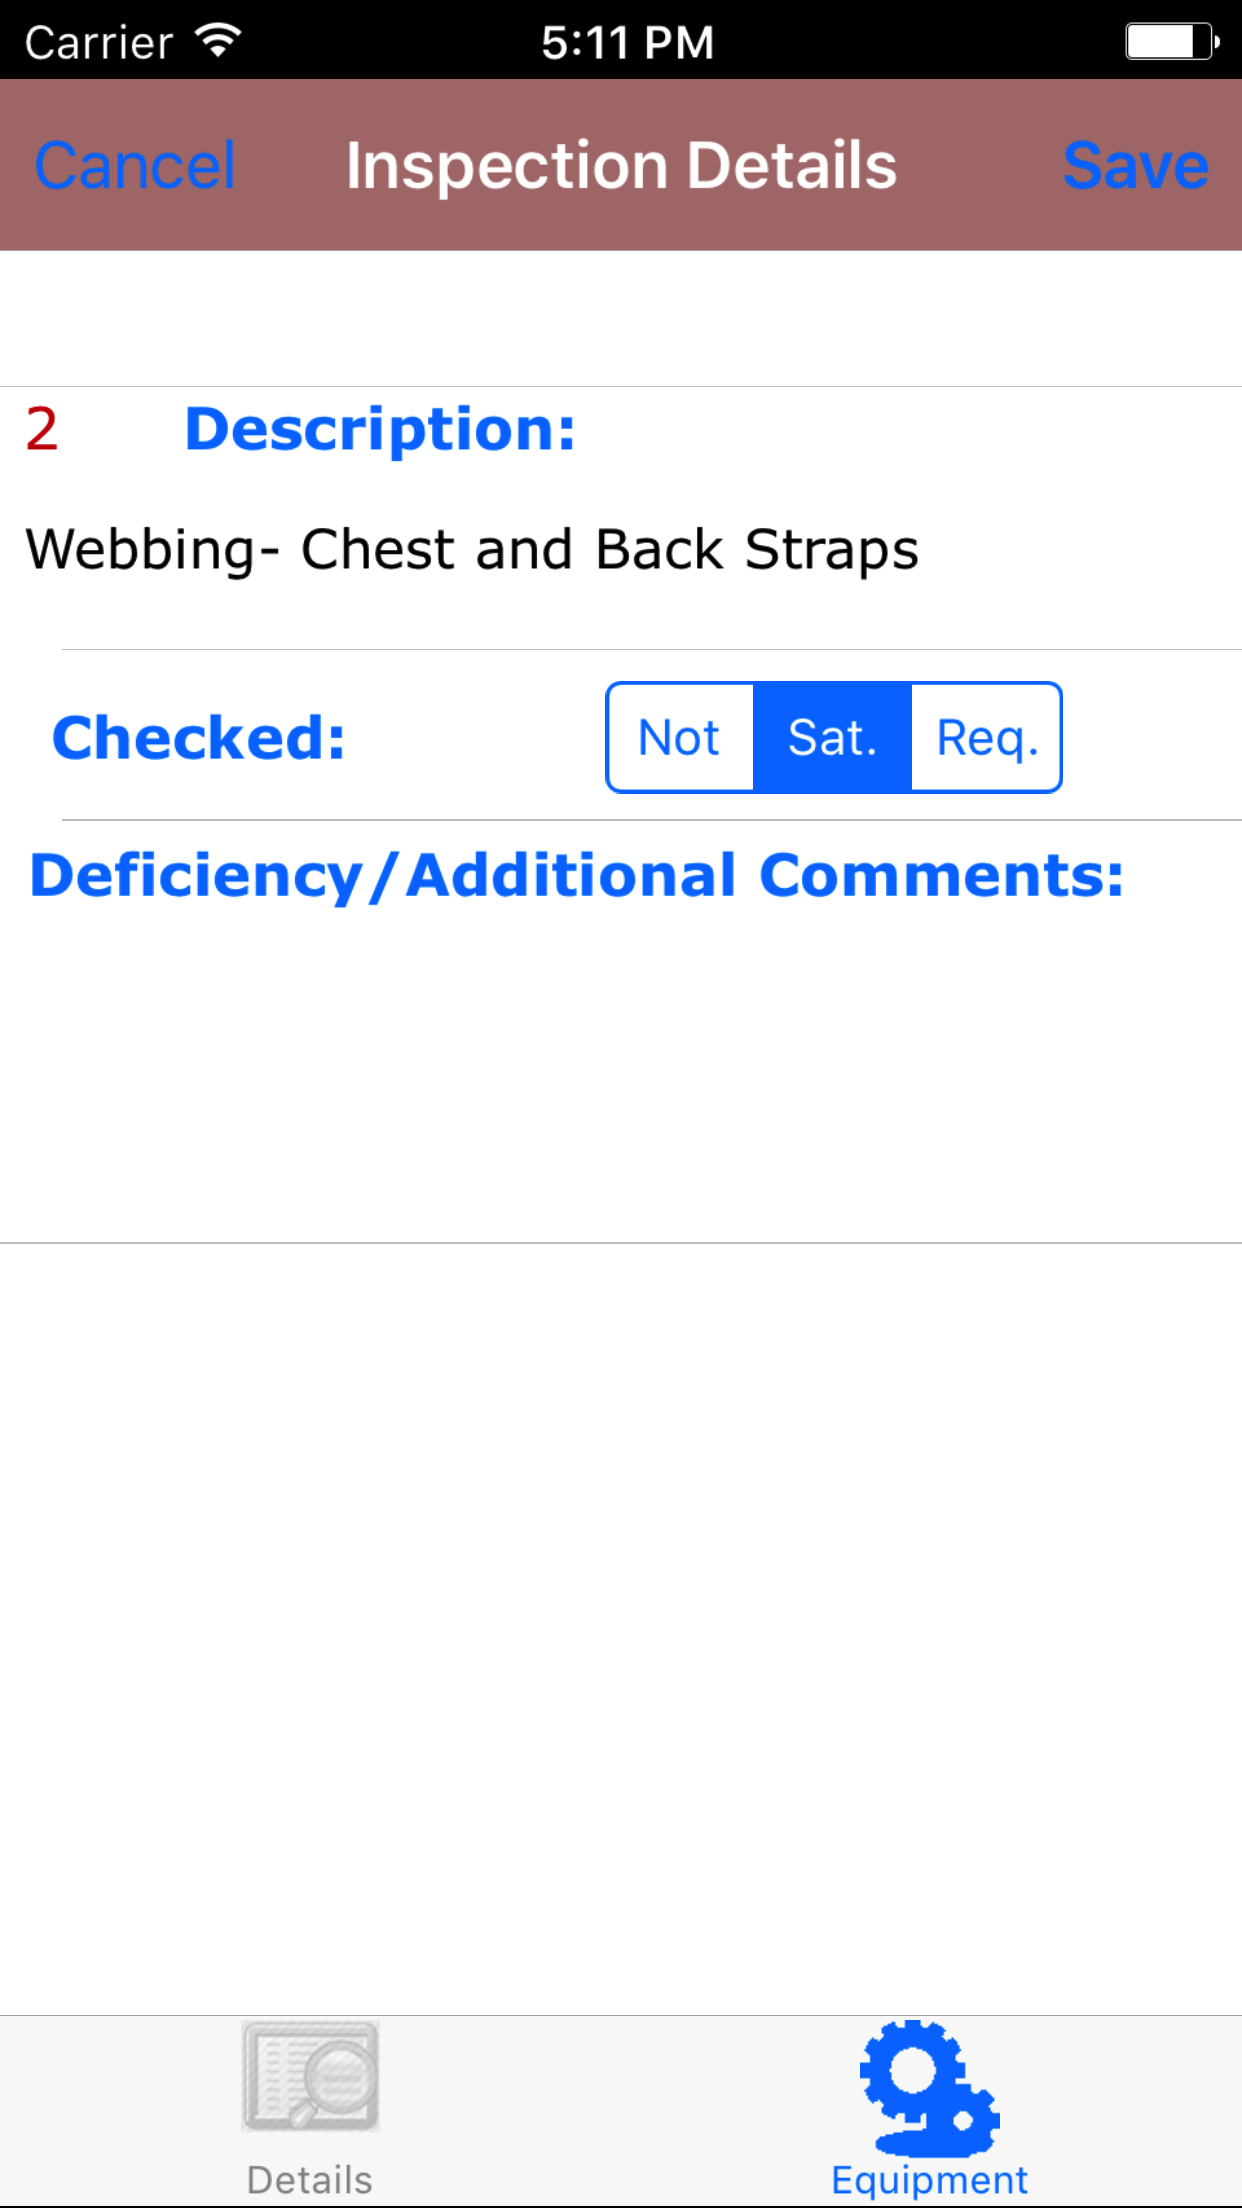
- Tap the desired equipment detail to load the edit equipment details screen.
Fields
- Checked: The Checked field allows users to mark that they have checked the equipment detail and either it is satisfactory (Sat.) or it requires attention (Req.)
- Tap Sat. on the Not|Sat.|Req. segmented controller to indicate the checked status of the equipment detail.
- Deficiency / Additional Comments: The deficiency and additional comments field allows field staff to enter a description of the issues found for the equipment detail. The Character limit of the field is 250.
- Tap the Save button on the top right corner, to save the a equipment detail.
|
|
|
| Steps 1-3 |
|
|
| Steps 4-5 |
|
|
| Steps 6-8 |
|
|
|
7.Submit Personal Protective Equipment Inspection |
|
Once on the Personal Protective Equipment Inspection you would like to Submit, all the
equipment inspection details have been checked and inspected and the inspection has been signed off on.
Steps
- Tap the Submit PPE Inspection button.
|
|
|
| Step 1 |
|
|
|
8.Delete Personal Protective Equipment Inspection |
|
Once in the Personal Protective Equipment Inspection section
Steps
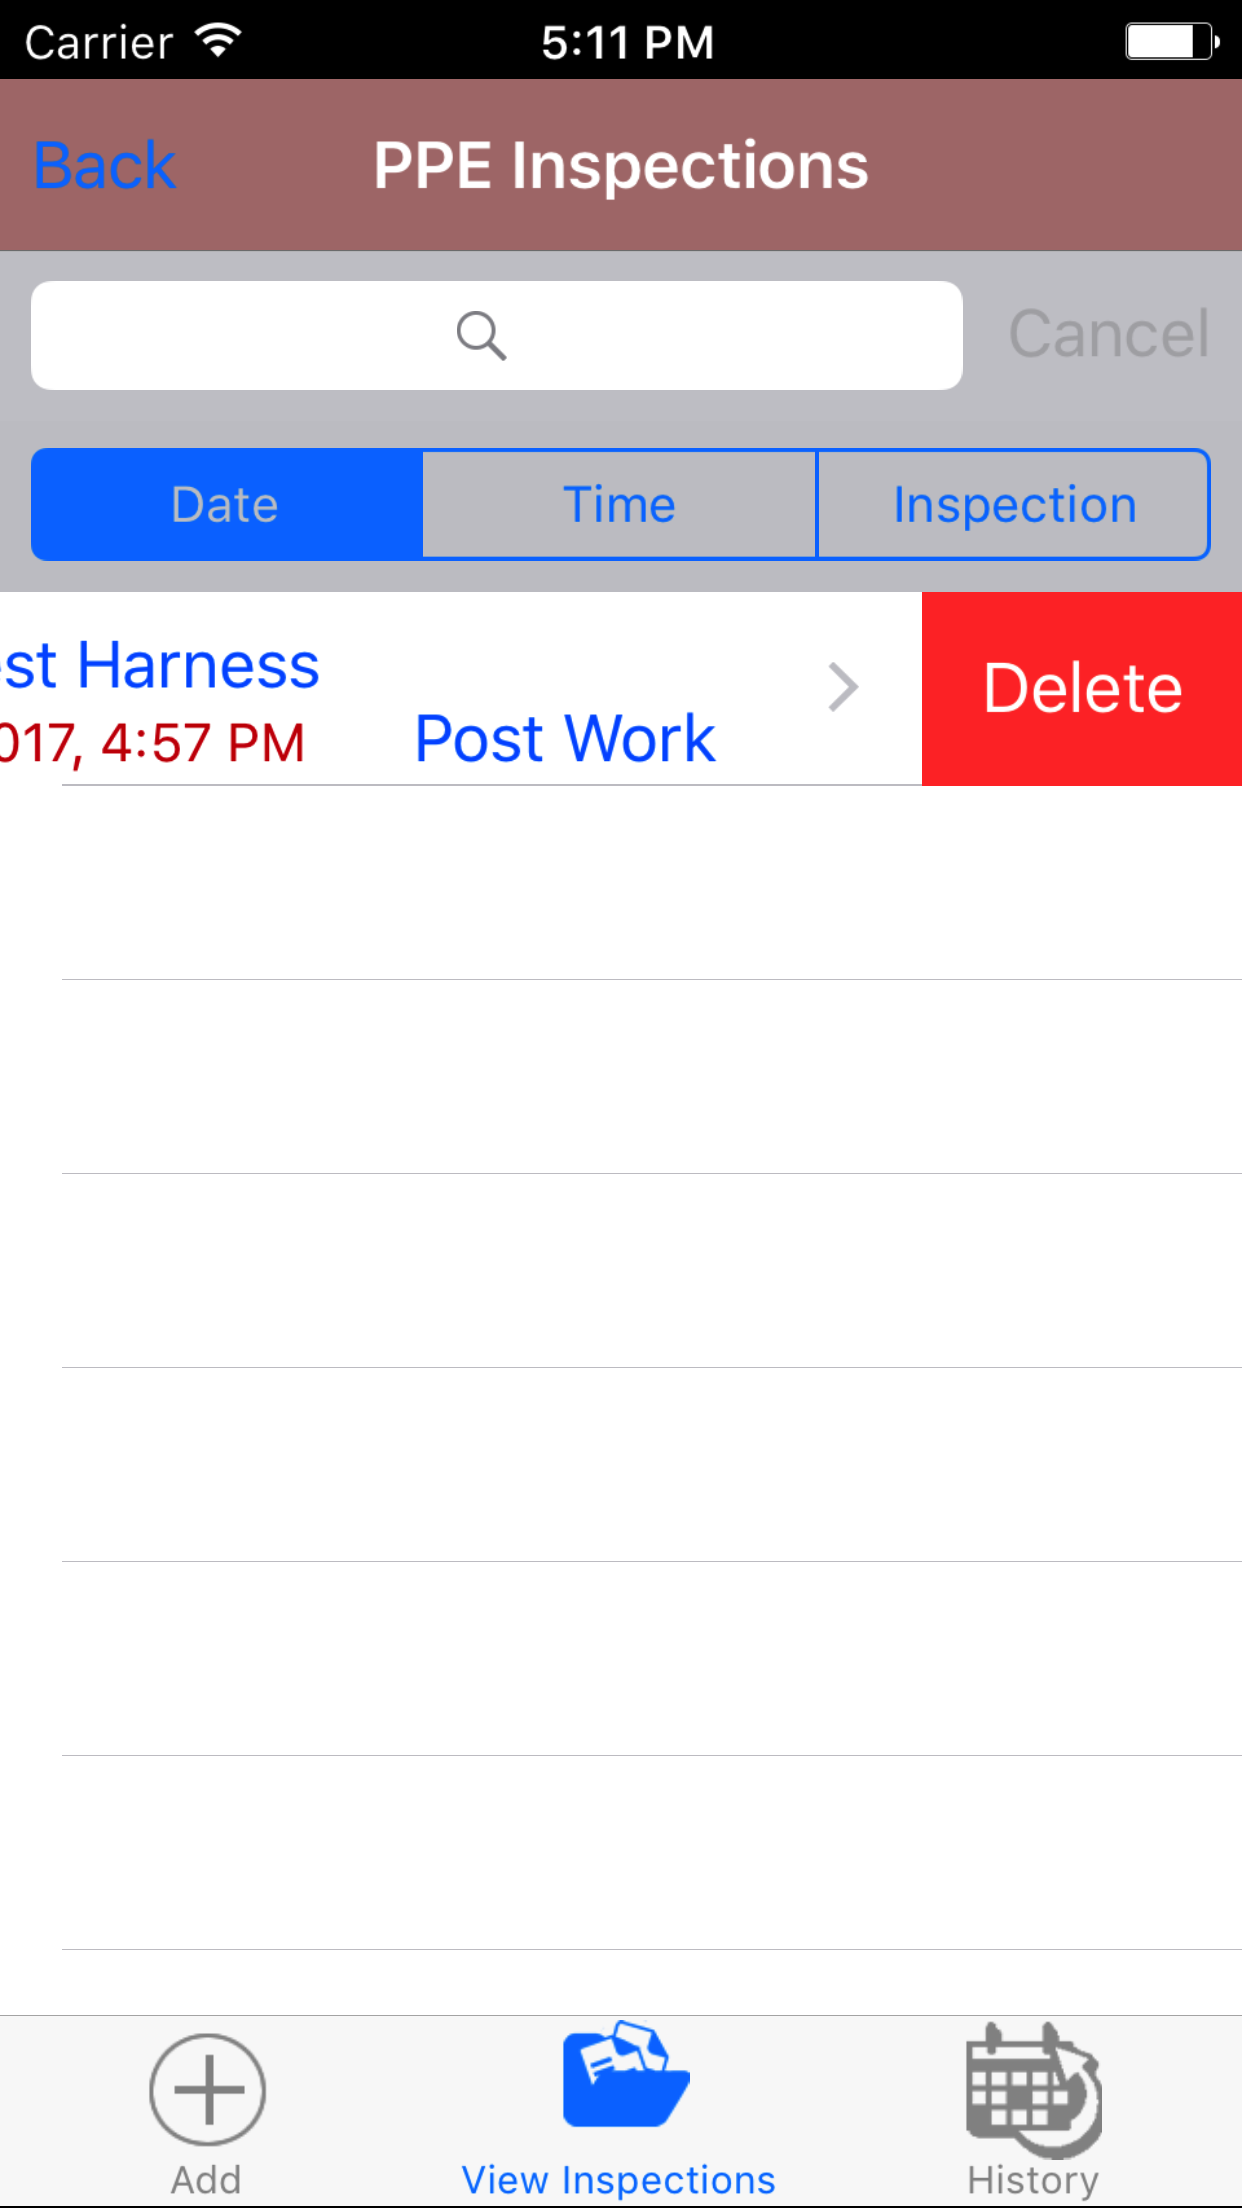
- Tap the second tab, the Personal Protective Equipment Inspections view.
To Search Personal Protective Equipment Inspections: Pull down on the list view, the search is defaulted to search by date enter the date in following
format YYYY-MM-DD. The other options for the Personal Protective Equipment Inspection are search by inspection time and description. Enter your search
criteria and click the Search button.
- Scroll the list of Personal Protective Equipment Inspections until the desired Equipment Inspection is displayed on the screen.
Listing the personal protective equipment inspection date and inspection time in blue text, the personal protective equipment inspection name in red text.
- Swipe from the right edge to the left to bring up the delete button for the personal protective equipment inspection.
- Tap the Delete button. The personal protective equipment inspection will be deleted.
|
|
| Steps 1-4 |
|
|
9.View Closed Personal Protective Equipment Inspection |
|
After Personal Protective Equipment Inspections have been closed out, they will be available to look at through the History view on the iPhone Application.
Once on the PPE Equipment Inspection section
Steps
|
|
|
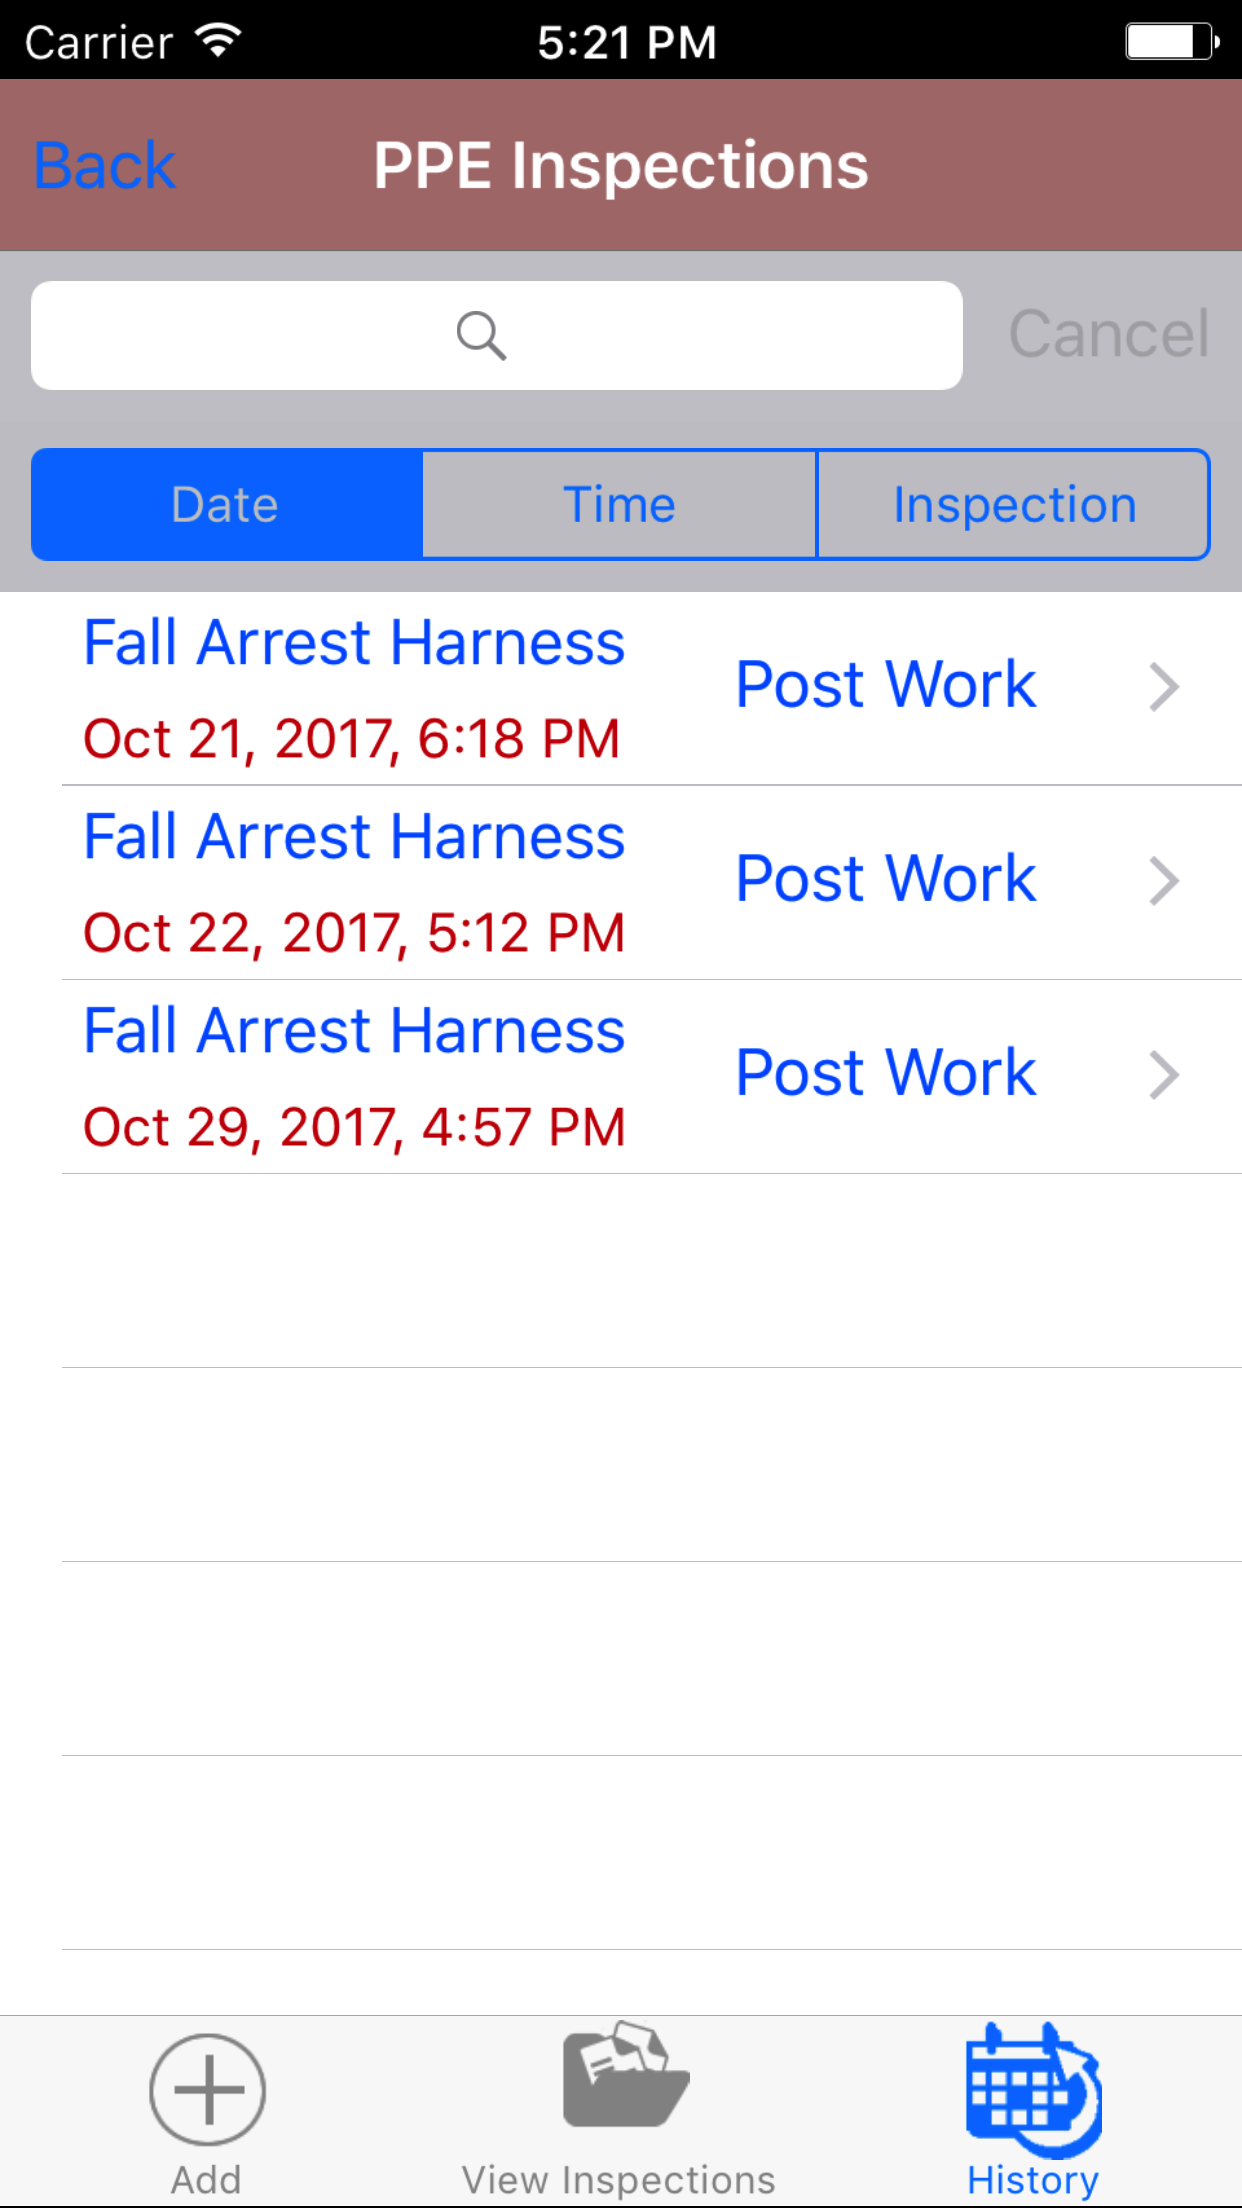
- Tap the third tab on the menu, the History tab of the main menu view.
To Search Personal Protective Equipment Inspections: Pull down on the list view, the search is defaulted to search by date enter the date in following
format YYYY-MM-DD. The other options for the Personal Protective Equipment Inspection are search by inspection time and description. Enter your search
criteria and click the Search button.
- Scroll the list of Equipment Inspections until the desired Equipment Inspection is displayed on the screen.
Listing the equipment inspection date and inspection time in blue text, the equipment inspection name in red text.
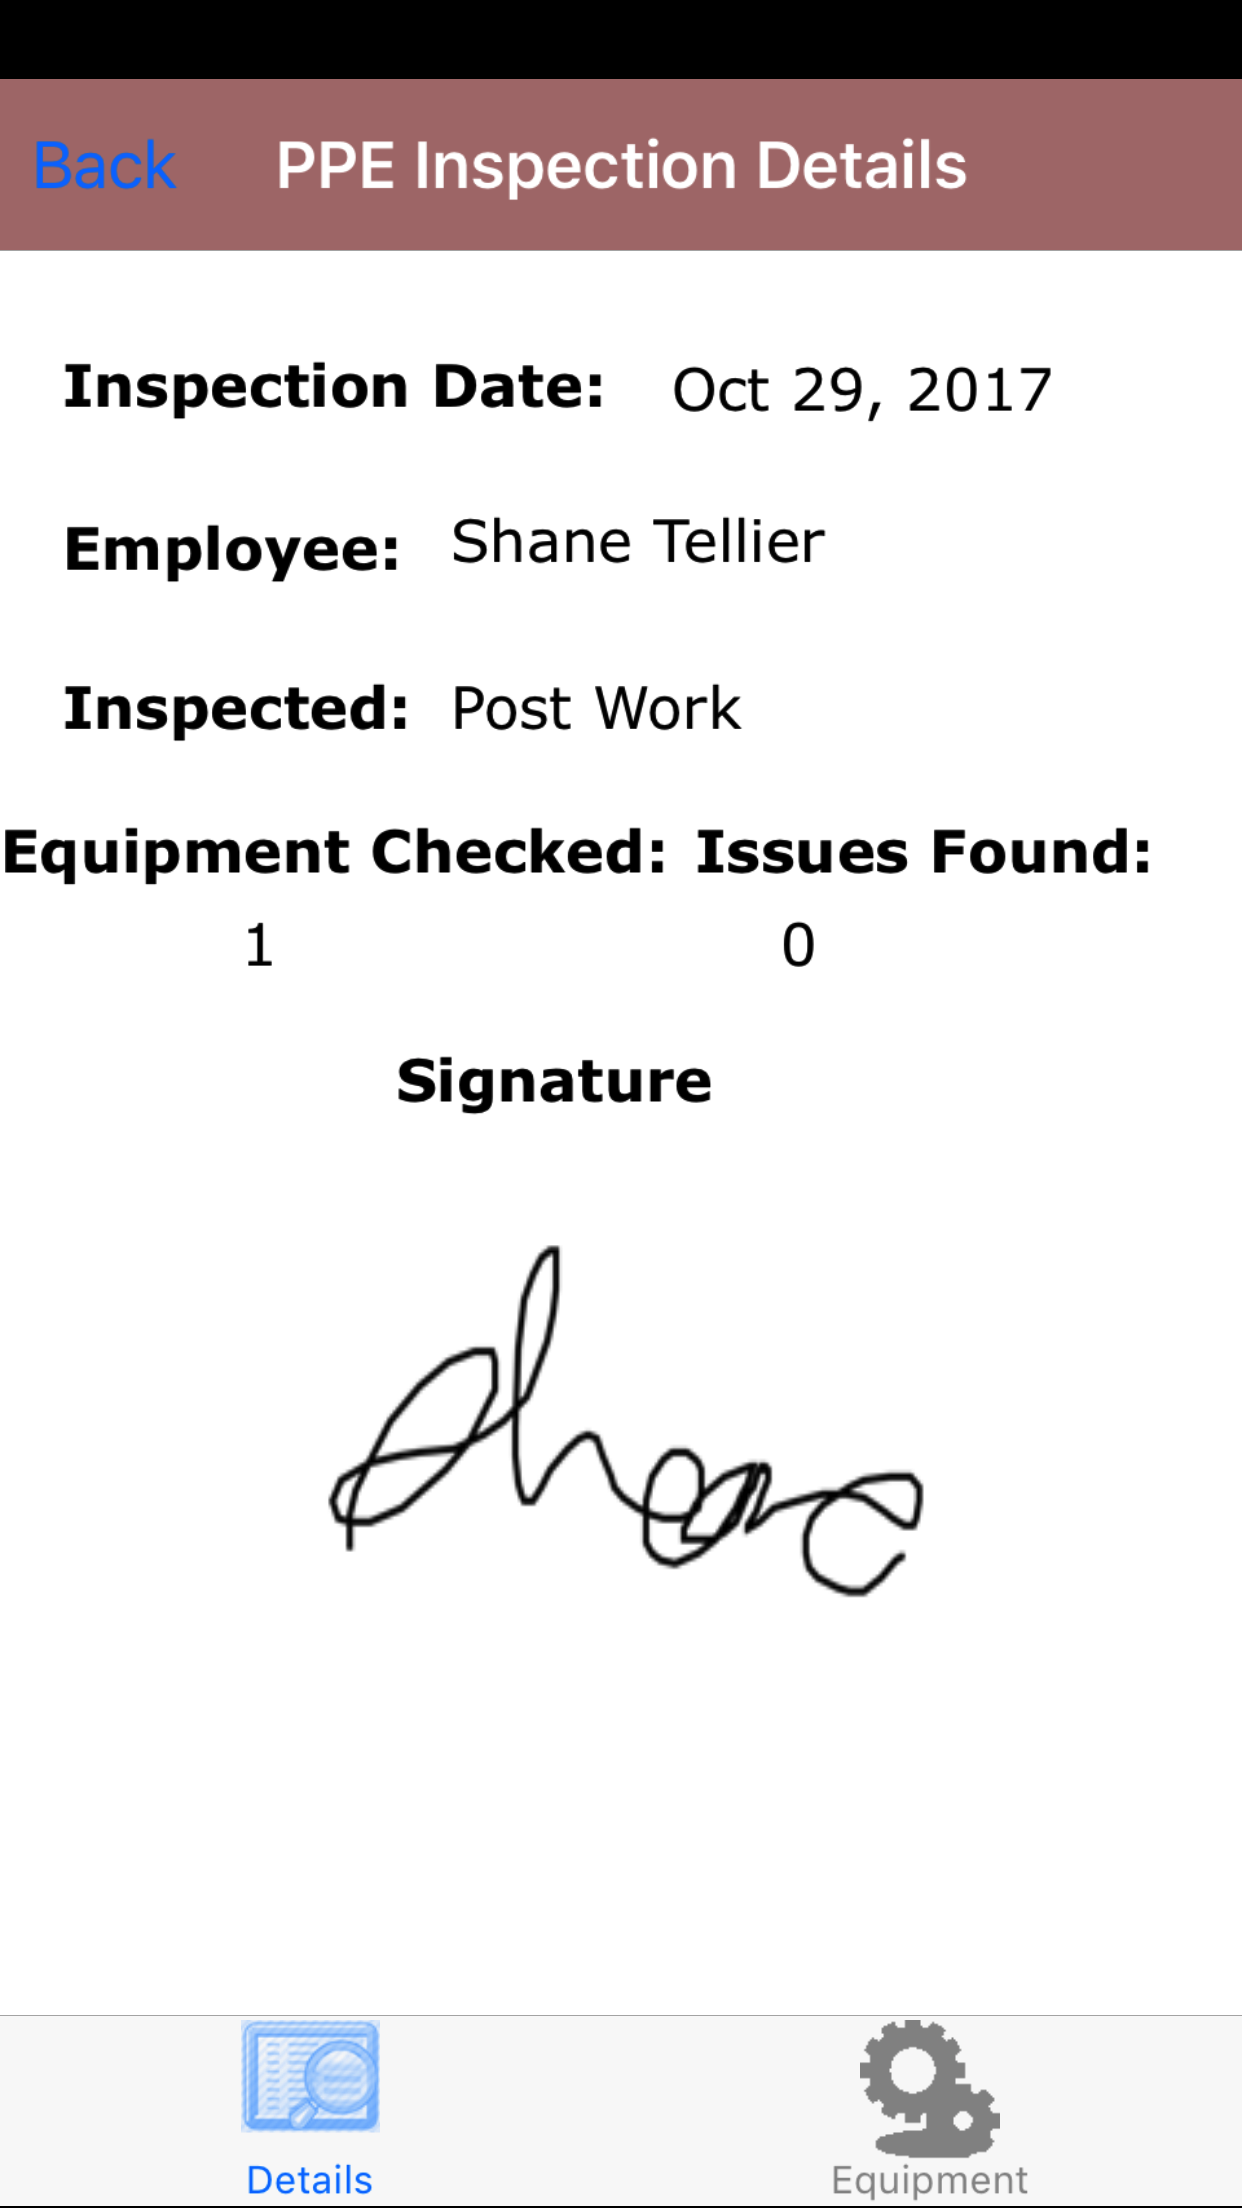
- Tap on the Equipment Inspection you would like to view. This loads the first tab, the equipment inspection information, which loads with the equipment
inspection date, equipment information, and the employee whom conducted the equipment inspection at the top.
- Tap the second tab, the Equipment Inspection Details lists the equipment inspection details on the equipment inspection.
|
|
|
| Steps 1-2 |
|
|
| Step 3 |
|
|
| Steps 4 |
|
|
| Steps 5 |
|
|
|
10.Update Personal Protective Equipment Inspections |
|
As other field staff and employee's perform equipment inspections the library of company equipment inspections for field staff to use will grow. Also as
field staff perform equipment inspections with other staff there will be a need for field staff to update their IPhone application.
Steps
- From the Menu screen, tap the Updates button.
- Scroll the list of sections until you find the Personal Protective Equipment Inspection button.
- Tap on the PPE Inspection button.
|
|
|
| Step 1 |
|
|
| Steps 2-3 |
|
|